
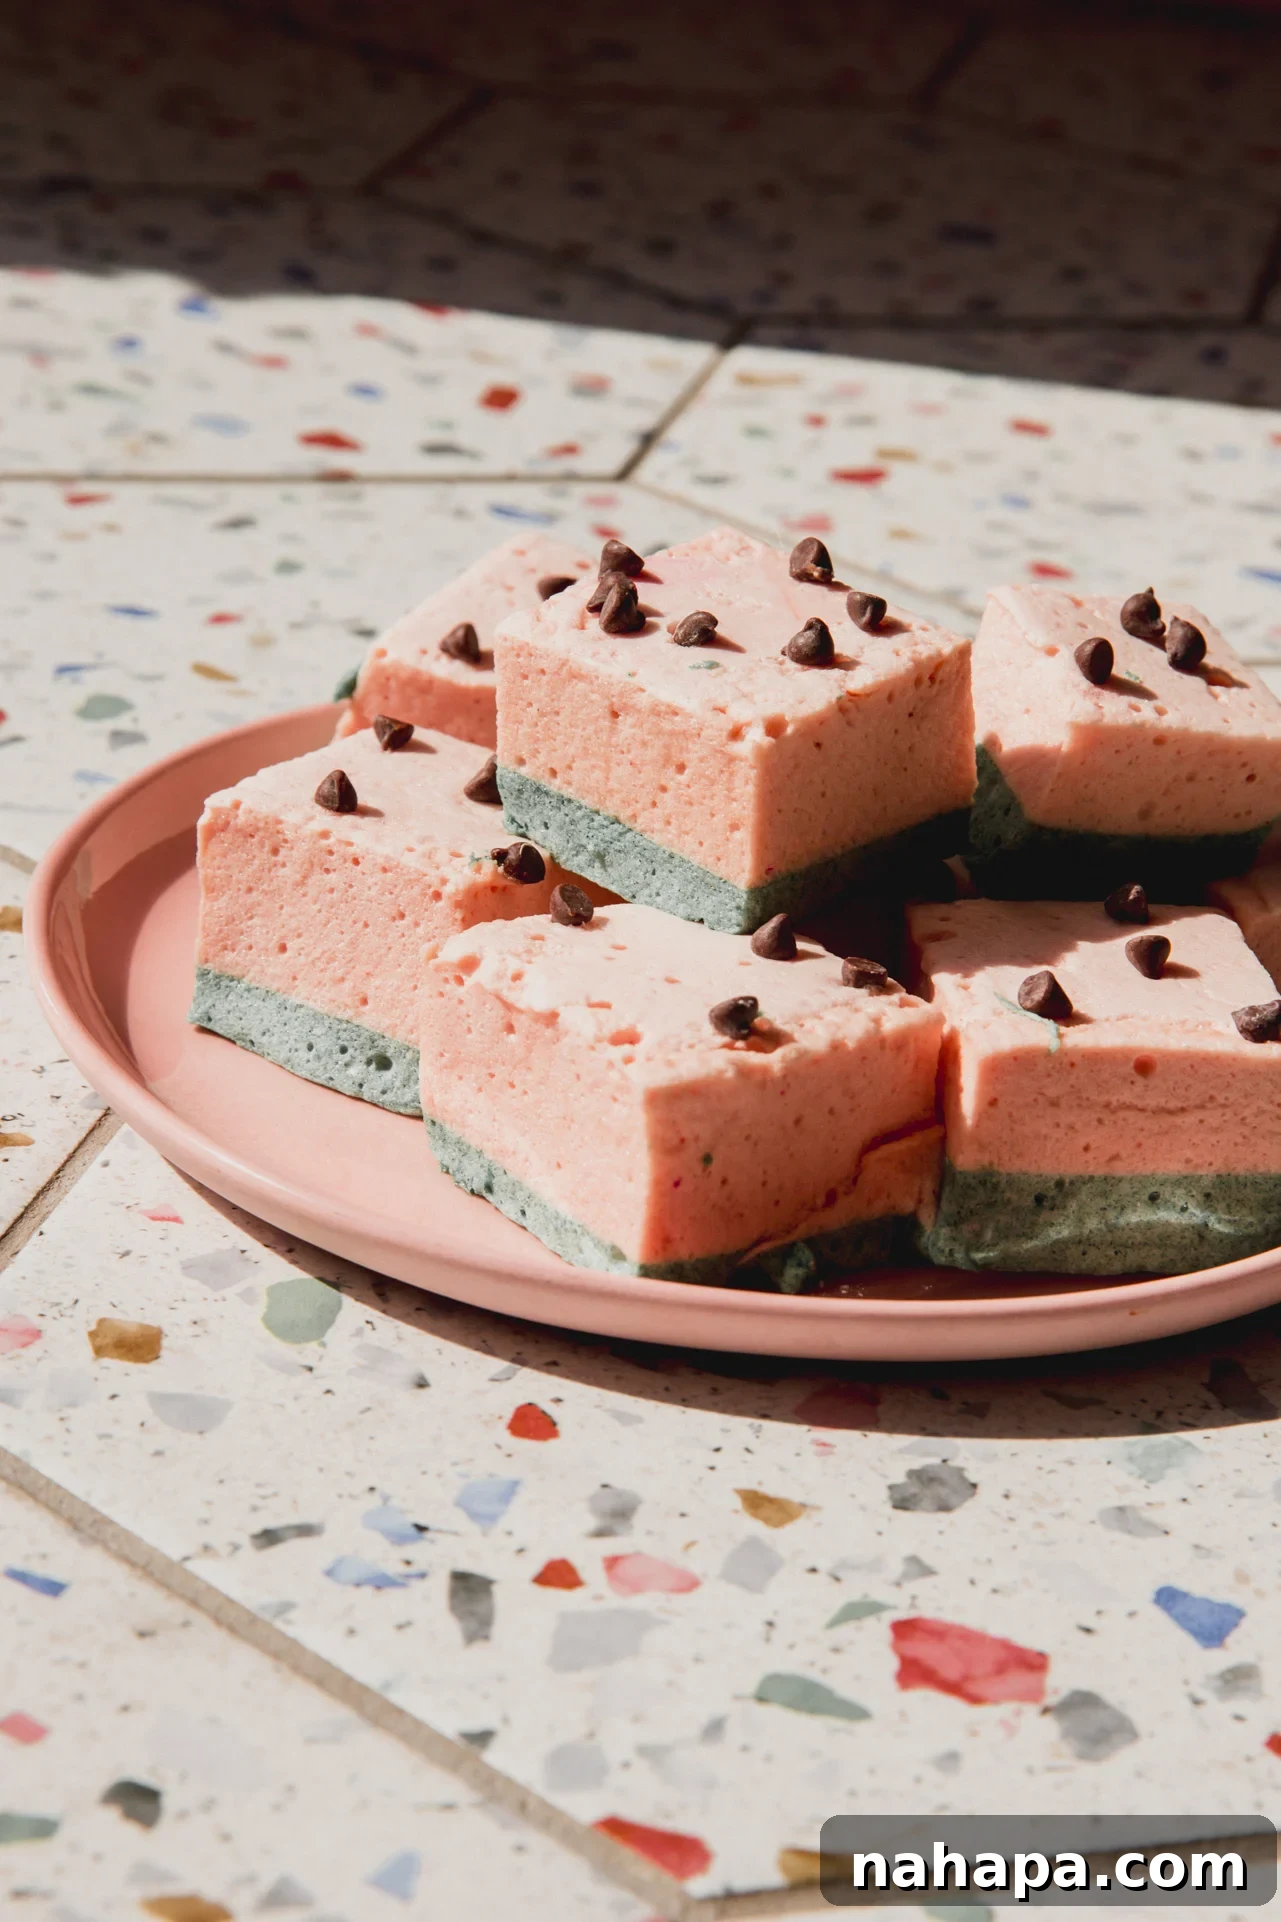
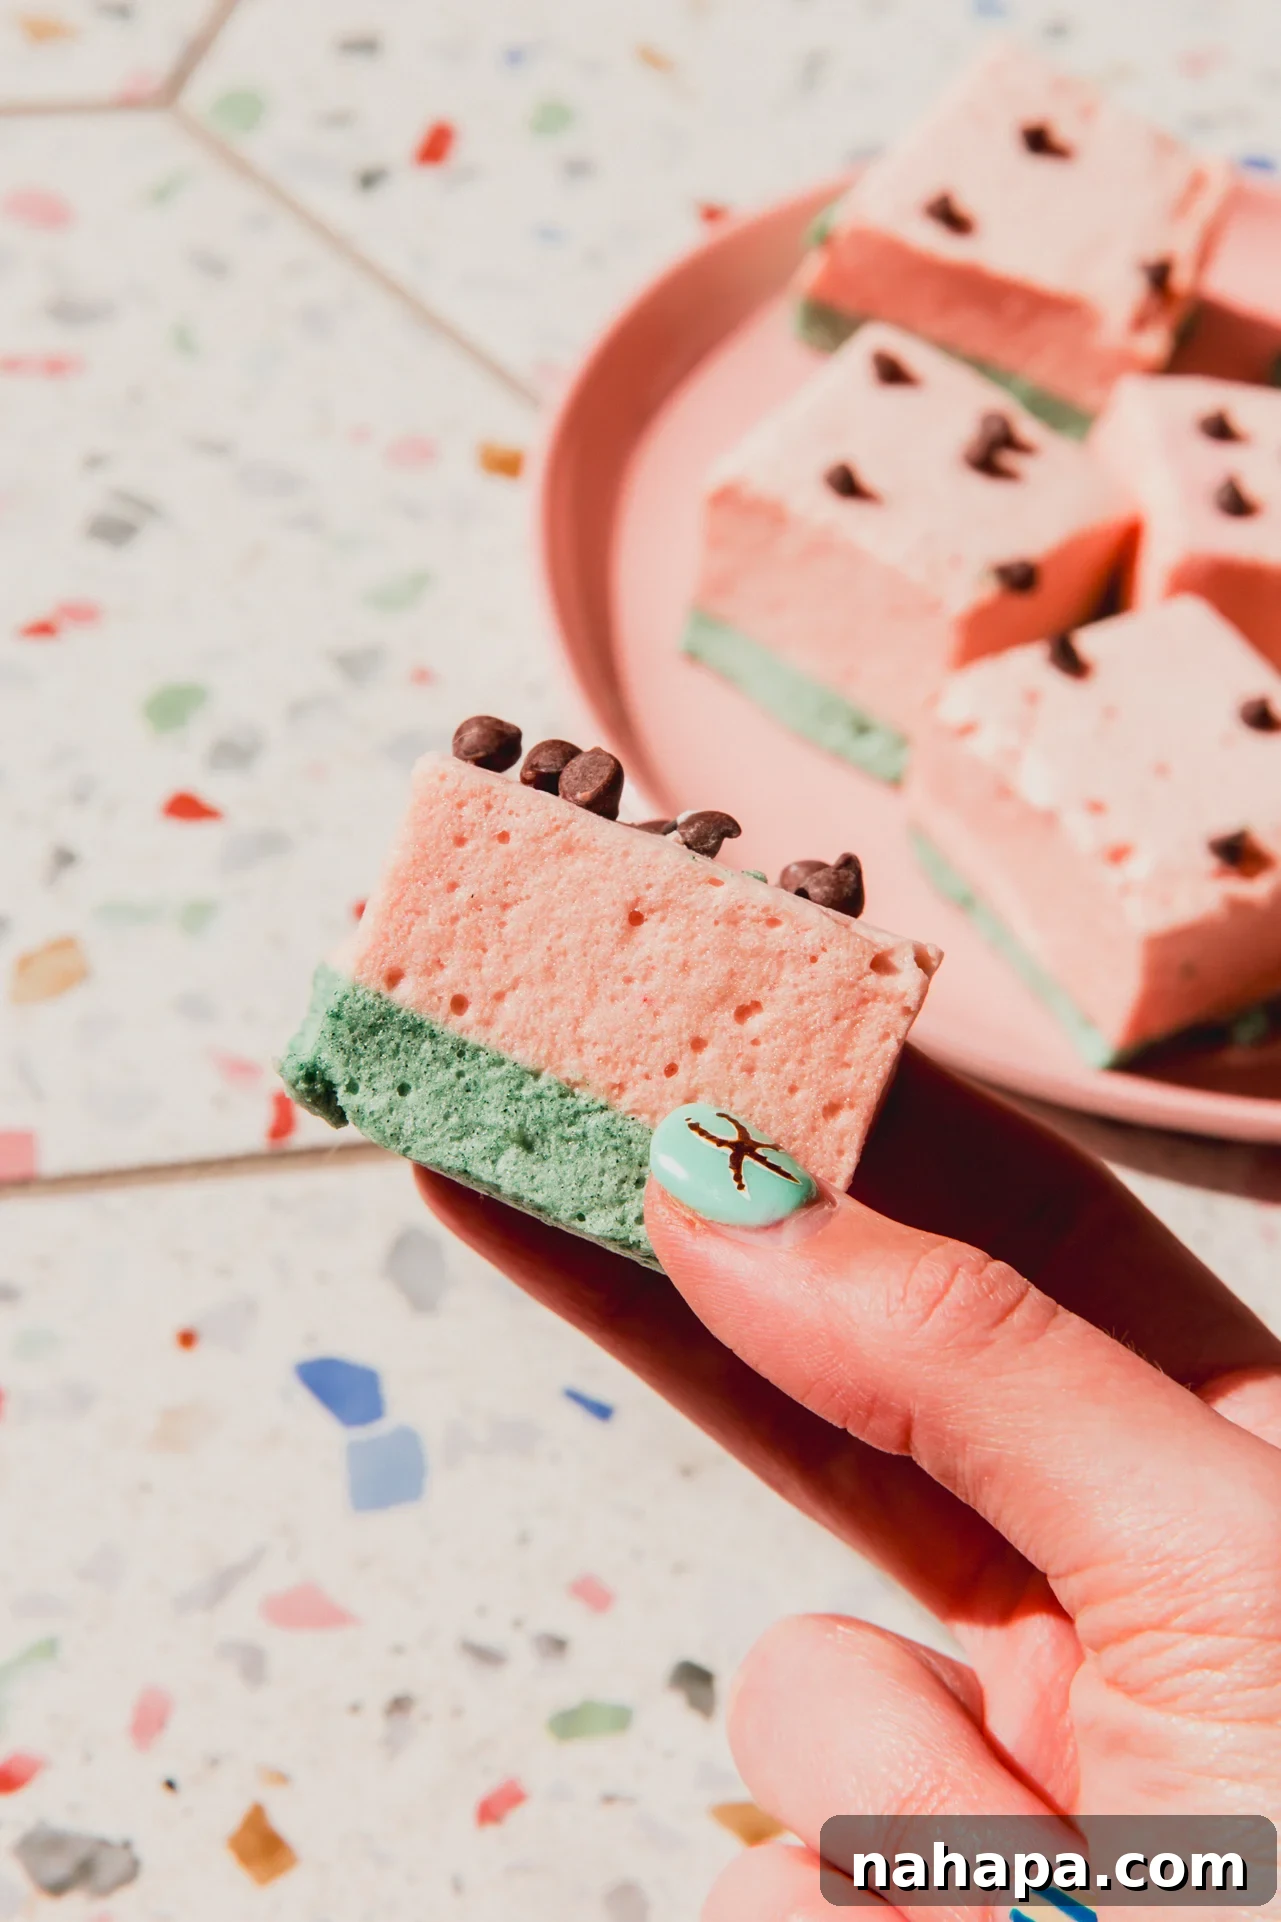
Delight in the sweet taste of summer with these incredible homemade watermelon marshmallows! Far from your average store-bought variety, these vibrant, naturally flavored treats offer a refreshing twist on a classic confection. Crafted with wholesome ingredients like pure honey, premium gelatin, real watermelon juice, and natural food coloring, they are an irresistible indulgence that captures the essence of the season in every bouncy bite.
Table of Contents
- Why You’ll Adore These Watermelon Marshmallows
- Essential Recipe Ingredients
- Crafting Your Watermelon Marshmallows: Step-by-Step Guide
- Expert Tips for Perfect Marshmallows
- Frequently Asked Questions About Watermelon Marshmallows
- More Gluten-Free Watermelon Recipes to Explore
Why You’ll Adore These Watermelon Marshmallows
For me, the kitchen is a playground for creating “fun food.” There’s nothing quite like the joy of transforming simple ingredients into something whimsical and delicious. From refreshing watermelon jello slices served in a watermelon rind to a creamy homemade watermelon Dole Whip, or even chewy peach ring gummies made with real fruit, vibrant and playful treats are truly my love language. As summer approaches, what better way to celebrate its sunny spirit than with the ultimate summer fruit, watermelon? These unique watermelon marshmallows are designed to be the perfect festive treat, bringing a burst of color and flavor to any gathering or a delightful snack for yourself.

Beyond their charming appearance and irresistible flavor, these homemade watermelon marshmallows offer several compelling advantages:
- Effortlessly Fun to Make: Forget complicated baking or tedious decorating. This recipe is designed to be a straightforward and enjoyable project. With no oven time required and simple steps, you’ll be amazed at how easily you can create such a fun, colorful, and impressive treat. It’s perfect for involving kids in the kitchen or for a relaxed afternoon activity.
- Packed with Wholesome Ingredients: Unlike many store-bought marshmallows loaded with artificial flavors and colors, our recipe prioritizes natural goodness. We use authentic, fresh watermelon juice for that genuine fruity essence and derive our vibrant colors from natural sources like spirulina, matcha, beet powder, or strawberry powder. This ensures a treat that not only tastes amazing but also aligns with a more natural approach to snacking.
- A Delicious Corn-Free Alternative: For those with corn sensitivities or allergies, finding suitable sweet treats can be a challenge. Commercial marshmallows often contain corn syrup and corn starch. This recipe proudly offers a completely corn-free solution, making it an accessible and worry-free option for many who typically miss out on such delightful confections. Enjoy the fluffy texture and sweet flavor without any corn-derived ingredients.
Essential Recipe Ingredients
Crafting these delectable watermelon marshmallows requires a few key ingredients, each playing an important role in achieving the perfect texture and flavor. Below, we’ll delve into each component and discuss any potential substitutions to help you tailor the recipe to your needs.
| Ingredient | Purpose | Alternative |
| Honey | Forms the sweet base and provides moisture, contributing to the marshmallow’s classic texture. | Maple syrup can be used as a 1:1 substitute, offering a slightly different flavor profile. |
| Gelatin | Essential for setting the marshmallows and creating their characteristic bouncy, chewy texture. It also adds beneficial moisture. | For a similar texture, agar-agar can be explored, though it requires specific vegan marshmallow techniques. |
| Water | Acts as a fundamental liquid base, dissolving other ingredients and helping to create the marshmallow syrup. | Water is crucial and cannot be swapped out for other liquids as it affects the syrup’s consistency. |
| Watermelon Juice | Provides the authentic, refreshing watermelon flavor and contributes to the pink layer’s natural color. | To achieve the signature watermelon flavor, it’s highly recommended to use real watermelon juice. |
| Spirulina (or Matcha) | Imparts the vibrant green color for the “rind” layer, giving the marshmallows their distinctive watermelon appearance. | Matcha powder can be used as an alternative for the green coloring, offering a subtle earthy note. |
| Beet Powder or Strawberry Powder | Boosts the pink hue of the marshmallow, enhancing its visual appeal to mimic the watermelon flesh. | These are optional; omitting them will result in a lighter pink color, but the taste won’t be affected. |
| Mini Chocolate Chips | Used as a fun, edible representation of watermelon seeds, adding a touch of chocolatey crunch. | Black sesame seeds offer a natural and equally charming alternative for the “seeds.” |
For precise measurements and detailed instructions, please refer to the complete recipe card found further down this page. Sourcing high-quality ingredients will significantly enhance the flavor and texture of your homemade marshmallows.
Crafting Your Watermelon Marshmallows: Step-by-Step Guide
Creating these delightful watermelon marshmallows is a fun and rewarding process. Follow these straightforward steps, enhanced with visual guidance, to achieve perfect results. Full, detailed instructions are available in the comprehensive recipe card below.
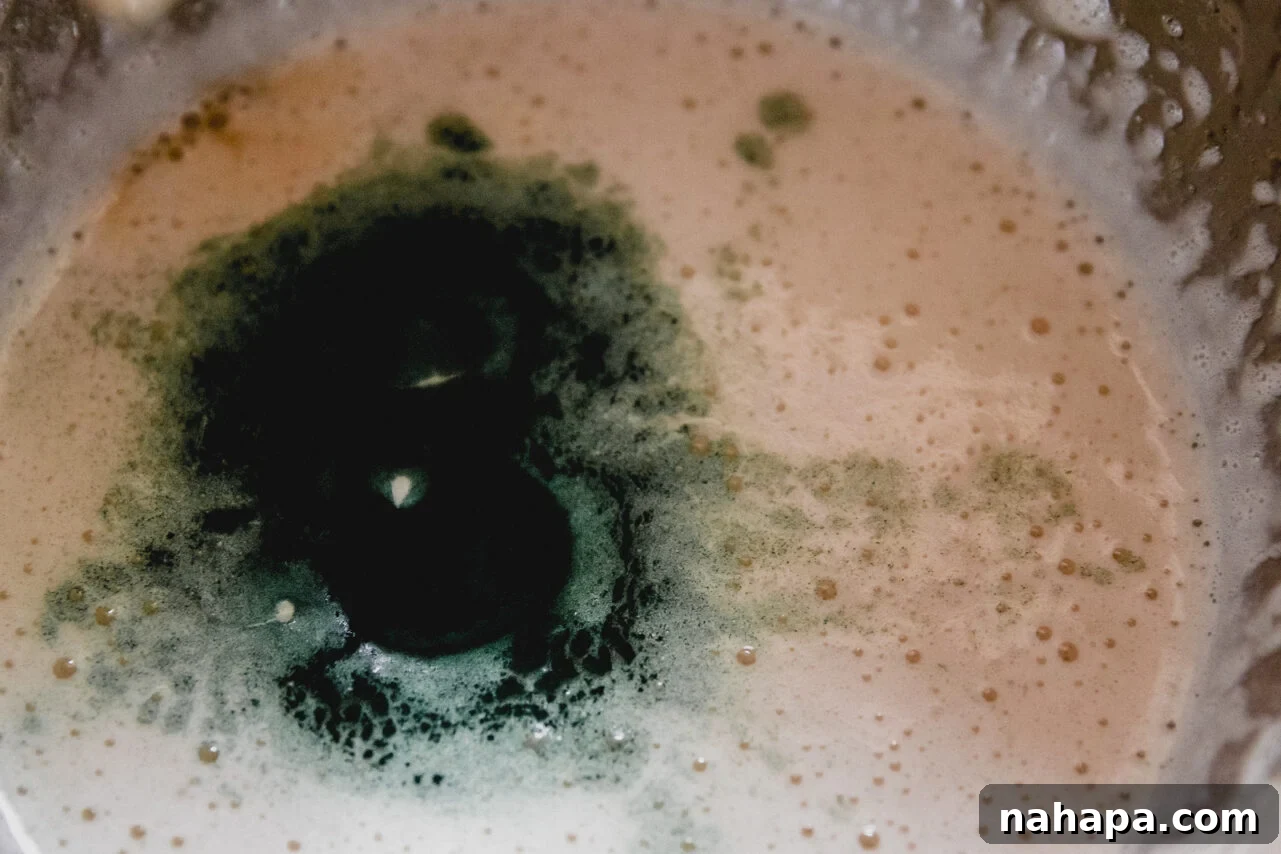
Step One: Prepare the Green Layer. Begin by “blooming” your gelatin: pour ½ cup of water into a small bowl and sprinkle the gelatin evenly over the surface. Allow it to sit and absorb the water, forming a thick paste. Meanwhile, in a medium saucepan, gently heat ½ cup of honey combined with another ½ cup of water. Slowly bring this mixture to a temperature of 235-240°F (112-115°C) over low heat, using a candy thermometer for accuracy. Once the target temperature is reached, immediately remove it from the heat. Carefully pour the hot honey mixture into the gelatin mixture while whisking continuously on high speed with either an electric hand mixer or a stand mixer. Continue to whip the mixture until it starts to thicken and turn white. Gradually add ½ teaspoon of matcha or spirulina at a time until you achieve your desired vibrant green color, along with the vanilla extract. Keep whipping until the mixture becomes very thick, glossy, and holds stiff peaks, characteristic of marshmallow fluff. This whipping process typically takes 7-10 minutes, depending on your mixer’s power.
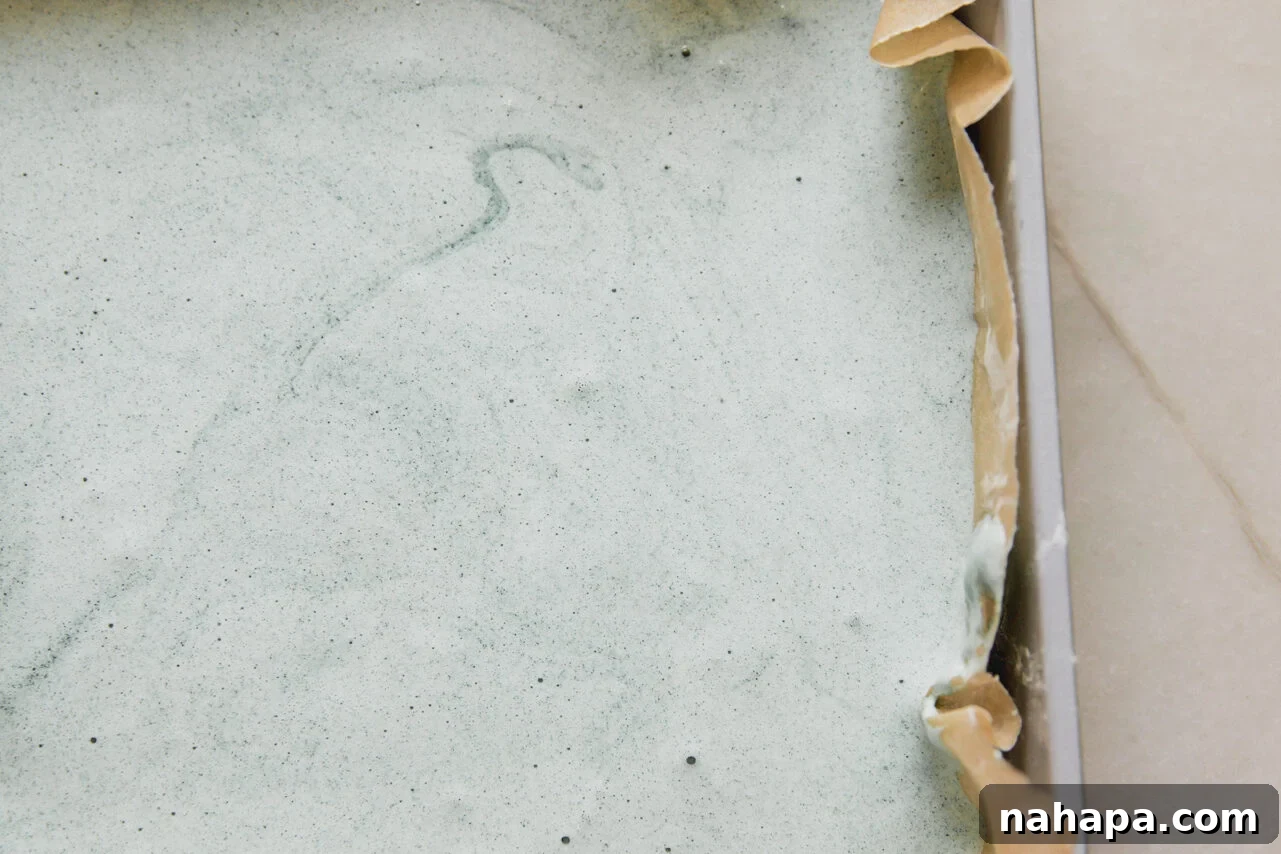
Step Two: Set the Green Layer. Before you begin mixing, ensure your 8×8-inch baking pan is properly prepared: line it with parchment paper, leaving an overhang on the sides for easy removal, and lightly dust the parchment with arrowroot starch to prevent sticking. Once the green marshmallow mixture reaches the desired consistency, pour it swiftly and evenly into the prepared baking dish. Spread it gently to create a uniform layer. Transfer the pan to the refrigerator for at least 30-45 minutes. This crucial step allows the green layer to firm up sufficiently before the pink layer is added, preventing the colors from blending together.
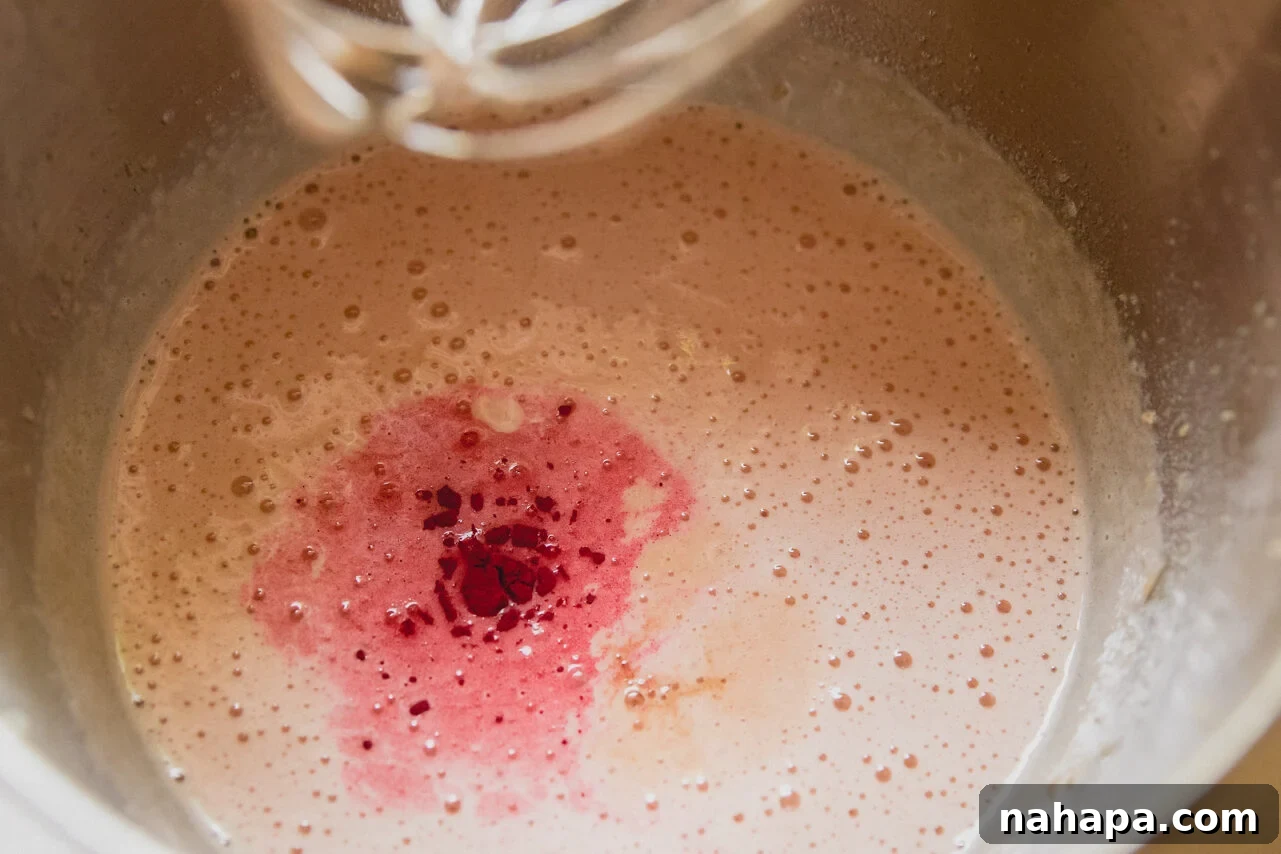
Step Three: Prepare the Pink Layer. While the green layer chills, prepare your pink marshmallow mixture. In a separate small bowl, combine ½ cup of fresh watermelon juice with the remaining gelatin, sprinkling it over the juice and stirring gently until combined. Set this aside to bloom. In a clean medium saucepan, repeat the heating process for the pink layer: gently heat 1 cup of honey combined with another ½ cup of water. Bring this syrup to a temperature of 235-240°F (112-115°C) over low heat, monitoring carefully with a candy thermometer. As soon as it reaches temperature, remove it from the heat. Similar to the green layer, slowly add the hot honey mixture to the bloomed gelatin while whisking on high speed with your electric hand mixer or stand mixer. Continue whisking for about 5 minutes until the mixture begins to turn light pink and thicken. If you desire a more vibrant color, add ½-1 teaspoon of strawberry or beet powder, a little at a time, along with the vanilla extract. Keep whipping until the pink marshmallow mixture is thick, fluffy, and forms stiff peaks, similar in consistency to the green layer.
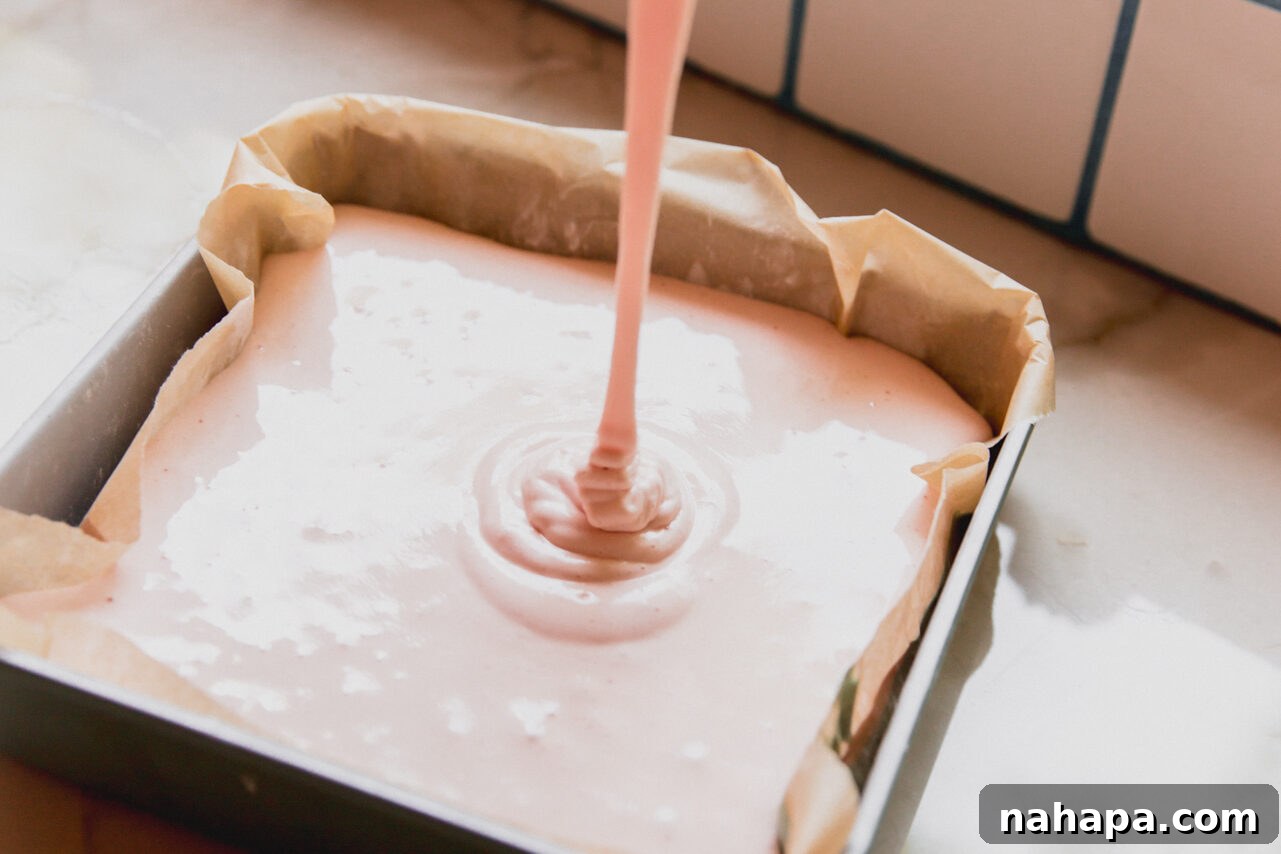
Step Four: Combine and Chill. Once the pink marshmallow mixture is ready, retrieve the partially set green layer from the refrigerator. Immediately and carefully pour the warm pink mixture evenly over the green layer, spreading it gently to create a smooth second layer. Work quickly but precisely. After the pink layer is applied, return the pan to the refrigerator to continue setting for an additional 30-45 minutes. This ensures both layers bond together while maintaining their distinct colors and will allow for the final toppings.
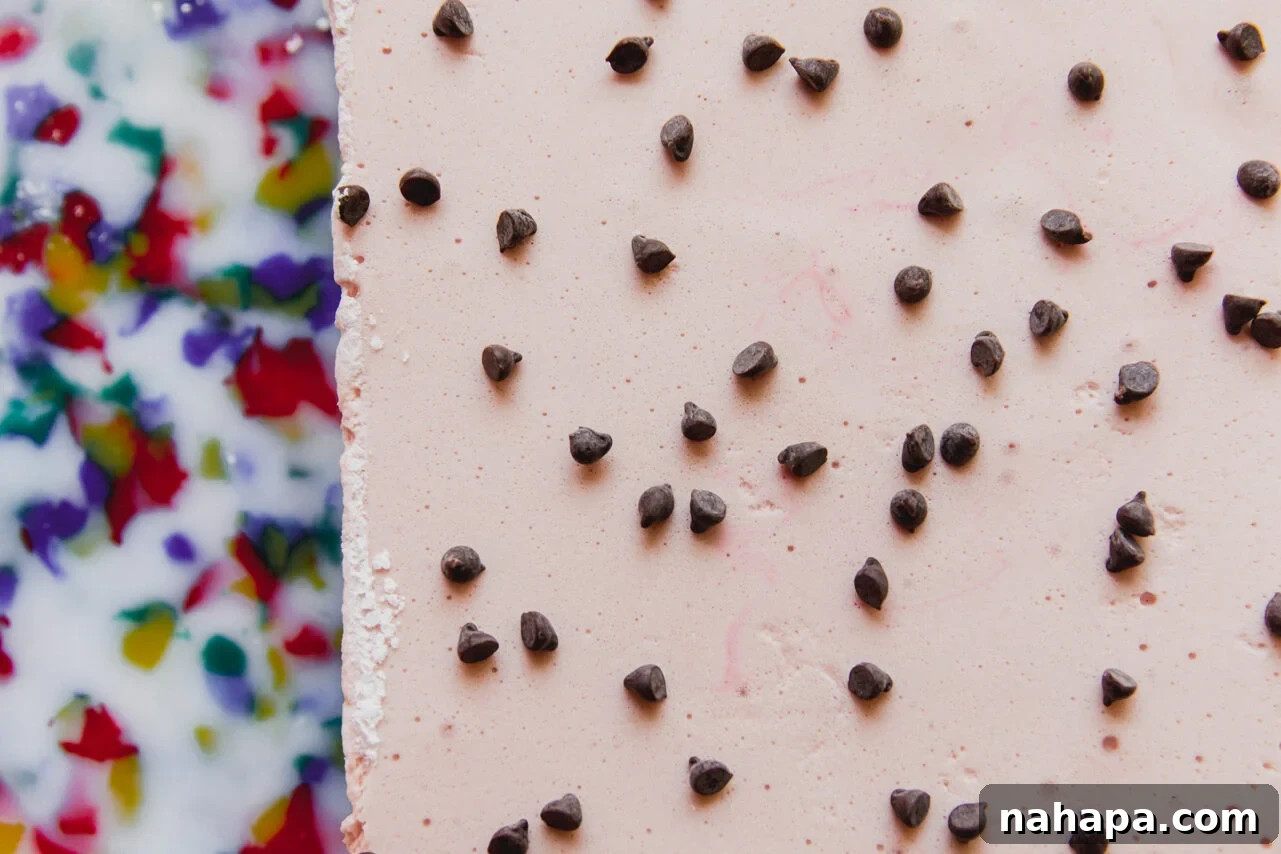
Step Five: Add the “Seeds” and Final Set. After the pink layer has had some time to partially set (around 30-45 minutes), it will still be slightly tacky, which is perfect for the next step. Generously sprinkle the mini chocolate chips evenly over the surface of the pink marshmallow layer. These will mimic the iconic watermelon seeds, adding both visual appeal and a delightful textural contrast. Gently press them down slightly to ensure they adhere to the marshmallow. Return the pan to the refrigerator for the final, longer chill. Allow the marshmallows to harden completely for 3-4 hours, or until they feel soft, springy, and firm to the touch throughout.
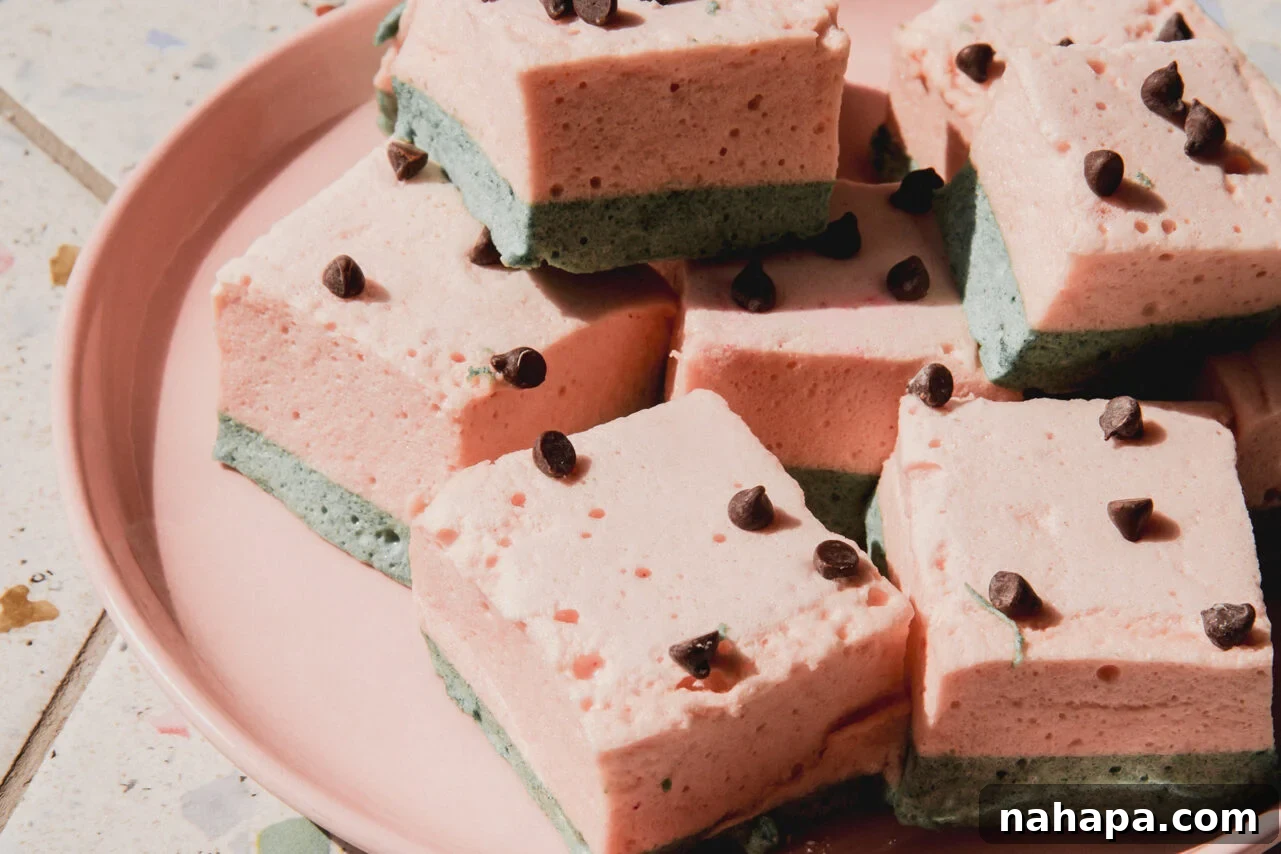
Step Six: Slice and Serve. Once your watermelon marshmallows are fully set and firm, it’s time to slice them! For a clean cut, generously coat your knife blade in arrowroot starch before each slice. This prevents the sticky marshmallow from adhering to the knife. You can slice them into large squares, small bite-sized pieces, or even use fun cookie cutters for whimsical shapes – the choice is yours! I often prefer slicing them into larger, substantial pieces, but smaller marshmallows are equally charming. These homemade treats are best stored in an airtight container in the refrigerator to maintain their freshness and texture. Now, all that’s left is to enjoy your beautifully crafted, refreshing watermelon marshmallows!
Expert Tips for Perfect Marshmallows
Achieving perfectly fluffy and distinctively layered watermelon marshmallows is simple with these expert tips and tricks:
- Prioritize Setting the Green Layer Completely: This is a crucial step for the beautiful layered appearance. You absolutely must allow the green layer to chill and set in the refrigerator for at least 30-45 minutes before attempting to pour the pink layer on top. If the green layer is not sufficiently firm, the warmth and weight of the pink mixture could cause the colors to bleed and blend, resulting in a less defined and visually appealing marshmallow. Patience here is key!
- Understand Whipping Time Varies with Equipment: The duration required to whip your marshmallow mixture to the correct consistency will differ based on the type and power of your mixer. If you’re using a robust stand mixer, the mixture will thicken and form stiff peaks much faster, often within just a few minutes of high-speed whipping. For those using an electric hand mixer, you’ll likely need to whip for a longer period. The goal is to observe the mixture becoming very thick, glossy, and capable of forming “stiff peaks” when the beaters are lifted. Don’t stop until you reach this stage!
- Work Swiftly Once Whipping is Complete: Marshmallow mixture sets remarkably fast once it reaches its ideal whipped consistency. A common mistake is to over-whip the mixture or let it sit for too long after whipping before transferring it to the prepared baking dish. Once you see those stiff peaks form, stop whipping immediately! Your marshmallow should be thick but still pourable, allowing you to spread it evenly in the pan without too much effort. If it becomes too stiff, it will be difficult to spread smoothly and uniformly.
- Prepare Your Pan Properly: Before you even start mixing, thoroughly line your 8×8-inch baking pan with parchment paper. Make sure the paper overhangs the edges on all four sides. This “sling” will make it incredibly easy to lift the entire slab of set marshmallows out of the pan. Additionally, a light dusting of arrowroot starch on the parchment paper and the sides of the pan will ensure absolutely no sticking.
- Achieving Ideal Color Intensity: Natural food colorings like spirulina, matcha, beet powder, and strawberry powder can vary in potency. Always add them gradually, a quarter or half teaspoon at a time, and mix thoroughly before adding more. This allows you to control the shade and achieve your preferred intensity for both the green “rind” and pink “flesh” layers. You want distinct, appealing colors, not dull or overly dark ones.
- Storage for Freshness: Once sliced, store your homemade watermelon marshmallows in an airtight container at room temperature for up to a week, or in the refrigerator for extended freshness. Placing a piece of parchment paper between layers can help prevent them from sticking together.
Frequently Asked Questions About Watermelon Marshmallows
While gelatin is integral to the classic bouncy texture of these marshmallows, agar-agar is a fantastic plant-based alternative. However, the exact ratios and methods for using agar differ significantly from gelatin, especially in marshmallow making. I haven’t personally developed a dedicated agar-agar marshmallow recipe, but I recommend seeking out a reliable vegan marshmallow recipe that specifically uses agar. Once you have a solid base recipe, you can then adapt the natural coloring methods (spirulina/matcha for green, beet/strawberry powder for pink) and the watermelon juice flavoring from this recipe to create your own vegan watermelon marshmallows!
Yes, absolutely! Maple syrup is a great alternative to honey in this recipe. You can substitute it on a 1:1 basis. Keep in mind that maple syrup has a slightly different flavor profile than honey, which will impart a subtle maple note to your marshmallows. The texture should remain quite similar, providing that same delightful chewiness.
Once your watermelon marshmallows are fully set and sliced, store them in an airtight container. They will keep well at room temperature for up to one week, though if your kitchen is very warm, the refrigerator might be a better option. When storing, it’s a good idea to place a piece of parchment paper between layers of marshmallows to prevent them from sticking together. For longer storage, you can freeze them for up to 2-3 months; just thaw them at room temperature before enjoying.
These marshmallows are an excellent make-ahead treat! You can easily prepare them 2-3 days in advance of your event. Ensure they are stored properly in an airtight container as described above. Preparing them ahead of time allows the flavors to meld beautifully and frees up your time on the day of your celebration.
More Gluten-Free Watermelon Recipes to Explore
If you love the refreshing taste of watermelon and are looking for more delicious, gluten-free ways to enjoy it, here are some other fantastic recipes from our collection:
- Sicilian Watermelon Pudding: A traditional, delightful dessert with a unique texture and flavor.
- Sour Watermelon Gummies: Perfect for those who enjoy a tangy kick with their sweet treats.
- Watermelon Jello Slices: A fun and easy way to enjoy the classic jello, presented in a creative way.
We truly hope you enjoy these vibrant and delicious Watermelon Marshmallows! If you’ve tried this recipe or any other from our blog, please consider leaving a rating and sharing your experience in the comments section below. Your feedback is greatly appreciated and helps other home cooks. Thank you for visiting Unbound Wellness!
Watermelon Marshmallows
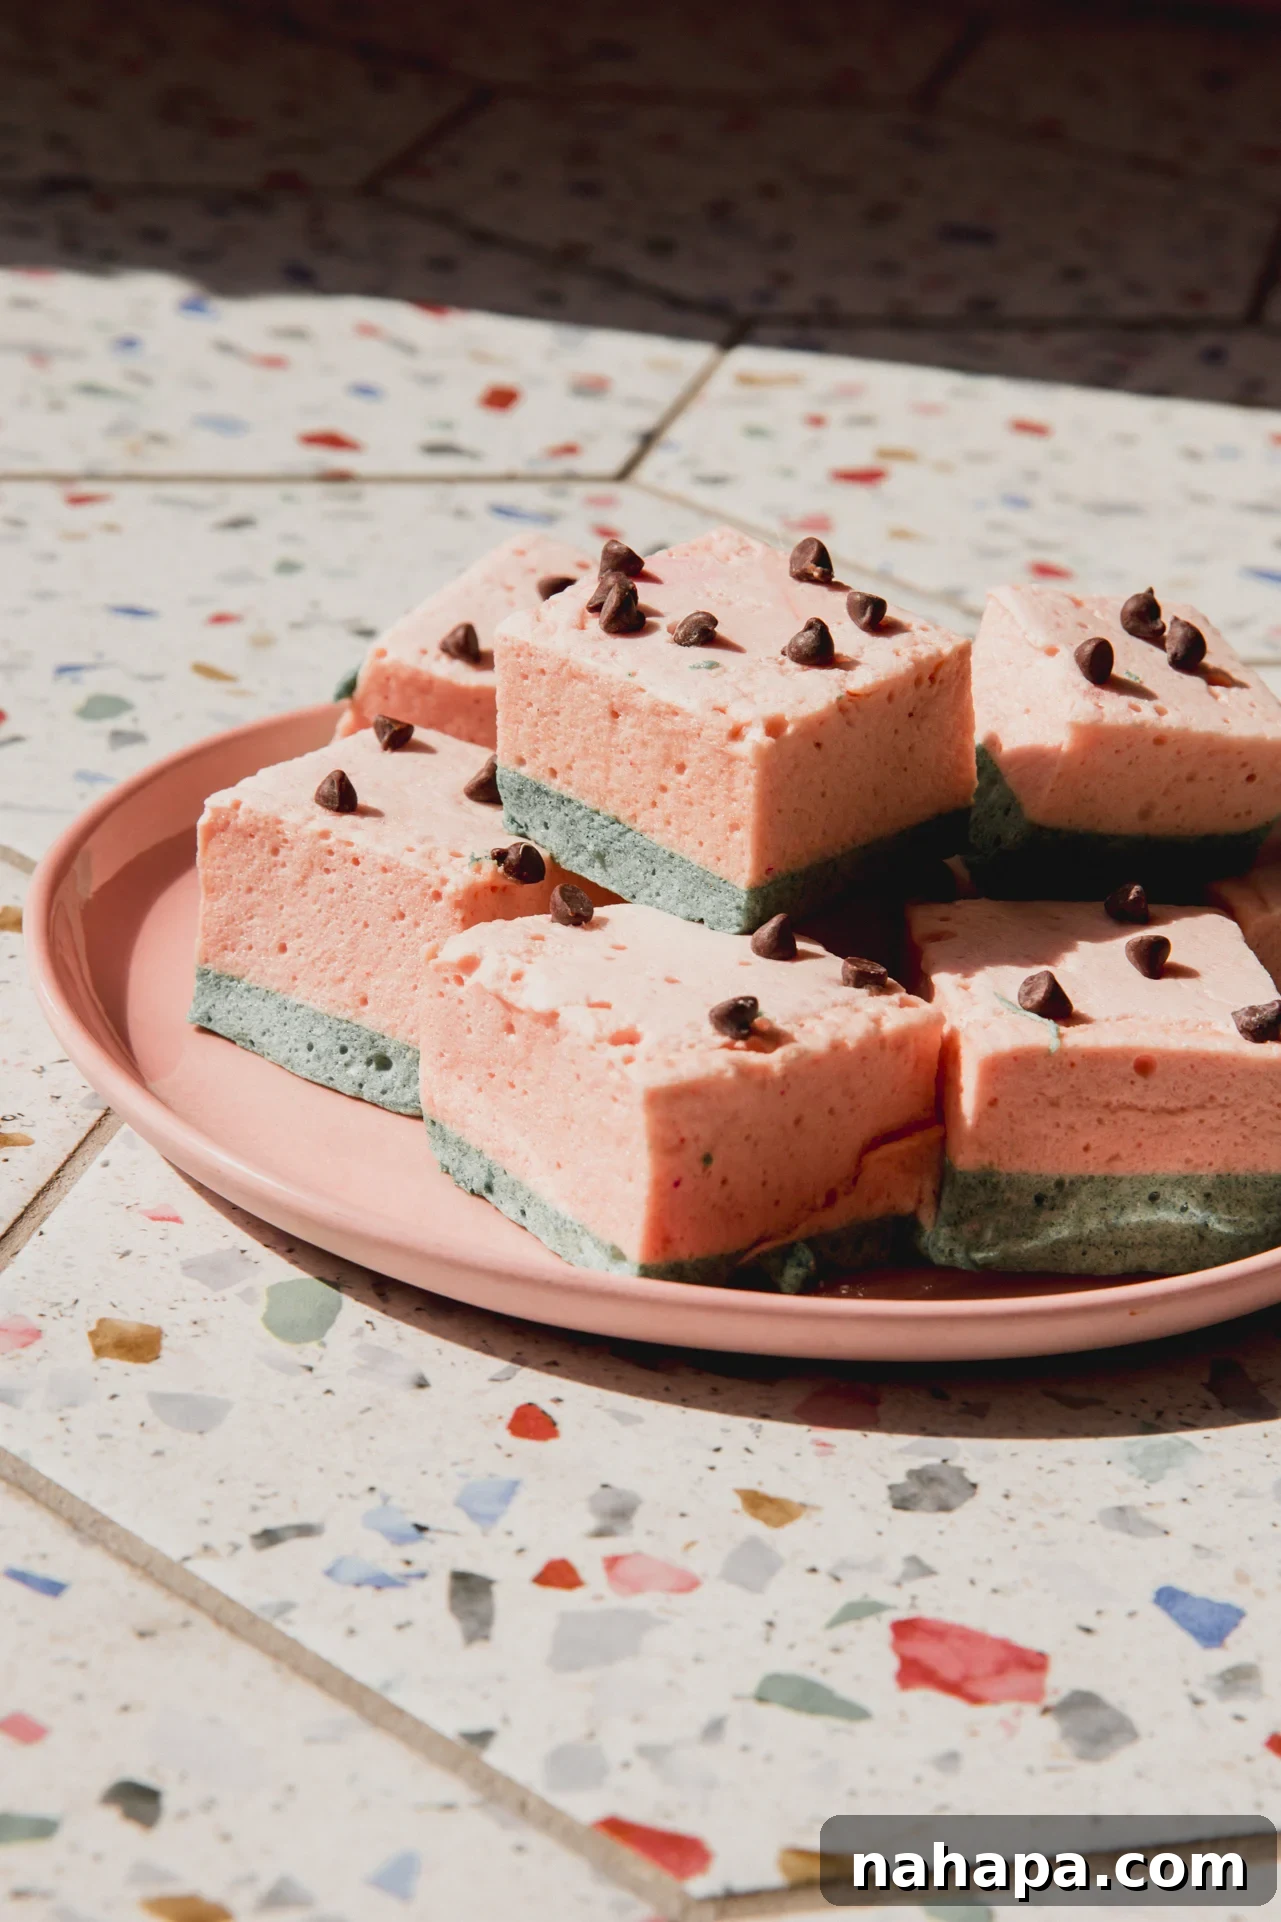
These homemade watermelon marshmallows are the perfect summer treat! They’re made with honey, gelatin, real watermelon juice, and natural food coloring, offering a wholesome and fun confection.
Yield: 36 small marshmallows
Prep Time: 20 mins
Total Time: 4 hrs
Author: Michelle
Ingredients
For the Green Layer
- ½ cup water, divided
- 1 ½ tbsp gelatin
- ½ cup honey
- 1 tsp spirulina (or matcha)
- ½ tsp vanilla extract
For the Pink Layer
- ½ cup watermelon juice
- 3 tbsp gelatin
- ½ cup water
- 1 cup honey
- 1/2-1 tsp strawberry powder or beet powder, optional (for added color)
- 1 tsp vanilla extract
For Topping
- 2 tbsp mini chocolate chips (or black sesame seeds)
Equipment
- 1 Stand Mixer (or electric hand mixer)
- 8×8 inch baking pan
- Parchment paper
- Candy thermometer
- Medium-sized pots
Instructions
- Prepare your 8×8 inch baking pan by lining it with parchment paper, allowing an overhang on the sides. Lightly dust the parchment with arrowroot starch.
For the Green Marshmallow Layer
- In a small bowl, pour ½ cup of water and sprinkle 1 ½ tbsp of gelatin over it. Stir gently to combine and set aside to bloom.
- In a medium-sized pot, combine ½ cup of honey with the other ½ cup of water. Slowly heat the mixture on low until it reaches 235-240°F (112-115°C) on a candy thermometer. Remove from heat immediately.
- Carefully and slowly pour the hot honey mixture into the bloomed gelatin mixture while whisking on high speed with an electric hand mixer or stand mixer. Continue whisking on high for about 5 minutes until the mixture starts to turn white and thicken.
- Gradually add 1 tsp of spirulina (or matcha) and ½ tsp of vanilla extract, continuing to whip until you achieve your desired green color and the mixture is very thick, glossy, and forms stiff peaks. This generally takes 7-10 minutes total.
- Pour the green marshmallow mixture evenly into the prepared baking dish and transfer it to the fridge for at least 30-45 minutes to set.
For the Pink Marshmallow Layer
- In a separate small bowl, pour ½ cup of watermelon juice and sprinkle 3 tbsp of gelatin over it. Stir gently to combine and set aside to bloom.
- In a clean medium-sized pot, combine 1 cup of honey with the remaining ½ cup of water. Slowly heat the mixture on low until it reaches 235-240°F (112-115°C) on a candy thermometer. Remove from heat immediately.
- Carefully and slowly pour the hot honey mixture into the bloomed watermelon gelatin mixture while whisking on high speed. Continue whisking for about 5 minutes until the mixture starts to turn pink and thicken.
- Gradually add 1/2-1 tsp of strawberry or beet powder (if using for brighter color) and 1 tsp of vanilla extract. Continue to whip until the mixture is thick, fluffy, and forms stiff peaks, similar to the green layer. This generally takes 7-10 minutes total.
- Remove the green layer from the fridge. Immediately pour the pink marshmallow layer evenly over the set green layer. Return the pan to the fridge to set for another 30-45 minutes.
- Sprinkle the mini chocolate chips evenly over the pink layer, gently pressing them in. Return the pan to the fridge to harden for 3-4 hours, or until the entire marshmallow slab is soft yet springy to the touch.
- Once fully set, remove the marshmallow from the pan using the parchment paper overhang. Coat your knife in arrowroot starch before each slice to prevent sticking. Slice the marshmallows as desired (large, small, or shapes). Store in an airtight container in the fridge. Enjoy!
Nutrition Information (per small marshmallow)
- Calories: 52kcal
- Carbohydrates: 13g
- Protein: 1g
- Fat: 0.2g
- Saturated Fat: 0.1g
- Polyunsaturated Fat: 0.001g
- Monounsaturated Fat: 0.002g
- Trans Fat: 0.002g
- Cholesterol: 0.1mg
- Sodium: 3mg
- Potassium: 15mg
- Fiber: 0.1g
- Sugar: 12g
- Vitamin A: 14IU
- Vitamin C: 2mg
- Calcium: 3mg
- Iron: 0.1mg
All nutrition facts are estimated and will vary based on exact ingredients and preparation methods.
Did you Make this Recipe?
Tag @unboundwellness on Instagram and hashtag #unboundwellness! We’d love to see your creations!
Want to save this for later?
Just drop your name and email below. We’ll email the recipe right to your inbox! ✉️