
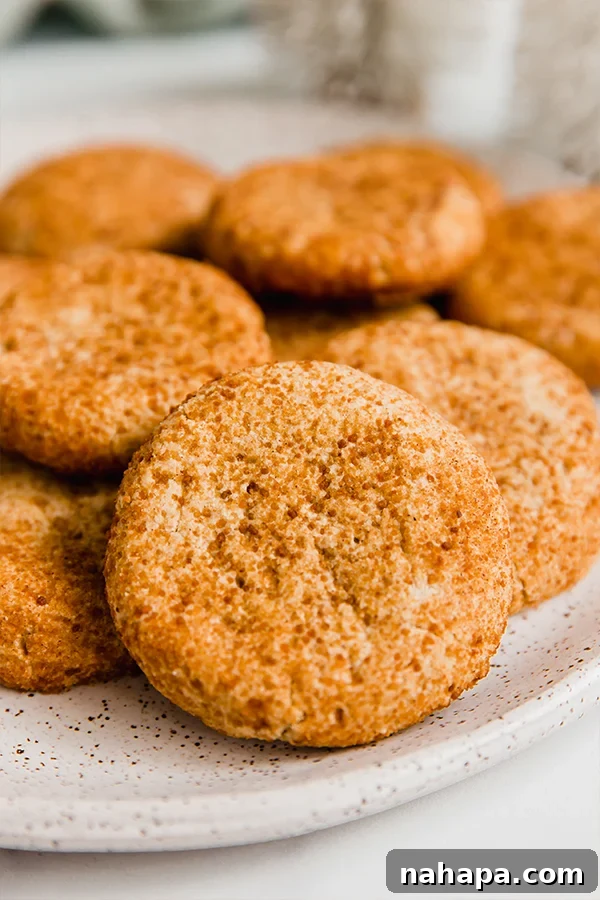
Welcome to the ultimate guide for crafting the most delightful, healthy, and diet-friendly cookies you could ever imagine: Gluten-Free Snickerdoodle Cookies! These aren’t just any snickerdoodles; they are exceptionally soft, perfectly tangy, and generously coated in classic cinnamon sugar. What truly sets them apart is their commitment to wellness – they are entirely dairy-free, grain-free, and even AIP-friendly, making them a festive treat everyone can enjoy without compromise.
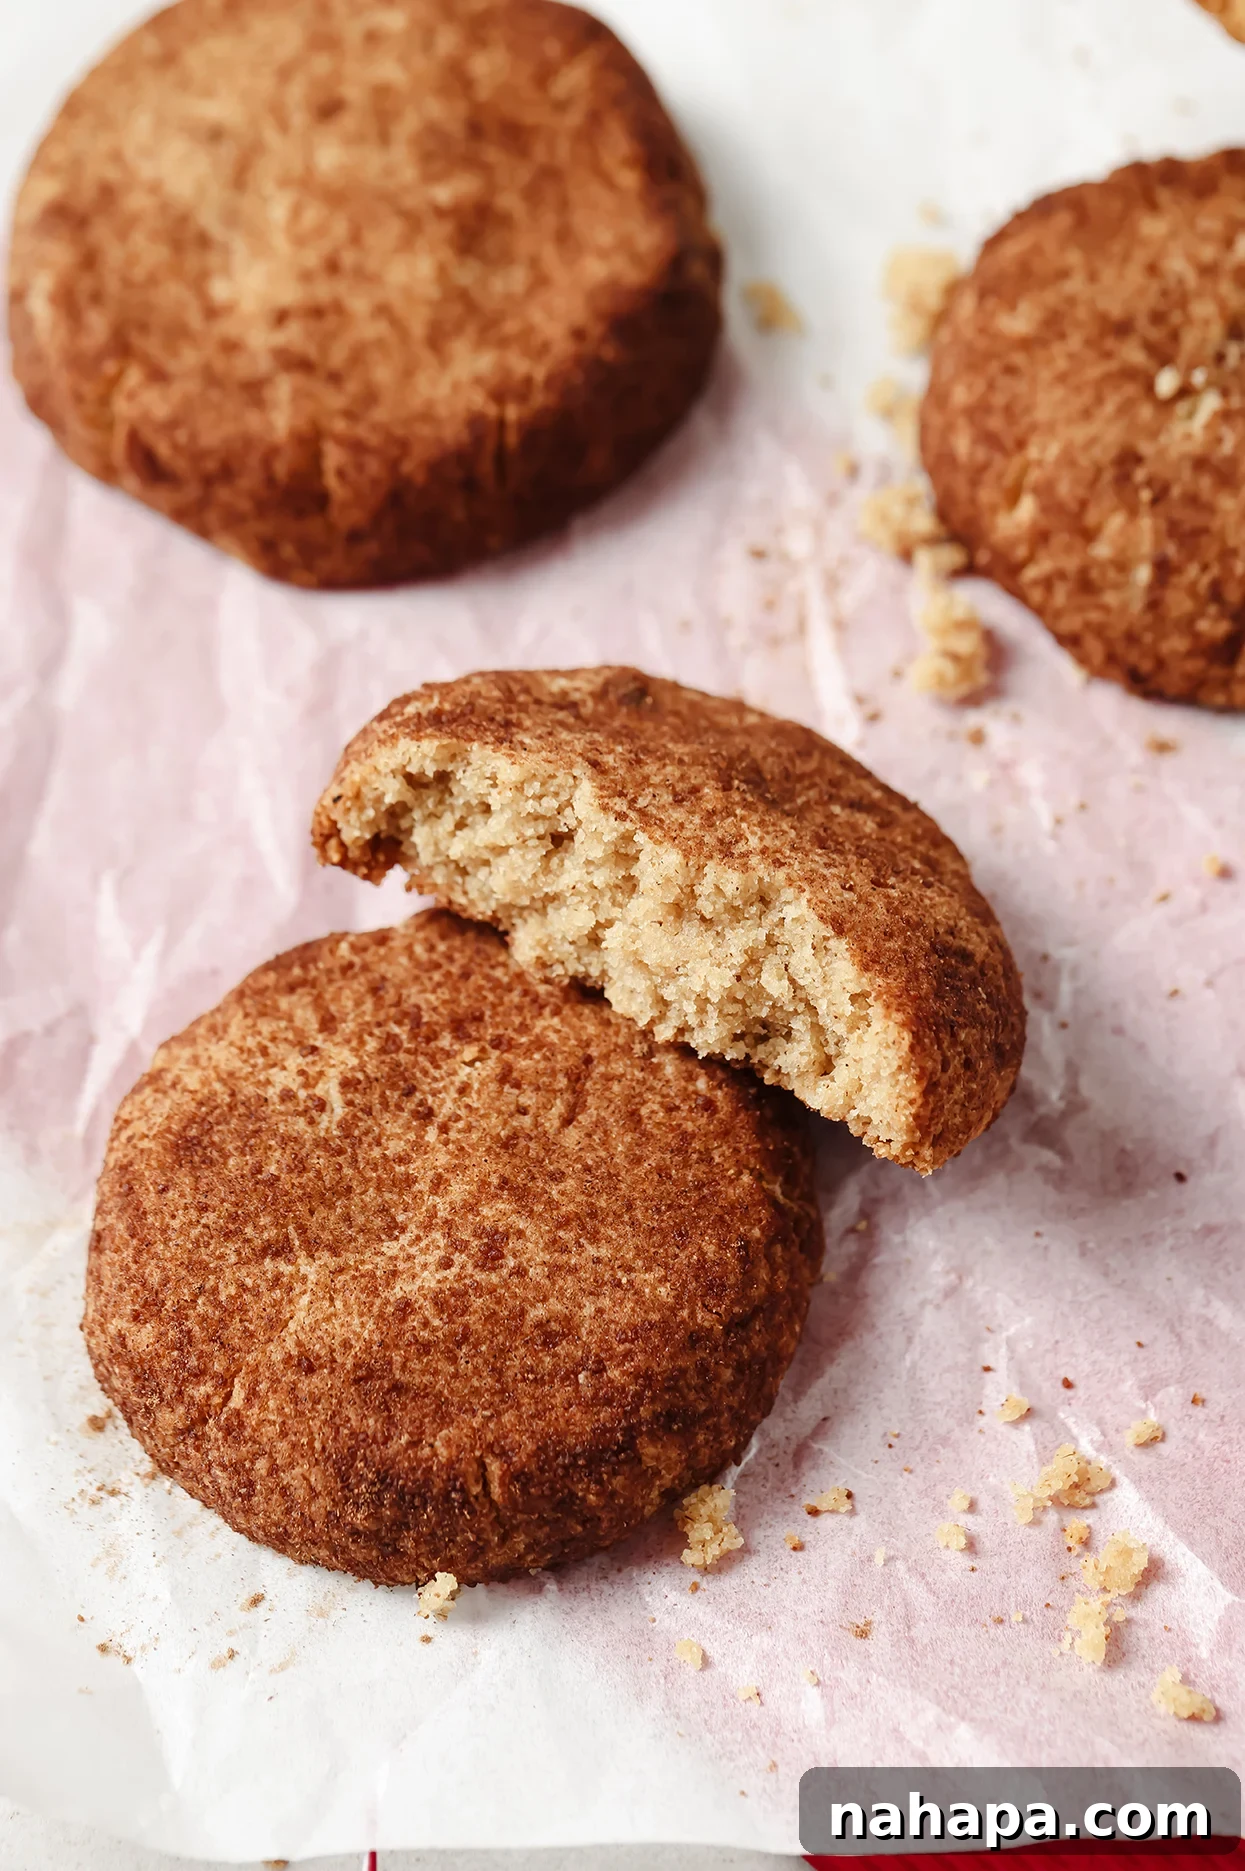
For all the cinnamon aficionados out there, prepare to rejoice! Snickerdoodles hold a special place in the cookie hall of fame, celebrated for their light, fluffy texture and the irresistible combination of sweet cinnamon sugar. They evoke a sense of warmth and nostalgia, especially during the holiday season. Just like my beloved AIP cut-out sugar cookies and comforting AIP gingerbread cookies, these snickerdoodles have become a cherished tradition I eagerly anticipate each year. The joy of baking and sharing these classic treats, now accessible to those with various dietary needs, is truly unparalleled.
Elevate your holiday cookie platter with these fantastic Snickerdoodles! This delicious, easy-to-follow, and healthier recipe ensures you don’t have to miss out on the festive fun. Specially formulated to be AIP (Autoimmune Protocol), dairy-free, egg-free, and gluten-free, they bring pure joy to every bite.
Table of Contents
- The Magic of AIP-Friendly Snickerdoodles
- Key Ingredients for Perfect Snickerdoodles
- Smart Substitutions for Dietary Needs
- Step-by-Step: How to Make Snickerdoodle Cookies
- Essential Tips & Tricks for Baking Success
- Snickerdoodle Recipe FAQs
- More Gluten-Free Cookie Recipes to Explore
The Magic of AIP-Friendly Snickerdoodles
The quest for delicious, health-conscious desserts often leads to compromise, especially when navigating specific dietary protocols like AIP or managing allergies to gluten, dairy, or eggs. However, these Snickerdoodles prove that you can achieve incredible flavor and texture without relying on common allergens. This recipe isn’t just a modification; it’s a complete reimagining that delivers on taste while adhering to strict dietary guidelines.
Being AIP-friendly means these cookies avoid common inflammatory ingredients, focusing on whole, nourishing components. For those unfamiliar, the Autoimmune Protocol diet aims to reduce inflammation and support healing by eliminating foods that are common triggers. This includes grains, dairy, eggs, nuts, and refined sugars. Crafting a cookie that respects these boundaries yet remains irresistibly good is a culinary triumph.
Furthermore, these cookies are a dream come true for anyone seeking gluten-free, dairy-free, and grain-free options. We’ve meticulously selected ingredients that offer the structure, moisture, and delightful chewiness expected from a classic snickerdoodle, but without any of the typical offenders. This means more people can gather around the cookie tray, sharing in the joy of baking and eating without worry.
The careful balance of ingredients ensures that each cookie possesses that signature Snickerdoodle tang, a soft interior, and a slightly crisp exterior, all enveloped in a warm blanket of cinnamon sugar. It’s proof that a healthier lifestyle doesn’t mean sacrificing your favorite treats; it simply means getting a little more creative in the kitchen.
Key Ingredients for Perfect Snickerdoodles
For precise measurements and quantities, please refer to the comprehensive recipe card provided below.
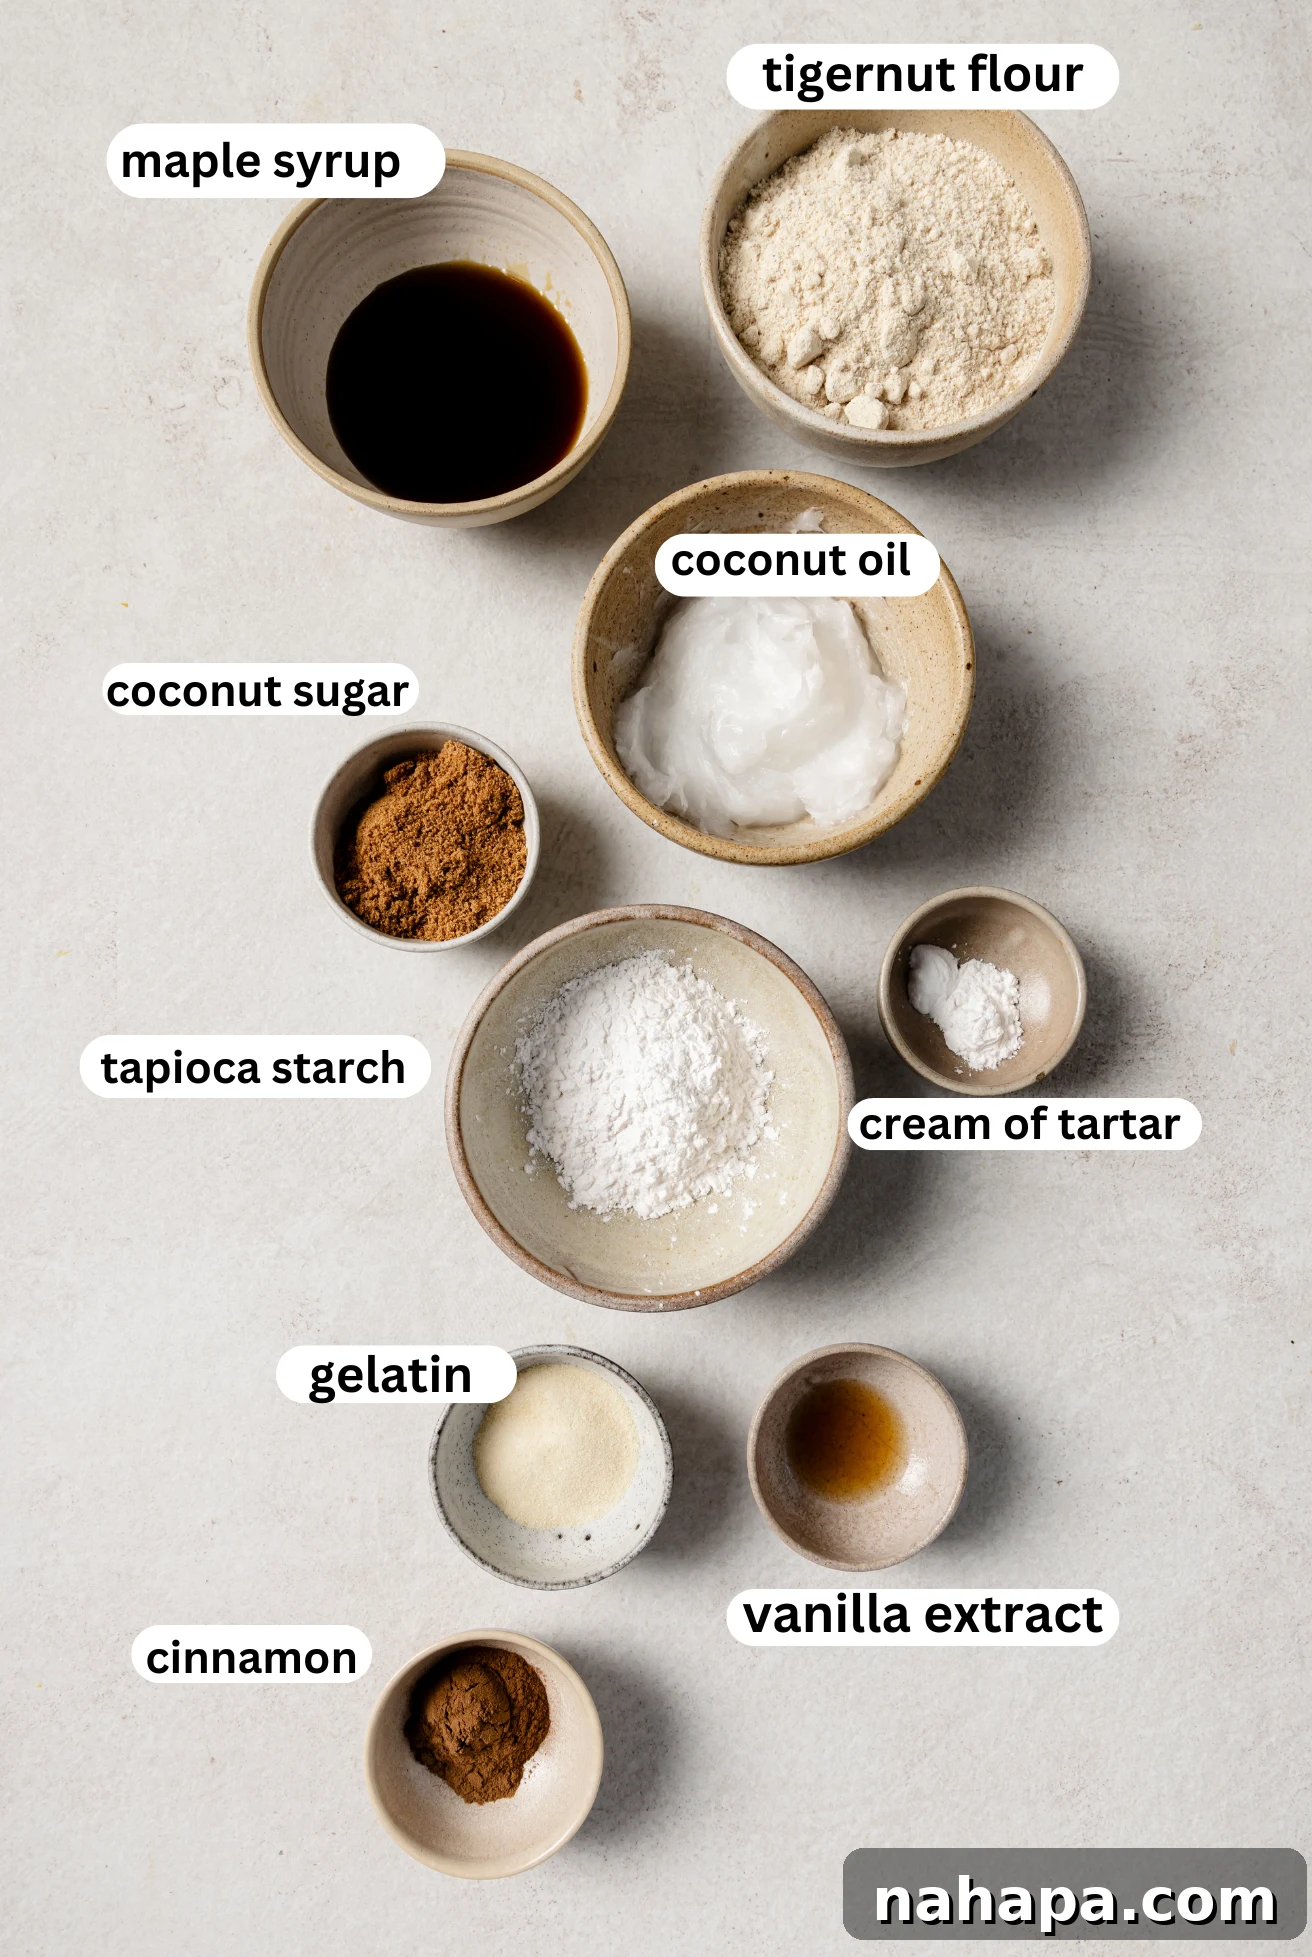
- Tigernut Flour: This remarkable ingredient is the cornerstone of our grain-free and nut-free snickerdoodles. Despite its name, tigernut flour is not derived from nuts but from small root vegetables, making it an excellent allergen-friendly alternative. It imparts a naturally sweet, slightly earthy flavor and contributes significantly to the soft, chewy texture that defines a perfect cookie. Its high fiber content also makes these cookies more satisfying.
- Tapioca Starch: A crucial component for achieving that light, tender crumb. Tapioca starch works in tandem with tigernut flour to create a balanced structure, preventing the cookies from becoming too dense. It helps bind the ingredients and contributes to the delightful chewiness without adding any unwanted flavors.
- Gelatin: In this recipe, we utilize dry gelatin, not a pre-mixed gelatin “egg.” Gelatin acts as a powerful binder and helps create the desired structure and elasticity in the dough, especially important in egg-free baking. It’s vital to use dry gelatin as specified, as substituting with a liquid egg replacer or a gelatin egg would introduce too much moisture, altering the cookie’s delicate balance. Quality gelatin also offers gut-supportive benefits, aligning with the AIP philosophy.
- Cream of Tartar: This is the star ingredient that gives Snickerdoodles their distinctive, signature tangy flavor. Beyond taste, cream of tartar also plays a critical role in the chemical leavening process, reacting with baking soda to create the soft, puffy texture and slightly crinkled tops that are characteristic of these beloved cookies. It’s non-negotiable for an authentic Snickerdoodle experience.
- Maple Syrup & Coconut Sugar: These natural sweeteners provide the perfect level of sweetness while adhering to AIP guidelines. Maple syrup offers a rich, subtle flavor and moisture, while coconut sugar contributes a deeper caramel-like note and the granular texture needed for the cinnamon sugar coating. Using these unrefined options makes for a healthier indulgence.
- Coconut Oil: As our dairy-free fat source, softened coconut oil helps achieve the ideal cookie consistency. It blends seamlessly with the other ingredients, contributing to a rich mouthfeel without any dairy. Ensuring it’s softened, not melted, is key for proper dough formation.
- Vanilla Extract: Essential for rounding out the flavors, vanilla adds a warm, aromatic depth that complements the cinnamon beautifully.
- Cinnamon: The heart of any Snickerdoodle! High-quality ground cinnamon, used both in the dough and generously in the sugar coating, provides the iconic spice profile.
Smart Substitutions for Dietary Needs
- Baking Powder (Cream of Tartar Alternative): If you find yourself without cream of tartar, you can substitute it with baking powder. For this swap, omit both the cream of tartar AND the baking soda called for in the recipe, and instead use the equivalent amount of baking powder. Be mindful that many commercial baking powders contain cornstarch. If you are strictly grain-free, seek out a corn-free baking powder to maintain the integrity of your grain-free cookie. This will still provide the necessary lift, though the signature tang might be slightly less pronounced.
Step-by-Step: How to Make Snickerdoodle Cookies
Follow these straightforward steps, complete with visual aids, to create your perfect batch of gluten-free Snickerdoodle cookies. Detailed instructions, including exact measurements and temperatures, are available in the recipe card below.
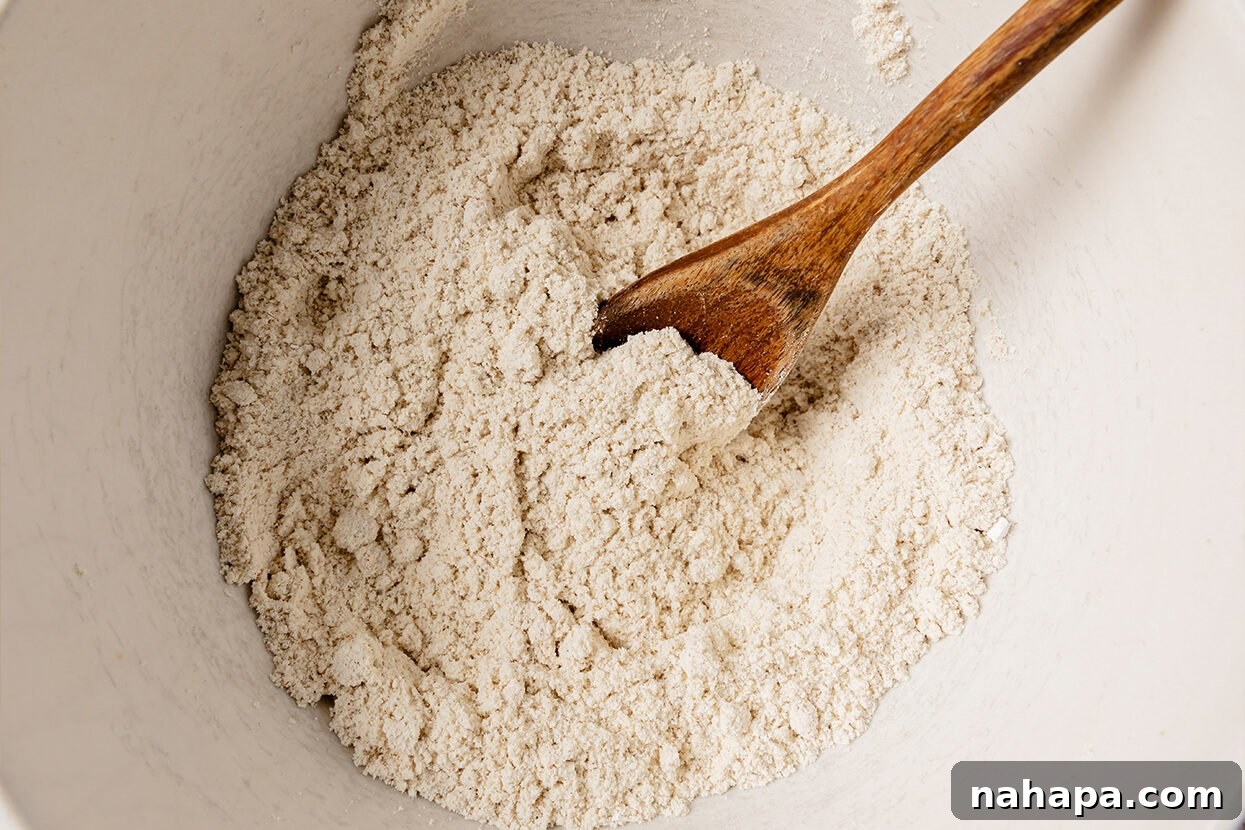
Step One: Combine Dry Ingredients. In a spacious mixing bowl, carefully sift together the tigernut flour, tapioca starch, baking soda, cream of tartar, and gelatin. Sifting is a crucial step here; it ensures all ingredients are uniformly distributed and helps prevent lumps, leading to a consistently smooth dough and ultimately, a lighter, more evenly textured cookie. This also aerates the flour, which is beneficial for the final texture.
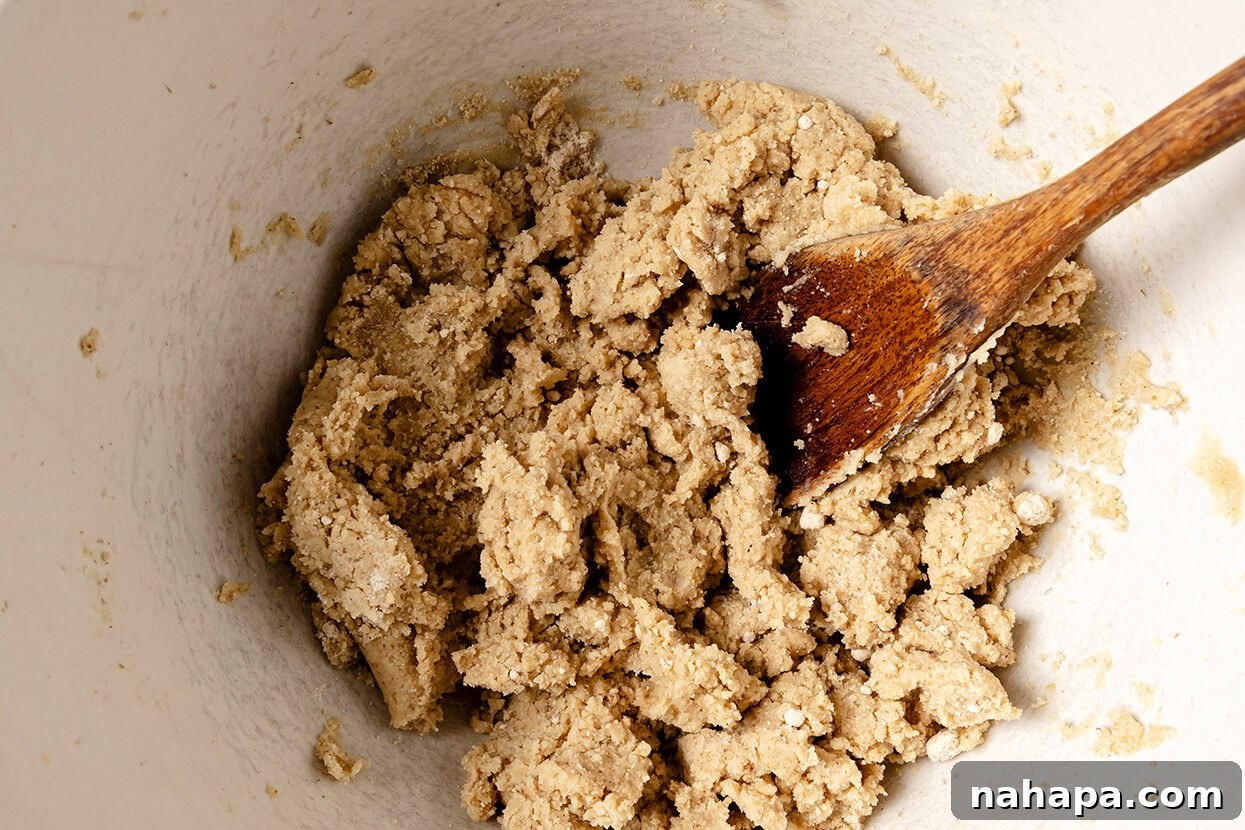
Step Two: Integrate Wet Ingredients. Add the vanilla extract, maple syrup, and softened coconut oil directly into the dry ingredient mixture. Stir vigorously until all ingredients are thoroughly combined and a cohesive dough forms. Ensure there are no dry pockets of flour remaining. The dough should be soft but manageable, not sticky. Avoid overmixing, as this can toughen the cookies.
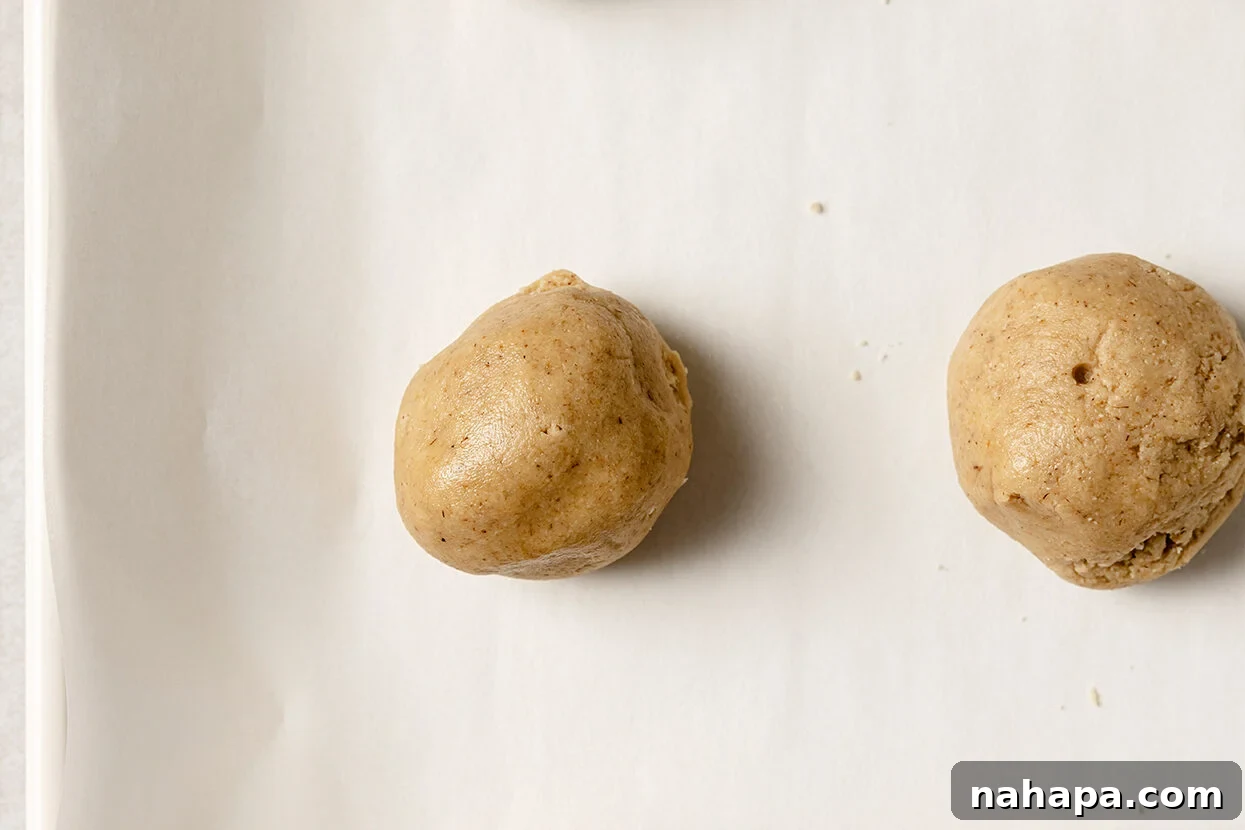
Step Three: Form the Cookie Balls. Divide the dough and roll it into 7-8 small, uniform balls. Aim for consistency in size to ensure all cookies bake evenly. A cookie scoop (see tips below) is highly recommended for this step to achieve perfectly round and consistent cookies. If the dough feels too soft to handle, chill it in the refrigerator for 15-20 minutes.
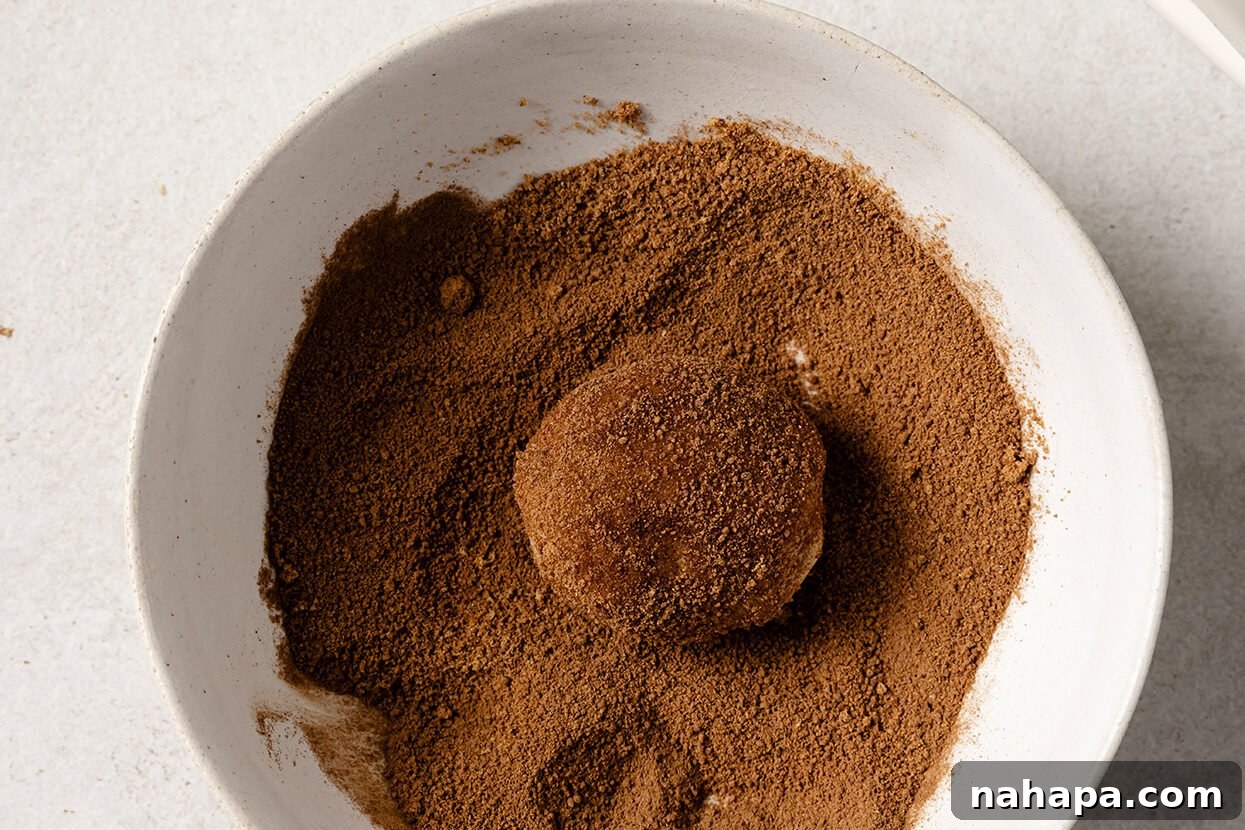
Step Four: Coat with Cinnamon Sugar. In a separate small bowl or shallow plate, prepare your cinnamon-sugar mixture. Gently roll each dough ball in this aromatic coating until it’s lightly but completely covered. Ensure an even coating on all sides for that quintessential Snickerdoodle crunch and flavor. This step is key to both the taste and the characteristic crinkled appearance.
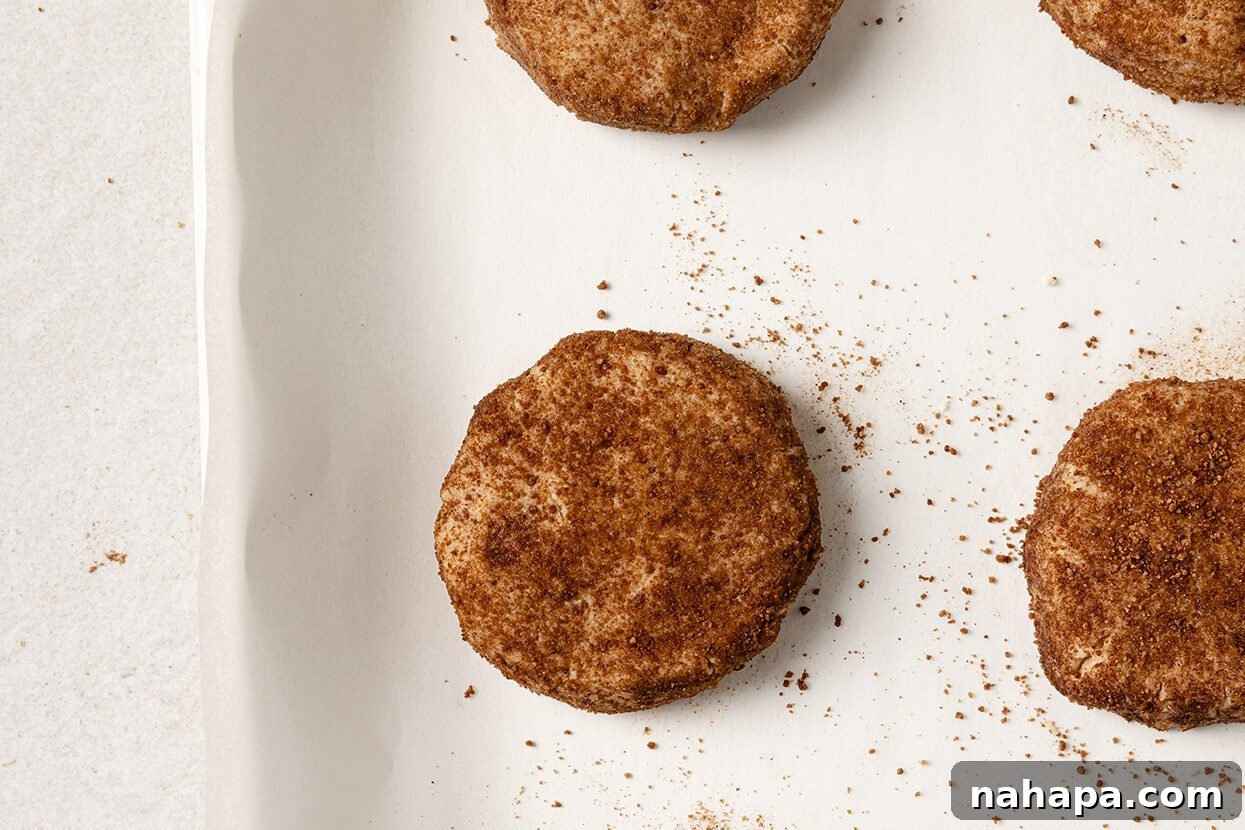
Step Five: Prepare for Baking. Place the coated dough balls onto your prepared baking sheet (lined with parchment paper). Use the palm of your hand or the bottom of a glass to lightly press each ball down into a cookie shape. This slight flattening helps them spread into the classic Snickerdoodle form during baking. Ensure adequate spacing between cookies to prevent them from merging as they bake.
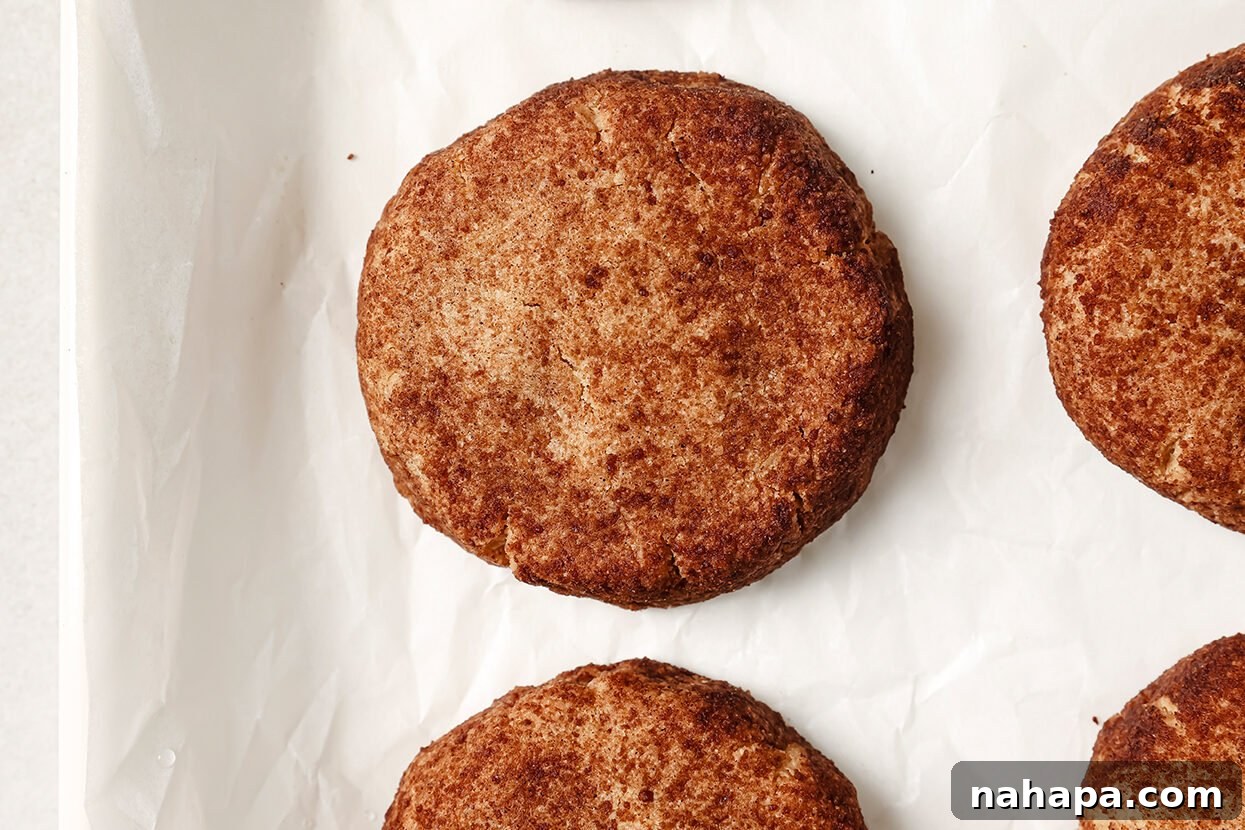
Step Six: Bake and Cool. Bake in your preheated oven at 375°F (190°C) for 10-12 minutes, or until the edges are lightly golden and the centers are set but still soft. Overbaking can lead to dry cookies. Once baked, remove the tray from the oven and allow the cookies to cool completely on the baking sheet or transfer them to a wire rack. This cooling period is vital, as it allows the cookies to firm up and prevents them from breaking. Enjoy immediately, or store them as directed.
Essential Tips & Tricks for Baking Success
- Embrace the Cookie Scoop: For consistently sized and perfectly round cookies, a cookie scoop is an indispensable tool. Not only does it make the dough-portioning process quicker and cleaner, but uniform cookies also bake more evenly, preventing some from being undercooked while others are overbaked. This small investment pays off significantly for any baker, and its utility extends far beyond cookies, making it perfect for recipes like my sweet potato chicken poppers or honey garlic meatballs.
- Master the Spoon Method for Flour Measurement: When measuring flours like tigernut, which can be prone to clumping or compacting, the “spoon and level” method is your best friend. Instead of scooping your measuring cup directly into the flour bag (which can pack it too densely and lead to excess flour), spoon the flour into your measuring cup until it overflows. Then, use a straight edge (like a knife or the back of another spoon) to level off the excess. This technique ensures accuracy, prevents a dry or crumbly dough, and helps you identify any large clumps of tigernut flour that might need extra sifting or breaking up.
- Ensure Softened Coconut Oil: The consistency of your coconut oil is critical. It should be softened to a spreadable, butter-like texture, not fully melted or hard. If it’s too solid, it won’t incorporate properly; if it’s liquid, it can make the dough too wet and greasy, affecting the final texture of your cookies. You can achieve this by leaving it at room temperature for an hour or gently warming it for a few seconds if necessary.
- Don’t Overmix the Dough: Once the wet and dry ingredients are combined, mix just until a cohesive dough forms. Overmixing can develop any gluten-like proteins in the flours (though less of an issue with grain-free flours, it’s still a good habit), and it can also incorporate too much air, leading to a tougher cookie.
- Cool Completely for Best Results: It’s tempting to dive into warm cookies, but allowing them to cool completely on a wire rack is essential. This allows the cookies to set properly, firm up, and achieve their ideal chewy-soft texture. Warm cookies are more fragile and prone to breaking.
- Storage Solutions: These Snickerdoodles store wonderfully. Keep them in an airtight container in the refrigerator for up to 5-7 days. For longer storage, you can freeze them for up to 3 months. Thaw at room temperature or gently warm them in the oven for a freshly baked feel.
Snickerdoodle Recipe FAQs
While many gluten-free Snickerdoodle recipes successfully use almond flour, this particular recipe has been meticulously developed and tested specifically with tigernut flour to ensure it meets the AIP (Autoimmune Protocol) guidelines, which exclude nuts. Tigernut flour has unique properties, including a higher fiber content and different moisture absorption compared to almond flour. Therefore, substituting almond flour directly into this recipe without adjusting other liquid and dry ratios would likely yield a different texture and consistency. If you’re looking for an almond flour-based Snickerdoodle, I recommend finding a recipe specifically formulated for it, or be prepared to experiment with adjustments to achieve the best results.
The charming and whimsical name “Snickerdoodle” has a delightful origin, though it’s not entirely clear-cut! One popular theory traces its roots back to German-American immigrant communities in the 19th century. It’s believed to be loosely derived from the German word “Schneckennudeln,” which translates to “snail noodles” or “crinkly noodles,” a reference to certain German pastries. Over time, the name likely morphed and was Americanized into “Snickerdoodle,” perhaps inspired by the cookies’ signature crinkled, sugary tops that resemble these “crinkly” forms. The name perfectly captures the playful and unique character of these beloved cinnamon-sugar cookies.
To maintain their freshness and soft texture, store these gluten-free and AIP-friendly Snickerdoodles in an airtight container. They will keep well in the refrigerator for up to 5-7 days. If you’re looking to enjoy them for a longer period, they freeze beautifully! Simply place the cooled cookies in a single layer on a baking sheet to flash freeze for about an hour, then transfer them to a freezer-safe bag or container. They can be frozen for up to 3 months. When ready to enjoy, let them thaw at room temperature or gently warm them in a low oven for a few minutes.
Cookie spread can be influenced by several factors. If your cookies spread too much, it could be due to your coconut oil being too warm or melted, too little flour, or your oven temperature being too low. Ensure your coconut oil is softened, not liquid, and accurately measure your flour using the spoon-and-level method. Chilling the dough for 15-30 minutes before baking can also help prevent excessive spreading. If they didn’t spread enough, the dough might have been too cold, too much flour was used, or your oven was too hot. Always check your oven’s calibration with an oven thermometer for accurate temperatures.
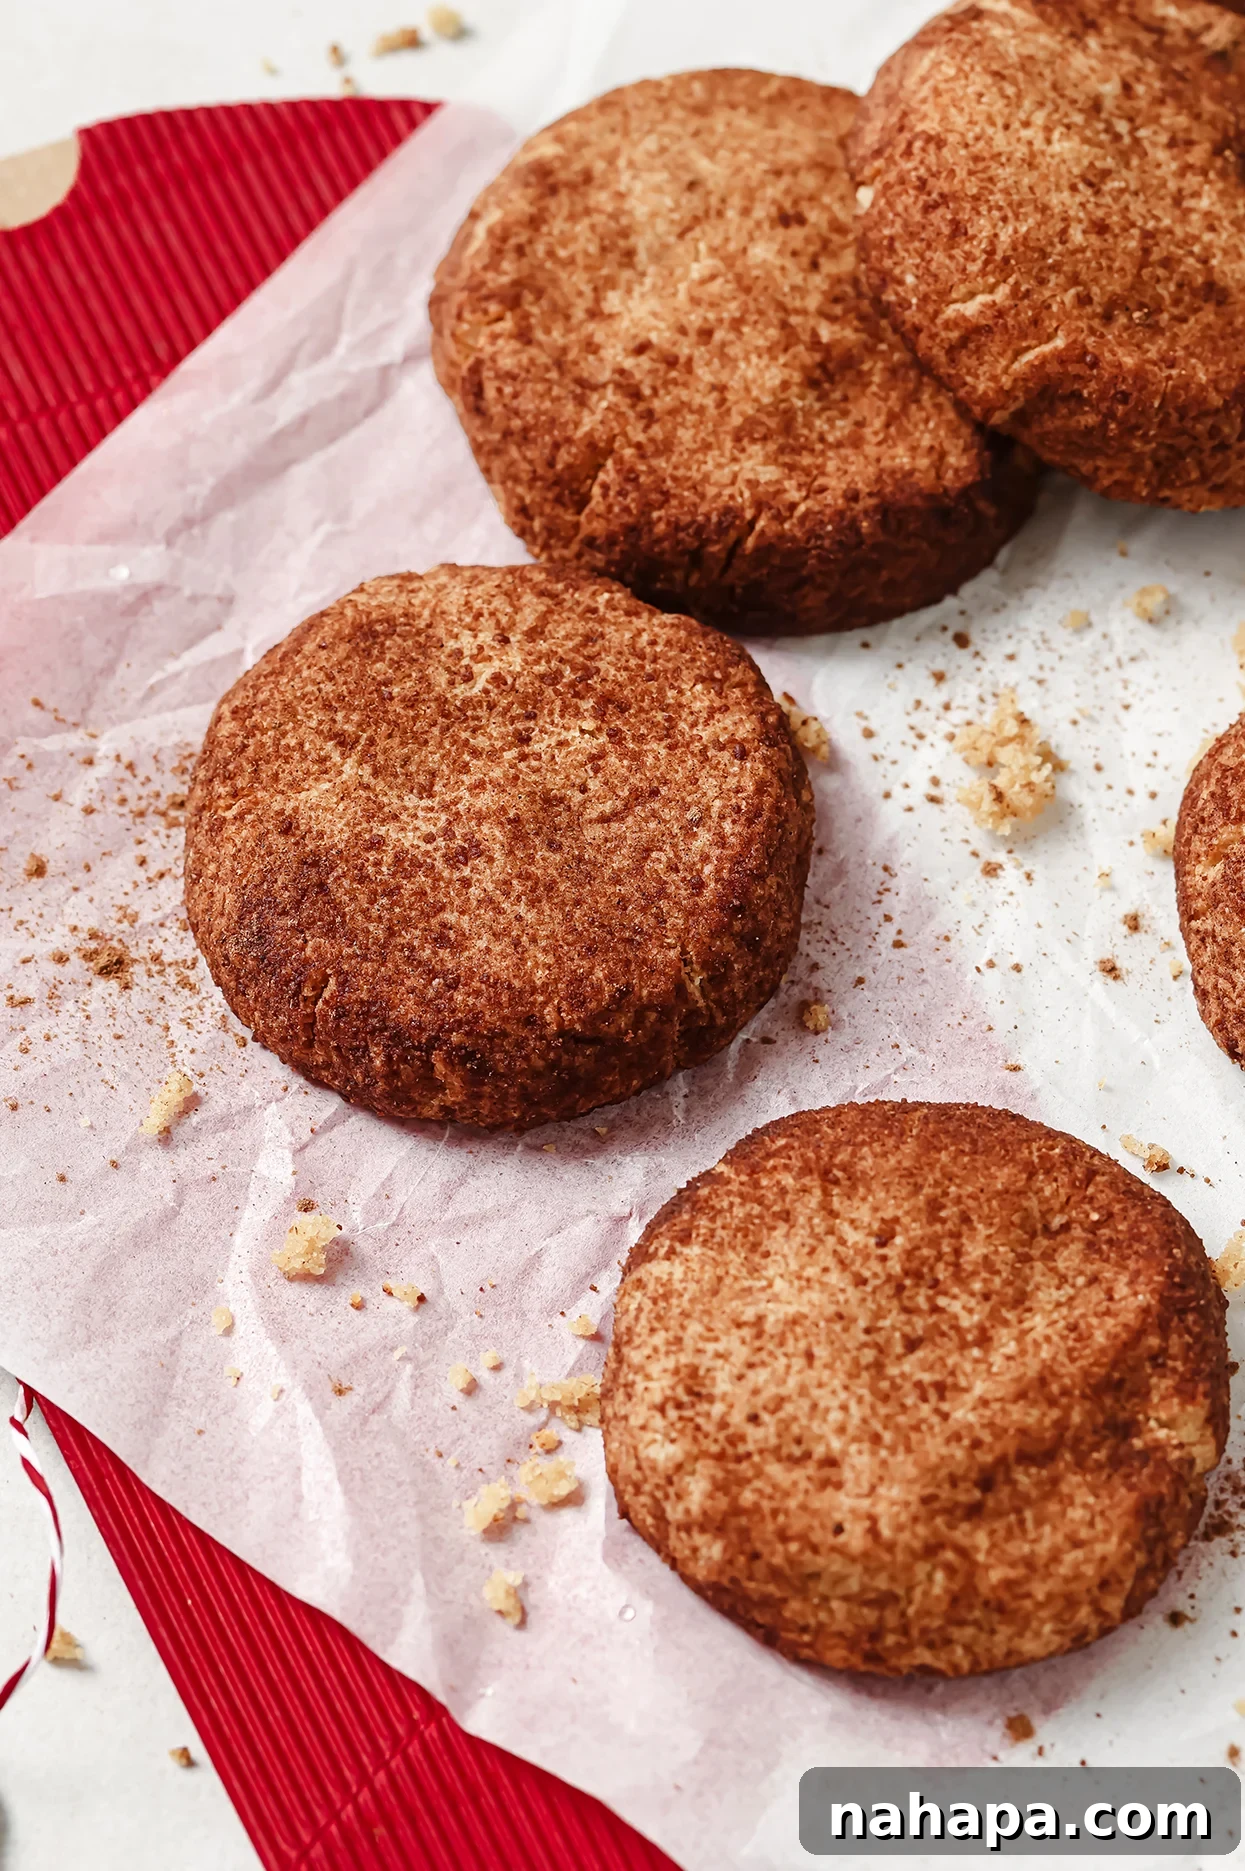
More Gluten-Free Cookie Recipes to Explore
If you’ve fallen in love with these gluten-free Snickerdoodles, you’ll be thrilled to discover more delicious and diet-friendly treats from my kitchen. Here are some other favorites that cater to similar dietary needs, perfect for expanding your repertoire of healthier baked goods:
- Pumpkin Snickerdoodles: A seasonal twist on the classic, infusing the warm flavors of pumpkin pie spice.
- Caramel Apple Cookies: Soft, chewy cookies featuring the delightful combination of apples and a hint of caramel.
- Gingersnap Cookies: Spicy, crisp, and wonderfully aromatic, these are perfect for ginger lovers.
- Apple Cinnamon Sugar Donut Holes: A bite-sized delight that captures the essence of apple cider donuts.
- Snickerdoodle Latte: While not a cookie, this beverage brings the comforting flavors of Snickerdoodles into your mug.
If you tried these Gluten Free Snickerdoodles or any other recipe on my blog, please consider leaving a 🌟 star rating and sharing your experience in the 📝 comments below. Your feedback is incredibly valuable and helps other bakers in our community. Thank you for visiting and happy baking!
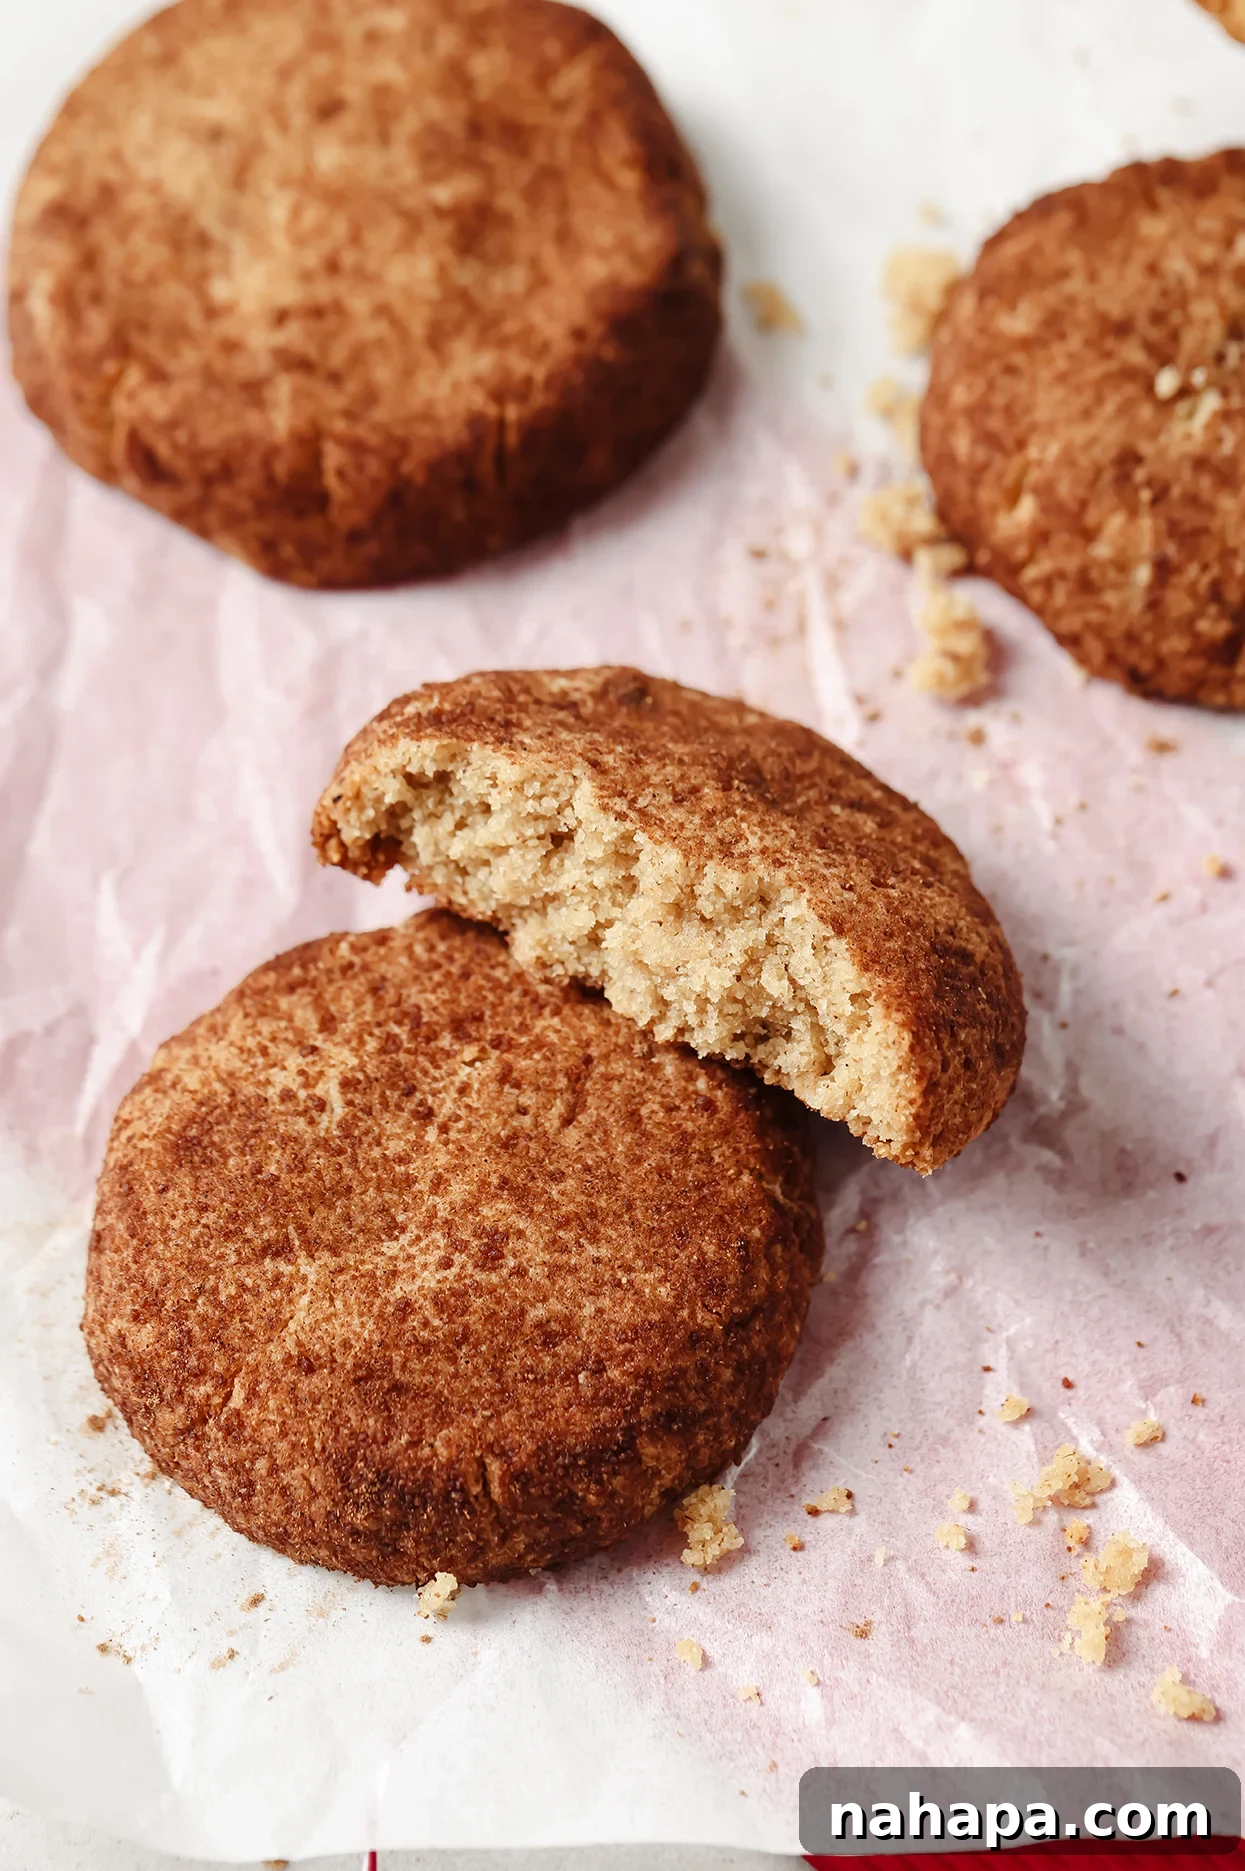
Gluten-Free Snickerdoodle Cookies
7
cookies
10 minutes
10 minutes
Michelle
Leave a Review
Pin Recipe
Want to save this for later?
Just drop your name and email below. Then we’ll email it right to your inbox. ✉️
Ingredients
- 1 cup tigernut flour
- ¼ cup tapioca starch
- 1 tbsp gelatin
- ⅛ tsp baking soda
- ½ tsp cream of tartar
- ¼ cup maple syrup
- ⅓ cup coconut oil, softened
- ½ tsp vanilla extract
- 2 tsp cinnamon
- 2 tbsp coconut sugar
Instructions
-
Preheat the oven to 375°F (190°C) and line a baking sheet with parchment paper.
-
In a large bowl, sift together the tigernut flour, tapioca starch, baking soda, cream of tartar, and gelatin until thoroughly combined and free of lumps.
-
Add vanilla extract, maple syrup, and softened coconut oil to the dry ingredients. Stir well using a spatula or spoon until a uniform, soft dough forms. Do not overmix.
-
In a small, shallow bowl or plate, combine the cinnamon and coconut sugar for the coating. Set this mixture aside.
-
Roll the dough into 7-8 small, even-sized balls. Roll each dough ball in the prepared cinnamon-sugar mixture until it is lightly but completely coated on all sides. Place the coated dough balls onto the parchment-lined baking sheet, ensuring even spacing. Gently press each ball down with your hand or the bottom of a glass to slightly flatten them into cookie shapes.
-
Bake in the preheated oven for 10-12 minutes, or until the edges are just set and lightly golden. The centers should still look slightly soft. Remove from the oven and allow the cookies to cool completely on the baking sheet or transfer to a wire rack. This step is crucial for the cookies to firm up.
-
Once fully cooled, store the cookies in an airtight container in the refrigerator, or enjoy them immediately!
Notes
I recommend spooning your flour into the measuring cups rather than scooping your measuring cup into the bag. This is especially helpful for tigernut flour as it can often clump, and this will help you identify clumps.
Calories: 196kcal,
Carbohydrates: 18.7g,
Protein: 2g,
Fat: 14.3g,
Fiber: 5.7g
Did you Make this Recipe?
Tag @unboundwellness on Instagram and hashtag #unboundwellness!