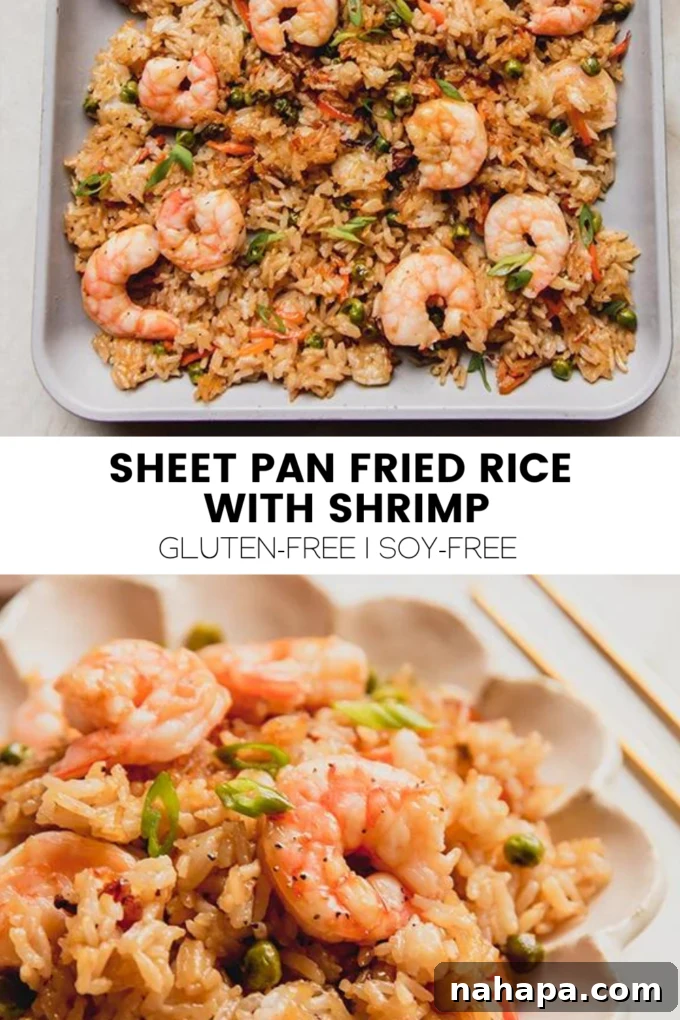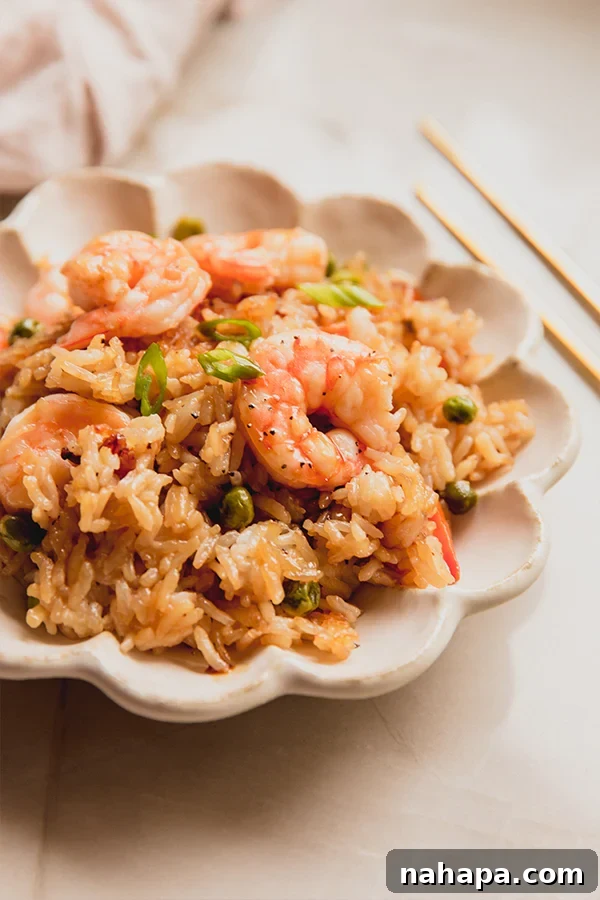
Transform your weeknight dinner routine with this incredibly simple and outrageously delicious Sheet Pan Shrimp Fried Rice! Forget the constant stirring and multiple pans often associated with traditional fried rice; this ingenious method utilizes the power of your oven to deliver perfectly crispy rice and succulent shrimp with minimal effort. It’s a game-changer for busy individuals and families seeking a wholesome, flavorful meal without the fuss. Prepare to fall in love with the crispy edges and vibrant flavors that make this dish an instant family favorite.
Fried rice has long been a cherished staple in many households, celebrated for its versatility and comforting appeal. However, the traditional stovetop method, while rewarding, often demands active participation and precise timing. Enter the revolutionary concept of sheet pan “fried” rice! This innovative approach takes the ease of classic fried rice to an entirely new level, allowing your oven to do most of the work. The result? A dish that boasts all the delightful flavors and textures of pan-fried rice, including those coveted crispy bits, but with significantly less time spent hovering over the stove. We’ve streamlined the process even further by incorporating pre-chopped vegetables, ensuring that clean-up is as effortless as the cooking itself. You’ll primarily need to wash just one sheet pan – a dream come true for anyone tired of a sink full of dishes after dinner.
Our specific rendition features juicy shrimp as a lean and quick-cooking protein, complemented by an abundance of colorful, fiber-rich vegetables. Beyond its incredible convenience and taste, this recipe is thoughtfully crafted to be gluten-free and soy-free, making it an excellent option for those with dietary sensitivities or anyone looking to enjoy a lighter, healthier version of this takeout classic. It’s a testament to how simple ingredients, when prepared ingeniously, can yield extraordinary results.
Why You’ll Adore This Sheet Pan Shrimp Fried Rice
This isn’t just another fried rice recipe; it’s a culinary revelation designed for modern living. Here’s why this sheet pan version will quickly become a cherished part of your meal rotation:
- Effortless Preparation and Cleanup: The beauty of sheet pan cooking lies in its simplicity. All ingredients, except for the shrimp initially, are combined and spread onto a single baking sheet. This drastically reduces the hands-on time, allowing you to multitask or simply relax while your meal bakes to perfection. With just one main pan to wash, post-dinner cleanup is an absolute breeze.
- Achieve Perfectly Crispy Edges: One of the most beloved aspects of authentic fried rice is the slightly browned, crispy texture. The dry heat of the oven, especially when using pre-cooked, cooled rice, excels at creating these desirable crispy edges without the need for constant stirring or a perfectly seasoned wok.
- Packed with Nutrient-Rich Vegetables: This recipe is a fantastic way to boost your daily vegetable intake. We’ve thoughtfully included a colorful medley of peas, carrots, garlic, and ginger, which contribute essential vitamins, minerals, and fiber. Feel free to customize with your favorite veggies for even more nutritional benefits.
- Simple and Fast Protein Cooking: Shrimp is already renowned for its rapid cooking time, but the sheet pan method makes it even easier. Added directly to the pan with the rice, the shrimp cooks quickly and evenly, absorbing all the delicious flavors of the fried rice seasoning. No separate searing or sautéing required!
- Naturally Gluten-Free and Soy-Free: By using coconut aminos instead of traditional soy sauce, this recipe offers a fantastic, flavor-rich alternative that’s suitable for those avoiding gluten and soy. It doesn’t compromise on the authentic taste you expect from fried rice.
- Customizable for Any Palate: Whether you want to add more heat, different vegetables, or even a different protein, this recipe serves as a versatile base. It’s easy to adjust to suit individual tastes and dietary requirements, making it a truly flexible meal solution.
- Ideal for Meal Prep: This sheet pan fried rice is excellent for meal prepping. Cook a larger batch, portion it out, and enjoy delicious, homemade meals throughout the week. It reheats beautifully, retaining much of its flavor and texture.
The Core Ingredients for Exceptional Sheet Pan Fried Rice
Crafting the perfect sheet pan fried rice starts with a selection of high-quality ingredients. Each component plays a crucial role in developing the signature flavors and textures that make this dish so satisfying. Here’s a closer look at what you’ll need:
- Cooked Jasmine Rice: This is arguably the most critical ingredient for achieving that desired crispy texture. The key is to use rice that has been previously cooked and thoroughly cooled, ideally refrigerated overnight. Warm or freshly cooked rice tends to steam rather than crisp in the oven, leading to a softer, stickier result. Jasmine rice offers a delicate fragrance and a pleasant chewiness that works wonderfully in this dish, though other long-grain white rices or even brown rice can be used.
- Peas, Carrots, Garlic, and Ginger: This classic combination forms the aromatic and vibrant vegetable base of our fried rice. Frozen mixed peas and carrots are a convenient choice, saving you prep time – just make sure they are defrosted before mixing. Freshly grated garlic and ginger are non-negotiable for their pungent, warming flavors that define authentic fried rice. These ingredients not only add incredible taste but also essential nutrients.
- Rice Vinegar and Coconut Aminos: These two liquids are central to the distinctive umami and slightly tangy profile of the dish. Coconut aminos serve as a fantastic soy-free alternative to traditional soy sauce, providing a similar savory depth with a hint of sweetness. Rice vinegar adds a subtle acidity that brightens the overall flavor and balances the richness.
- Shrimp: As our star protein, shrimp is chosen for its delicate flavor, quick cooking time, and lean nutritional profile. For maximum convenience, we recommend using peeled and deveined shrimp, which saves valuable prep time. Adding them whole ensures juicy, tender results without any extra chopping.
- Avocado Oil: A neutral-flavored oil with a high smoke point, avocado oil is perfect for this recipe. It helps to coat the rice and vegetables, promoting even crisping and preventing sticking to the parchment paper. Divided usage ensures both the rice and shrimp are perfectly seasoned and coated.
- Coconut Sugar: A touch of coconut sugar adds a subtle sweetness that balances the savory and tangy notes, mimicking the complexity often found in traditional fried rice. It’s a great unrefined sugar option.
- Salt and Pepper: Essential seasonings to enhance all the natural flavors of the ingredients.
- Green Onion (Garnish): Sliced green onions provide a fresh, pungent finish and a pop of color, adding another layer of flavor and texture to the cooked dish.
Crafting Your Sheet Pan Shrimp Fried Rice: A Step-by-Step Guide
Making this delectable sheet pan fried rice is simpler than you might imagine. Follow these detailed steps to achieve a perfectly crispy, flavorful, and satisfying meal every time.
- Prepare Your Workspace and Preheat the Oven: Begin by preheating your oven to a robust 425°F (220°C). This high heat is crucial for achieving the desired crispy texture. While the oven heats, line a large, sturdy baking sheet with parchment paper. Lightly grease the parchment paper with a bit of avocado oil to prevent any sticking and aid in the crisping process. Ensure your sheet pan isn’t overcrowded; if you’re making a larger batch, use two pans to allow enough space for the ingredients to roast rather than steam.
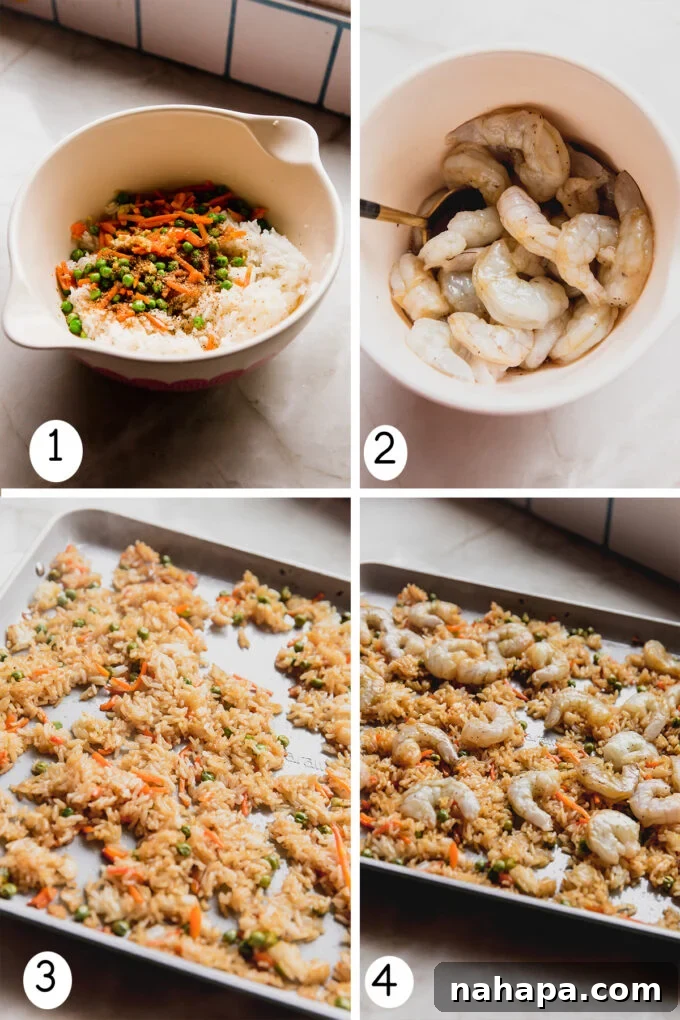
- Combine the Rice and Vegetable Mixture: In a large mixing bowl, combine your cooled jasmine rice, defrosted peas and carrots, 3 tablespoons of coconut aminos, rice vinegar, coconut sugar, grated garlic, grated ginger, and 1 1/2 tablespoons of avocado oil. Season generously with salt and pepper to taste. Using a spatula or your hands, toss all the ingredients together thoroughly until the rice and vegetables are evenly coated with the seasonings and oil. The goal is to ensure every grain of rice has a chance to crisp up.
- First Bake for the Rice: Carefully transfer the seasoned rice mixture onto the prepared baking sheet. Spread it out into a single, even layer. This even distribution is key to uniform cooking and crisping. Avoid piling the rice too high, as this will prevent it from achieving those coveted crispy edges. Place the baking sheet into the preheated oven and bake for 15-18 minutes. Keep an eye on it – you’re looking for the rice to start becoming visibly crisp and lightly browned. Remove the sheet pan from the oven once it reaches this stage.
- Prepare the Shrimp: While the rice is busy crisping in the oven during its first bake, prepare your shrimp. In a separate medium bowl, add the peeled and deveined shrimp. Toss them with a pinch of salt and pepper, the remaining 1/2 tablespoon of coconut aminos, and the remaining 1/2 tablespoon of avocado oil. Ensure each shrimp is well coated, as this seasoning will infuse them with flavor as they cook.
- Second Bake with Shrimp: Once the rice has completed its initial bake, take the sheet pan out of the oven. Add the seasoned shrimp directly to the baking sheet, nestling them among the rice and vegetables. Try to arrange them in a single layer so they cook evenly. Return the sheet pan to the oven and continue baking for another 10 minutes, or until the shrimp turn opaque pink and are thoroughly cooked through. Be careful not to overcook the shrimp, as they can become rubbery.
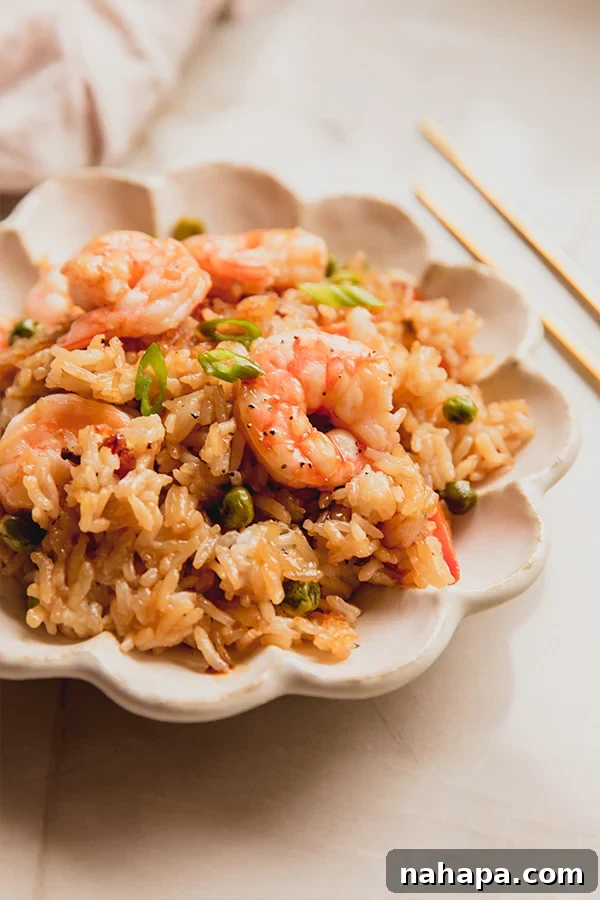
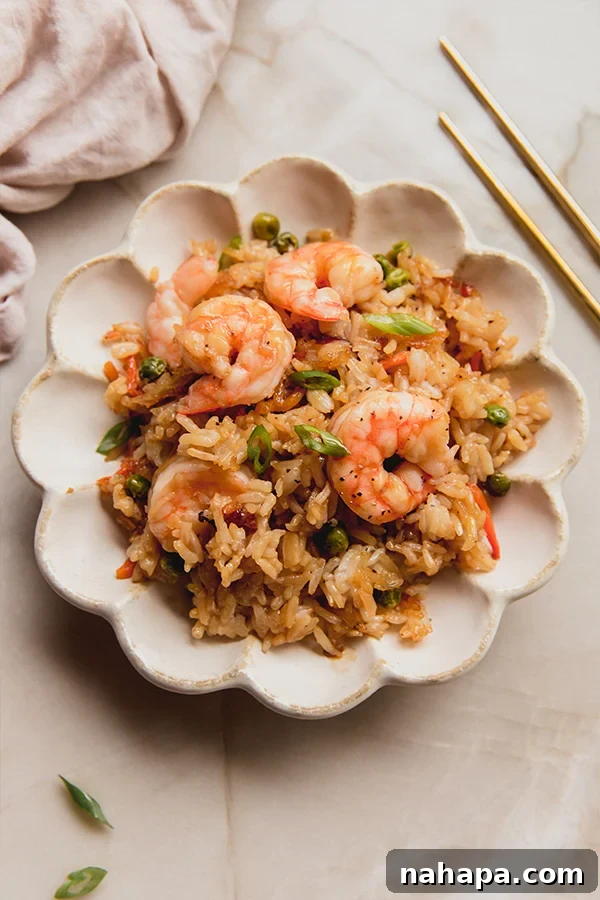
- Serve and Garnish: Carefully remove the sheet pan from the oven. The shrimp should be perfectly cooked, and the rice should have delightful crispy bits throughout. Divide the sheet pan shrimp fried rice among serving plates. For a final flourish and a burst of fresh flavor, generously top each serving with freshly sliced green onion. Serve immediately and savor every bite of this quick, easy, and incredibly flavorful homemade fried rice!
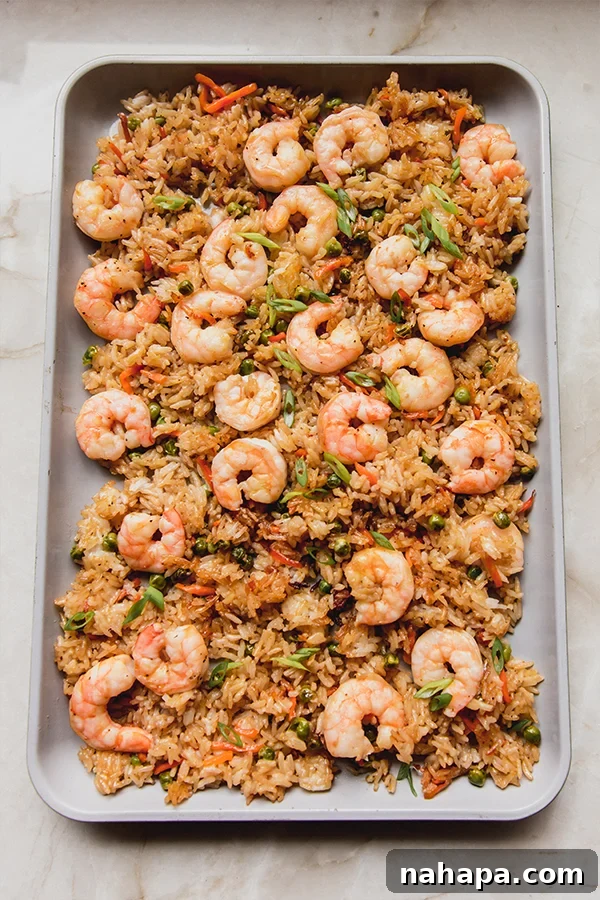
Expert Tips & Tricks for the Perfect Sheet Pan Fried Rice
Achieving takeout-quality fried rice at home, especially with a simplified sheet pan method, is easily within reach with a few key considerations. Here are some expert tips to ensure your dish is absolutely perfect:
- Always Use Cold, Day-Old Rice: This is the golden rule for crispy fried rice, whether on a stovetop or a sheet pan. Freshly cooked, warm rice has a high moisture content, which will result in a soggy, steamed texture when baked. Using rice that has been cooked and cooled (ideally refrigerated overnight) allows the grains to dry out slightly, promoting a beautiful crispiness. Spread warm rice on a baking sheet to cool faster if you’re short on time.
- Don’t Overcrowd Your Sheet Pan: For optimal crisping and even cooking, ensure your ingredients are spread in a single, relatively thin layer. If the pan is too full, the ingredients will steam instead of roast, leading to a softer texture. If you’re doubling the recipe, use two separate sheet pans.
- Preheat Your Sheet Pan (Optional, for Extra Crispiness): For an even crispier bottom layer of rice, you can preheat your empty, parchment-lined sheet pan in the oven for about 5-10 minutes before adding the rice mixture. Be careful when handling the hot pan!
- Chop Veggies Evenly: Uniformly chopped vegetables will cook at the same rate. This prevents some vegetables from being undercooked while others are overcooked. Pre-chopped frozen mixes are a great shortcut.
- Customize Your Vegetables: While peas and carrots are classic, feel free to add other quick-cooking vegetables. Chopped broccoli florets, thinly sliced bell peppers, mushrooms, or even cauliflower rice can be wonderful additions. Add them along with the rice mixture.
- Mind Your Shrimp Cooking Time: Shrimp cooks very quickly. Adding them too early will result in tough, rubbery shrimp. The two-stage baking process ensures the rice gets a head start on crisping, and the shrimp are cooked just until pink and opaque.
- Adjust Seasoning to Taste: Taste your rice mixture before baking and adjust salt and coconut aminos as needed. Remember that flavors can become more concentrated during baking. You can always add a splash more coconut aminos or a sprinkle of salt after cooking.
- Garnish Generously: Don’t skip the green onions! They add a fresh, pungent contrast that elevates the dish. A sprinkle of sesame seeds or a drizzle of sesame oil just before serving can also enhance the authentic fried rice experience.
- Storage and Reheating: Leftovers can be stored in an airtight container in the refrigerator for up to 3-4 days. For best results when reheating, spread the fried rice on a lightly oiled sheet pan and warm in the oven, or reheat quickly in a hot pan on the stovetop to regain some crispiness.
Can You Add an Egg to This Sheet Pan Fried Rice Recipe?
Absolutely! Eggs are a quintessential component of many fried rice dishes, and incorporating them into this sheet pan version is delightfully simple. You have a couple of excellent options depending on your preferred texture:
- For Scrambled Egg Texture: Towards the end of the cooking process, when you add the shrimp back to the pan, you can quickly scramble an egg or two in a separate bowl. Then, drizzle the scrambled egg mixture directly over the rice and shrimp on the sheet pan. Gently stir it in or leave it in small puddles to set as the pan finishes baking. It will cook quickly into soft, fluffy pieces, integrating beautifully with the rice and vegetables.
- For a Fried Egg Topping: If you prefer a distinct fried egg on top of your fried rice, which offers a lovely runny yolk that can enrich the entire dish, it’s best to fry it separately in a small pan on the stovetop. This gives you more control over the doneness of the yolk and the crispiness of the edges. Once cooked to your liking, simply place it on top of each serving of sheet pan fried rice right before enjoying. This method allows for that perfect runny yolk experience without interfering with the sheet pan cooking.
More Delicious & Easy Recipes You’ll Love
If you enjoyed the simplicity and flavors of this sheet pan shrimp fried rice, you’re in for a treat! We have a collection of other easy-to-make, healthy, and family-friendly recipes that follow similar principles of minimal effort and maximum flavor. Explore these delicious options for more weeknight inspiration:
- Easy Salmon Fried Rice
- Easy Ground Beef Fried Rice
- The Easiest One Pot Baked Chicken and Rice
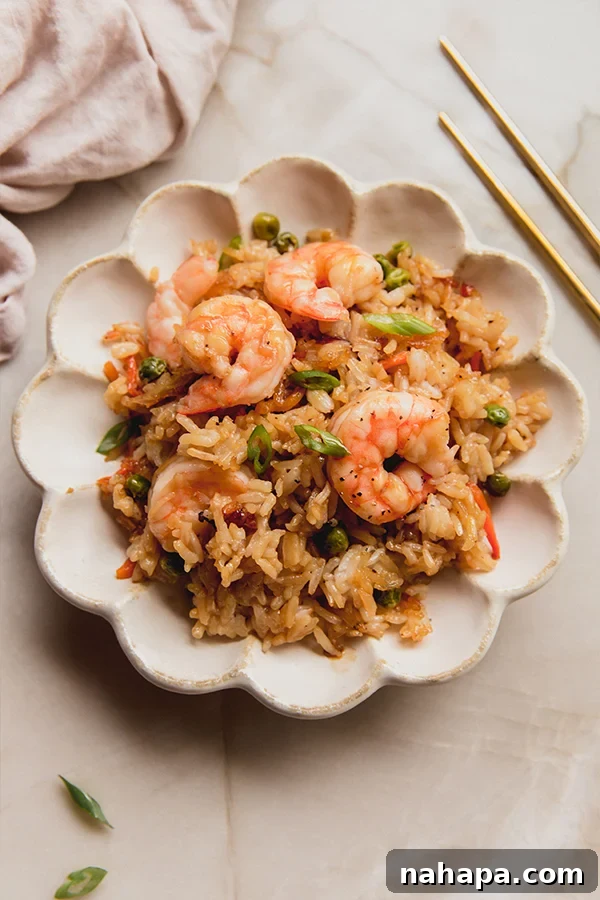
Sheet Pan Fried Rice with Shrimp
Yield: 3 servings
Prep Time: 10 mins
Cook Time: 30 mins
Total Time: 40 mins
Author: Michelle
Leave a Review
Pin Recipe
Ingredients
- 3 cups jasmine rice, cooked and cooled
- 1 cup frozen mixed peas and carrots, defrosted
- 2 tbsp avocado oil, divided
- 3 ½ tbsp coconut aminos, divided
- 1 tbsp rice vinegar
- 1 tsp coconut sugar
- Salt and pepper, to taste
- 2 cloves garlic, grated
- 1 thumb ginger, peeled and grated
- ¾ lb shrimp, peeled and deveined
- 2 tbsp green onion, sliced for garnish
Instructions
- Preheat the oven to 425°F (220°C). Line a large baking sheet with parchment paper and lightly grease it with a small amount of avocado oil.
- In a large bowl, combine the cooked and cooled jasmine rice, defrosted mixed peas and carrots, 3 tablespoons of coconut aminos, rice vinegar, coconut sugar, grated garlic, grated ginger, and 1 1/2 tablespoons of avocado oil. Season with salt and pepper. Toss thoroughly until all ingredients are well combined and coated.
- Spread the rice mixture evenly in a single layer on the prepared baking sheet. Transfer to the preheated oven and bake for 15-18 minutes, or until the rice begins to crisp and lightly brown. Remove from the oven.
- While the rice is baking, prepare the shrimp. In a separate bowl, toss the peeled and deveined shrimp with salt, pepper, the remaining 1/2 tablespoon of coconut aminos, and the remaining 1/2 tablespoon of avocado oil.
- Add the seasoned shrimp to the baking sheet, nestling them into the rice mixture in an even layer. Return the sheet pan to the oven and bake for an additional 10 minutes, or until the shrimp are opaque pink and cooked through.
- Remove the sheet pan from the oven. Serve the sheet pan shrimp fried rice immediately, garnished with fresh green onion slices. Enjoy!
Notes
- All nutrition facts are estimated and will vary based on ingredients and portion sizes.
Nutrition Facts (Estimated per serving)
Calories: 475kcal
Carbohydrates: 65.7g
Protein: 28.2g
Fat: 10.5g
Fiber: 2g
Did you Make this Recipe?
Tag @unboundwellness on Instagram and hashtag #unboundwellness!