
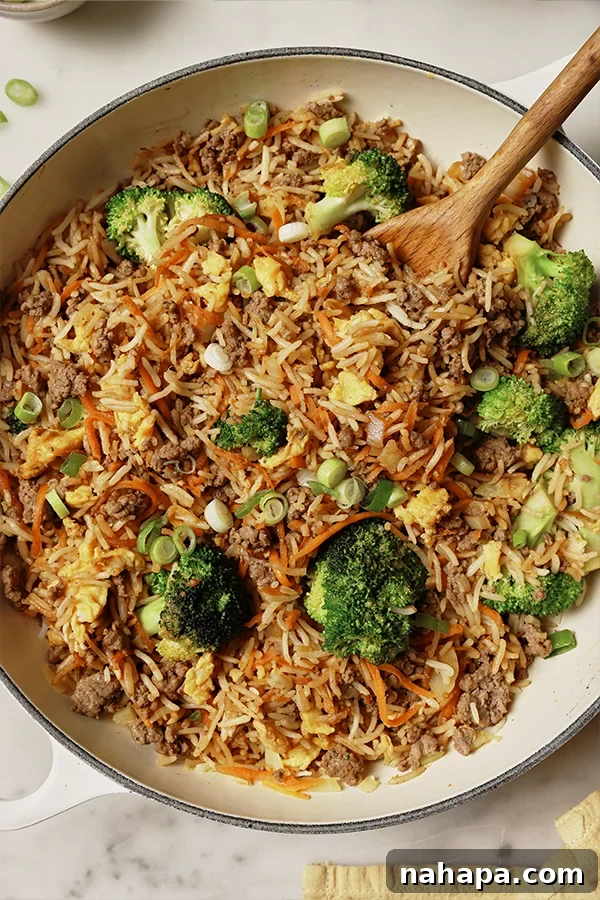
Welcome to your new favorite weeknight meal! This incredibly versatile and delicious Ground Beef Fried Rice recipe is designed for ease, affordability, and maximum flavor. Whether you’re a seasoned chef or a kitchen novice, you’ll find yourself turning to this dish again and again. It’s not just a quick fix; it’s a wholesome, customizable meal that perfectly fits a gluten-free and soy-free lifestyle, with simple adaptations available for grain-free, Paleo, and even AIP diets. Get ready to transform humble ingredients into a culinary masterpiece that the whole family will love.
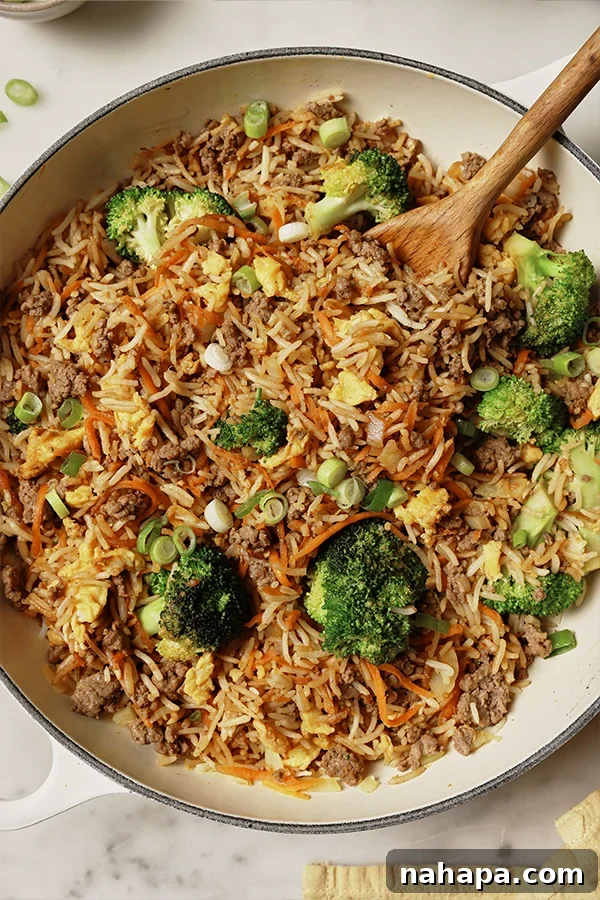
What is Ground Beef Fried Rice? The Ultimate Weeknight Solution
Ground Beef Fried Rice is a simplified yet incredibly flavorful rendition of the classic fried rice, using ground beef as its star protein. This dish is the answer to those busy weeknights when you crave something satisfying, quick, and economical without compromising on taste. Our version elevates the humble fried rice, combining savory ground beef with an aromatic blend of onion, garlic, and ginger, crisp-tender vegetables like shredded carrots and broccoli, and perfectly cooked rice. Instead of traditional soy sauce, we opt for coconut aminos, ensuring a rich umami flavor that is completely gluten and soy-free.
This recipe was born out of a desire for a delicious, budget-friendly meal that could be prepared with minimal fuss. What started as a necessity quickly became a staple due to its incredible flavor profile and adaptability. It’s a comforting dish that feels like a treat but is packed with wholesome ingredients, making it a guilt-free pleasure.
Why You’ll Fall in Love with This Recipe
There are countless reasons why this Ground Beef Fried Rice will earn a permanent spot in your recipe rotation:
- Effortlessly Quick: From prep to plate, this meal comes together in under 30 minutes, making it ideal for busy schedules.
- Budget-Friendly: Ground beef is an economical protein, and when combined with pantry staples and fresh vegetables, it creates a hearty meal that won’t break the bank.
- Dietary Inclusive: Naturally gluten and soy-free, this recipe is designed to be enjoyed by many. With simple swaps, it easily accommodates grain-free, Paleo, and Autoimmune Protocol (AIP) diets.
- Incredibly Flavorful: The combination of savory beef, fragrant aromatics, crisp vegetables, and a delicious sauce creates a symphony of tastes and textures.
- Versatile & Customizable: Don’t have broccoli? Use peas, bell peppers, or zucchini! Want more protein? Add shrimp or chicken. The possibilities are endless.
- Excellent for Meal Prep: This fried rice stores wonderfully in the fridge, making it a fantastic option for meal prepping healthy lunches or dinners throughout the week.
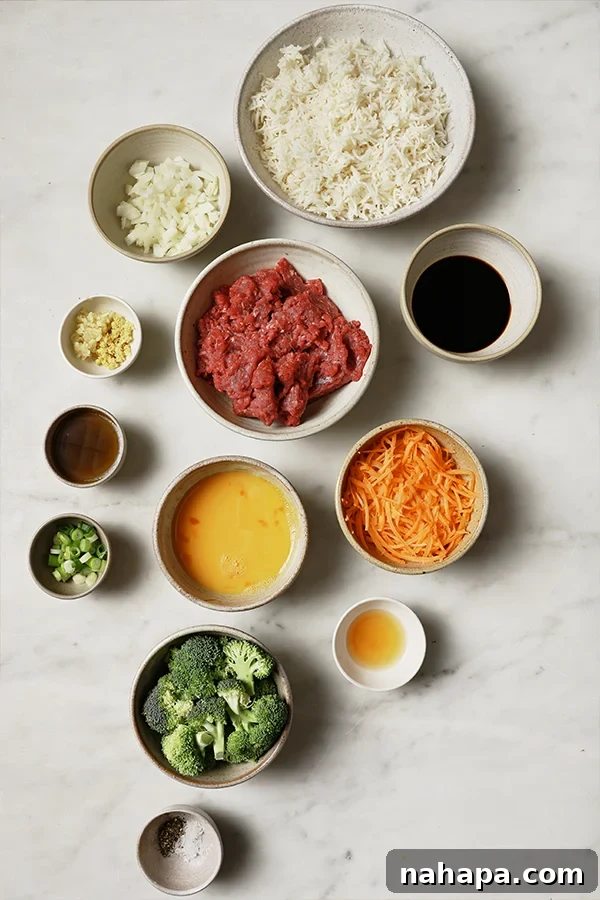
Essential Ingredients for Your Flavorful Ground Beef Fried Rice
The beauty of this recipe lies in its simple, wholesome ingredients that come together to create a truly spectacular dish. Here’s a closer look at what you’ll need and why each component is crucial:
The Heart of the Dish: Ground Beef
- Ground Beef: We recommend using quality grass-fed ground beef for its superior flavor and nutritional benefits. However, any ground beef will work perfectly. It browns beautifully and provides a satisfying, savory foundation for the fried rice.
- Salt and Pepper: Essential seasonings to enhance the natural taste of the beef and balance the overall flavor profile. (Note: Omit pepper for AIP.)
The Aromatic Base: Building Depth of Flavor
- Avocado Oil: A high smoke point oil that’s perfect for sautéing at higher temperatures, ensuring your ingredients cook evenly without burning.
- Onion, Garlic, and Ginger: This trio forms the cornerstone of nearly all great Asian-inspired dishes. Diced onion provides sweetness and texture, minced garlic adds pungent depth, and grated fresh ginger infuses a warm, zesty kick. Don’t skip these; they are vital for that authentic fried rice flavor.
The Crisp Vegetables: Adding Color and Crunch
- Shredded Carrots: Not only do they add a pop of color and natural sweetness, but using pre-shredded carrots is a fantastic shortcut that also ensures they cook quickly and evenly.
- Broccoli Florets: These add a lovely green hue, a slight bitterness that balances the dish, and a wonderful texture when cooked until tender-crisp. Feel free to use fresh or frozen.
- Other Vegetables: This recipe is incredibly flexible. Feel free to add or substitute with other quick-cooking vegetables like diced bell peppers, peas, snap peas, bok choy, zucchini, or sliced mushrooms. The key is to cut them into similar sizes for even cooking.
The Rice Factor: Texture is Everything
- White Rice (Jasmine or Basmati): Cooked and cooled rice is absolutely essential for achieving that perfect fried rice texture – slightly crispy, never mushy. Jasmine rice is traditionally preferred for its fragrance and delicate texture. (For grain-free, Paleo, or AIP, use cauliflower rice.)
The Flavor Enhancers: The Umami Difference
- Eggs: Beaten and scrambled directly in the pan, eggs add richness, protein, and a classic fried rice element. (Omit for AIP.)
- Coconut Aminos: This is your gluten-free, soy-free secret weapon! It provides a savory, slightly sweet, umami flavor that perfectly mimics soy sauce without any of the allergens.
- Apple Cider Vinegar: A touch of apple cider vinegar brightens the entire dish, adding a subtle tang that cuts through the richness and enhances the overall flavor balance.
- Green Onion: Freshly chopped green onion is the ideal garnish, providing a final touch of fresh, mild onion flavor and vibrant color.
The Secret to Perfect Fried Rice: The Importance of Day-Old Rice
Achieving that coveted crispy, non-sticky texture in your fried rice isn’t just about cooking technique; it starts with the rice itself. This is perhaps the most crucial tip for any fried rice recipe:
Why You Need Cold or Day-Old Rice
Freshly cooked rice contains a high amount of moisture. When you add hot, steamy rice directly to a wok or pan for frying, that moisture turns to steam, causing the rice grains to clump together and become mushy. This is the opposite of what you want in fried rice, which should have distinct, slightly crispy grains.
Cold or day-old rice, on the other hand, has had time for its moisture to evaporate, firming up the individual grains. This lower moisture content allows the rice to fry beautifully, absorbing the flavors of the other ingredients and developing those delightful crispy bits without turning into a sticky mess. If you plan to make fried rice, cooking your rice a day ahead and letting it chill in the refrigerator is highly recommended.
What If You Don’t Have Day-Old Rice? A Quick Chill Hack!
Life happens, and sometimes you forget to plan ahead. Don’t worry, there’s a clever hack if you find yourself with only freshly cooked rice and a sudden craving for fried rice:
Cook your rice as usual. Once it’s done, spread it out in a thin, single layer on a large baking sheet. Place the sheet pan in the refrigerator (or even the freezer for a few minutes if you’re really pressed for time) for about 30 minutes to an hour. Spreading it out maximizes surface area for cooling and moisture evaporation. While it won’t be as ideal as genuinely day-old rice, this method significantly reduces the moisture content and chills the grains, making them much better suited for frying than straight-from-the-pot rice. It’s a fantastic solution in a pinch!
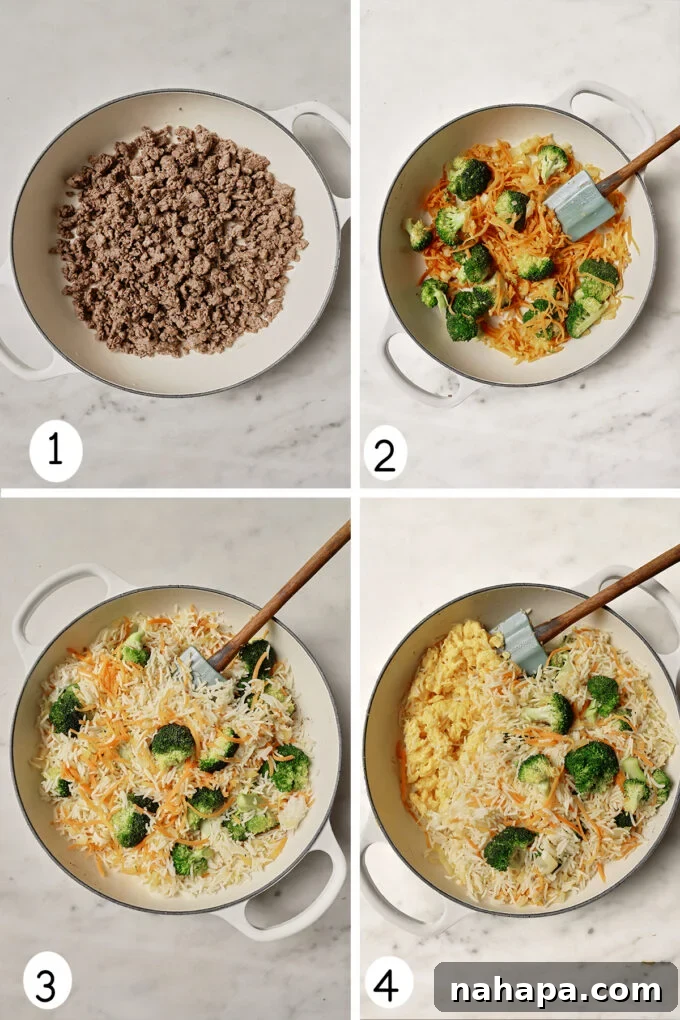
Step-by-Step Guide: How to Master Ground Beef Fried Rice
Follow these simple instructions to create a restaurant-quality fried rice in your own kitchen:
1. Brown the Ground Beef
In a large skillet or wok, brown your ground beef over medium heat, breaking it up into small pieces as it cooks. Season it with half of the salt and pepper. Once fully cooked and nicely browned, remove the beef from the pan and set it aside. Drain any excess fat, leaving just a tablespoon or two in the pan to cook the vegetables. This step ensures your fried rice isn’t greasy and allows the beef to develop a rich, caramelized flavor.
2. Sauté the Aromatics and Vegetables
Using the same pan with a little residual fat (add a bit more avocado oil if needed), heat over medium heat. Add the diced onion, minced garlic, and grated ginger. Sauté for about 3-4 minutes until fragrant and the onion begins to soften. Then, stir in the shredded carrots and broccoli florets. Continue to sauté for another 4-5 minutes, or until the vegetables are tender-crisp – you want them cooked through but still retaining a slight bite.
3. Crisp the Rice
Add your cold, cooked rice (or quickly chilled rice) to the pan. Break up any clumps and spread it out evenly across the bottom of the pan. Let the rice sit undisturbed for a minute or two to allow it to begin to crisp. Then, gently stir and turn the rice frequently, continuing to spread it out, so it crisps up on all sides. This process helps create those delicious browned, slightly crunchy grains that define excellent fried rice.
4. Scramble the Eggs (Optional, for AIP omit)
Once the rice has started to crisp and develop some texture, push it to one side of the pan, creating an empty space. Pour your beaten eggs into this empty section. Scramble the eggs quickly with your spatula until they are fully cooked and broken into small pieces. Once cooked, incorporate the scrambled eggs into the rest of the fried rice, mixing everything together.
5. Combine and Season
Return the browned ground beef to the pan with the rice and vegetables. Pour in the coconut aminos and apple cider vinegar. Add the remaining salt and pepper. Stir everything together thoroughly, ensuring all ingredients are well combined and coated in the flavorful sauce. Continue to cook for another 1-2 minutes, allowing the flavors to meld and the sauce to slightly reduce.
6. Garnish and Serve
Remove the pan from the heat. Spoon the delicious Ground Beef Fried Rice into bowls. Garnish generously with freshly chopped green onions, which add a final burst of fresh flavor and vibrant color. Serve immediately and enjoy your homemade, healthier fried rice!
Tips and Tricks for the Best Ground Beef Fried Rice
- Pre-shredded Carrots are Your Friend: A simple shortcut that saves time and ensures quick, even cooking.
- Don’t Overcrowd the Pan: If your pan is too full, ingredients will steam instead of fry. If making a very large batch, consider cooking in two smaller batches.
- High Heat is Key (But Watch It!): Fried rice benefits from medium-high to high heat to get that characteristic “wok hei” (breath of the wok) and crispy texture. However, keep a close eye to prevent burning.
- Taste and Adjust: Always taste your fried rice before serving and adjust seasonings as needed. You might want a little more salt, pepper, or coconut aminos to suit your preference.
Customizing Your Fried Rice: Endless Possibilities
One of the best aspects of fried rice is its incredible versatility. Feel free to get creative with your additions and substitutions:
What Other Vegetables Can You Use?
Beyond carrots and broccoli, a wide array of vegetables can be incorporated:
- Bok Choy (adds a lovely freshness)
- Zucchini (diced or shredded)
- Mushrooms (sliced cremini or shiitake)
- Peas and Corn (classic additions)
- Bell Peppers (any color, diced)
- Green Beans (chopped)
- Cabbage (shredded)
- Water Chestnuts (for extra crunch)
Protein Swaps and Additions
While ground beef is fantastic, you can easily swap it out or add other proteins:
- Chicken: Diced chicken breast or thigh.
- Pork: Ground pork or diced pork loin.
- Shrimp: Add cooked shrimp towards the end of cooking to warm through.
- Tofu/Tempeh: For a vegetarian option, press and dice firm tofu or tempeh, then pan-fry until crispy before adding to the rice.
Making This Recipe AIP (Autoimmune Protocol) Compliant
This recipe is already wonderfully adaptable for various dietary needs. To make it fully AIP compliant, simply follow these modifications:
- Leave out the Egg: Eggs are not AIP compliant. You can easily omit them without significantly impacting the deliciousness of the dish.
- Omit Black Pepper: Black pepper is also excluded on the AIP diet.
- Use Cauliflower Rice: Instead of white rice, opt for raw cauliflower rice. You can buy it pre-riced or make your own by pulsing cauliflower florets in a food processor until they resemble rice grains. Cook the cauliflower rice in the pan as directed for regular rice, allowing it to get slightly tender and crisp. This makes the dish completely grain-free and AIP-friendly.
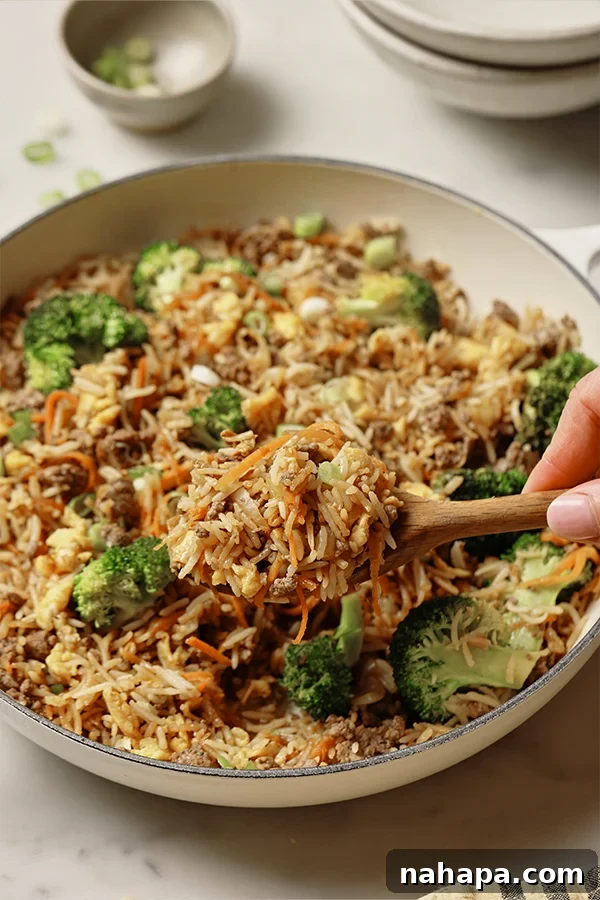
Storage and Reheating Instructions
This Ground Beef Fried Rice is an excellent make-ahead meal and stores beautifully, making it perfect for meal prepping:
- Storage: Allow the fried rice to cool completely, then transfer it to an airtight container. Store in the refrigerator for 3-4 days.
- Reheating: For best results, reheat the fried rice in a pan over medium heat. Add a splash of water or a tiny bit of oil to prevent drying out, and stir occasionally until heated through. You can also reheat individual portions in the microwave, though the texture might not be as crispy.
Ground Beef Fried Rice {Gluten and Soy-free}
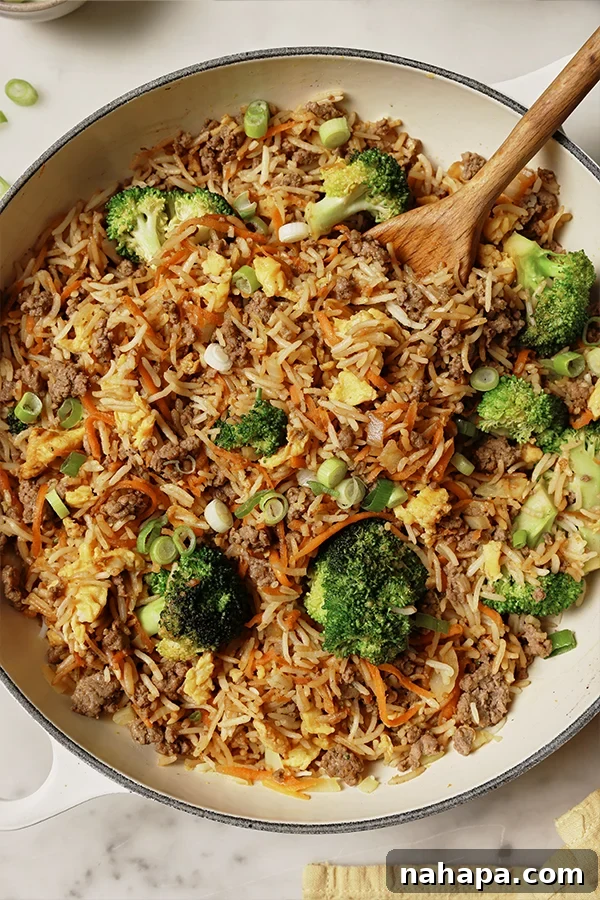
This ground beef fried rice is an easy and cost-effective meal for a weeknight! It’s gluten and soy-free and can be made grain-free if made with cauliflower rice.
Yield: 4 servings
Prep Time: 10 mins
Cook Time: 15 mins
Total Time: 25 mins
Author: Michelle
Ingredients
- 1 lb ground beef
- ¾ tsp salt
- ¼ tsp black pepper (omit for AIP)
- 2 tbsp avocado oil
- ½ onion, diced
- 2 cloves garlic, minced
- 1 thumb grated ginger
- ½ cup shredded carrots
- 1 cup broccoli florets
- 2 ½ cup white rice, cooked and cooled (use cauliflower rice for grain-free/paleo/AIP)
- 2 eggs, beaten (omit for AIP)
- ¼ cup coconut aminos
- 2 tsp apple cider vinegar
- 1 tbsp green onion, chopped
Instructions
- Using a large pan, brown the ground beef over medium heat, and crumble well. Season with half of the salt and pepper. Set aside and drain some of the excess fat.
- Using the same pan, heat the oil over medium heat. Add the onion, garlic, and ginger and saute for 3-4 minutes. Stir in the carrots and broccoli and saute for another 4-5 minutes or until the vegetables are tender.
- Add the rice to the pan, breaking it up, and spreading it to the bottom of the pan so there are no clumps. Allow the rice to begin to crisp, turning it often to crisp on all sides.
- Once the rice starts to crisp, move it to one side of the pan and add the eggs to the other side. Scramble until cooked, and break up, incorporating into the rest of the fried rice.
- Stir in the ground beef, coconut aminos, apple cider vinegar, salt, and pepper. Stir to combine.
- Serve topped with green onion.
Notes
- Make sure that the rice is cold, and not fresh so it will more easily crisp.
- All nutrition facts are estimated and will vary.
- For AIP, omit the eggs and black pepper. Use raw cauliflower rice and cook as directed rather than using white rice.
Nutrition Information (Estimated per serving)
Serving: 1g, Calories: 431kcal, Carbohydrates: 44g, Protein: 31.9g, Fat: 13.2g, Fiber: 1.5g
This recipe was published in 2021 and updated in 2024, reflecting improved content and additional tips.
This Ground Beef Fried Rice recipe is a testament to how simple ingredients can come together to create a profoundly satisfying and wholesome meal. It’s an ideal choice for anyone seeking a quick, delicious, and adaptable dinner solution, especially those navigating gluten-free, soy-free, or AIP dietary paths. We encourage you to make this recipe your own, experimenting with vegetables and seasonings to suit your personal taste. Enjoy the process of creating this flavorful dish, and delight in the convenience and nourishment it brings to your table!
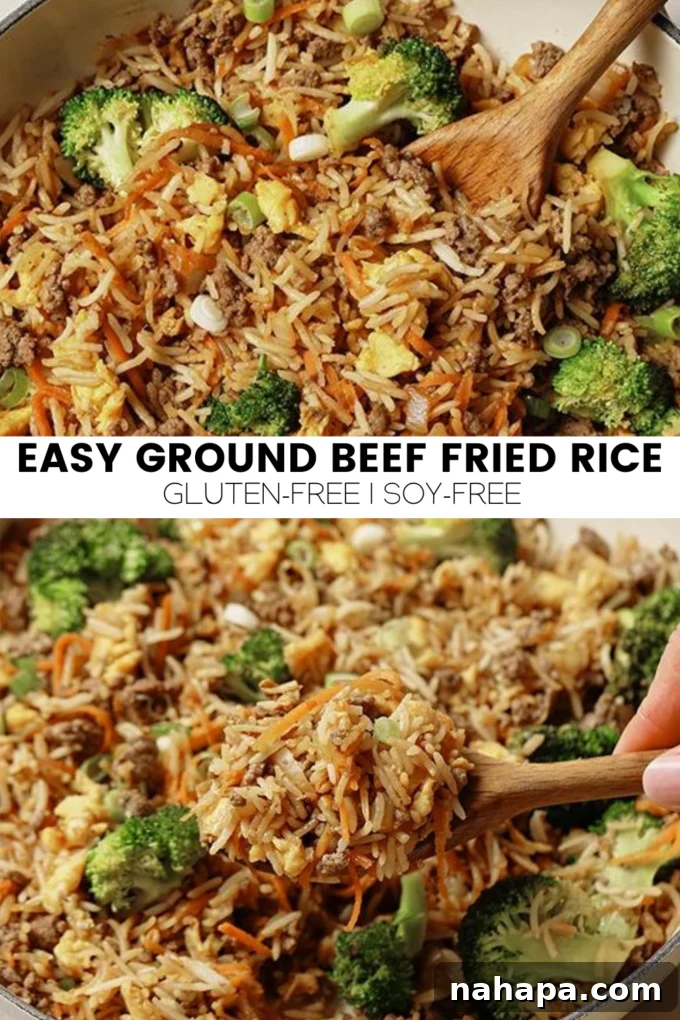
More Delicious Gluten-Free Recipes You’ll Love:
- Gluten-Free Pad Thai
- Gluten-Free Beef and Broccoli Lo Mein
- Mongolian Ground Beef