
This post contains affiliate links.
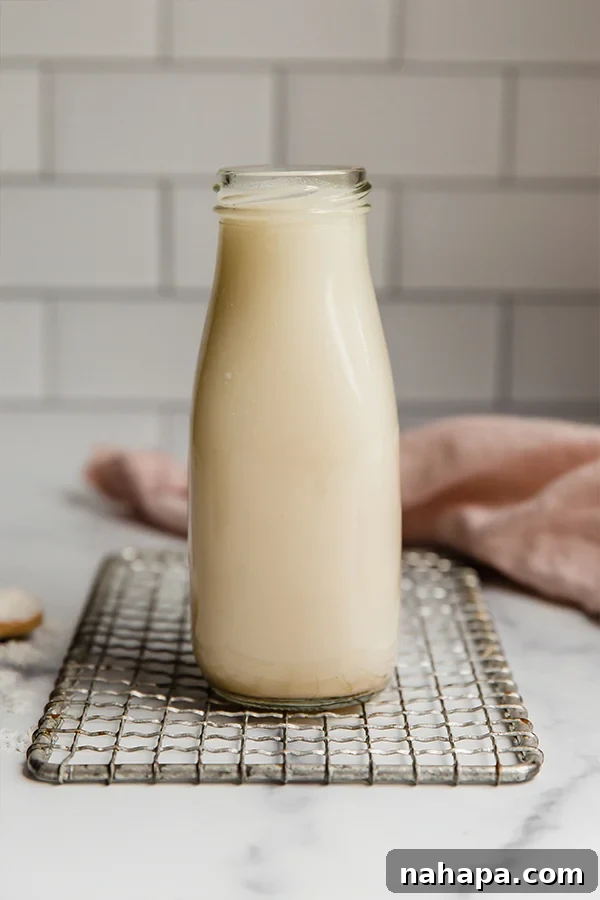
Discover the art of making fresh, delicious coconut milk right in your own kitchen! This comprehensive guide reveals three simple and effective methods, whether you start with shredded coconut, rich coconut cream, or leverage a modern plant-based milk maker. Elevate your dairy-free cooking and drinking with homemade coconut milk that’s free from additives and bursting with natural flavor.
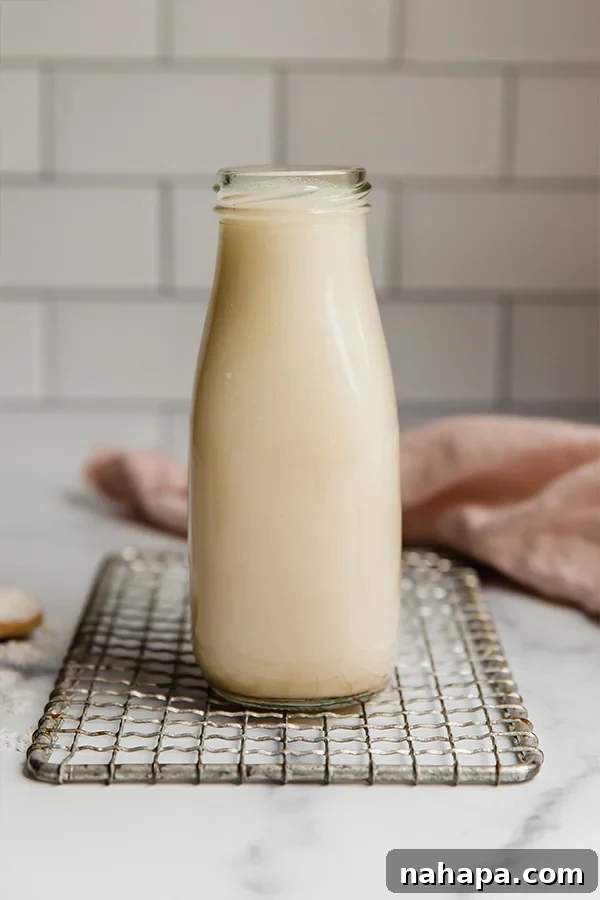
How to Make Homemade Coconut Milk: 3 Easy Ways for Perfect Dairy-Free Delight
Coconut milk is a foundational ingredient in countless cuisines worldwide and a beloved staple for anyone embracing a dairy-free lifestyle. Its creamy texture and delicate flavor make it incredibly versatile, perfect for enriching everything from your morning coffee and vibrant Pink Drinks to savory dishes like this aromatic Turmeric Chicken Curry. However, store-bought coconut milk can often be surprisingly expensive, and finding high-quality brands without unwanted additives like gums, thickeners, and preservatives can be a challenge.
The good news? Crafting your own coconut milk at home is remarkably simple, offering superior freshness, purity, and often significant cost savings. Forget about complicated processes; we’re about to explore three different, straightforward methods that will empower you to create your ideal coconut milk with ease. Get ready to experience the true taste and texture of homemade!
Why Choose Homemade Coconut Milk? The Benefits You Can’t Ignore
Opting for homemade coconut milk offers several compelling advantages that make it well worth the minimal effort:
- No Unwanted Additives: Many commercial coconut milk brands include various thickeners, emulsifiers, and preservatives such as guar gum, xanthan gum, carrageenan, or even sugar. While generally recognized as safe, these additives can cause digestive discomfort for some individuals and detract from the natural purity of coconut milk. When you make it yourself, you control every ingredient, ensuring your milk contains nothing but coconut and water, plus any natural flavorings you choose to add.
- Surprisingly Fast and Simple: Unlike some other plant-based milks, such as almond milk, which often require extensive soaking of nuts overnight, making coconut milk is a quick process. You don’t need to plan hours or days ahead; most methods can be completed in under 15 minutes from start to finish. This makes it a perfect last-minute addition to your meal prep or daily routine.
- Customizable Flavor and Consistency: Commercial coconut milk offers limited options, but at home, you’re the chef! You can adjust the sweetness level to your preference, from completely unsweetened to lightly sweetened with dates or maple syrup. You can also experiment with different flavor profiles, adding vanilla extract, a pinch of cinnamon, or even fresh fruits for a unique twist. Moreover, you can control the thickness, making it richer for curries or lighter for beverages.
- Cost-Effective in the Long Run: While an initial investment in shredded coconut or a can of cream is needed, making your own coconut milk often proves to be significantly cheaper than consistently buying premium store-bought versions. The savings add up, especially if coconut milk is a frequent part of your diet.
With these benefits in mind, let’s dive into the three fantastic ways to create your perfect batch of homemade coconut milk!
Method 1: Crafting Coconut Milk from Shredded Desiccated Coconut – The Traditional Approach
This is arguably the most traditional and purest method for making coconut milk, yielding a rich, full-bodied milk with authentic coconut flavor. All you need are a few basic ingredients and kitchen tools.
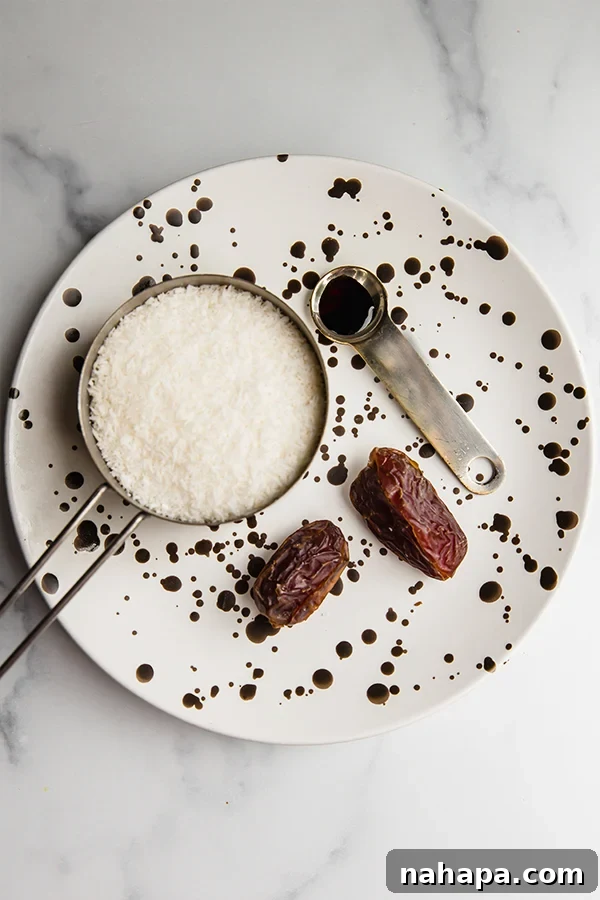
Ingredients & Equipment for the Blender Method:
- 2 cups unsweetened shredded coconut (desiccated coconut)
- 4 cups filtered water (use warm water for better extraction, or 3 cups for a thicker milk)
- Optional: 1-2 pitted dates, for natural sweetness
- Optional: ¼ teaspoon vanilla extract, for enhanced flavor
- Optional: A pinch of sea salt, to brighten the taste
- High-speed blender
- Fine-mesh nut milk bag or cheesecloth
- Large bowl
- Airtight glass jar for storage
Step-by-Step Instructions:
- Combine Ingredients: Add the 2 cups of shredded coconut to your high-speed blender. Pour in the 4 cups of warm filtered water (warm water helps to release more of the coconut’s oils and flavor). If desired, add 1-2 pitted dates for sweetness, ¼ teaspoon of vanilla extract, and a pinch of sea salt. For a richer, thicker milk, reduce the water to 3 cups.
- Blend Until Smooth: Secure the lid on your blender and blend on high for 30-60 seconds. You want the mixture to appear creamy and uniform, with the coconut thoroughly broken down into fine particles. The longer you blend, the creamier your milk will be, though excessive blending isn’t necessary.
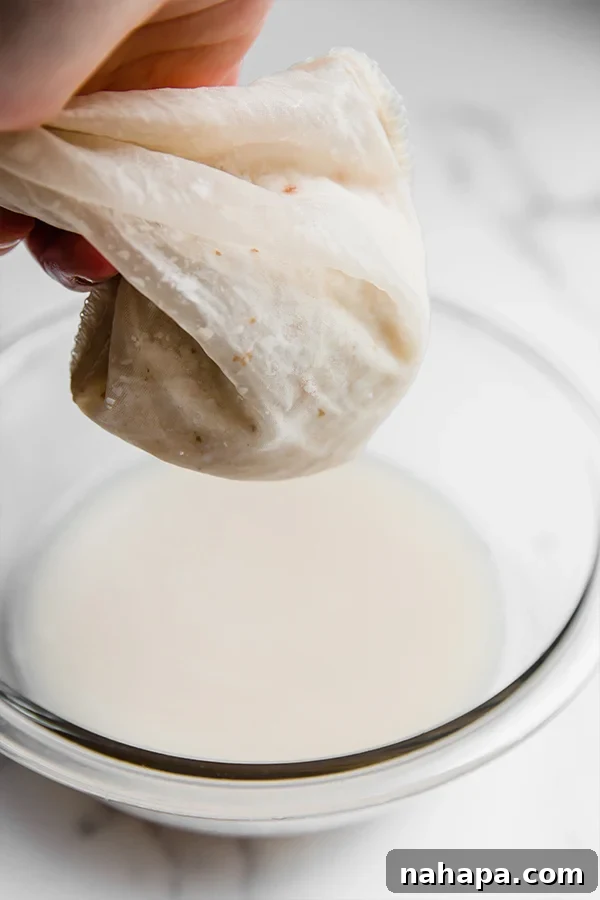
- Strain the Milk: Place your nut milk bag or a double layer of cheesecloth over a large bowl, ensuring it’s securely positioned. Carefully pour the blended coconut mixture into the bag.
- Extract the Liquid: Gather the top of the nut milk bag and twist it closed. Squeeze firmly to extract all the liquid into the bowl below. Continue squeezing until no more liquid drips out. The remaining pulp in the bag can be discarded or saved for other uses (see “Pro Tip” below).
- Store and Serve: Pour your freshly strained coconut milk into a clean, airtight glass jar. Store it in the refrigerator. Your homemade coconut milk is now ready to enjoy in your favorite drinks, recipes, or simply on its own!
Pro Tip: What to Do with Leftover Coconut Pulp
Don’t throw away that pulp! It’s still packed with fiber and a subtle coconut flavor. You can:
- Dehydrate it: Spread the pulp thinly on a baking sheet and bake at a very low temperature (around 150°F / 65°C) until completely dry, or use a dehydrator. Once dry, you can grind it into a coarse flour to use in baking, or sprinkle it over yogurt and smoothies.
- Add to Smoothies: Boost the fiber content of your next smoothie.
- Compost it: A great addition to your garden compost.
Method 2: Whipping Up Coconut Milk from Canned Coconut Cream – A Quick and Creamy Option
If you’re looking for an even quicker method that delivers a rich, creamy result, starting with canned coconut cream is an excellent choice. Coconut cream is essentially the thicker, fattier part of coconut milk, making it a concentrated base for homemade milk.
Ingredients & Equipment for the Coconut Cream Method:
- 1 can (approximately 5.4 fl oz or 160ml) full-fat coconut cream
- 2 cups filtered water
- Optional: Desired sweetener or flavoring (e.g., dates, vanilla extract)
- Blender
- Airtight glass jar for storage
Step-by-Step Instructions:
- Scoop the Cream: Open your can of full-fat coconut cream. You’ll notice a thick, solid layer of cream at the top. Scoop out this cream and transfer it to your blender. Leave any clear liquid at the bottom of the can behind, or add it if you prefer a slightly thinner milk.
- Add Water and Flavorings: Pour 2 cups of filtered water into the blender with the coconut cream. This ratio typically yields a milk consistency similar to regular canned coconut milk. Add any desired sweeteners or flavorings at this stage.
- Blend Until Smooth: Blend on high until the coconut cream and water are fully incorporated and the mixture is smooth and creamy. This usually takes less than 30 seconds.
- Pour and Store: Transfer your freshly made coconut milk to an airtight glass jar. Store it in the refrigerator.
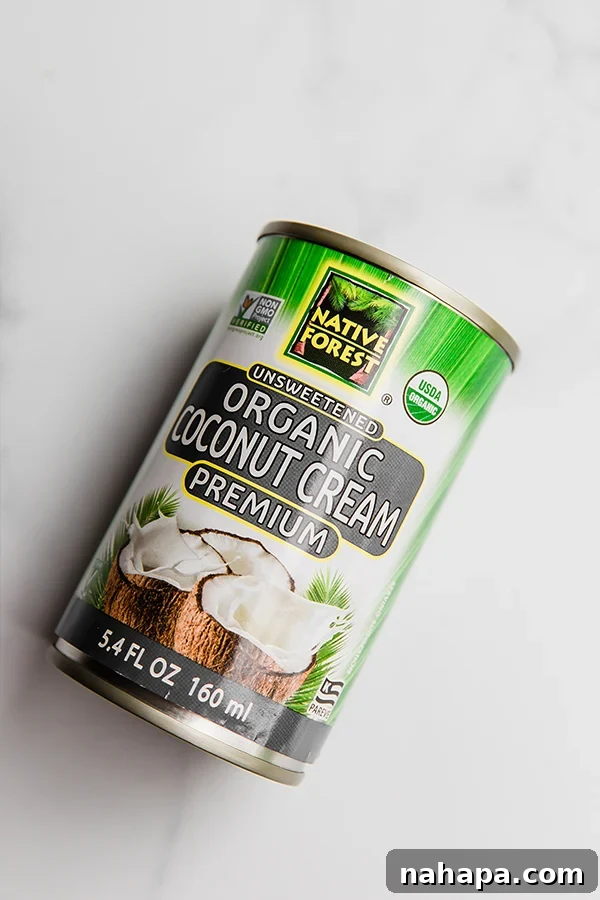
Expert Tip: Selecting Coconut Cream
Always choose full-fat coconut cream for the best results. Check the ingredient list to ensure it’s pure coconut cream with no added emulsifiers or gums if you want the cleanest possible milk.
Method 3: Effortless Coconut Milk with the Almond Cow – Modern Convenience
For those who frequently make plant-based milks, a dedicated appliance like the Almond Cow can be a game-changer. This innovative kitchen gadget simplifies the process of making various plant-based milks, including coconut milk, in minutes without the need for straining.
Ingredients & Equipment for the Almond Cow Method:
- 1 cup unsweetened shredded coconut
- Water (to the minimum fill line of the Almond Cow)
- Optional: 1 pitted date, for sweetness
- Optional: ¼ teaspoon vanilla extract
- Optional: A pinch of sea salt
- The Almond Cow machine (use code UNBOUNDWELLNESS for $15 off!)
- Airtight glass jar for storage
Step-by-Step Instructions:
- Load the Collector Cup: Add 1 cup of shredded coconut to the collector cup of your Almond Cow. If you desire sweetness, add 1 pitted date. You can also add a pinch of sea salt for flavor and the vanilla extract directly into the collector cup.
- Fill the Base with Water: Fill the base of the Almond Cow machine with filtered water up to the indicated minimum fill line.
- Assemble and Activate: Connect the collector cup securely to the top of the Almond Cow and close the lid. Press the start button and let the machine work its magic. The Almond Cow processes the ingredients and mixes the milk, eliminating the need for separate blending and straining steps.
- Pour and Store: Once the light on the Almond Cow stops blinking, indicating the cycle is complete, remove the top and pour your freshly made, perfectly smooth coconut milk into a glass jar. No straining required! Store it in the fridge.
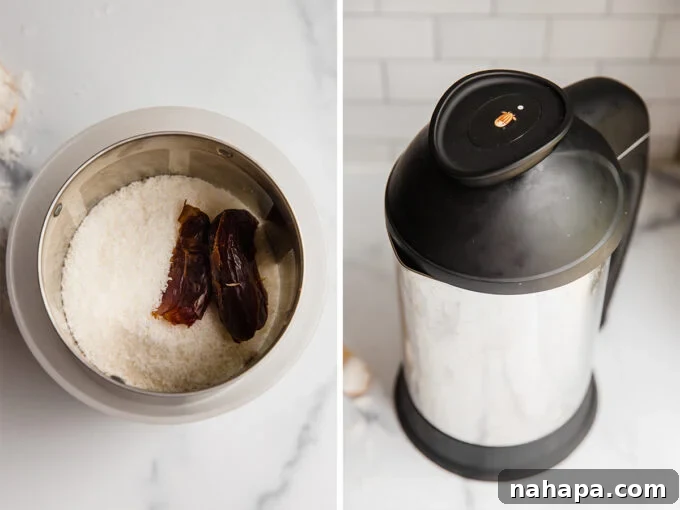
The Almond Cow Advantage:
The Almond Cow is incredibly efficient, making plant-based milks in mere minutes with minimal cleanup. Beyond coconut milk, it can produce almond milk, oat milk, cashew milk, and many other delicious dairy-free alternatives, making it a valuable addition to any plant-based kitchen.
Frequently Asked Questions About Homemade Coconut Milk
How long can you store fresh coconut milk in the fridge?
Homemade coconut milk, without the stabilizers found in store-bought versions, typically lasts for 3-4 days when stored in an airtight container in the refrigerator. Always check for any off-smells or changes in texture before consuming.
Can you freeze coconut milk?
Absolutely! Freezing homemade coconut milk is an excellent way to preserve any excess and ensure you always have some on hand. Pour the milk into an ice cube tray and freeze until solid. Once frozen, transfer the cubes to a freezer-safe bag or container. Frozen coconut milk cubes are perfect for adding to smoothies, iced coffee, curries, or thawing for recipes. It can last up to 2-3 months in the freezer.
Can you use homemade coconut milk in recipes? Or is it only for drinking?
Homemade coconut milk is incredibly versatile and can be used interchangeably with store-bought coconut milk in almost any recipe. Use it in:
- Drinks: Smoothies, lattes, hot chocolate, or as a base for refreshing beverages.
- Savory Dishes: Curries, soups, stews, sauces, and marinades.
- Desserts: Puddings, ice creams, custards, and baked goods.
- Baking: As a dairy-free substitute for milk in cakes, muffins, and pancakes.
Is it cheaper to make your own coconut milk?
While initial ingredient costs might seem comparable, over time, making your own coconut milk can indeed be more economical, especially when considering the quality and lack of additives. Here’s a quick comparison:
- 1 can of quality store-bought coconut milk: ~$3.69
- 1 batch of homemade coconut milk with desiccated coconut (yields more than a can): ~$2.64
These are approximate prices, but the savings add up, especially for larger batches.
Help! My coconut milk is separating! Is there something wrong?
Not at all! Separation is a completely normal and expected occurrence for homemade coconut milk, particularly because it lacks the emulsifiers and stabilizers found in commercial brands. The fat content of the coconut will naturally rise to the top and solidify when chilled. Simply give your jar a good shake or stir before each use, and it will be perfectly good as new. If it’s very cold, you might need to warm it gently to re-emulsify fully.
Delicious Variations on Coconut Milk Flavors
One of the best aspects of making coconut milk at home is the freedom to customize its flavor profile. Here are a few inspiring ideas:
- Sweetened with Dates or Maple Syrup: The simplest way to add natural sweetness. Dates also contribute a subtle caramel note, which is my personal favorite. Maple syrup is another excellent choice for a rich, warm sweetness.
- Vanilla Bean Infusion: Add a whole vanilla bean pod (split lengthwise) to your blender before processing, or a ½ teaspoon of high-quality vanilla extract for a classic, aromatic touch.
- Cinnamon Spice: A pinch of ground cinnamon or a cinnamon stick blended in can add warmth and depth, perfect for spiced lattes or autumnal drinks.
- Strawberry Coconut Milk: For a vibrant and fruity milk, blend in a handful of fresh or frozen strawberries. This is fantastic in smoothies or as a refreshing drink on its own.
- Chocolate Coconut Milk: Add a tablespoon or two of unsweetened cocoa powder and a little sweetener for a rich, dairy-free chocolate milk.
- Turmeric Golden Milk: Incorporate ½ teaspoon of turmeric powder, a pinch of black pepper (for absorption), and a touch of ginger for a healthful and anti-inflammatory golden milk base.
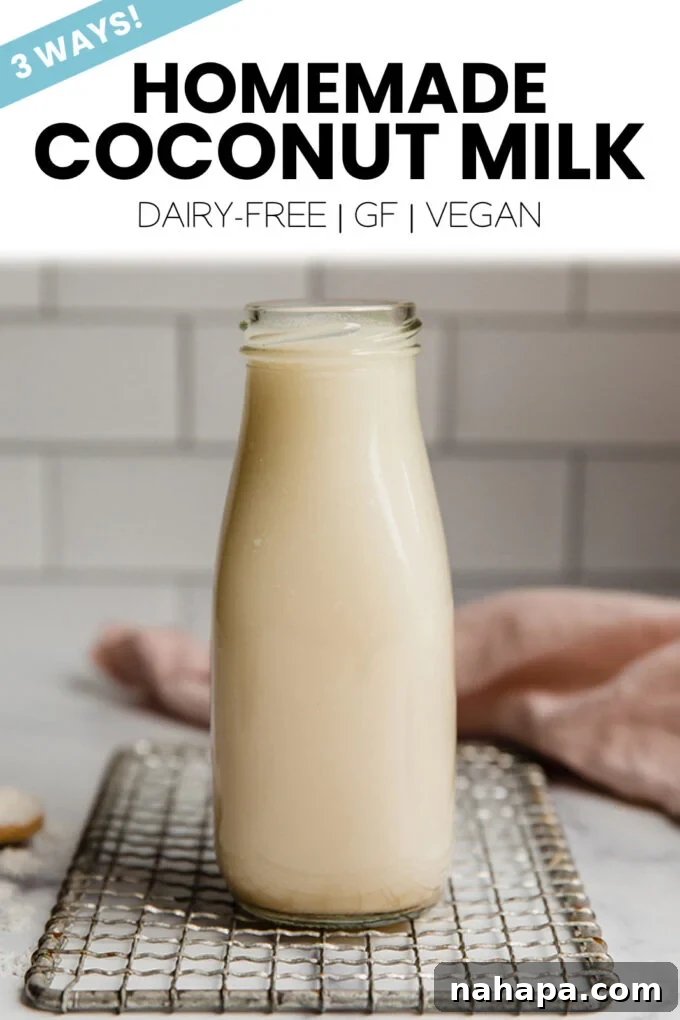
Homemade Coconut Milk Recipe Card
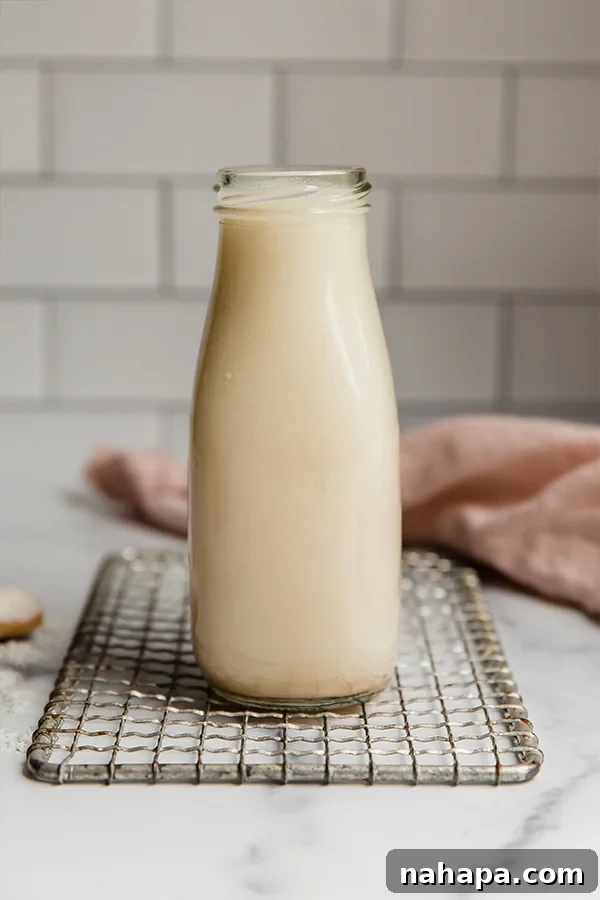
How to Make Perfect Homemade Coconut Milk (3 Ways)
4 servings
10 mins
10 mins
Michelle
Pin Recipe
Ingredients
For the Blender Method
- 2 cup shredded coconut
- 2 pitted dates, optional
- ¼ tsp vanilla extract, optional
- Pinch of sea salt
- 4 cups water, use 3 cups for thicker coconut milk
For the Coconut Cream Method
- 1 5.4oz can of coconut cream
- 2 cups water
For the Almond Cow Method
- 1 cup shredded coconut
- 1 pitted date, optional
- ¼ tsp vanilla extract, optional
- Pinch of sea salt
- Water (to minimum fill line of Almond Cow)
Instructions
For the Blender Method
- Add the shredded coconut, water, and optional flavorings (dates, vanilla, salt) to a blender. Blend on high for 30 seconds or until fully incorporated and creamy.
- Use a nut milk bag to strain your coconut milk into a large bowl, discarding or saving the pulp.
- Pour the milk into a glass jar and store in the fridge.
For the Coconut Cream Method
- Using 1 can of coconut cream, scoop out the thick cream and add to a blender with 2 cups of water and any desired flavorings.
- Blend on high until fully incorporated and smooth. Pour into a glass jar.
For the Almond Cow Method
- Add the shredded coconut, optional date, vanilla extract, and salt to the collector cup of the Almond Cow.
- Fill the base of the Almond Cow to the minimum fill line with water.
- Connect the collector cup to the top of the Almond Cow and close. Press the button to start the process.
- Once the light stops blinking, remove the top of the Almond Cow and pour the milk into a glass jar (no straining required!).
Did you Make this Recipe?
Tag @unboundwellness on Instagram and hashtag #unboundwellness!