
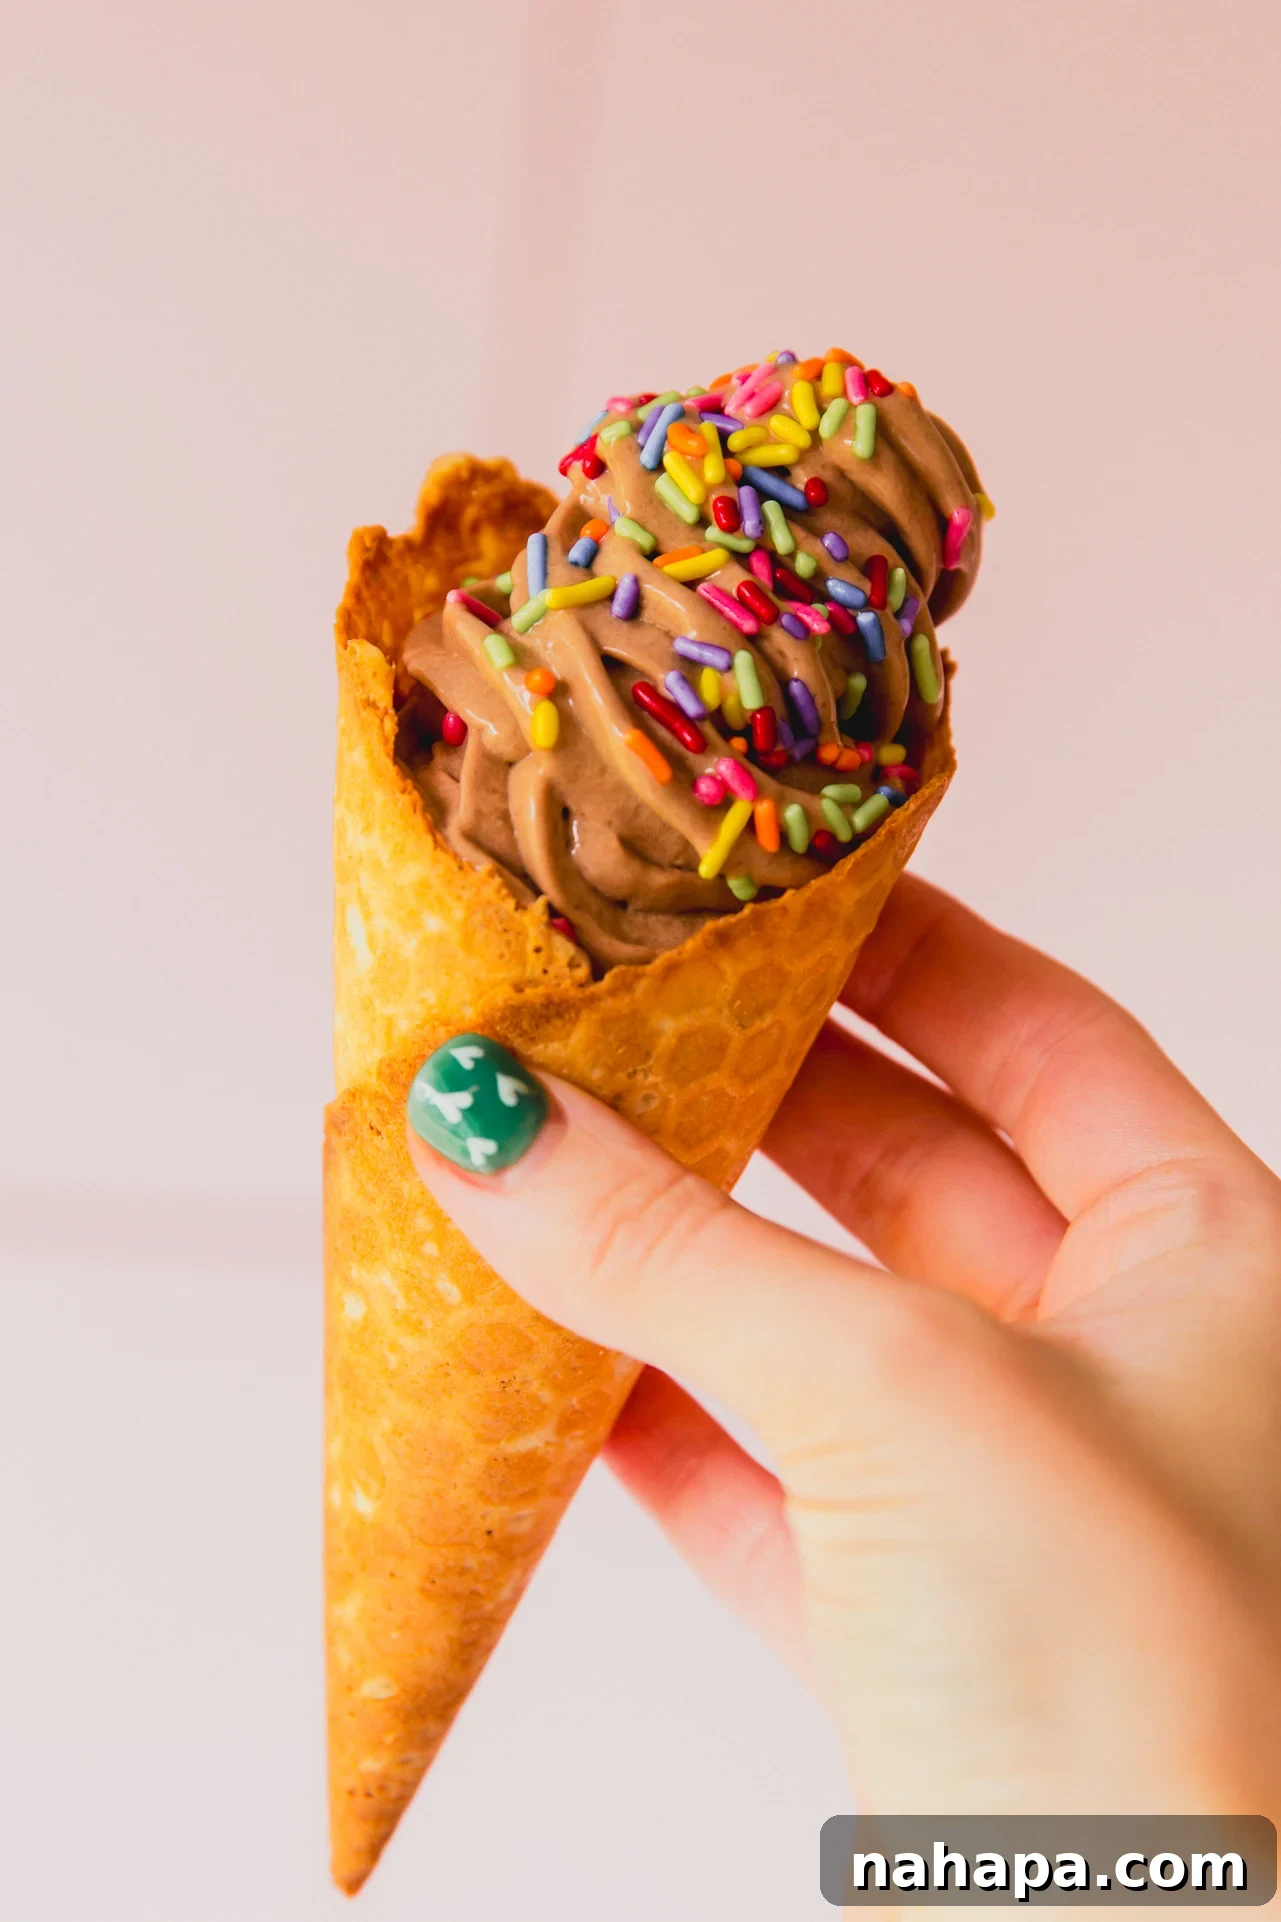
Welcome to the ultimate guide for creating the most delicious, Ninja Creami-made **dairy-free chocolate protein ice cream**! Forget those bland, icy protein concoctions; this recipe is a game-changer, delivering an incredibly rich, smooth, and satisfying treat with a perfect texture, all without a speck of pudding mix. If you’ve been searching for an allergen-friendly dessert that doesn’t compromise on flavor or protein content, your quest ends here.
The Ninja Creami has revolutionized homemade frozen desserts, and its ability to transform simple protein shakes into creamy ice cream has taken the culinary world by storm. However, many popular protein ice cream recipes rely on dairy-based protein shakes (like Fairlife) and thickening agents such as pudding mix, which often contain corn starch. This can be problematic for individuals with dairy allergies, lactose intolerance, or sensitivities to corn and other common allergens, leaving a significant gap for truly inclusive and healthy options.
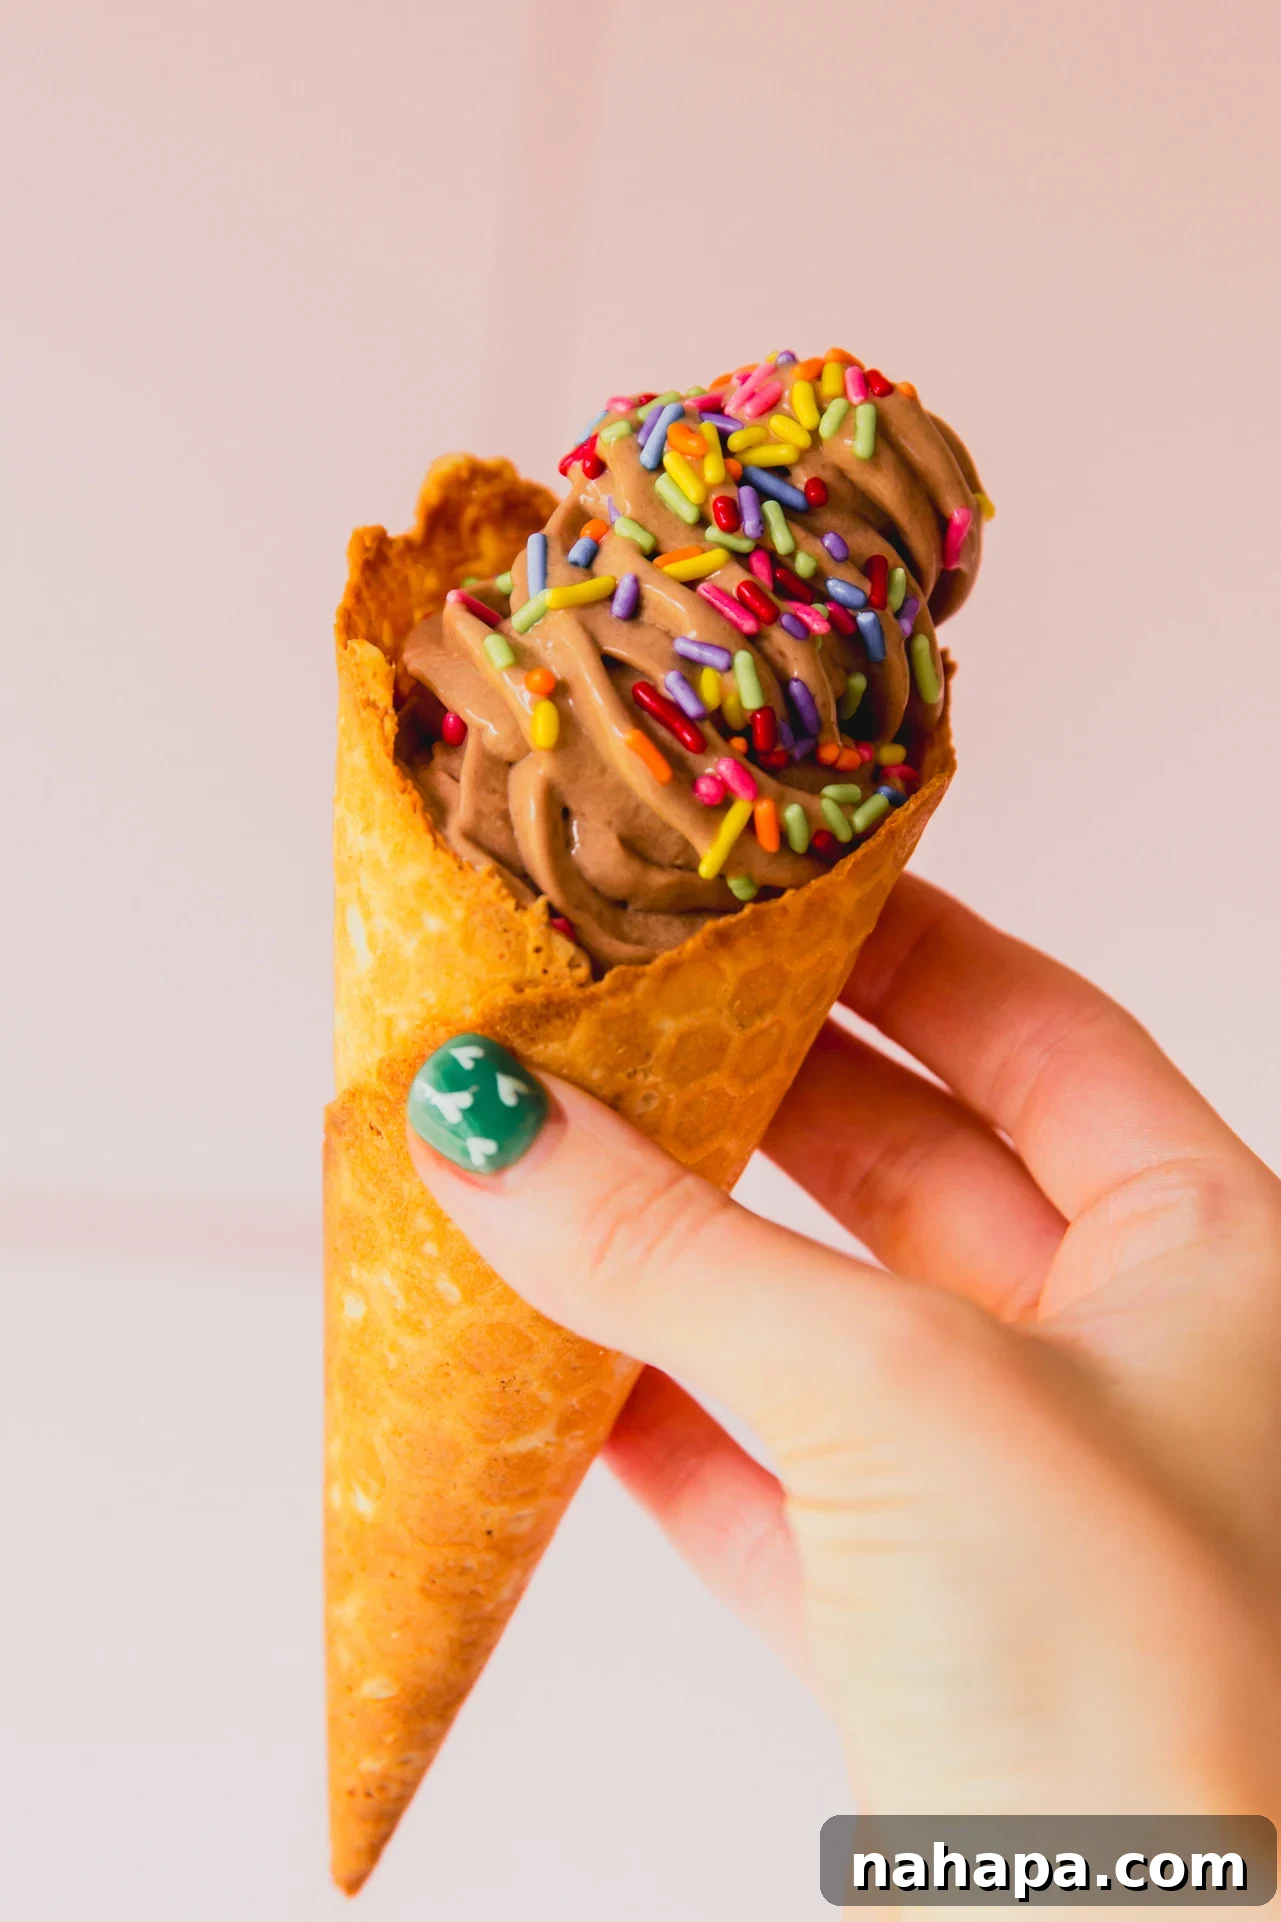
This recipe offers the ideal solution for a Ninja Creami treat that’s not only dairy-free but also packed with flavor and a generous **24 grams of protein per pint**! Whether you prefer it scooped into a bowl or swirled into your favorite cone with delicious toppings, this chocolate protein ice cream is guaranteed to hit the spot every time.
Table of contents
- Why You’ll Love This Protein Ice Cream
- The Ninja Creami Advantage
- Essential Recipe Ingredients
- Recipe Substitutions and Modifications
- How to Make Dairy-Free Chocolate Protein Ice Cream
- Expert Tips & Tricks for Ninja Creami Success
- Benefits of Homemade Dairy-Free Protein Ice Cream
- More Dairy-Free Ninja Creami Recipes to Explore
Why You’ll Love This Protein Ice Cream
- Completely Dairy-Free and Whey-Free: Many protein ice cream recipes rely heavily on whey protein, which is derived from dairy. Our recipe thoughtfully uses a high-quality dairy-free protein powder, making it suitable for those with lactose intolerance, dairy allergies, or anyone following a vegan lifestyle. You get all the protein benefits without any of the dairy-related concerns.
- No Pudding Mix Required: Pudding mix is a common “hack” for thickening Ninja Creami creations, primarily due to its corn starch content. However, for those looking to avoid corn, artificial flavors, or processed ingredients, this is a significant drawback. Our secret? Creamy coconut yogurt. It provides the perfect thickener, delivering that desirable, smooth ice cream texture naturally and deliciously, without any unwanted additives.
- Unbeatable Texture and Flavor: Despite being dairy-free and pudding-mix-free, this chocolate protein ice cream achieves an incredibly smooth, scoopable, and satisfyingly creamy consistency. The rich chocolate flavor is deep and decadent, making it hard to believe it’s a healthy, protein-packed dessert.
- High in Protein, Low in Guilt: With 24 grams of protein per pint, this ice cream is an excellent way to boost your protein intake, aid in muscle recovery, or simply enjoy a filling and nutritious snack. It satisfies your sweet tooth without derailing your health goals.
- Simple and Easy to Make: The Ninja Creami makes the process incredibly straightforward. With minimal prep time and just a few simple steps, you can create gourmet-quality ice cream right in your own kitchen.
The Ninja Creami Advantage
The Ninja Creami has quickly become a beloved kitchen appliance for its unique ability to transform frozen bases into creamy, ready-to-eat treats in minutes. Unlike traditional ice cream makers that churn a liquid mixture, the Creami shaves and processes a solid block of frozen ingredients, resulting in an exceptionally smooth and consistent texture. This technology is particularly beneficial for high-protein, low-fat recipes, as it can achieve a creaminess that would otherwise be difficult without added fats or sugars. For those seeking healthier dessert options, or individuals with dietary restrictions, the Ninja Creami opens up a world of possibilities, allowing for complete control over ingredients and nutritional content. It empowers you to create custom frozen desserts that are not only delicious but also perfectly aligned with your health and dietary needs.
Essential Recipe Ingredients
Refer to the recipe card below for precise quantities and full information on ingredients.
- Chocolate Protein Powder: The star of our protein ice cream! I highly recommend a high-quality, plant-based chocolate protein powder. Options like pea protein, soy protein isolate, or a blend of rice and hemp protein work wonderfully. Choose a flavor you genuinely enjoy, as it will be the dominant taste. Experiment with different brands to find your favorite – some are richer, some sweeter.
- Almond Milk: Unsweetened almond milk provides a light, neutral base that allows the chocolate and vanilla flavors to shine. It’s naturally dairy-free and lower in calories than many other milk alternatives. Ensure it’s unsweetened to control the overall sugar content of your ice cream.
- Vanilla Coconut Yogurt: This is our secret ingredient for achieving that incredible, thick, and creamy texture without any pudding mix! Coconut yogurt adds a delightful tang and richness, mimicking the mouthfeel of traditional dairy ice cream. The vanilla flavor complements the chocolate beautifully. Look for a dairy-free yogurt that is thick and has minimal added sugars.
- Cocoa Powder: For an extra boost of intense chocolate flavor. Using unsweetened cocoa powder allows you to control the sweetness level precisely. Dutch-processed cocoa powder will give a darker color and smoother, less bitter chocolate flavor, while natural cocoa powder offers a fruitier, more acidic chocolate note. Both work well!
- Maple Syrup: Our natural sweetener of choice. Maple syrup not only adds sweetness but also a subtle depth of flavor that pairs wonderfully with chocolate. You can adjust the amount to suit your personal preference for sweetness.
- Optional: Gluten-Free Cones: For those who enjoy their ice cream in a cone, gluten-free cones are a fantastic option. The Sprouts brand cones are a personal favorite for their crisp texture and delicious taste.
Recipe Substitutions and Modifications
- Milk Alternatives:
- Oat Milk: A fantastic 1:1 swap for almond milk. Oat milk is known for its creaminess, which will contribute to an even richer ice cream.
- Coconut Milk: Canned full-fat coconut milk (the creamy part) can also be used, but be aware that its higher fat content might result in a thicker consistency, potentially requiring an extra spin cycle in the Ninja Creami to achieve ideal creaminess. Dilute slightly with water if it seems too thick after the first blend.
- Soy Milk or Cashew Milk: Other dairy-free milk alternatives can also work, but always opt for unsweetened varieties.
- Sweetener Options:
- Honey: Honey can be used in place of maple syrup for a different flavor profile. Start with a slightly lesser amount as honey can be sweeter.
- Agave Nectar or Stevia/Erythritol Blend: For those managing sugar intake, agave nectar or a sugar-free sweetener blend can be used. Adjust to taste.
- Flavor Enhancements & Toppings:
- Coffee/Espresso Powder: Add 1 teaspoon of instant coffee or espresso powder for a delicious mocha flavor.
- Mint Extract: A few drops of peppermint extract can transform this into a refreshing mint chocolate chip treat.
- Nut Butter: Swirl in a tablespoon of peanut butter, almond butter, or cashew butter before freezing for a nutty twist.
- Vanilla Extract: Enhance the overall flavor profile with a half teaspoon of pure vanilla extract.
- Toppings Galore: Get creative! Add dairy-free chocolate chips, shredded coconut, chopped nuts (almonds, walnuts, pecans), fresh berries, a drizzle of dairy-free chocolate sauce, or even sprinkles for a festive touch.
- Protein Boost: For an even higher protein count, consider adding a tablespoon of unflavored collagen peptides (if not strictly vegan) or an additional half-scoop of protein powder, adjusting the liquid slightly if needed.
How to Make Dairy-Free Chocolate Protein Ice Cream
Refer to the recipe card below for precise quantities and full information on ingredients and quantities.
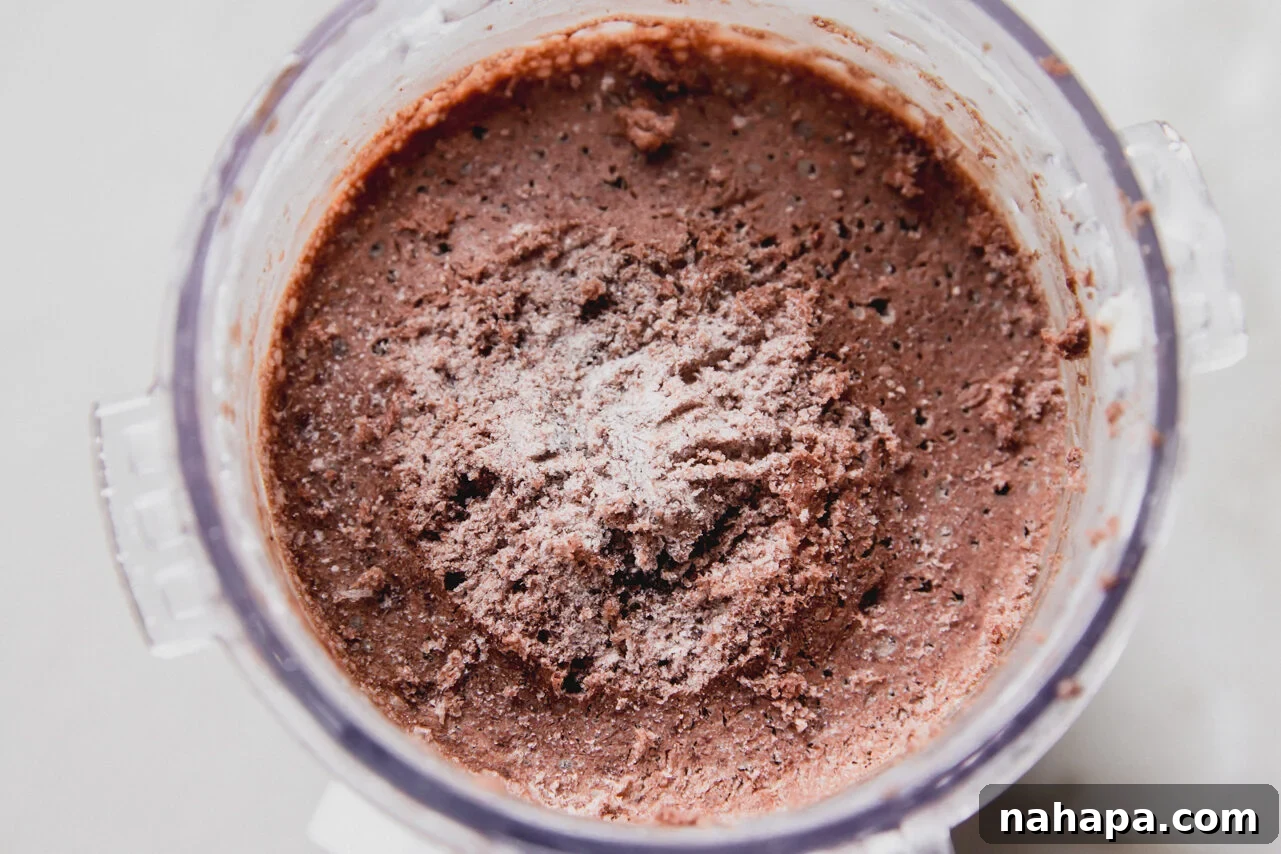
Step One: Prepare the Base. Begin by pouring the almond milk into your Ninja Creami pint container. Next, add the chocolate protein powder, vanilla coconut yogurt, cocoa powder, and maple syrup. Using a milk frother or an immersion blender, blend all the ingredients thoroughly until the mixture is completely smooth and free of any clumps. This ensures a consistent texture in your final ice cream. The mixture will become quite frothy at this stage.
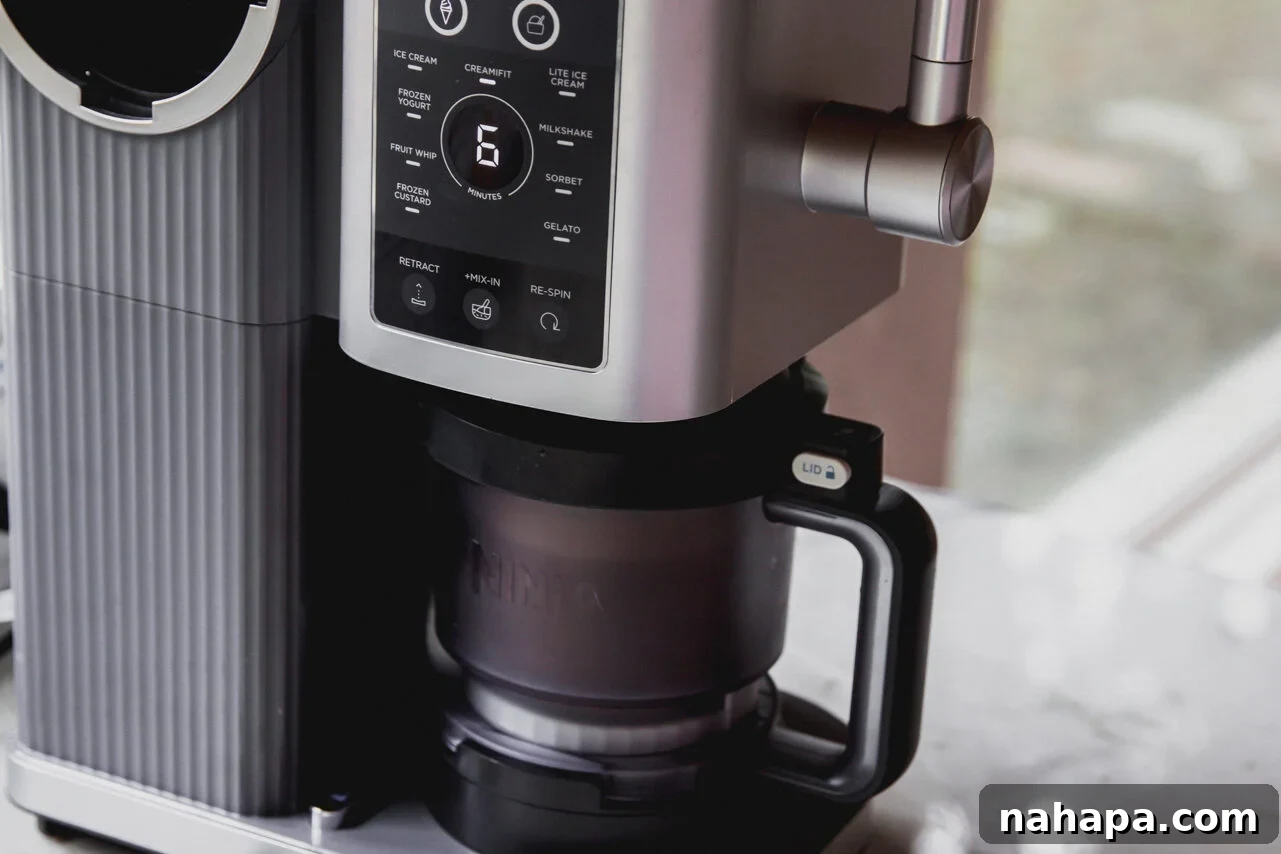
Step Two: Freeze the Mixture. After blending, allow the frothy mixture to sit undisturbed for about 10 minutes. This crucial step lets some of the foam subside. Once the froth has settled, give it a gentle stir to pop any remaining large bubbles and ensure the liquid level is well below the Ninja Creami’s “MAX FILL” line. Secure the lid tightly and place the pint upright in the freezer for at least 24 hours, or until it is completely frozen solid. A thoroughly frozen base is essential for the best results.
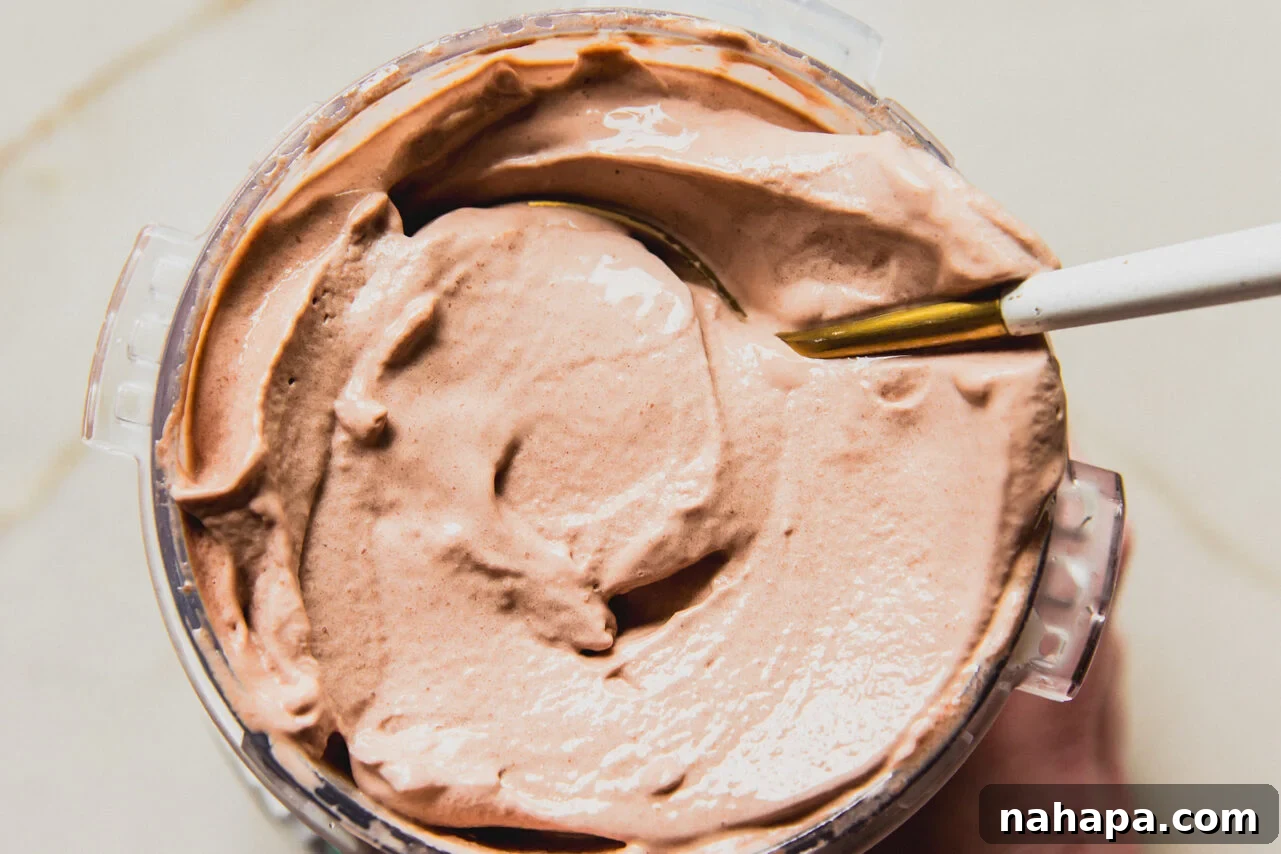
Step Three: Creamify and Re-spin. Once your base is frozen solid (it should not budge when pressed), remove the lid. If there’s a slight dome or bubble in the center, gently chip it away with a fork to ensure a flat, even surface for spinning. Run the outside of the pint under warm water for 30 seconds to loosen it slightly. Place the pint into the outer bowl of your Ninja Creami, attach the lid, and select the “CREAMI FIT” function (or “LIGHT ICE CREAM” for older Ninja Creami models). After the first spin, the texture might still be a bit crumbly. Respin one more time using the same setting for the perfect, creamy consistency. If it’s still not as creamy as desired, add a tiny splash (1-2 tablespoons) of almond milk and respin once more.
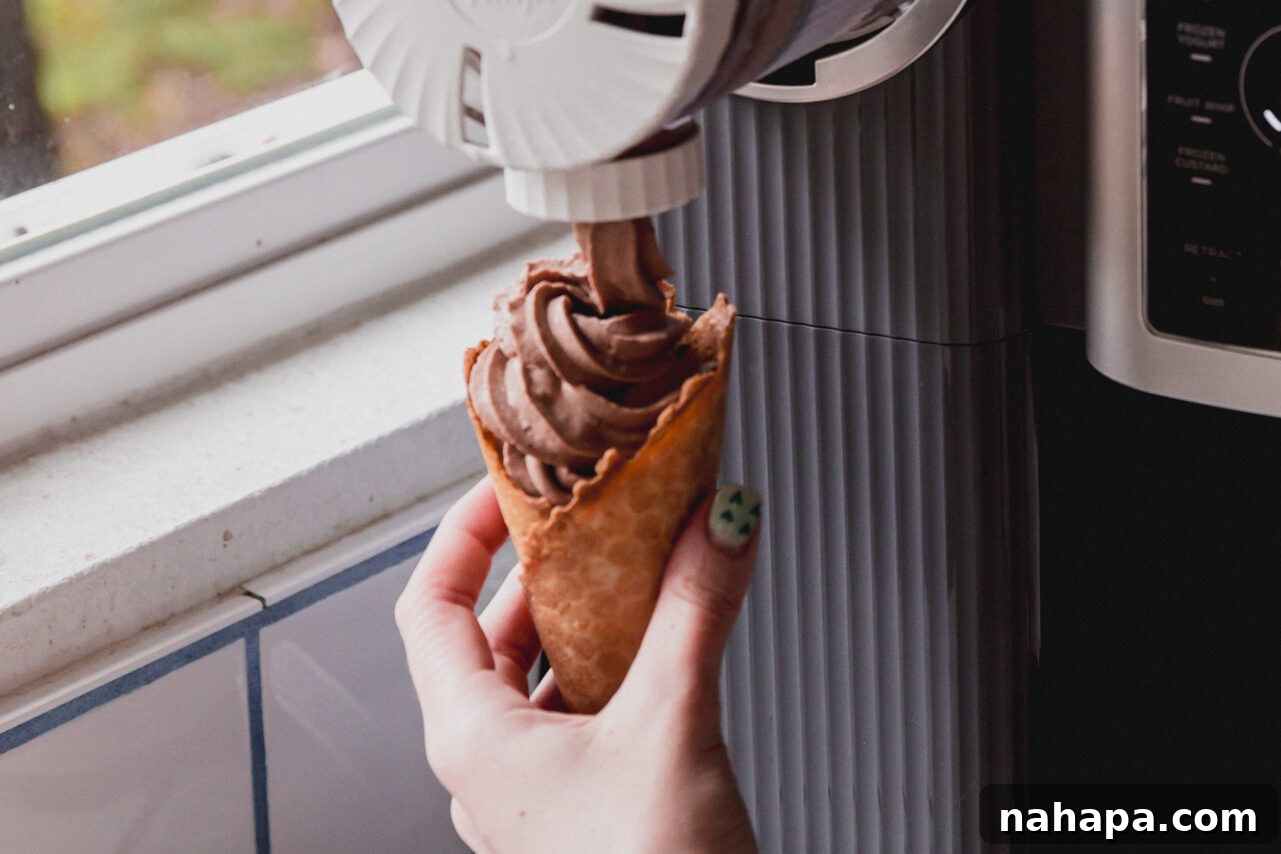
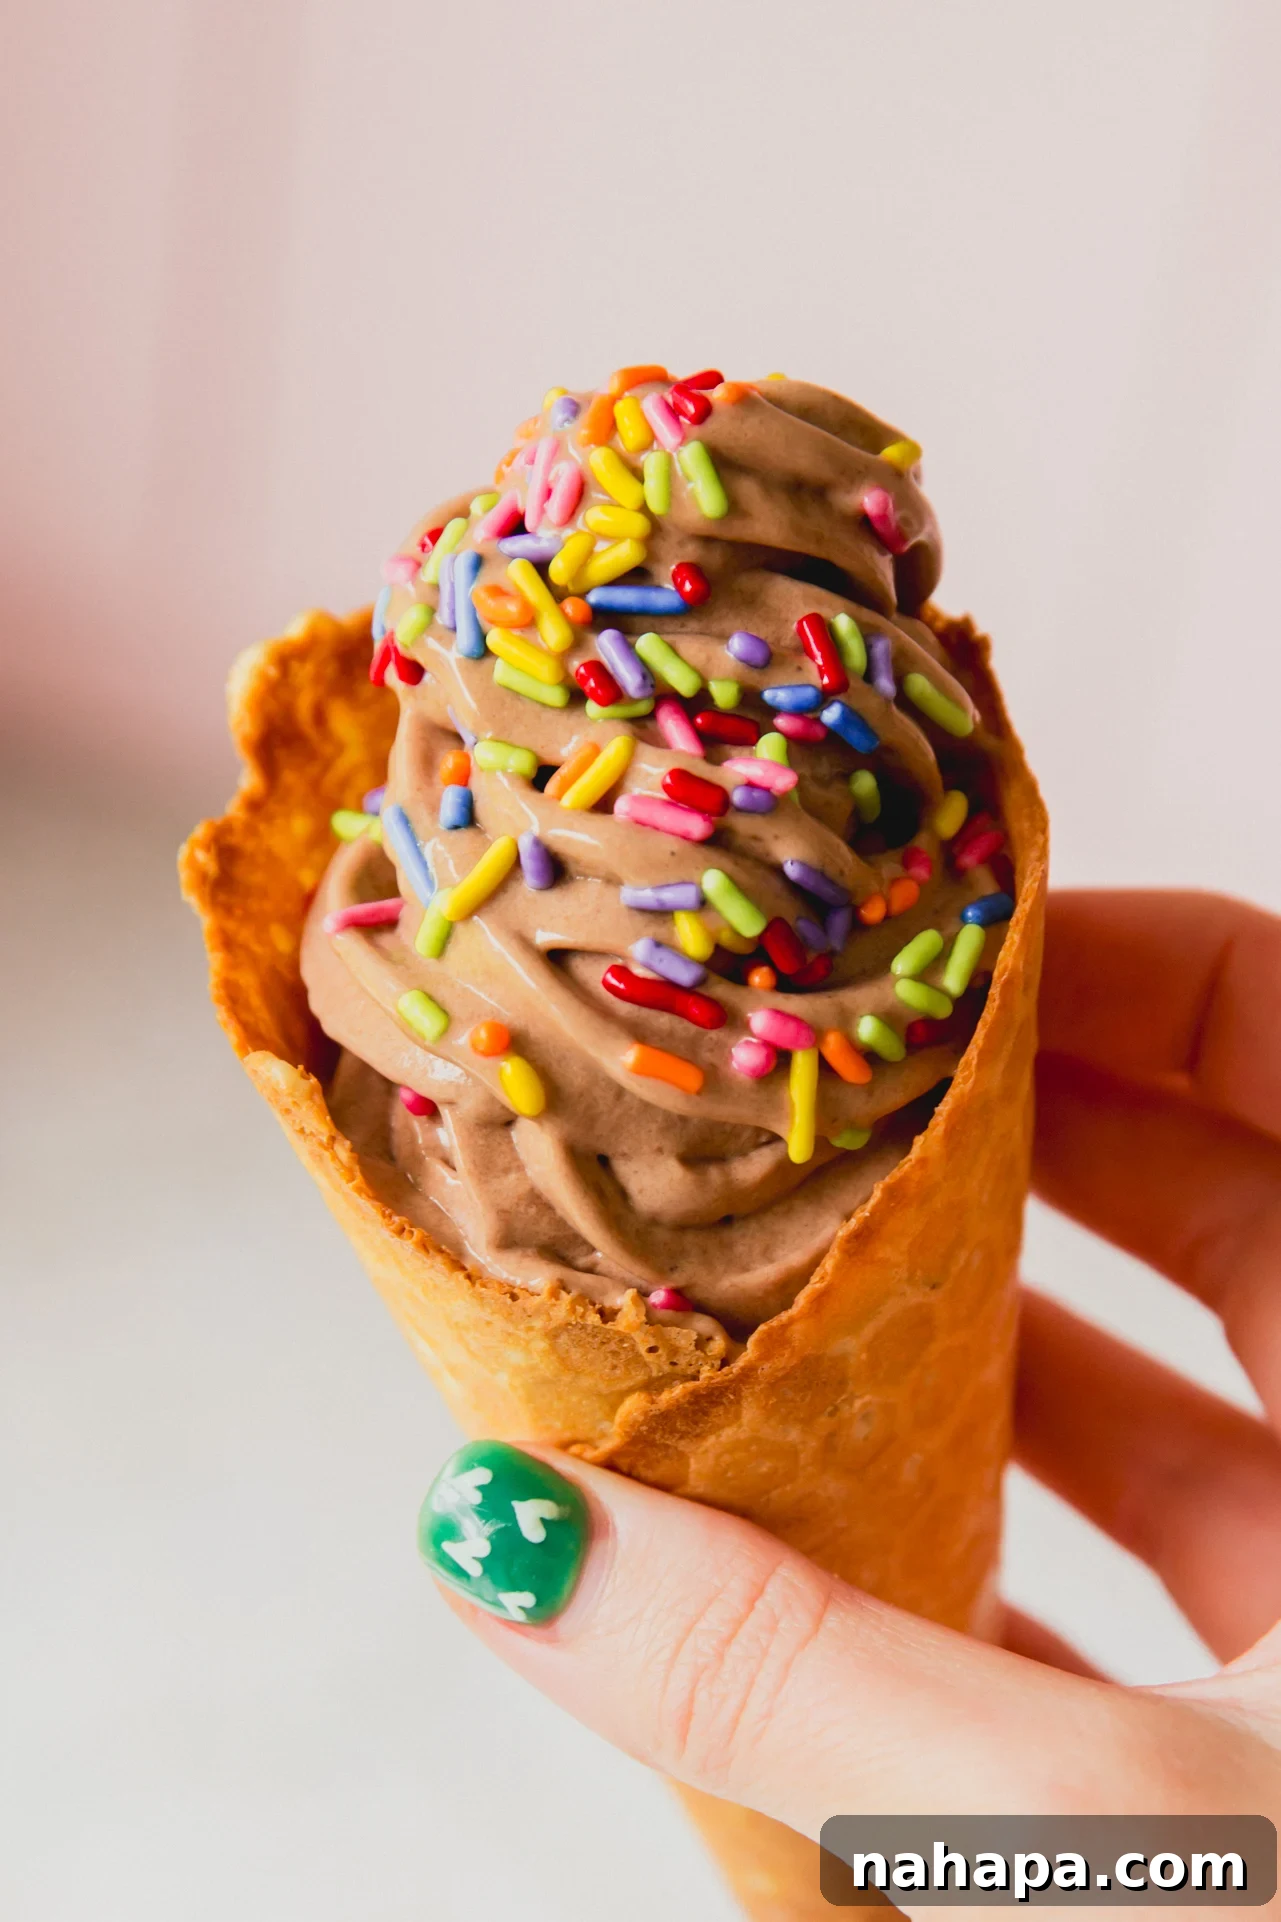
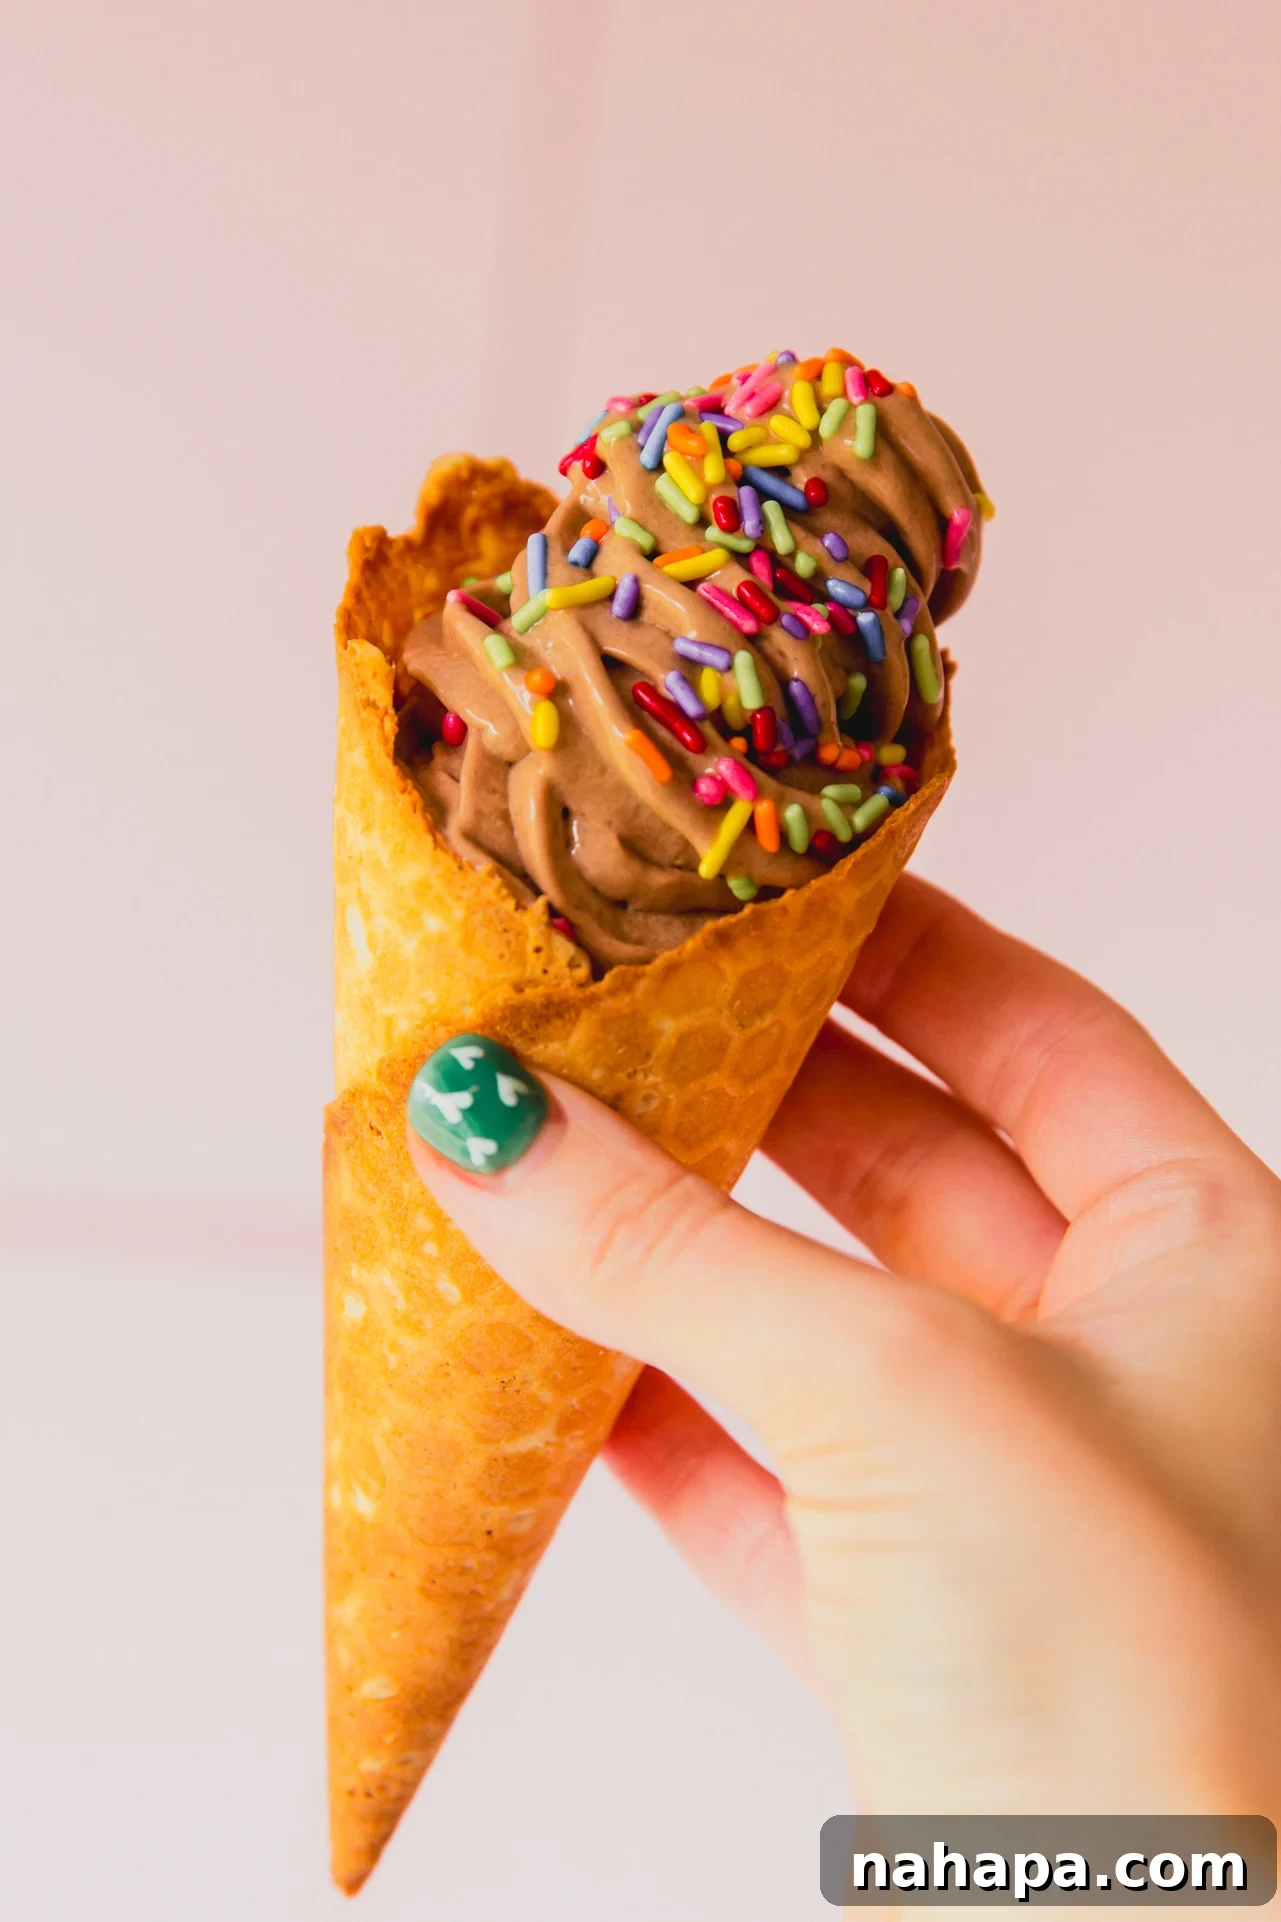
Step Four: Serve and Enjoy! Remove the pint from the outer cup. Now you have a beautifully creamy, dairy-free chocolate protein ice cream! You can scoop it directly into bowls for a classic serving, or for a fun experience, attach the Ninja Creami Swirl accessory (if you have one). Swirl the ice cream into gluten-free cones or cups and adorn with your favorite toppings, such as dairy-free chocolate chips, shredded coconut, or a drizzle of maple syrup. Enjoy your delicious, homemade, healthy treat!
Expert Tips & Tricks for Ninja Creami Success
- Allow Froth to Settle Before Freezing: This is a critical step for perfect results and machine safety. After blending your mixture, it will be very frothy. Freezing a frothy mixture can cause it to expand past the “MAX FILL” line, potentially damaging your Ninja Creami. Allow the liquid to sit for 10-15 minutes for the froth to significantly calm down. Before sealing and freezing, give it a gentle stir to pop any remaining large bubbles and ensure the mixture is well below the fill line.
- Level the Frozen Base: Sometimes, the mixture may freeze with a slight bubble or dome in the center. Before you place the pint into the Ninja Creami, use a fork or a small spoon to gently chip away any raised areas, creating a flat, even surface. This ensures the blade spins smoothly and prevents uneven processing or potential damage to the blade.
- Freeze Solid for at Least 24 Hours: Patience is a virtue when it comes to the Ninja Creami. For the creamiest results, your base needs to be frozen completely solid. A minimum of 24 hours is recommended. If the base isn’t thoroughly frozen, the machine won’t be able to process it correctly, leading to a slushy or uneven texture.
- Warm Water Trick: If your frozen pint seems stuck or too hard to remove the lid after freezing, briefly run the outside of the Ninja Creami pint under warm water for about 30 seconds. This helps to slightly loosen the edges, making it easier to remove the lid and prepare for spinning.
- Don’t Be Afraid to Re-spin: It’s common for Ninja Creami bases, especially those lower in fat, to come out crumbly after the first spin. This is perfectly normal! Always plan for at least one “Re-spin” cycle. If it’s still crumbly after the second spin, add a tablespoon of your chosen milk alternative (almond milk, oat milk) and run another “Re-spin” cycle. This small amount of liquid helps to incorporate and smooth out the mixture without thinning it too much.
- High-Quality Protein Powder Matters: The flavor and texture of your protein powder will significantly impact the final taste of your ice cream. Invest in a dairy-free protein powder that you genuinely enjoy the taste of on its own. Some brands can be gritty or have an artificial aftertaste, which will transfer to your ice cream.
- Proper Storage of Leftovers: If you have any leftover ice cream, transfer it to an airtight container and store it in the freezer. When you want to enjoy it again, it will likely be rock solid. Simply return it to the Ninja Creami pint and “Re-spin” it for a few minutes to restore its creamy texture.
Benefits of Homemade Dairy-Free Protein Ice Cream
Making your own dairy-free chocolate protein ice cream at home offers a multitude of advantages beyond just satisfying a craving. First and foremost, you gain complete control over the ingredients. This means no hidden sugars, artificial flavors, preservatives, or unwanted allergens. For those with dairy sensitivities or dietary restrictions, this peace of mind is invaluable. You can customize the sweetness level, choose your preferred protein source, and select high-quality, natural ingredients that align with your health goals.
Beyond ingredient control, this homemade treat is a fantastic source of protein, crucial for muscle repair, satiety, and overall well-being. It transforms a typically indulgent dessert into a functional food that supports your nutritional needs. Enjoying a high-protein treat can help you feel fuller for longer, reduce unhealthy snacking, and aid in post-workout recovery. Moreover, using the Ninja Creami to create this ice cream is often more cost-effective in the long run than purchasing specialized dairy-free protein ice creams from the store. It’s a delicious, healthy, and budget-friendly way to enjoy a guilt-free dessert anytime!
More Dairy-Free Ninja Creami Recipes to Explore
If you loved this dairy-free chocolate protein ice cream, you’ll be thrilled to discover the endless possibilities the Ninja Creami offers for healthy, allergen-friendly frozen treats. Expand your repertoire with these other fantastic recipes:
- Peppermint Protein Ice Cream
- 2-Ingredient Ninja Creami Mango Sorbet
- Ninja Creami Cookies ‘n’ Cream Milkshake
If you tried this Dairy-Free Chocolate Protein Ice Cream or any other recipe on my blog, please consider leaving a ⭐ star rating and sharing your experience in the 📝 comments section below. Your feedback helps others and is greatly appreciated! Thanks for visiting!
Dairy-Free Chocolate Protein Ice Cream (Ninja Creami)
4 servings
Michelle
This dairy-free chocolate protein ice cream made in the Ninja Creami is truly the best recipe out there! It’s crafted without any pudding mix, yet still achieves an incredibly smooth and creamy texture.
Leave a Review
Pin Recipe
Ingredients
- 1 ½ cup almond milk
- 1 scoop chocolate protein powder
- 2 tbsp vanilla coconut yogurt
- 1 tbsp cocoa powder
- 2 tbsp maple syrup
Equipment
-
1 Ninja Creami Machine
-
1 Ninja Creami Pint Container
-
Milk Frother or Immersion Blender
Instructions
-
Using the Ninja Creami pint cup, pour the almond milk into the base. Add the chocolate protein powder, vanilla coconut yogurt, cocoa powder, and maple syrup. Use a milk frother (or immersion blender) to blend well until there are no clumps remaining.
-
The mixture will be very frothy initially. Wait about 10 minutes for the froth to subside significantly. Gently mix again to pop any remaining bubbles, ensuring the mixture does not pass the Ninja Creami’s fill line. Add the lid and freeze upright for a full 24 hours until completely solid.
-
Once fully frozen, run the outside of the pint cup under warm water for 30 seconds to loosen the edges. Remove the lid and check that the frozen base is flat; gently chip away any central dome if present. Place the pint into the outer bowl and attach the Creami lid. Use the “CREAMI FIT” function (or “LIGHT ICE CREAM” for original Ninja Creami models) and spin. For the perfect creamy texture, respin one more time. If it still seems crumbly, add a splash (1-2 tbsp) of almond milk and respin again.
-
Remove the pint from the outer cup. You can now scoop your delicious ice cream into bowls, or for an added flair, use the Ninja Creami Swirl attachment. Swirl into cones or cups and add your favorite toppings!
Notes
I typically split this recipe into 4 servings, especially when serving it with a cone. If enjoying just the ice cream in a bowl, I might opt for 2 servings. Adjust the serving size to fit your preferences and dietary goals!
If your frozen mixture has a bubble or dome in the center after freezing, gently chip away at it with a fork before spinning. This helps ensure even blending and prevents potential damage to the blade.
Calories: 72kcal,
Carbohydrates: 10g,
Protein: 6g,
Fat: 2g,
Saturated Fat: 0.3g,
Polyunsaturated Fat: 1g,
Monounsaturated Fat: 1g,
Cholesterol: 9mg,
Sodium: 157mg,
Potassium: 109mg,
Fiber: 2g,
Sugar: 7g,
Vitamin A: 0.3IU,
Calcium: 184mg,
Iron: 0.2mg
Did you Make this Recipe?
Tag @unboundwellness on Instagram and hashtag #unboundwellness!