
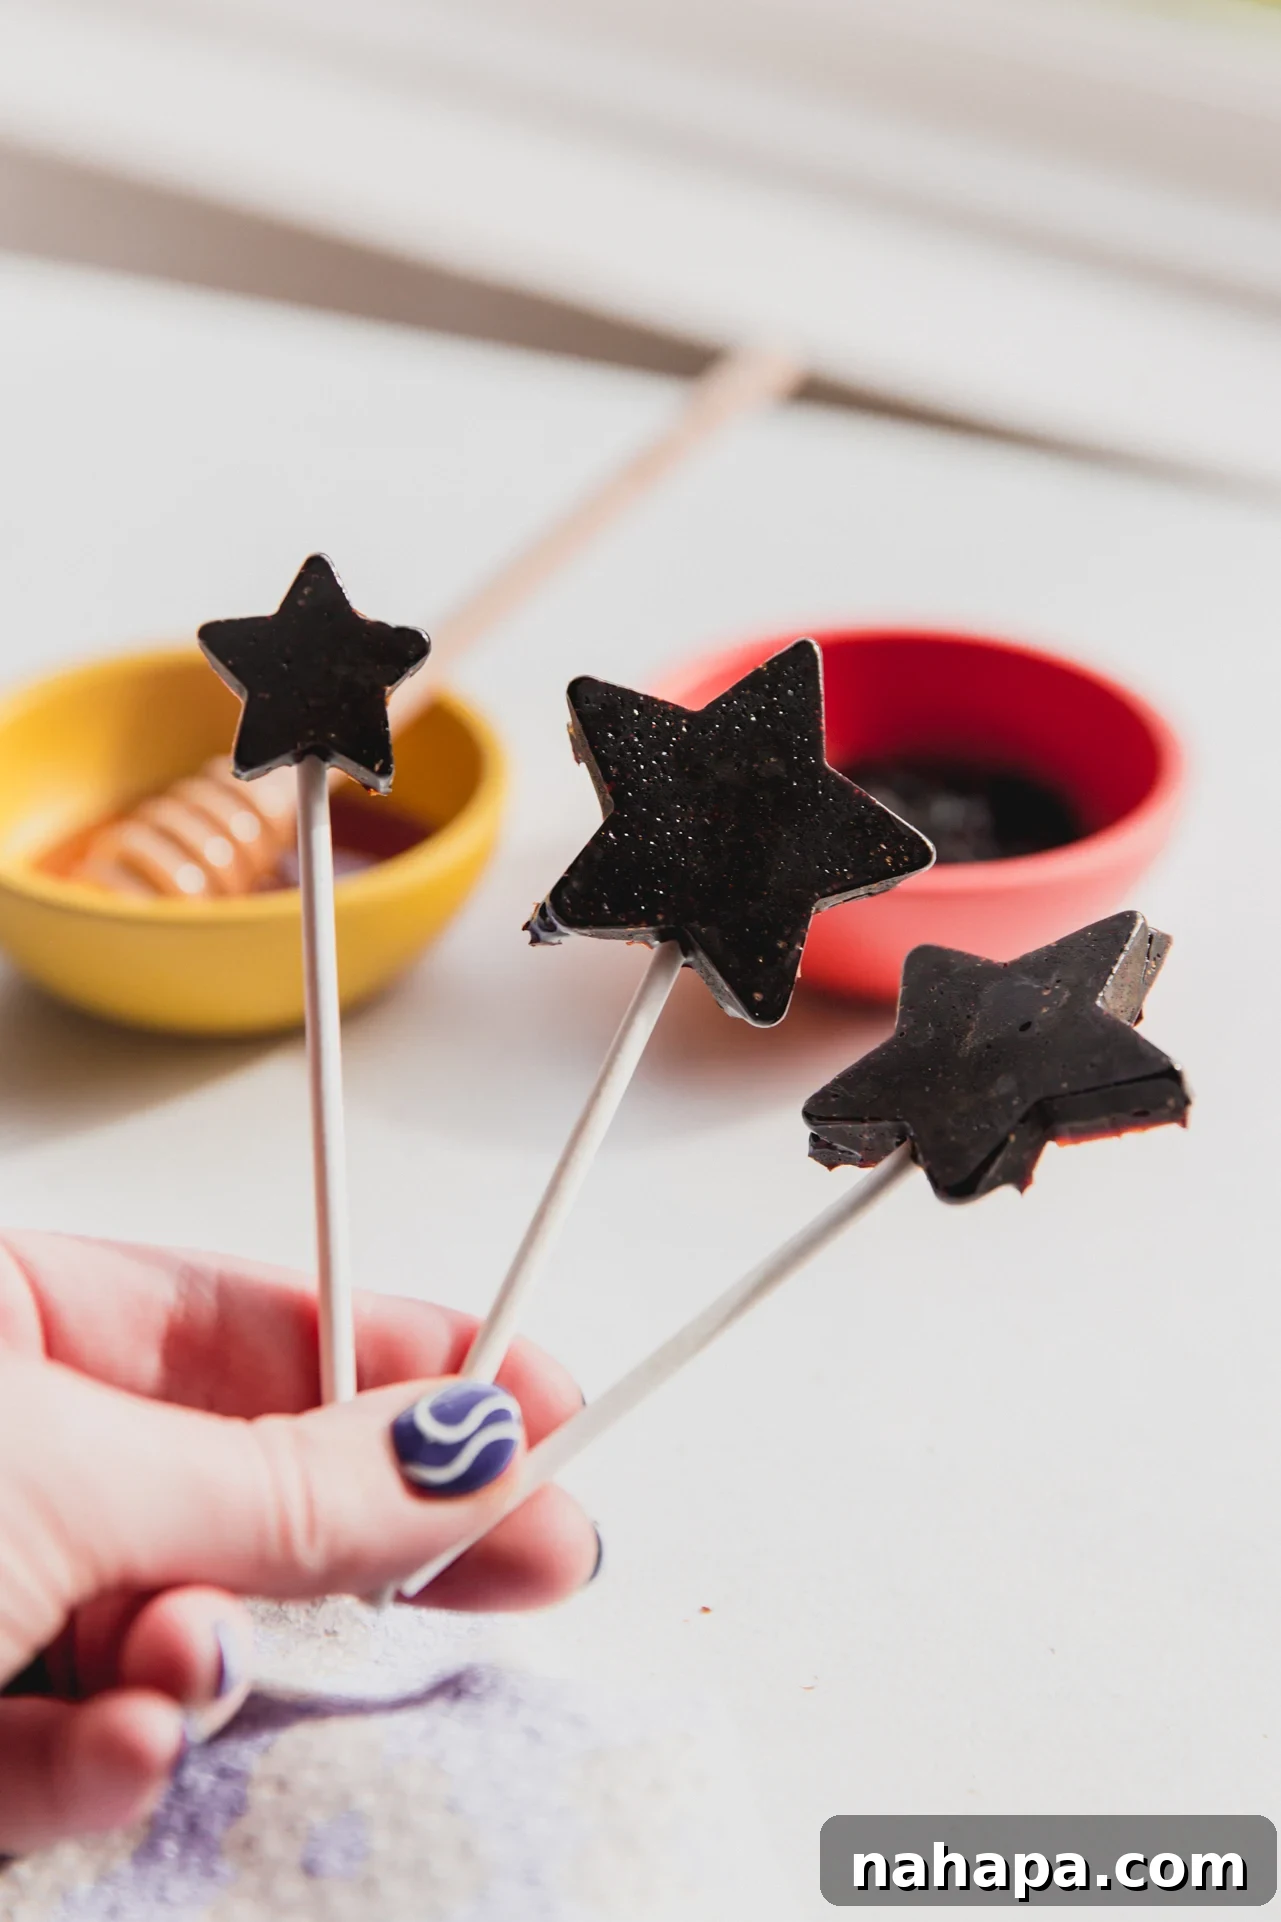
These homemade elderberry lollipops are not just a sweet treat; they’re a clever, comforting, and remarkably easy way to support your family’s wellness, especially when the colder months bring their usual challenges. Crafted with just two wholesome ingredients – elderberry syrup and honey – these delightful confections offer a natural boost when you need it most. Forget artificial additives and complicated recipes; this simple yet effective approach turns a traditional remedy into a fun, palatable experience for all ages (above one year, of course!).
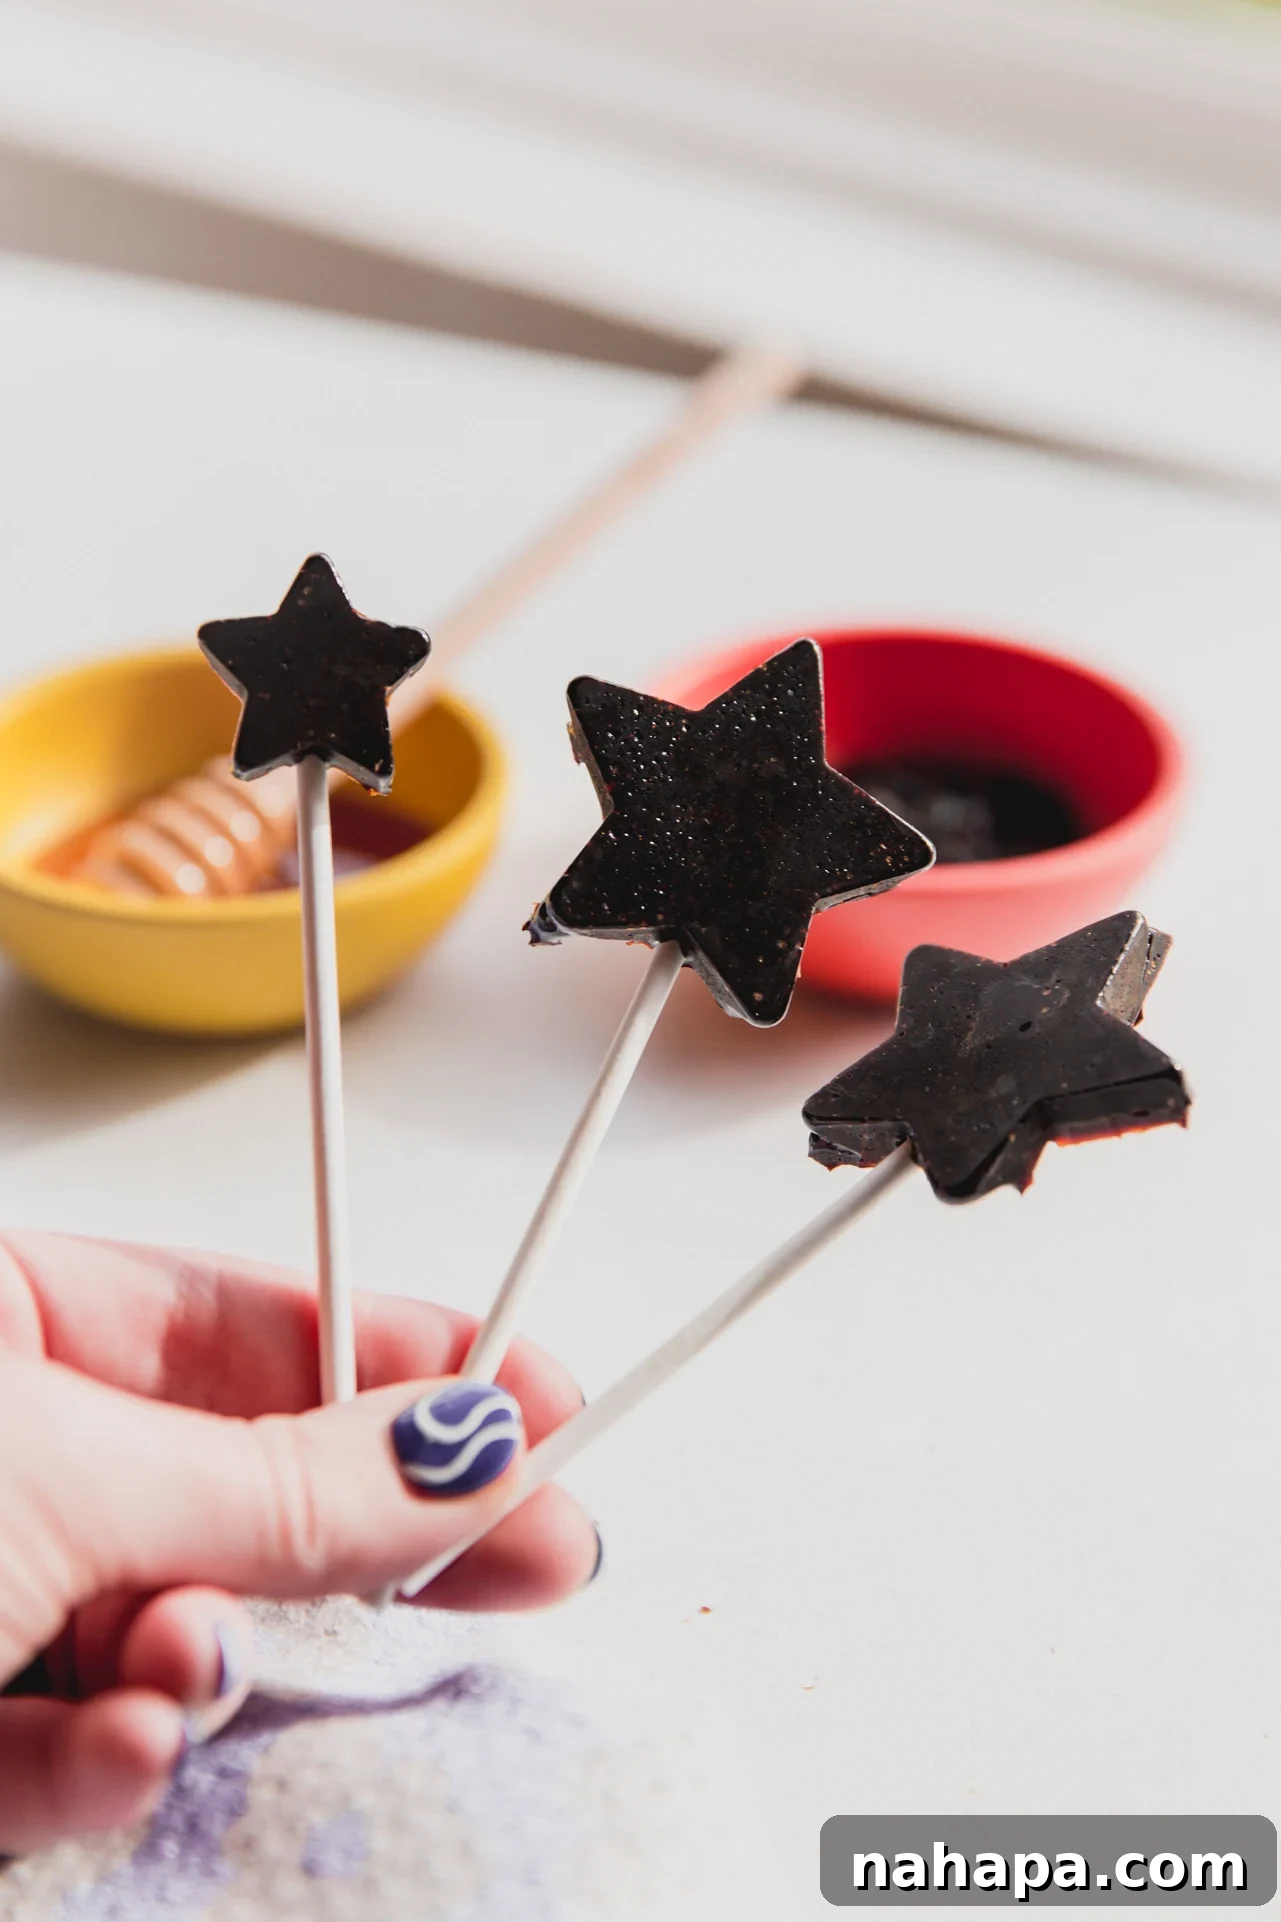
Winter often feels like a relentless gauntlet of sniffles and coughs, a period exacerbated by holiday travel, social gatherings, and kids attending school or daycare. While nothing replaces fundamental health practices like consistent hydration, nutrient-rich meals, adequate sleep, and diligent handwashing, I’ve found that a little extra immune support can make a significant difference. Elderberry syrup has long been my go-to for this, and transforming it into a lollipop form makes it even more appealing, especially for picky eaters. It’s a win-win: a delicious treat that also delivers potential wellness benefits.
These elderberry syrup lollipops are incredibly easy to prepare and are an ideal, proactive addition to your winter wellness arsenal. They’re perfect for keeping on hand throughout the season!
Table of contents
- What are the benefits of elderberry syrup lollipops?
- Essential Recipe Ingredients
- Creative Modifications & Flavor Boosters
- Indispensable Recipe Tools
- How to make Homemade Elderberry Lollipops: A Step-by-Step Guide
- Expert Tips & Tricks for Lollipop Success
- Understanding Elderberry Dosage
- Elderberry & Autoimmune Conditions: What You Need to Know
- Frequently Asked Questions About Elderberry Lollipops
What are the benefits of elderberry syrup lollipops?
Elderberry has been revered for centuries in traditional medicine, particularly for its potential to support the immune system. When crafted into a lollipop, this powerful berry becomes an even more practical and enjoyable way to incorporate its goodness. Here’s why these lollipops stand out:
- Aiding in Cold Recovery: One of elderberry’s most well-known attributes is its potential to shorten the duration and alleviate the severity of common colds. For instance, a notable study involving travelers demonstrated promising results: “Travellers using elderberry from 10 days before travel until 4–5 days after arriving overseas on average experienced a 2-day shorter duration of the cold and also noticed a reduction in cold symptoms.” (SOURCE). As a busy parent, any natural method that can help my family bounce back faster from seasonal sniffles is invaluable. Lollipops make this remedy more approachable and less of a chore.
- Effortless Elderberry Consumption: Let’s be honest, drinking straight elderberry syrup, while effective, can be quite potent and sometimes less appealing, especially for children. Lollipops transform this into a delightful experience. The slow dissolution of a lollipop means the elderberry flavor is enjoyed gradually, making it a much more pleasant way to consume the syrup. This can be particularly beneficial for children who might resist liquid supplements, turning a health routine into a fun treat.
- Unleash Your Creativity with Customization: Store-bought elderberry lollipops often come in limited flavors and shapes. Making them at home, however, opens up a world of possibilities! You have complete control over the ingredients, ensuring they are free from unwanted artificial colors, flavors, or high-fructose corn syrup. Plus, you can choose fun, appealing shapes (like stars!) and easily incorporate additional natural flavors, allowing you to tailor them precisely to your family’s preferences. This personalization not only makes them more enjoyable but also ensures you know exactly what’s going into them.
Essential Recipe Ingredients
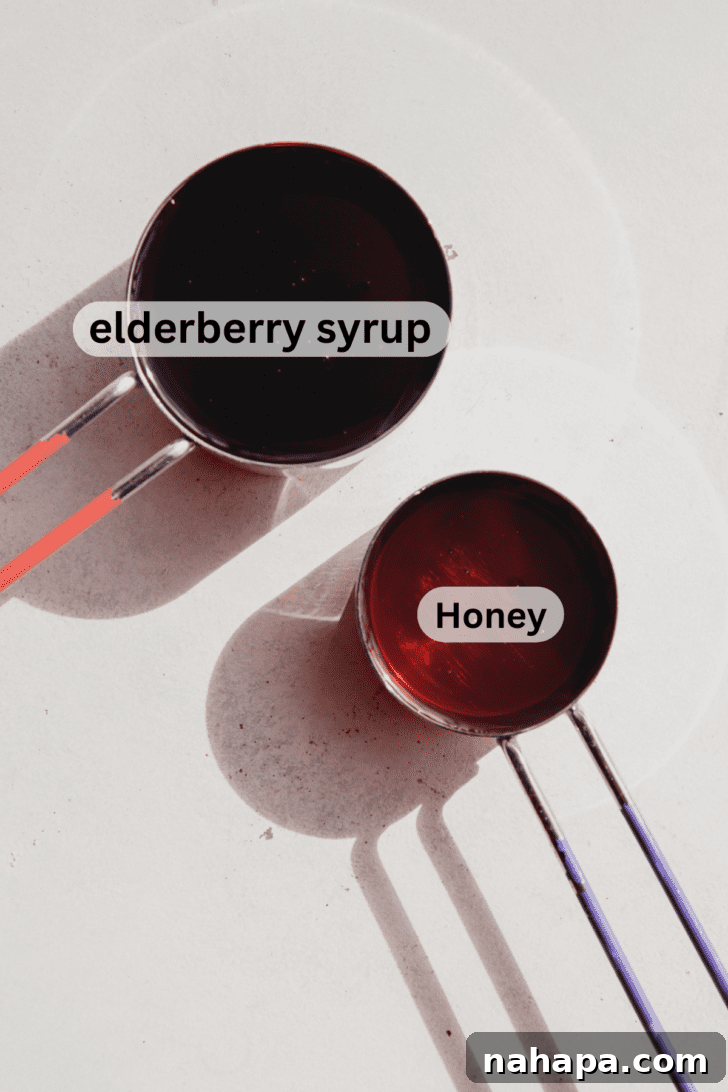
The beauty of this recipe lies in its simplicity, requiring just two core ingredients that work synergistically to create a beneficial and delicious treat.
- Elderberry Syrup: This is the star ingredient, providing the potent properties of elderberry. You have a couple of options here. For ultimate convenience, you can use a high-quality premade elderberry syrup. Many commercial syrups already include natural flavorings like honey, lemon, or cinnamon, which can enhance your lollipops. Alternatively, if you prefer a completely homemade approach and have more control over the ingredients, you can follow a recipe for homemade elderberry syrup. I often use the syrup recipe found in my elderberry syrup gummy recipe, which is simple and effective.
- Honey: Beyond its natural sweetness, honey acts as the binding agent that gives these lollipops their delightful hard candy texture. Opt for raw, local honey if possible, as it may offer additional local allergen benefits and boasts a richer, more complex flavor profile. Honey is also known for its own soothing properties, making it an excellent partner to elderberry. Ensure you’re using real honey, not artificial substitutes, for the best results and health benefits.
Creative Modifications & Flavor Boosters
While the basic two-ingredient recipe is fantastic on its own, adding a few simple modifications can elevate the flavor and introduce additional wellness benefits. Consider these options to customize your elderberry lollipops:
- Fresh Grated Ginger: For an invigorating kick and extra immune-boosting power, consider adding fresh grated ginger. Ginger not only enhances flavor with its warm, spicy notes but is also renowned for its anti-inflammatory and digestive properties. However, a little goes a long way, especially when making lollipops for children, as ginger can be quite “punchy.” Use your discretion and take your family’s taste preferences into account. A small amount can add a lovely warmth without overpowering the elderberry.
- Ground Cinnamon: A teaspoon of dried ground cinnamon can introduce a comforting, aromatic depth to your lollipops. Cinnamon is a warming spice, perfect for winter, and it’s also known for its antioxidant properties. Its sweet and woody flavor pairs beautifully with elderberry and honey, creating a more complex and inviting taste that hints at cozy holiday spices.
- Bright Orange Zest: For a vibrant burst of citrus, zest about 1/4 of an orange directly into the mixture. Orange zest provides a fresh, tangy counterpoint to the sweetness of honey and the deep flavor of elderberry. Beyond taste, citrus zest contains beneficial essential oils and a hint of vitamin C, adding another layer of wholesome goodness. Ensure you only zest the brightly colored outer layer, avoiding the bitter white pith.
- A Hint of Clove or Nutmeg (Optional): For an even richer, spicier lollipop, a tiny pinch (1/4 teaspoon) of ground clove or nutmeg can be added, particularly if you’re making these for adults. These spices are potent, so use sparingly to avoid overwhelming the other flavors.
Indispensable Recipe Tools
Making lollipops might sound intimidating, but with the right tools, it’s a straightforward and enjoyable process. These key pieces of equipment will ensure your success:
- Candy Thermometer: This is arguably the most crucial tool for candy making, including lollipops. A reliable candy thermometer takes all the guesswork out of reaching the precise “hard crack” stage (300°F or 149°C), which is essential for perfect, non-sticky lollipops. Without it, you risk either soft, chewy candies or burnt sugar. It’s an investment that pays off for many sweet creations, from these lollipops to homemade marshmallows like those used in my gluten-free s’mores bars.
- Lollipop Molds: While you can technically pour hot candy onto parchment paper, molds provide consistent shapes and make the process much neater. I adore using star-shaped lollipop molds because they add a playful touch, but any silicone lollipop mold will work. Silicone molds are fantastic because they are non-stick and flexible, making it incredibly easy to pop out the finished lollipops without breakage. Ensure your molds come with slots for lollipop sticks.
- Lollipop Sticks: Don’t forget these! They are essential for turning your hard candy into true lollipops. Paper or plastic sticks both work well.
- Heavy-Bottomed Saucepan: A sturdy, heavy-bottomed pot (preferably stainless steel or copper) is vital for even heat distribution and preventing the sugar mixture from burning. Avoid thin-bottomed pots, which can cause hot spots and lead to uneven cooking. As a safety note, avoid glass pots for candy making, as they can shatter under high, direct heat.
- Heat-Safe Spatula or Whisk: For stirring the mixture gently and evenly as it heats.
How to make Homemade Elderberry Lollipops: A Step-by-Step Guide
Creating these immunity-boosting elderberry lollipops is a straightforward process that yields delicious results. Follow these simple steps, accompanied by photos, for perfect lollipops every time. You can find the full, detailed instructions in the recipe card below.
Step one. Prepare your molds and combine ingredients. Before you start cooking, make sure your lollipop molds are ready with sticks inserted halfway into each cavity. Set them aside on a flat, heat-proof surface. Then, combine the elderberry syrup and honey in a heavy-bottomed saucepan. Stir gently to ensure they are well mixed before heating.
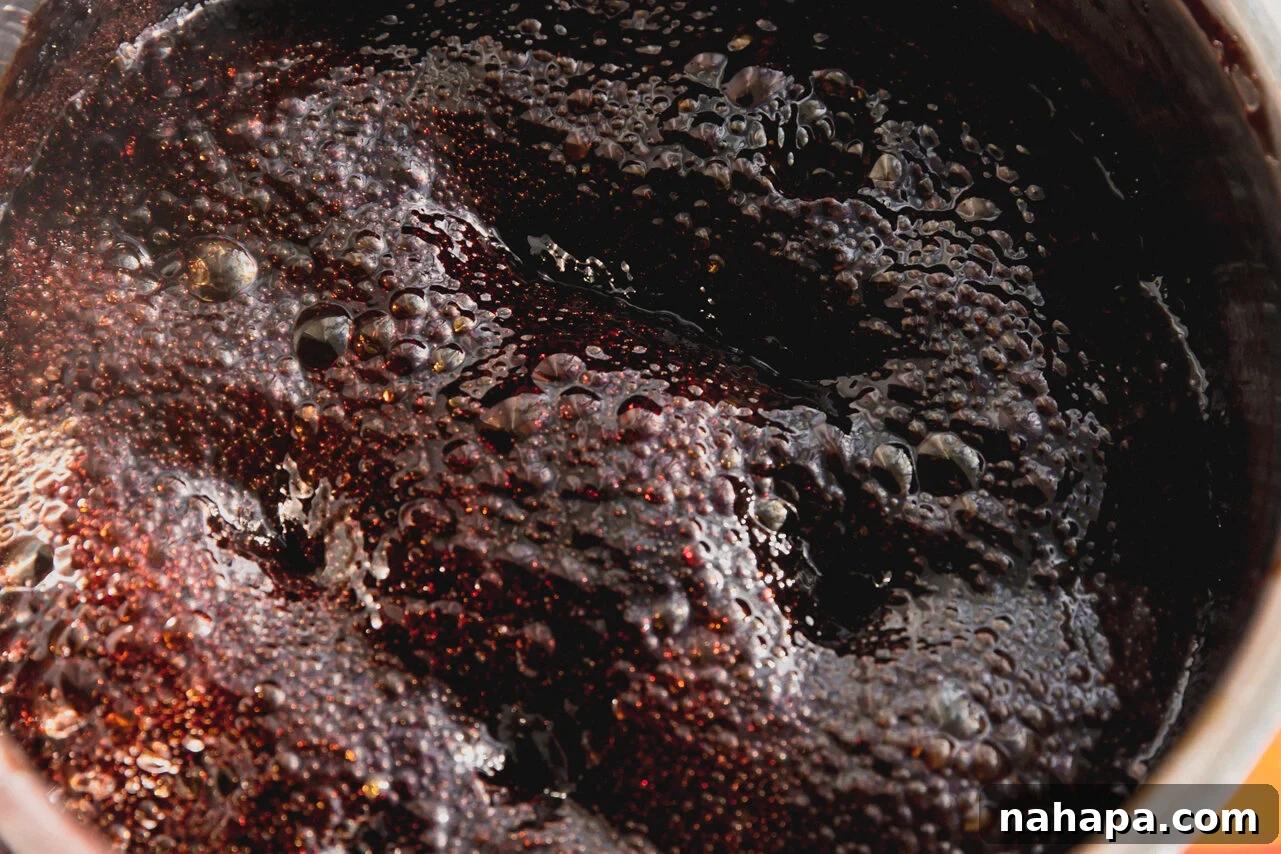
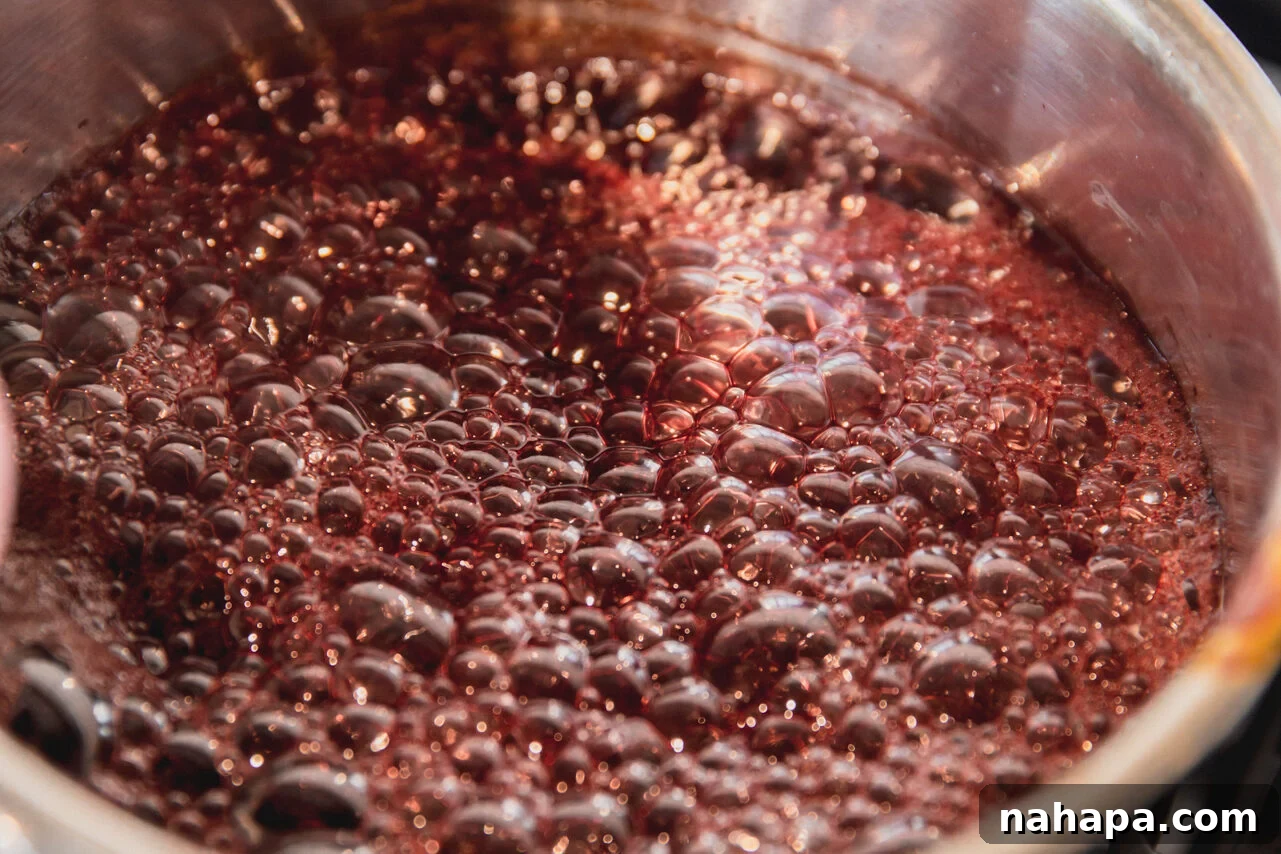
Step two. Heat to the hard crack stage. Place the saucepan on the stove and clip a candy thermometer to the side, ensuring the tip is submerged but not touching the bottom of the pot. Begin heating over medium-low heat, gradually increasing to medium. Stir the mixture *often* to prevent scorching and ensure even cooking. The mixture will begin to bubble and thicken, a process that typically takes about 20-25 minutes. You are aiming for the “hard crack stage,” which is precisely 300°F (149°C) on your candy thermometer.

Step three. Carefully pour into molds. Once the mixture reaches 300°F, immediately remove the pot from the heat. Working quickly and with extreme caution (the syrup will be very hot!), use a ladle or a heat-resistant measuring cup to spoon the hot syrup into each cavity of your prepared lollipop molds. Don’t worry if a little syrup spills outside the mold; these excess bits can be easily cracked off once cooled. Ensure the lollipop sticks are well-seated in the poured syrup.
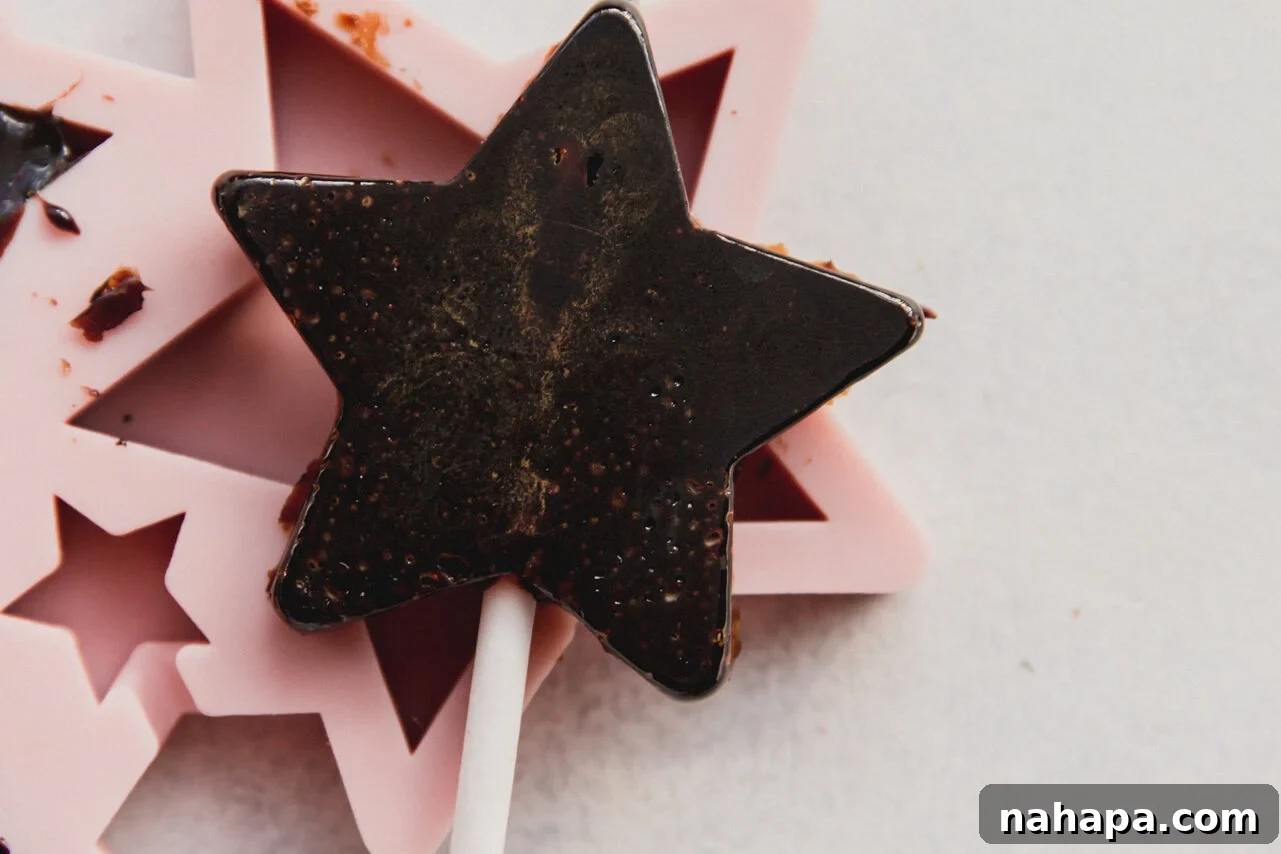
Step four. Chill and enjoy! Once all the molds are filled, carefully transfer them to the refrigerator. Allow the lollipops to set and cool completely for at least one hour. Once firm, gently remove them from the molds. They should pop out easily thanks to the flexibility of silicone. Your homemade elderberry lollipops are now ready to be enjoyed! Store them properly to maintain freshness, as detailed in the tips section.
Expert Tips & Tricks for Lollipop Success
Crafting perfect elderberry lollipops is simple with a few key pointers in mind. These tips will help ensure your success and keep everyone safe while enjoying these delightful treats:
- Critical Safety Warning: No Honey for Infants & No Hard Candy for Toddlers! This is paramount: honey should absolutely NOT be given to babies under one year of age due to the risk of infant botulism. Furthermore, hard candies like lollipops are a significant choking hazard for small children and toddlers. These lollipops are intended for older children and adults. Always supervise children when they are consuming hard candies.
- Consult Your Pediatrician: When introducing any new food or supplement, especially those with medicinal properties like elderberry, it is always recommended to consult with your pediatrician. They can advise on the appropriate age, dosage, and safety for your children’s specific health needs and developmental stage.
- Choose the Right Cookware: A heavy-bottomed, stainless steel pot is your best friend for candy making. It distributes heat evenly and helps prevent the syrup from burning. Resist the temptation to use glass cookware for this recipe. While visually appealing, glass pots can shatter under the intense, direct heat required for reaching the hard crack stage, posing a significant safety risk.
- Prevent Sticking with Starch: For optimal storage and to prevent your lollipops from sticking together, individual wrappers (like small plastic bags or parchment paper squares) are ideal, just as you’d find with store-bought lollipops. If you notice any stickiness even after wrapping, a very thin dusting of arrowroot starch or cornstarch on the surface of the lollipops before wrapping can help tremendously. This creates a delicate barrier that prevents them from fusing together in storage.
- Work Quickly and Carefully: The syrup cools and hardens rapidly once removed from the heat. Have all your molds and sticks ready, and work efficiently when pouring the mixture. Always prioritize safety – use oven mitts or heat-resistant gloves when handling the hot pot and pouring the syrup.
- Clean Up Made Easy: Don’t despair over the sugar residue left in your pot! To easily clean any stubborn, stuck-on sugar, simply add some water to the pot and bring it to a boil on the stove. The boiling water will dissolve the hardened sugar, making it effortless to clean afterwards.
Understanding Elderberry Dosage
While elderberry is a natural remedy, understanding appropriate dosages is crucial for safe and effective use. As always, the most important piece of advice is to always talk to your doctor or a qualified healthcare professional before starting any new supplement, especially for children or individuals with existing health conditions.
General guidelines often suggest 1 tablespoon of elderberry syrup for adults and 1 teaspoon for children. However, it’s vital to remember that these are just general recommendations, and the actual “dose” you receive from a lollipop depends entirely on its size and the concentration of elderberry syrup used in the recipe. If you’re incorporating these lollipops for specific wellness goals, it’s essential to consider the volume of your molds and how much elderberry syrup each finished lollipop contains to approximate an appropriate serving size. This might mean adjusting the size of your lollipops or limiting daily consumption based on your healthcare provider’s advice. Always prioritize professional medical guidance over general recommendations, particularly concerning children’s health.
Elderberry & Autoimmune Conditions: What You Need to Know
For many, elderberry is a cherished tool for immune support. However, for individuals living with autoimmune diseases, elderberry can present a unique consideration. The very mechanism that makes elderberry beneficial for boosting immune response – its ability to stimulate the immune system – can potentially have an adverse effect in autoimmune conditions.
In people with autoimmune diseases, the immune system mistakenly attacks healthy body tissues. Introducing something that further “stimulates” the immune system could theoretically exacerbate this response, potentially leading to a flare-up of symptoms or an unwanted immune reaction (source). Therefore, if you or a family member has an autoimmune disease, it is absolutely crucial to talk to your doctor or rheumatologist before considering elderberry in any form, including these lollipops.
Personally, as someone who manages an autoimmune disease, I make these elderberry lollipops for the rest of my family to enjoy their potential benefits, but I exercise caution and avoid them myself, adhering to my doctor’s advice. Always prioritize personalized medical advice when dealing with autoimmune conditions.
Frequently Asked Questions About Elderberry Lollipops
When stored correctly in an airtight container in the refrigerator, your homemade elderberry lollipops can remain fresh and delicious for several weeks. The key is preventing moisture and air exposure, which can cause them to become sticky or degrade over time.
To maintain their hard texture and prevent stickiness, wrap each individual lollipop tightly in plastic wrap or a small square of parchment paper. Then, place all the wrapped lollipops in a larger airtight container before storing them in the refrigerator. This multi-layered approach helps keep them dry and firm.
While a candy thermometer provides the most accurate and reliable results, it is possible to make lollipops without one using the “cold water test.” To do this, when you think your syrup is nearing the hard crack stage (after simmering for about 20-25 minutes), carefully drop a very small amount of the hot syrup into a glass of ice-cold water. Let it sit for a few seconds, then remove it with a fork. If the syrup immediately hardens into brittle threads that easily crack when bent, it has reached the hard crack stage (300°F). If it’s still pliable, continue cooking and re-test.
Cleaning a pot with hardened sugar can seem daunting, but it’s quite simple! Just add enough water to cover the stuck sugar residue at the bottom of the pot, then bring the water to a boil on the stove. The boiling water will gradually dissolve the hardened sugar, allowing you to easily pour it out and clean the pot normally.
Sticky lollipops usually indicate that the syrup did not reach the correct temperature (300°F / hard crack stage) or that there’s too much humidity in the air. Ensuring you use a reliable candy thermometer and cook the mixture to the precise temperature is crucial. High humidity can also cause hard candy to absorb moisture, leading to stickiness, so try to make them on a dry day if possible.
While this recipe specifically calls for honey, which adds its own unique flavor and texture, other sugars like granulated sugar or maple syrup can be used in lollipop recipes. However, the ratios and cooking temperatures might vary slightly, and the final flavor profile will be different. For this particular elderberry lollipop recipe focusing on natural wellness benefits, honey is the recommended sweetener and binder.
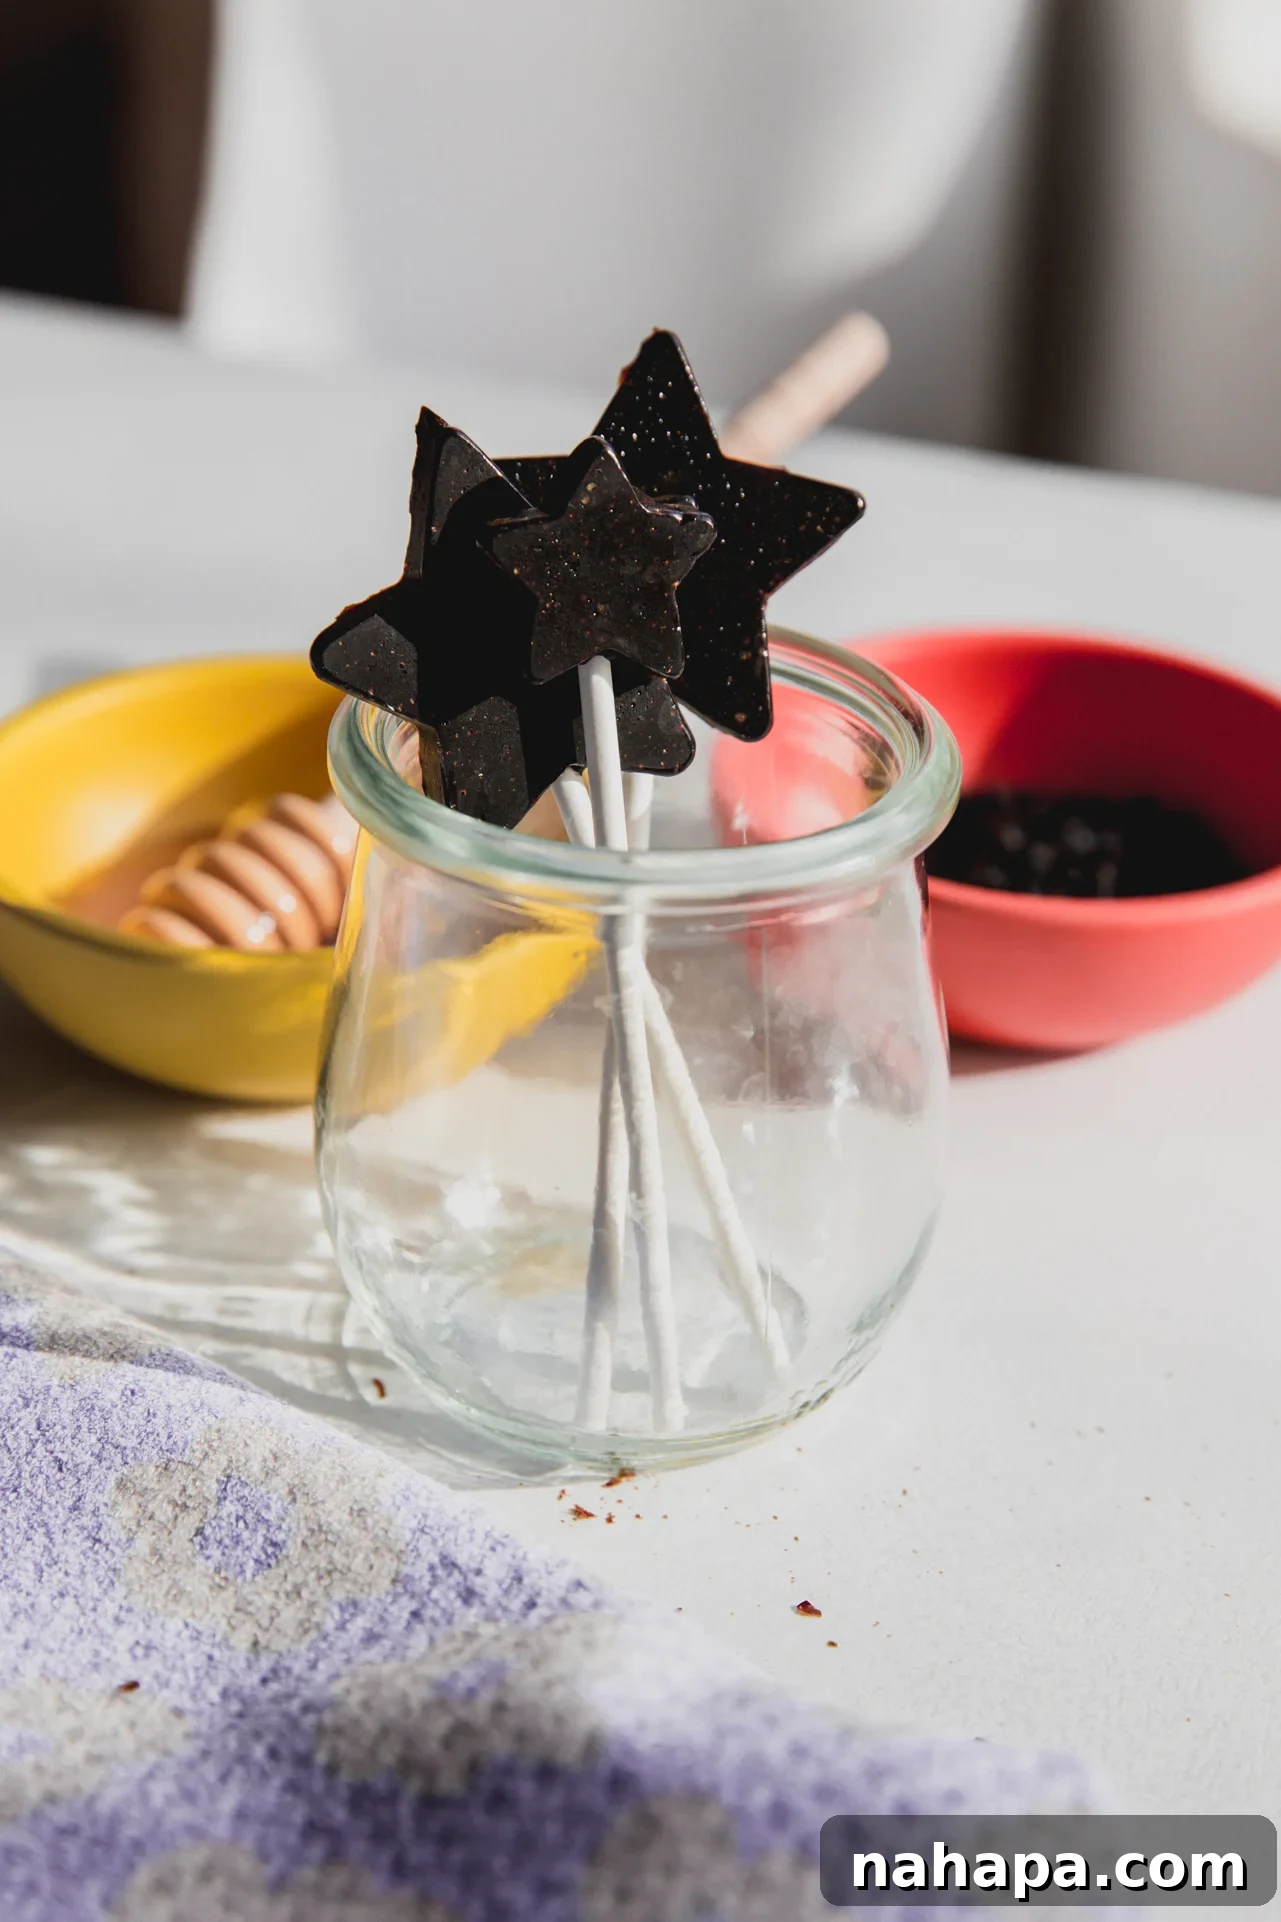
If you tried these Elderberry Lollipops or any other recipe on my blog, please consider leaving a 🌟 star rating and sharing your experience in the 📝 comments below. Your feedback helps others and is greatly appreciated! Thanks for visiting!
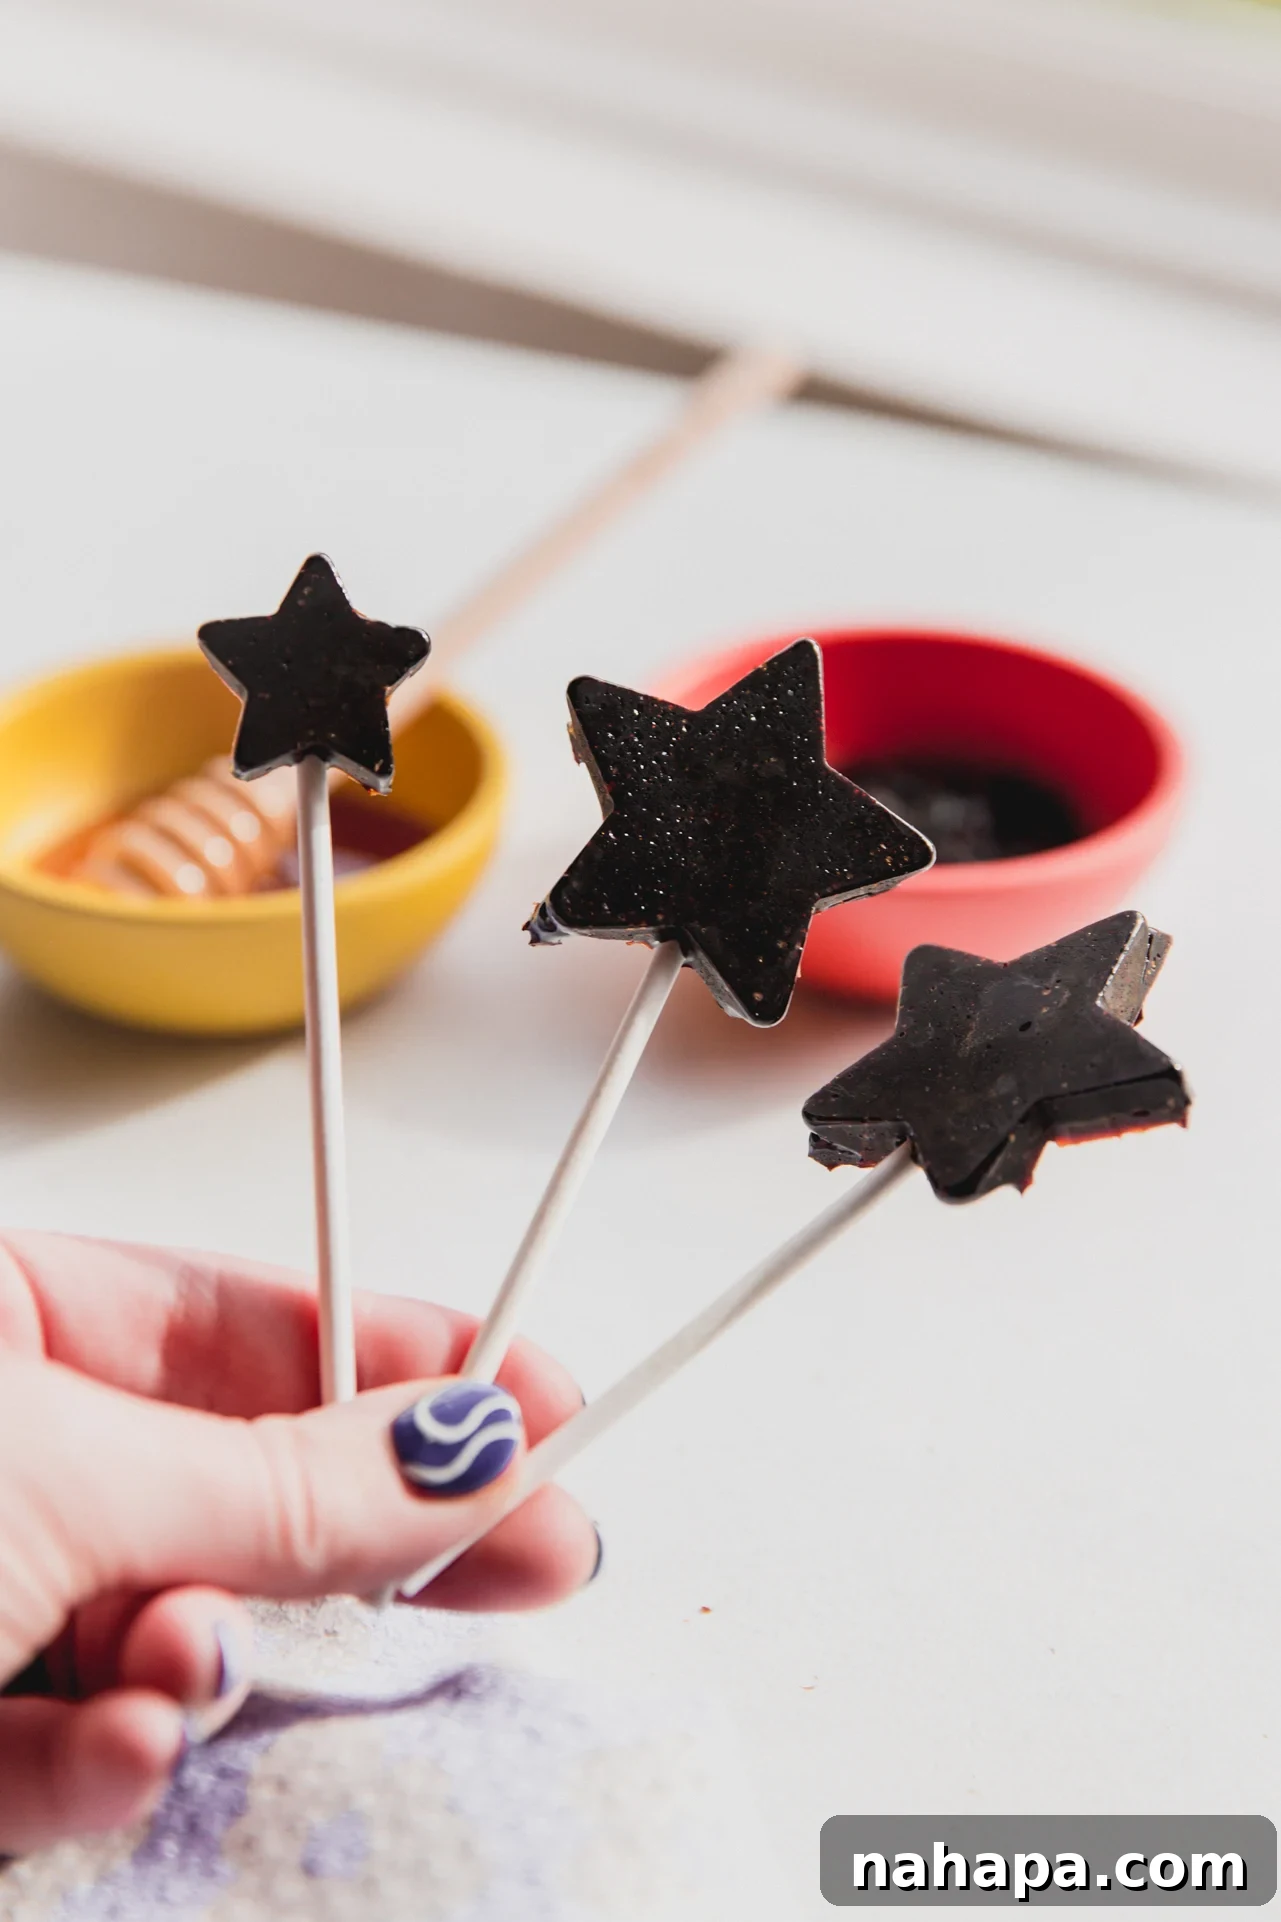
Homemade Elderberry Lollipops
Want to save this recipe for later?
Just drop your name and email below, and we’ll send it straight to your inbox! ✉️
Ingredients(Servings: 6 Lollipops)
- ½ cup elderberry syrup, see notes for options
- ¼ cup honey
- 1 thumb grated ginger, optional, for added flavor
- 1 tsp ground cinnamon, optional, for warmth
- ¼ orange zest orange zest, optional, for citrus notes
Instructions
- Prepare your lollipop molds by inserting the lollipop sticks about halfway through each mold cavity. Set the prepared molds aside on a heat-proof surface.
- In a heavy-bottomed saucepan, combine the elderberry syrup and honey. If adding optional grated ginger, ground cinnamon, or orange zest, stir them in now. Gently stir to ensure all ingredients are well-combined.
- Attach a candy thermometer to the side of the pot, ensuring the tip is submerged in the mixture but not touching the bottom. Place the pot over medium-low heat, then gradually increase to medium. Stir the mixture frequently to prevent scorching. The mixture will begin to bubble and thicken, a process that typically takes 20-25 minutes. Continue heating until the thermometer reads precisely 300°F (149°C), which is the “hard crack stage.”
- Immediately remove the pot from the heat once it reaches the target temperature. Working quickly and with extreme caution (the syrup is very hot!), use a ladle or a heat-resistant measuring cup to carefully spoon the hot syrup into each prepared lollipop mold cavity. Don’t worry if a small amount of syrup overflows; it will easily snap off once cooled.
- Once all molds are filled, carefully transfer them to the refrigerator. Allow them to set and cool completely for at least one hour. Once firm, gently remove the lollipops from their molds.
- For best freshness and to prevent stickiness, store the lollipops individually wrapped in plastic or parchment paper, then place them in an airtight container in the fridge. Enjoy your homemade immune-boosting treats!