This post contains affiliate links
Delicious Homemade Pumpkin Spice Almond Butter Cups: Your Allergy-Friendly Halloween Treat
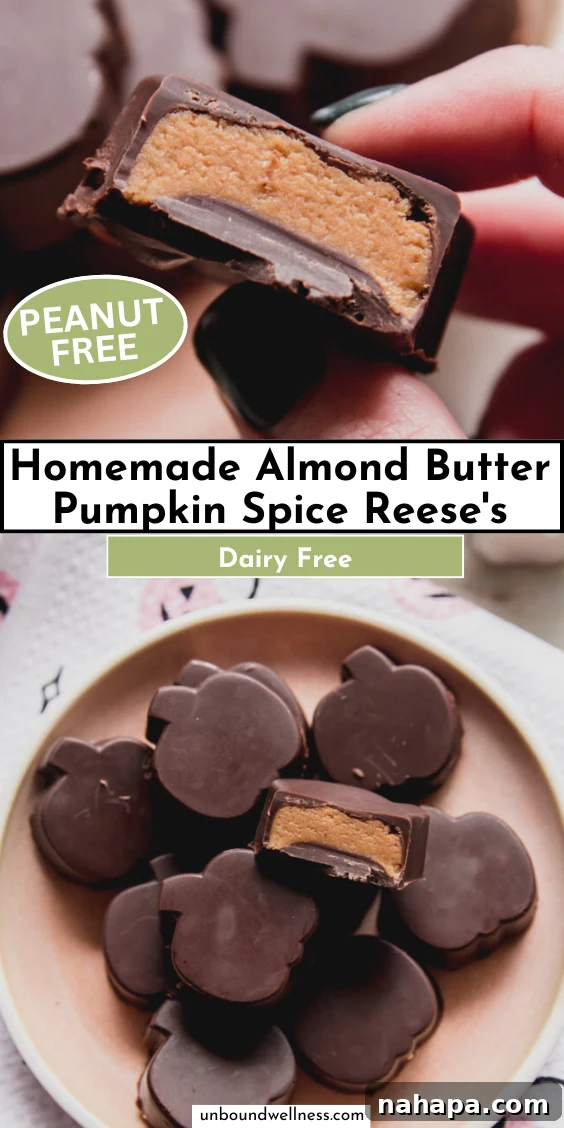
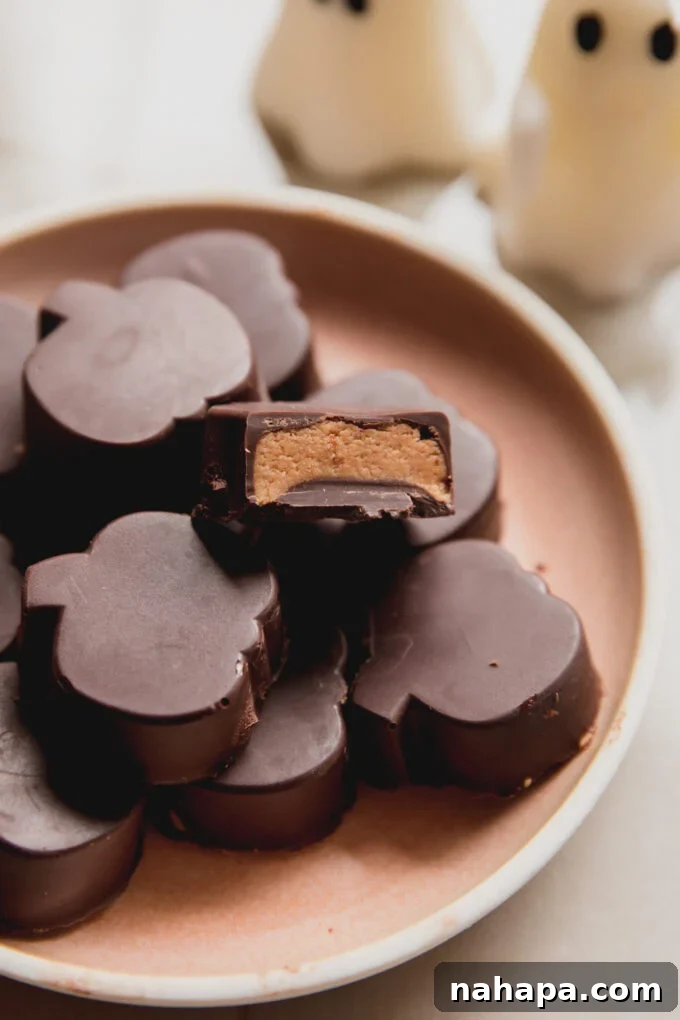
As the vibrant colors of autumn unfold and the scent of pumpkin spice fills the air, thoughts invariably turn to Halloween and its delightful parade of treats. For many, Reese’s Peanut Butter Cups stand out as an undeniable classic, a beloved staple of any trick-or-treat bag. However, for those navigating peanut allergies, dairy sensitivities, or gluten intolerance, traditional Halloween candies can often be off-limits. This year, we’re changing the game with a recipe that brings all the nostalgic joy of a Reese’s cup into an allergen-friendly package. Introducing our Homemade Pumpkin Spice Almond Butter Cups – shaped like adorable pumpkins, infused with the comforting warmth of pumpkin spice, and completely free from peanuts and dairy.
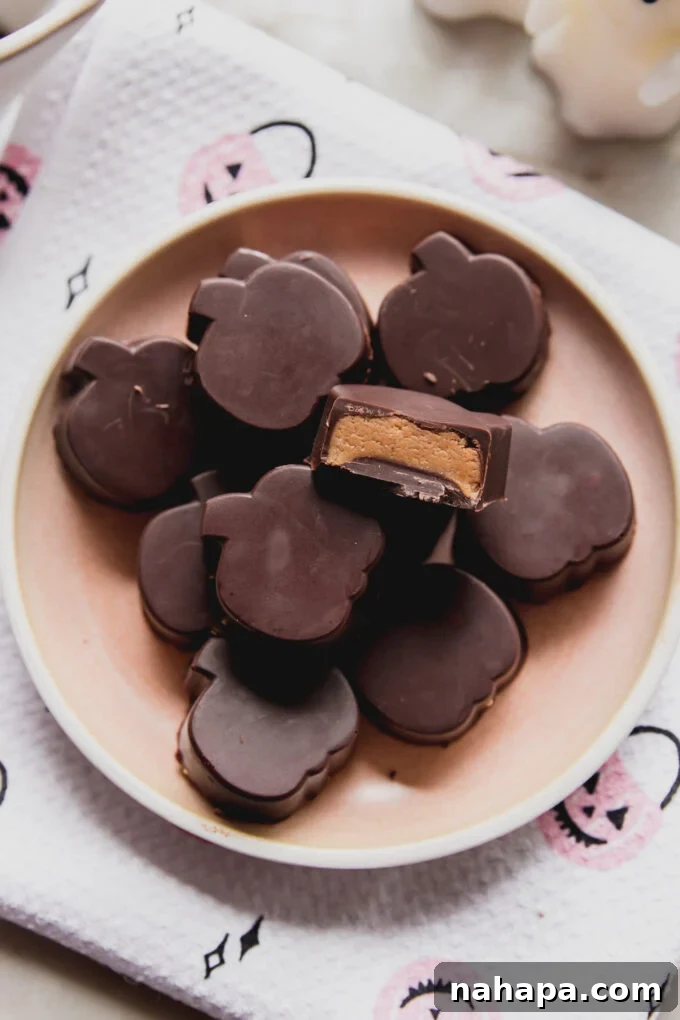
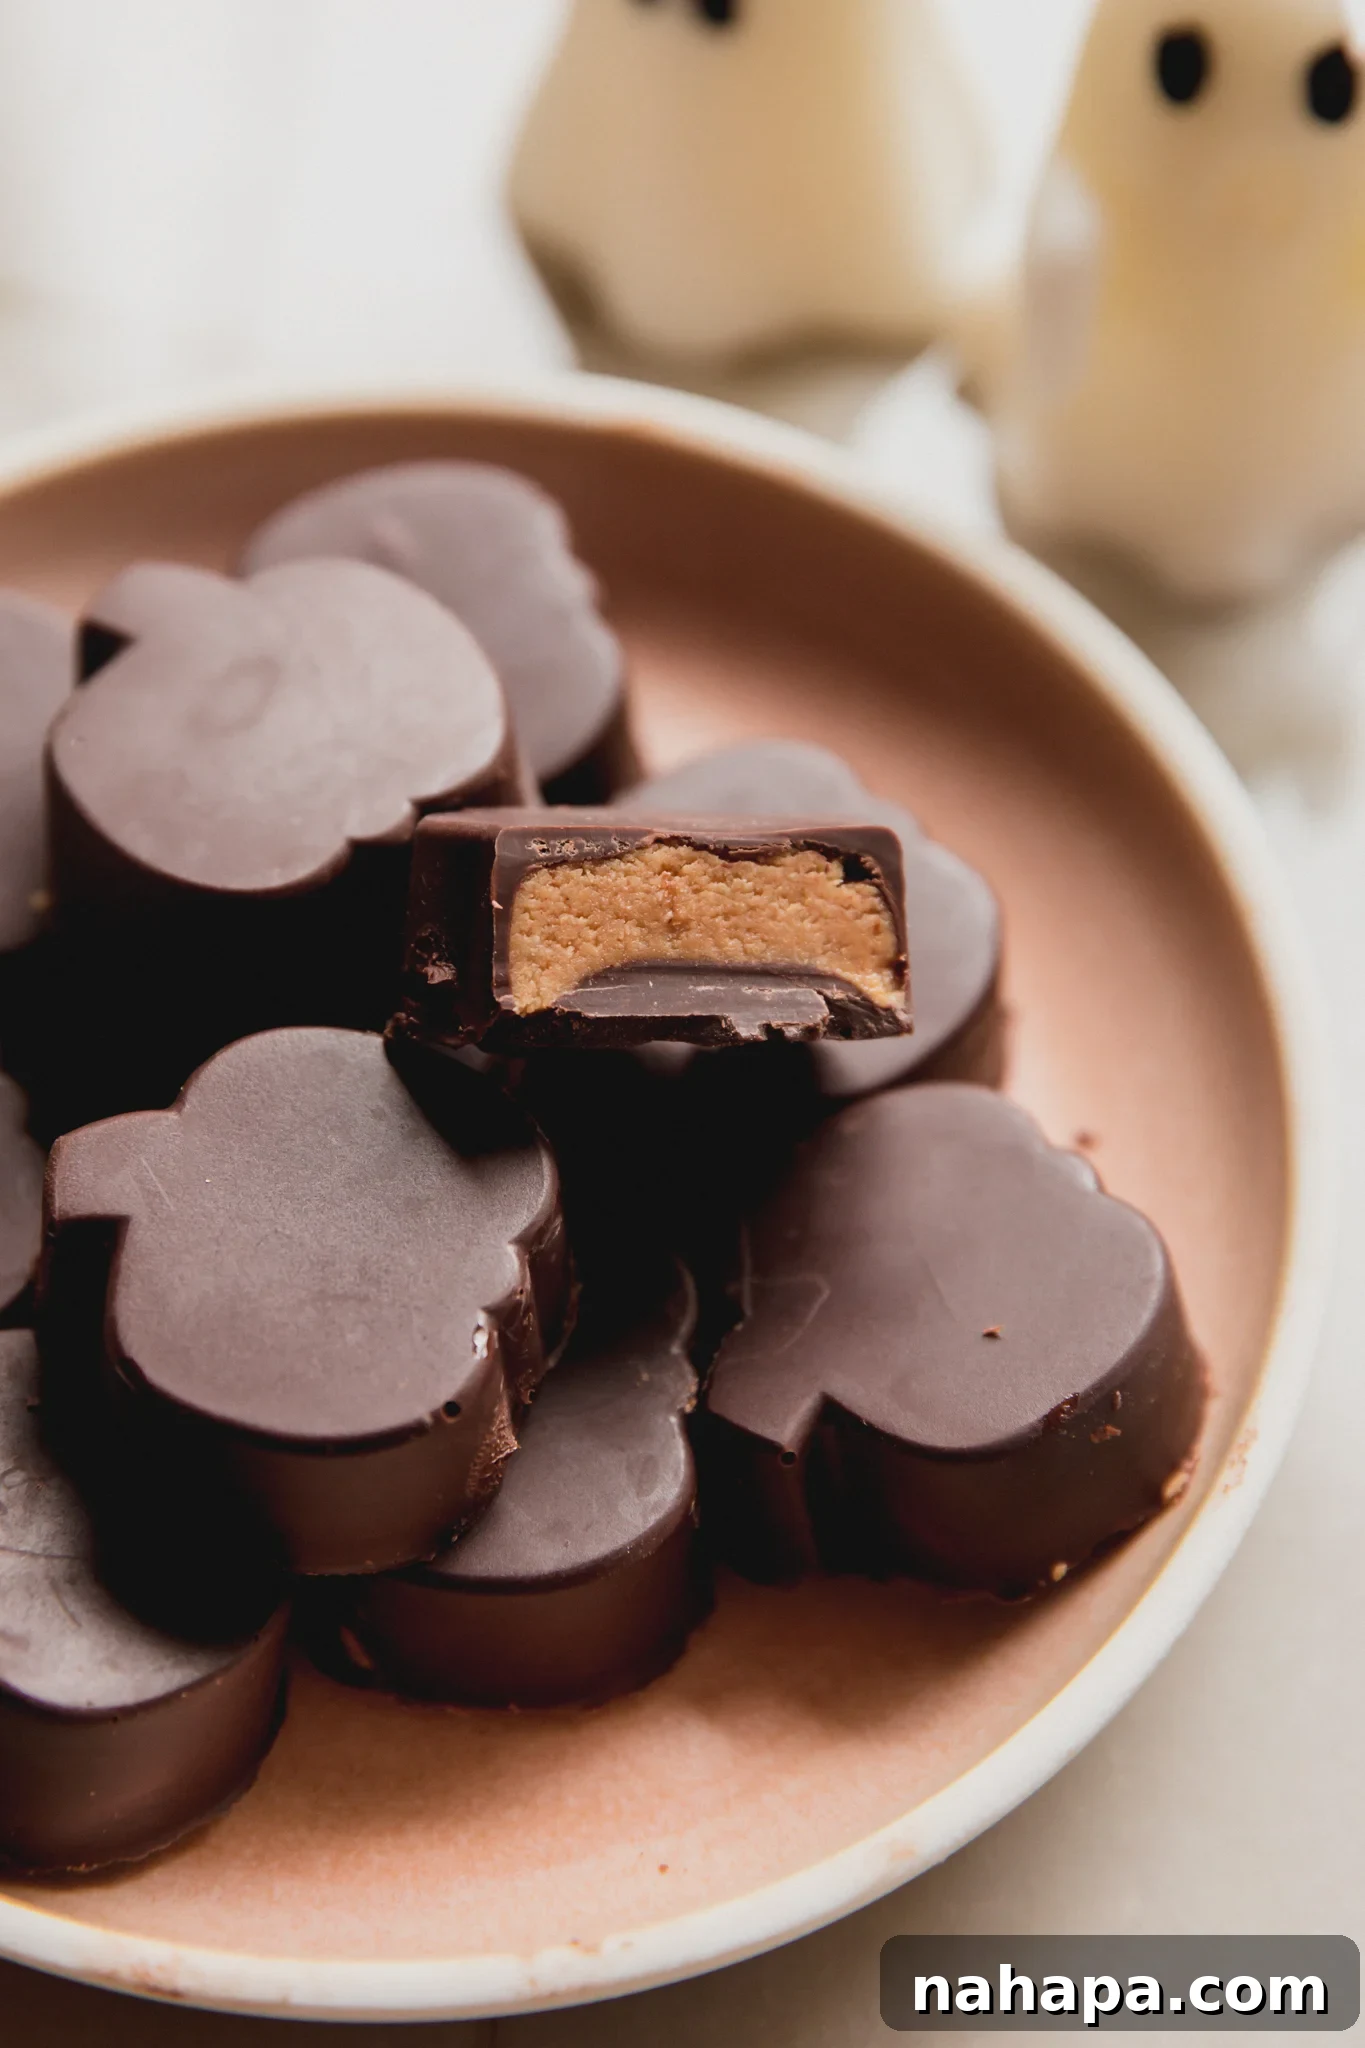
There’s a special kind of magic in seasonal Reese’s, isn’t there? From the charming egg shapes at Easter to the festive Christmas trees, and of course, the iconic pumpkins of Halloween, these candies add an extra layer of fun to any holiday. The simple yet irresistible combination of creamy nut butter enveloped in a smooth chocolate coating is pure bliss. This year, fueled by a desire to create more inclusive and wholesome Halloween options, we made it our mission to develop copycat candy recipes that capture that classic taste without the common allergens. Our rendition is not only peanut-free and dairy-free, but also boasts a subtle hint of seasonal pumpkin spice, making it the perfect autumn indulgence that everyone can enjoy.
Why These Allergy-Friendly Almond Butter Cups Are a Must-Try
Prepare to fall in love with these homemade treats! They offer a delightful twist on a classic, making them perfect for your Halloween festivities or any time you crave a comforting, guilt-free snack.
- A Dream for Allergy Sufferers: The biggest draw of these almond butter cups is their allergen-friendly profile. Standard Reese’s are notorious for peanuts and dairy, which can exclude many. Our recipe is proudly peanut-free, dairy-free, and naturally gluten-free, ensuring that those with common dietary restrictions can partake in the joy of Halloween candy without compromise.
- Embrace the Spirit of Halloween: With their charming pumpkin shape and cozy pumpkin spice flavor, these treats perfectly capture the essence of the autumn season and Halloween. They’re ideal for festive gatherings, a special homemade gift, or a delightful alternative for trick-or-treaters.
- Wholesome and Homemade Goodness: Making your own candy allows for complete control over ingredients, ensuring you’re using high-quality, natural components. Say goodbye to artificial flavors, colors, and preservatives often found in store-bought options.
- Surprisingly Easy to Make: Despite their impressive appearance and delicious taste, these almond butter cups are incredibly simple to prepare. With just a few basic steps, you can create a batch of gourmet-level treats right in your own kitchen.
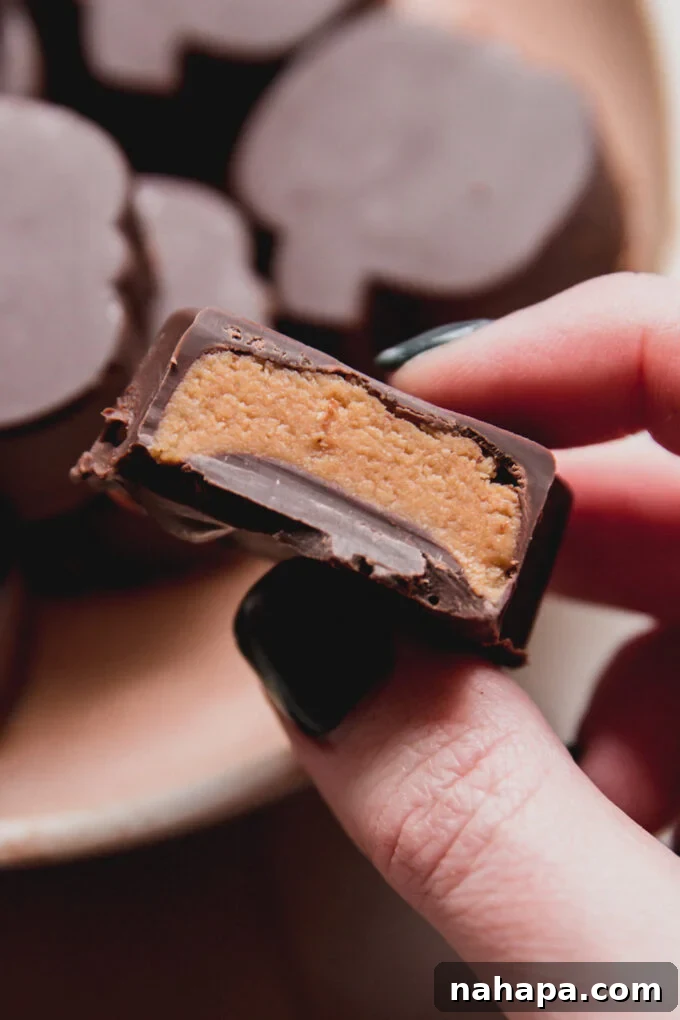
- Irresistible Flavor Combination: The creamy almond butter filling, infused with warm pumpkin spice, pairs exquisitely with the rich, smooth dairy-free chocolate coating. It’s a harmonious blend that’s both comforting and exciting for your taste buds.
Unveiling the Simple Ingredients for Your Pumpkin Spice Delight
Crafting these delectable homemade pumpkin spice Reese’s requires a carefully selected list of ingredients, each contributing to the perfect texture and flavor profile. You’ll be surprised at how few items you need to create such a magical treat.
The Heart of the Treat: Creamy Almond Butter Filling
- Creamy Almond Butter: The star of our filling, chosen for its smooth texture and mild, nutty flavor that serves as an excellent peanut-free alternative. We highly recommend using a natural, creamy almond butter without excessive oil separation. Brands like Barney Butter are often praised for their consistent, peanut butter-like consistency, which is ideal for molding.
- Maple Syrup: This natural sweetener not only provides a pleasant sweetness but also adds a subtle depth of flavor that complements the pumpkin spice. It helps to bind the filling, ensuring a cohesive and moldable dough.
- Pumpkin Pie Spice: The key to infusing these cups with autumnal charm! This warm spice blend typically includes cinnamon, nutmeg, ginger, cloves, and allspice, creating a cozy and aromatic profile that perfectly evokes the fall season.
- A Pinch of Salt: Don’t underestimate the power of a tiny amount of salt. It’s essential for balancing the sweetness of the maple syrup and enhancing all the other wonderful flavors, truly making them pop.
- Coconut Flour: This unique flour is highly absorbent and plays a vital role in achieving the perfect firm, yet pliable, consistency for the almond butter filling. It helps thicken the mixture, allowing it to be easily shaped and hold its form. The exact amount may vary based on the natural oiliness of your almond butter.
The Luxurious Chocolate Coating
- Dairy-Free Chocolate Chips: For the ultimate chocolate shell, select your favorite brand of high-quality dairy-free chocolate chips. Dark chocolate varieties typically offer a richer flavor and melt beautifully, providing a decadent contrast to the creamy filling.
- Coconut Oil: A small amount of coconut oil is added to the chocolate to help it melt smoothly, achieve a glossy finish, and set quickly and firmly once chilled. It’s crucial for that satisfying snap when you bite into the cup.
Your Essential Tools for Crafting Homemade Candy
While this recipe doesn’t require an arsenal of kitchen gadgets, having a few specific tools will make the process incredibly seamless and ensure beautifully formed treats.
- Silicone Molds: These are truly a game-changer for homemade candy. For that quintessential Halloween aesthetic, we recommend a pumpkin-shaped silicone mold. Alternatively, a classic mini muffin tin lined with paper liners or traditional nut butter cup molds will work perfectly. Silicone molds are particularly useful for their flexibility, allowing for easy removal of the set candies without breakage.
- Mixing Bowls: You’ll need at least two medium-sized bowls – one for preparing the almond butter filling and another for melting the chocolate.
- Rubber Spatula or Sturdy Spoon: Essential for thoroughly mixing ingredients, scraping down the sides of bowls, and carefully spooning chocolate and filling into the molds.
- Baking Sheet: A flat baking sheet is invaluable for supporting your flexible silicone mold. It provides stability when transferring the mold to and from the freezer or refrigerator, preventing spills and ensuring an even set.
Step-by-Step Guide: Creating Your Own Pumpkin Spice Almond Butter Cups
Follow these detailed instructions to create your batch of homemade, allergy-friendly pumpkin spice almond butter cups. The process is divided into simple stages for ease and enjoyment!
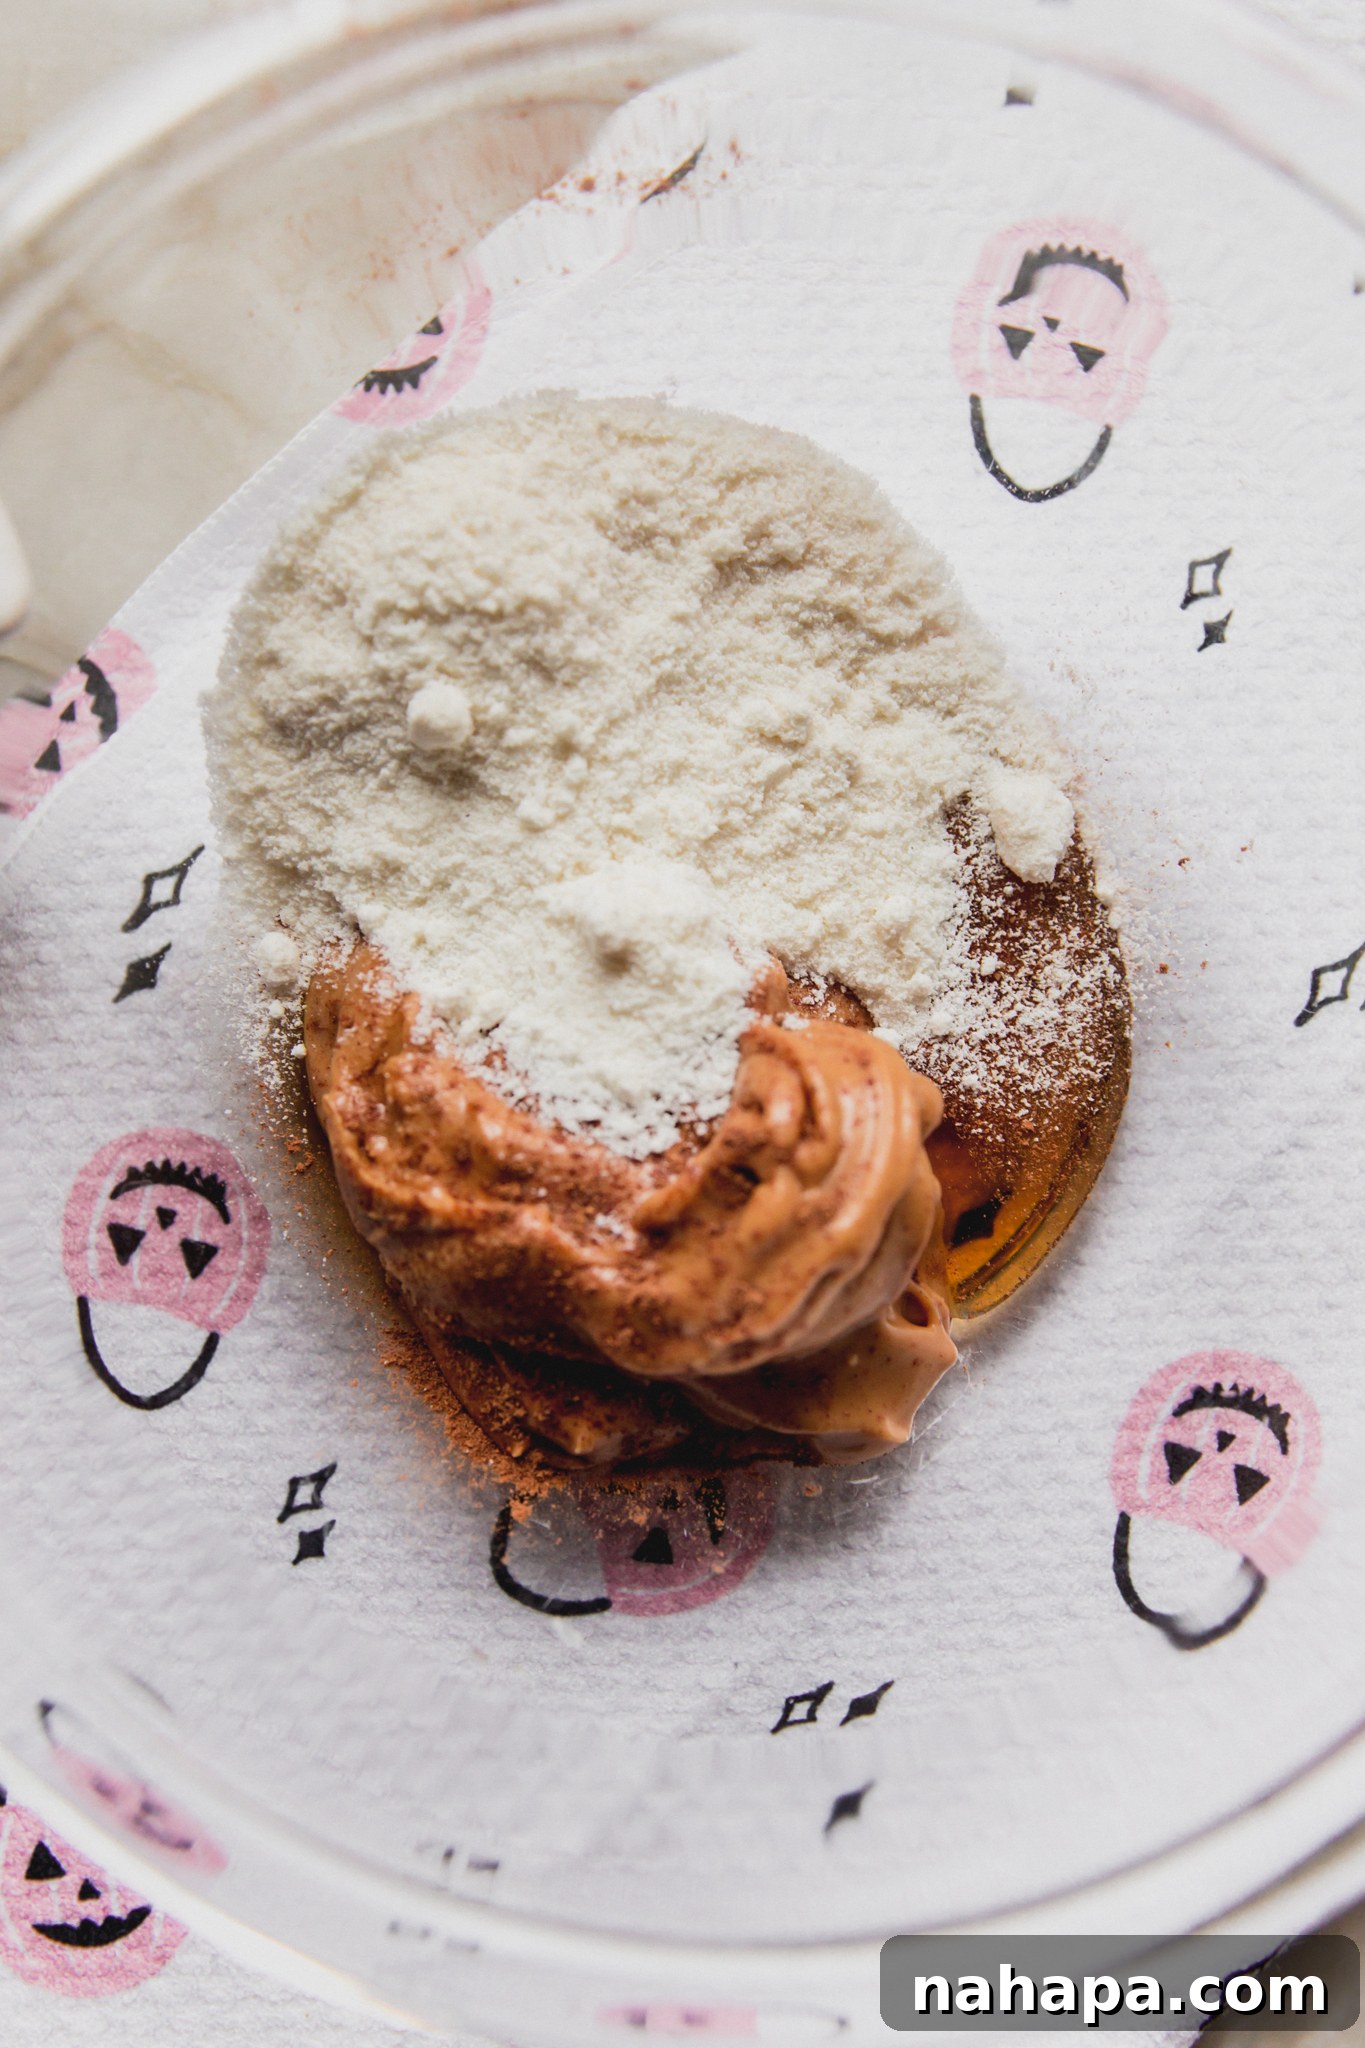
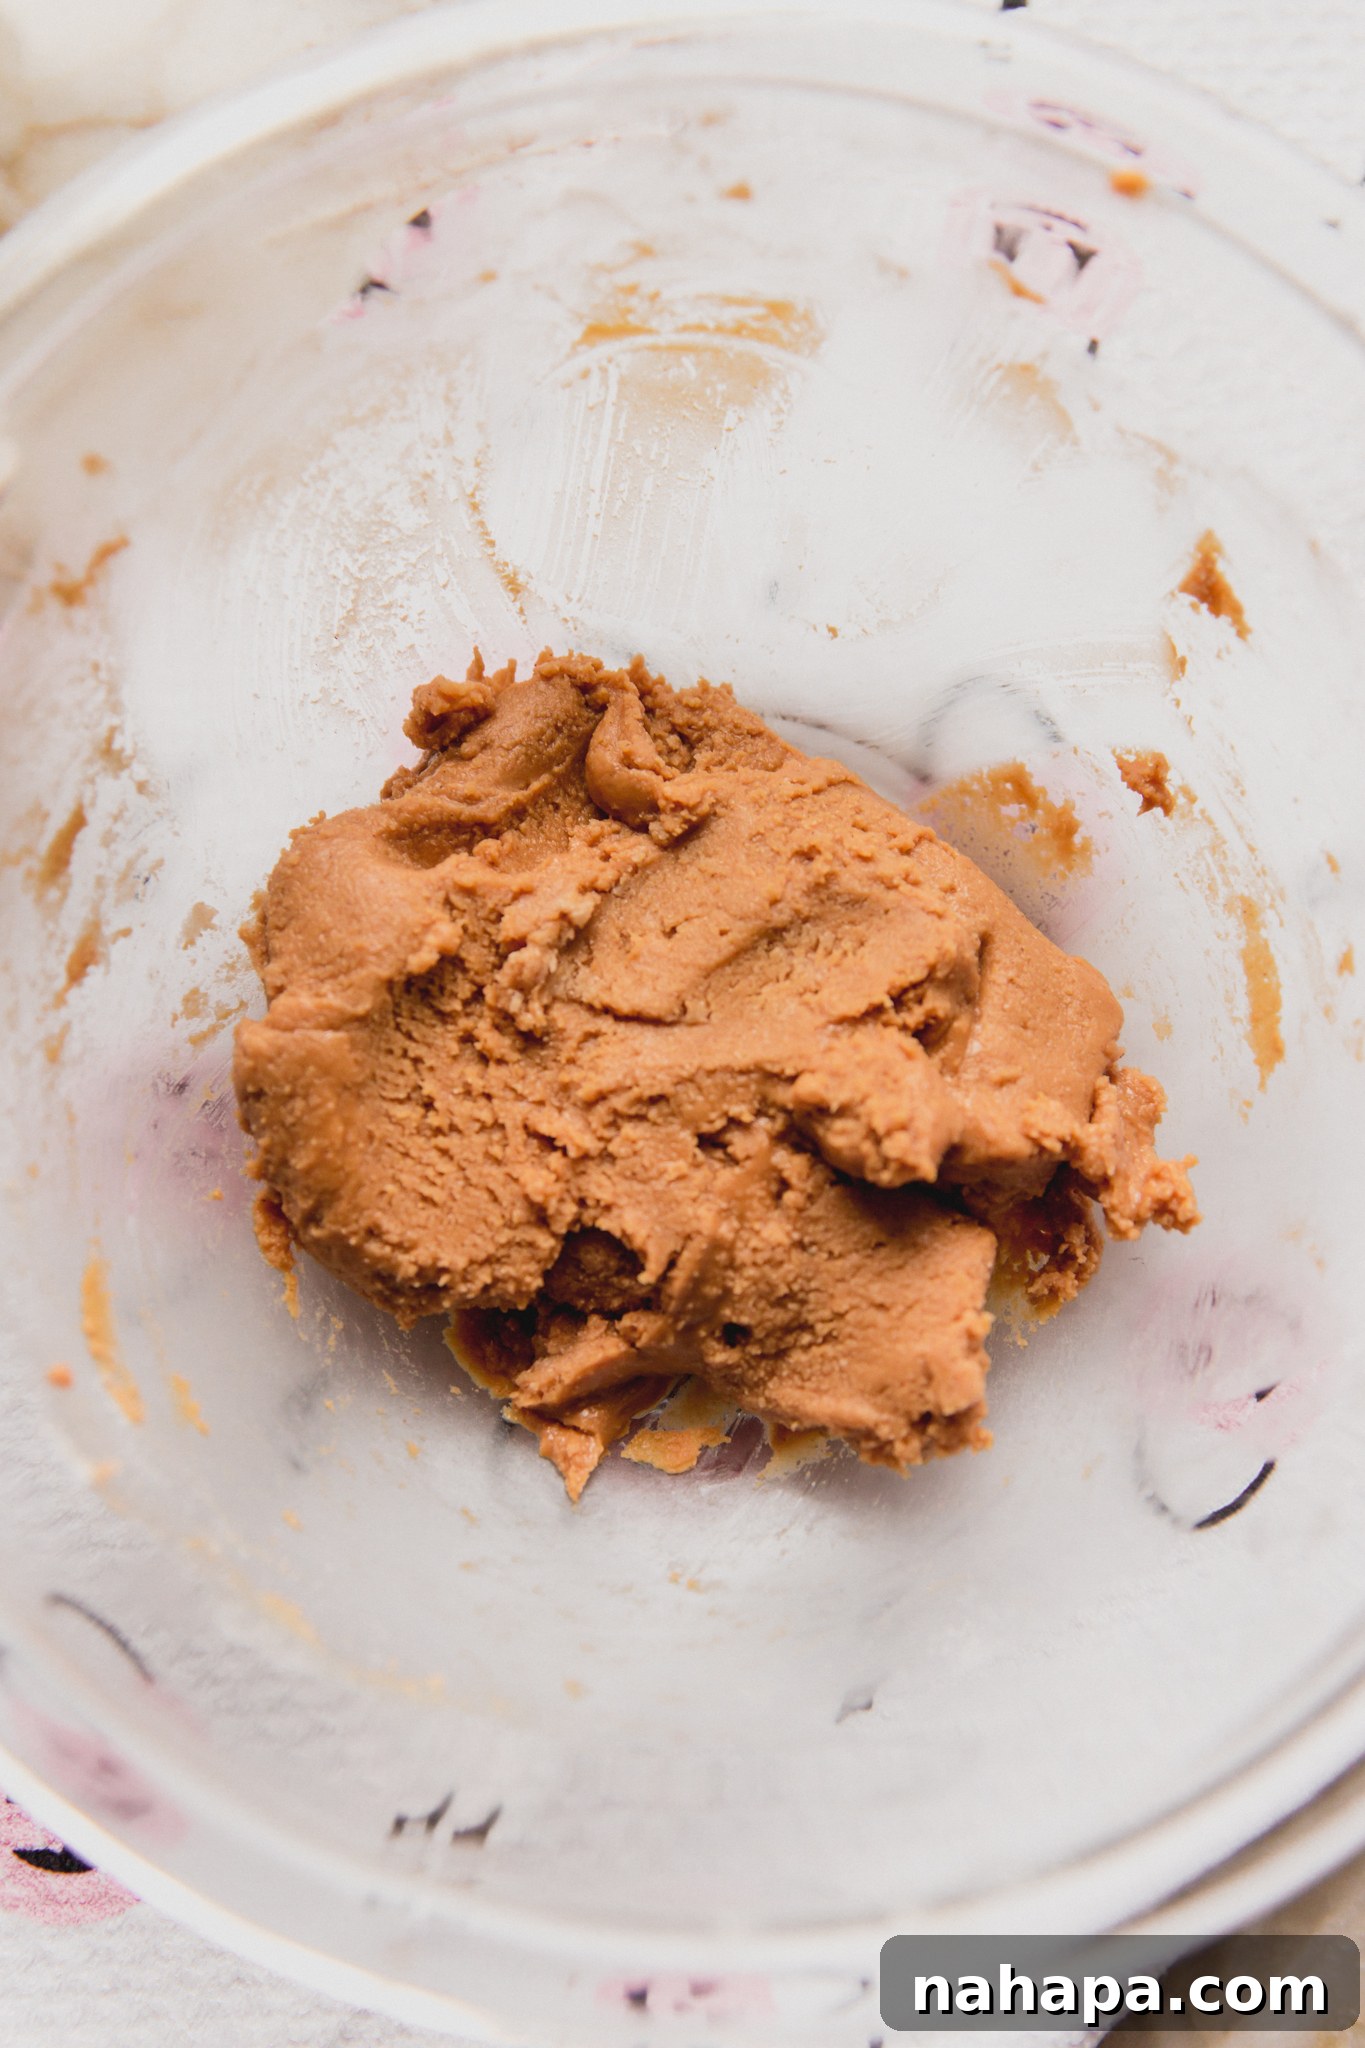
- Craft the Flavorful Almond Butter Filling: In a medium mixing bowl, combine the creamy almond butter, maple syrup, pumpkin pie spice, and a pinch of salt. Stir these ingredients thoroughly with a spatula or spoon until they are well integrated. Next, gradually add the coconut flour, mixing until it’s fully incorporated. Your goal is a firm, moldable mixture that resembles playdough – not too sticky, not too crumbly. If your almond butter is on the runnier side, you may need to add an additional tablespoon or two of coconut flour to achieve this consistency. Once perfect, cover the bowl and place the filling in the refrigerator to chill while you prepare the chocolate.
- Prepare the Smooth Chocolate Coating: Place your dairy-free chocolate chips and coconut oil into a heat-safe glass bowl. There are two primary methods for melting:
- The Double Boiler Method (Recommended): Set the glass bowl over a saucepan containing about an inch or two of gently simmering water, ensuring the bottom of the glass bowl does not touch the water. Stir the chocolate and coconut oil continuously until they are fully melted and incredibly smooth. This method provides gentle, even heat, preventing the chocolate from scorching.
- The Microwave Method: Heat the chocolate and coconut oil in the microwave in short bursts (15-30 seconds), stirring thoroughly after each interval. Continue until the mixture is completely melted and smooth. Be cautious not to overheat, as chocolate can easily seize and become grainy.
Once melted, let the chocolate cool slightly at room temperature while maintaining its liquid state.
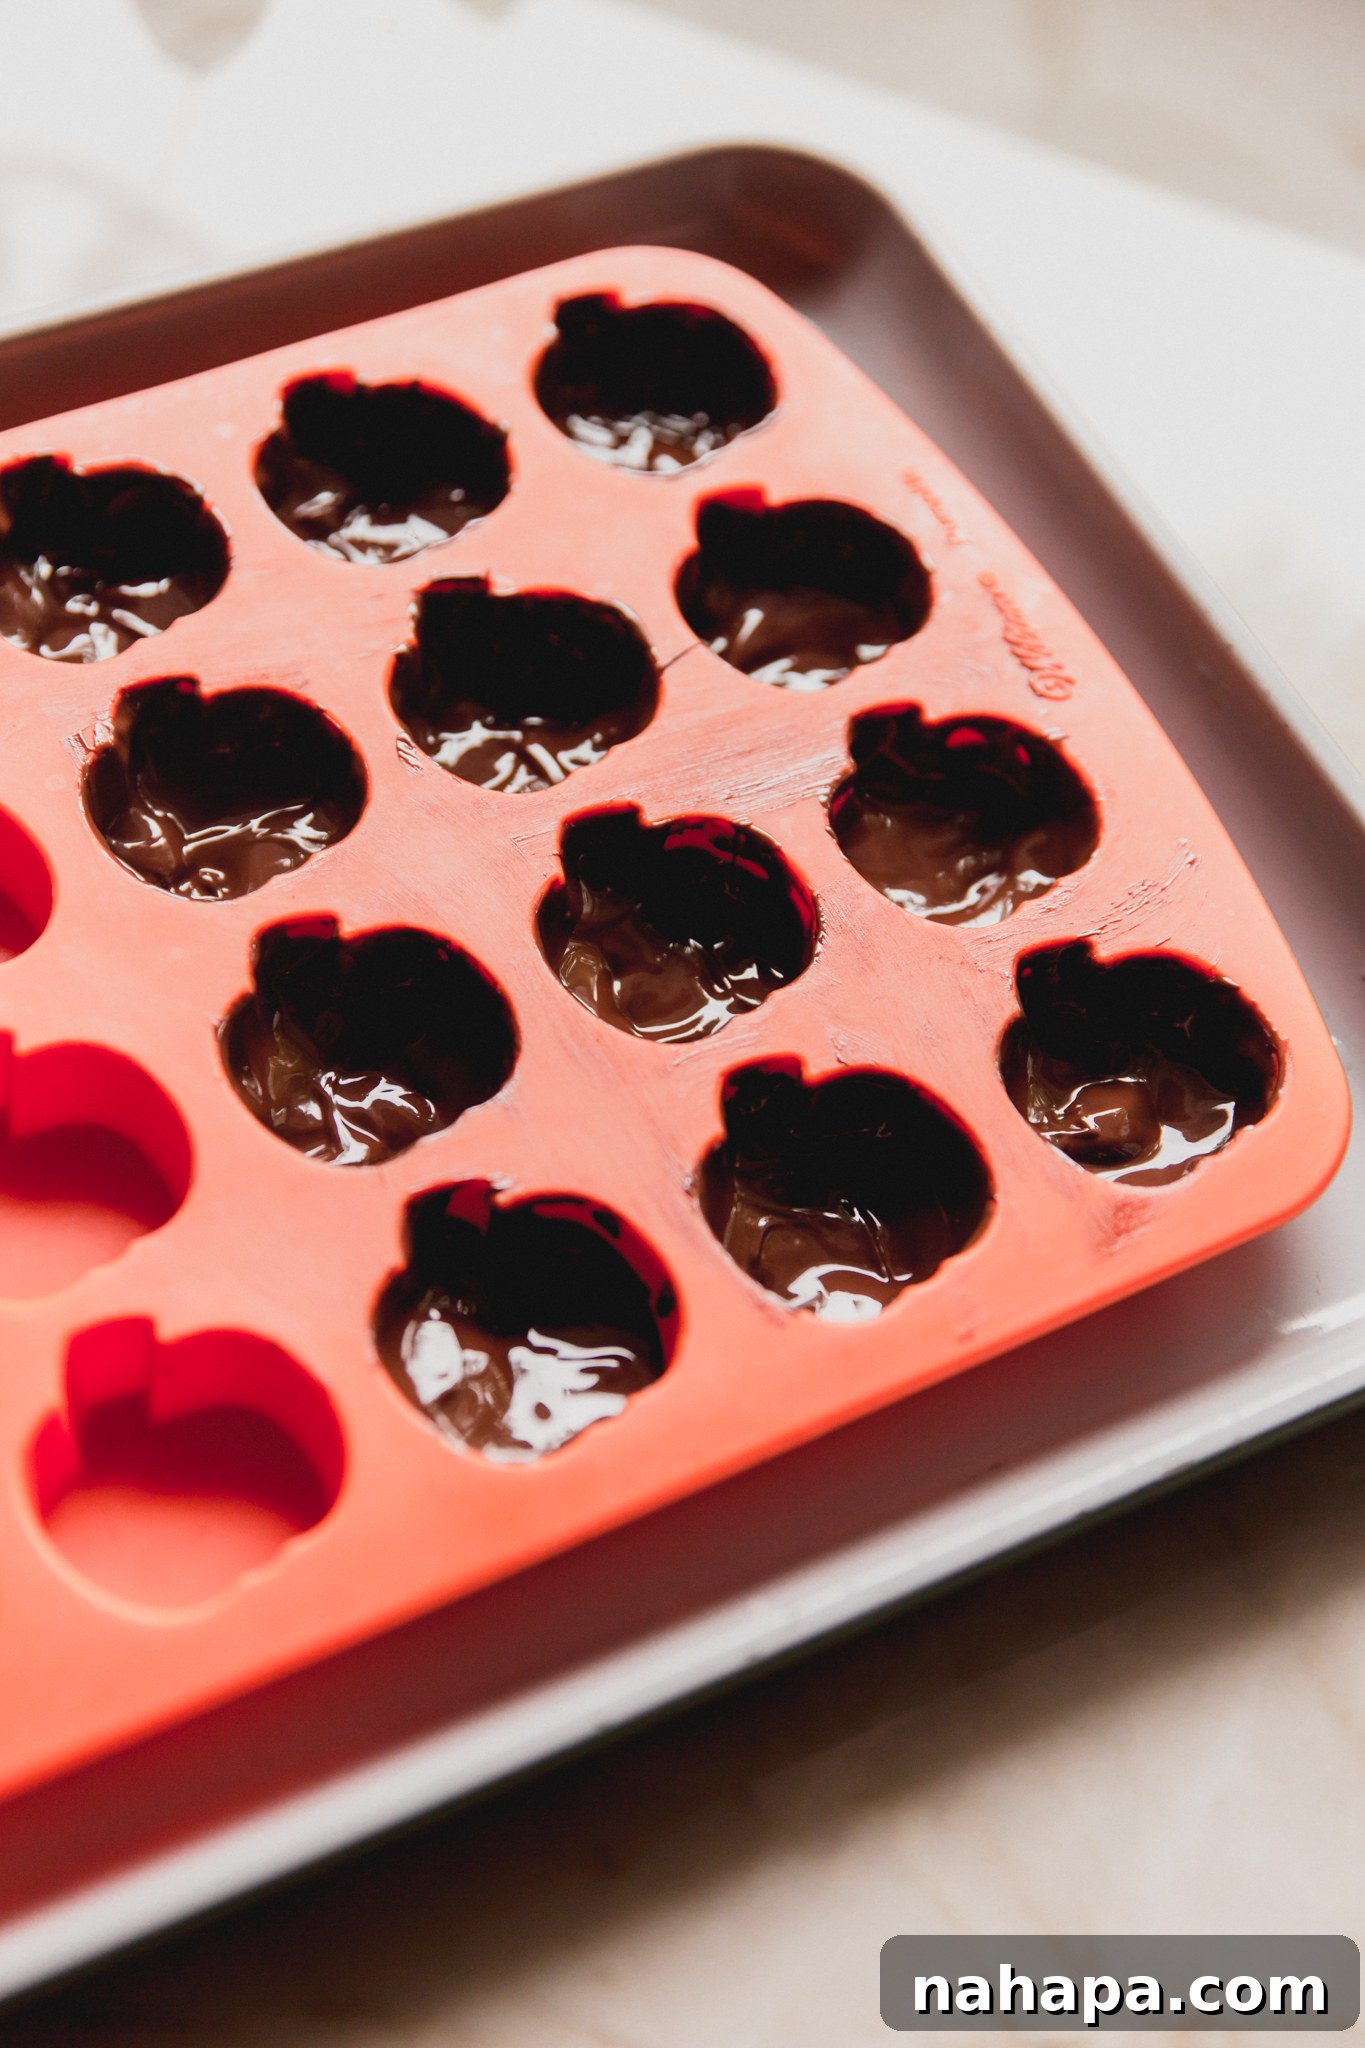
- Form the Chocolate Base: Position your silicone mold (especially if using a flexible one) onto a sturdy baking sheet. This will make it much easier to handle and move. Using a clean spoon, scoop a generous amount of the melted chocolate into each cavity of the mold, creating the bottom layer. Use the back of the spoon to gently spread the chocolate up the sides, forming a consistent shell for your cups. You’ll want to reserve roughly half of your melted chocolate for the final top layer. Carefully transfer the baking sheet with the chocolate-filled mold to the freezer for about 15-20 minutes, or until the chocolate shells are completely firm to the touch.
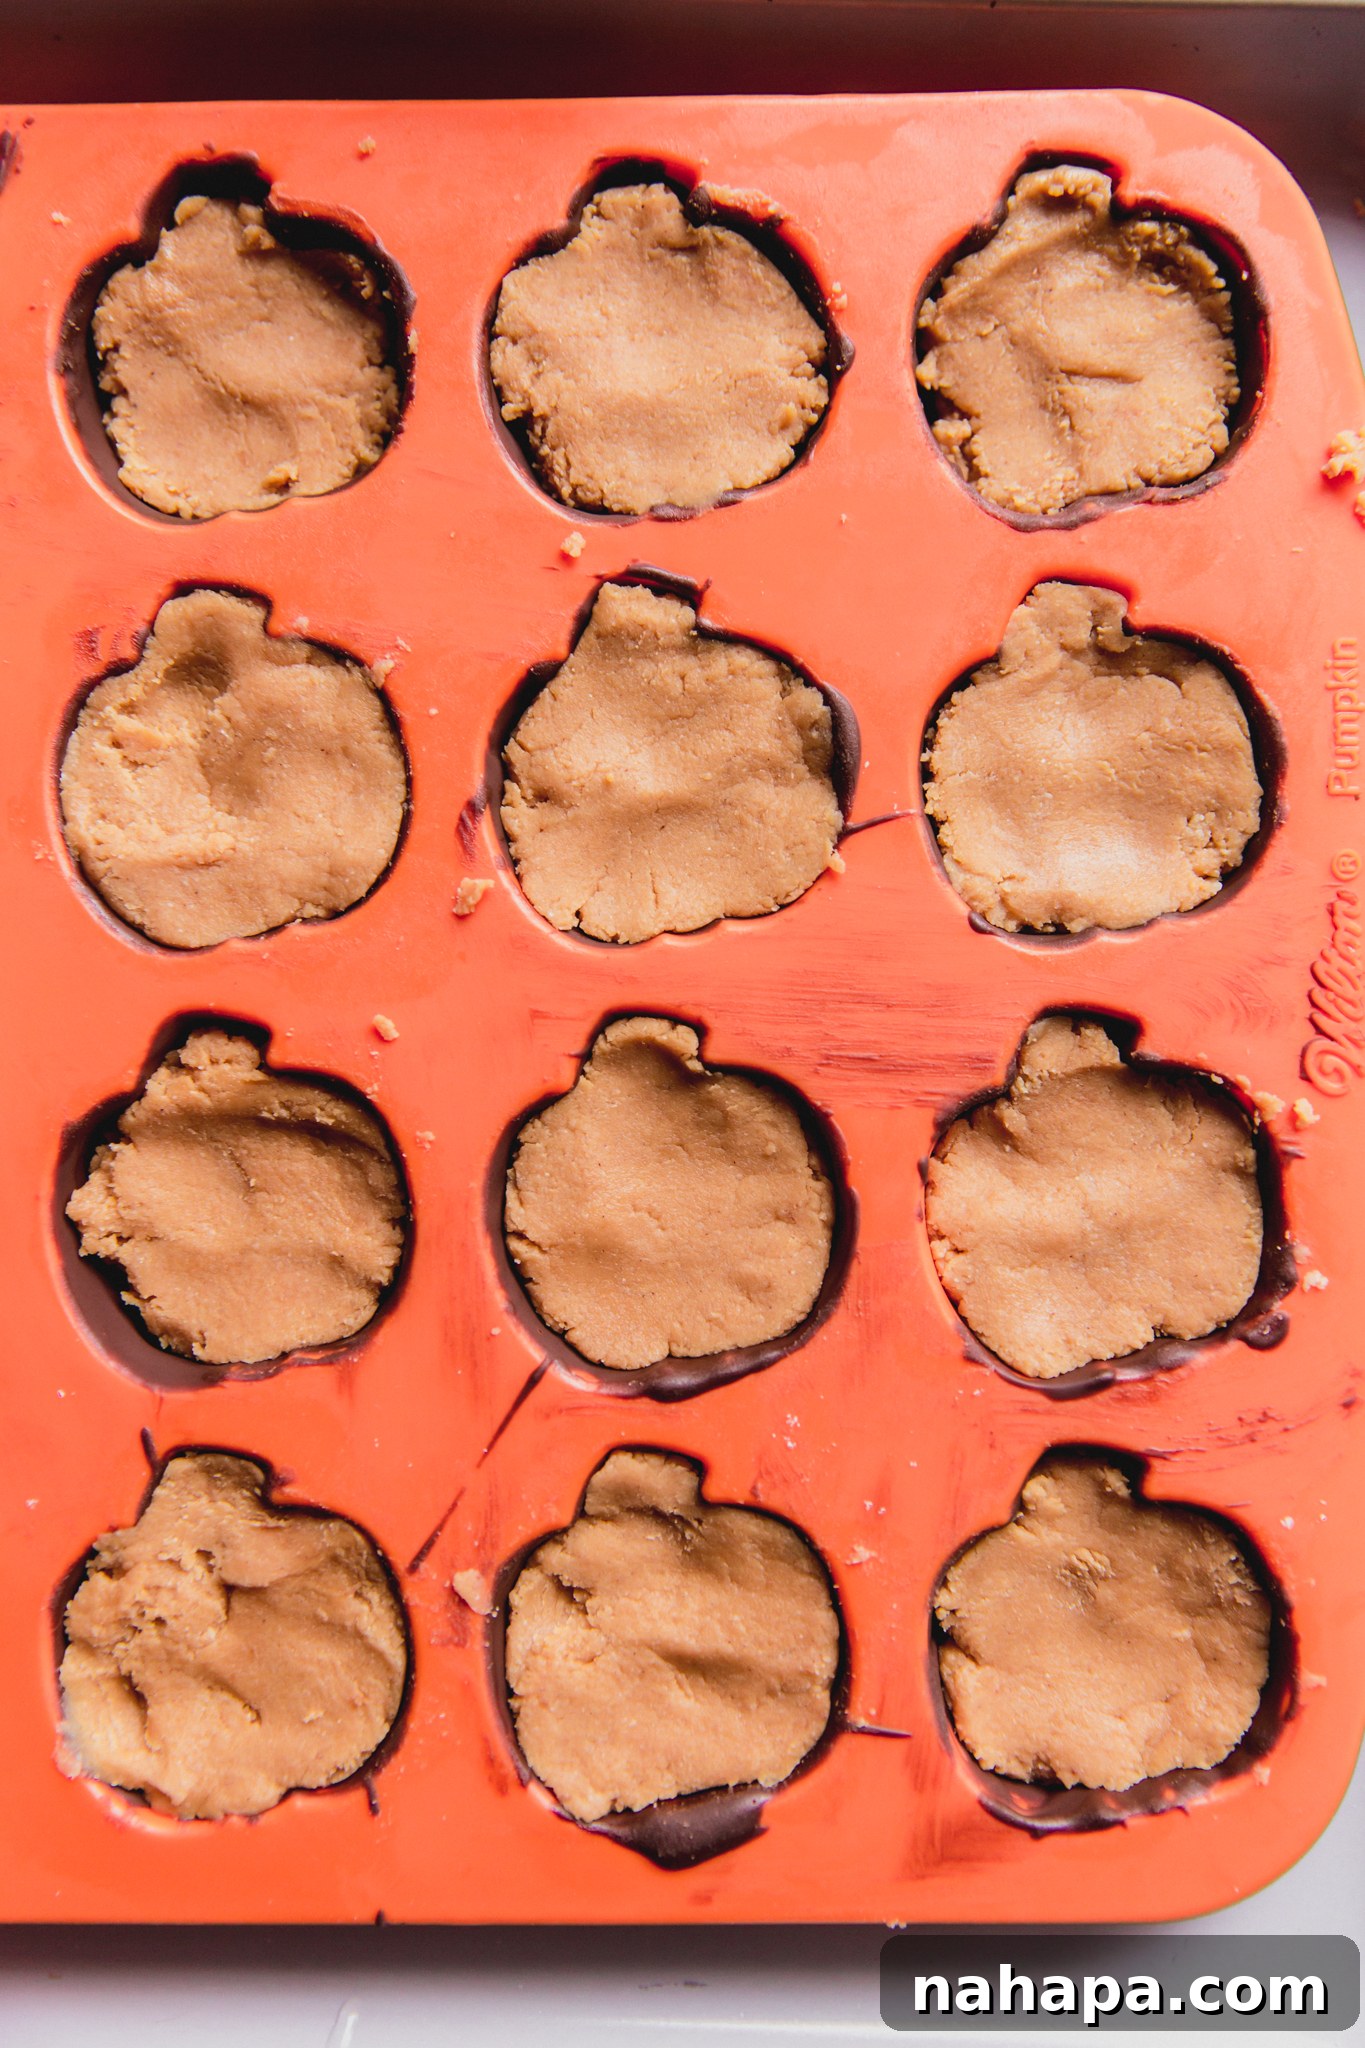
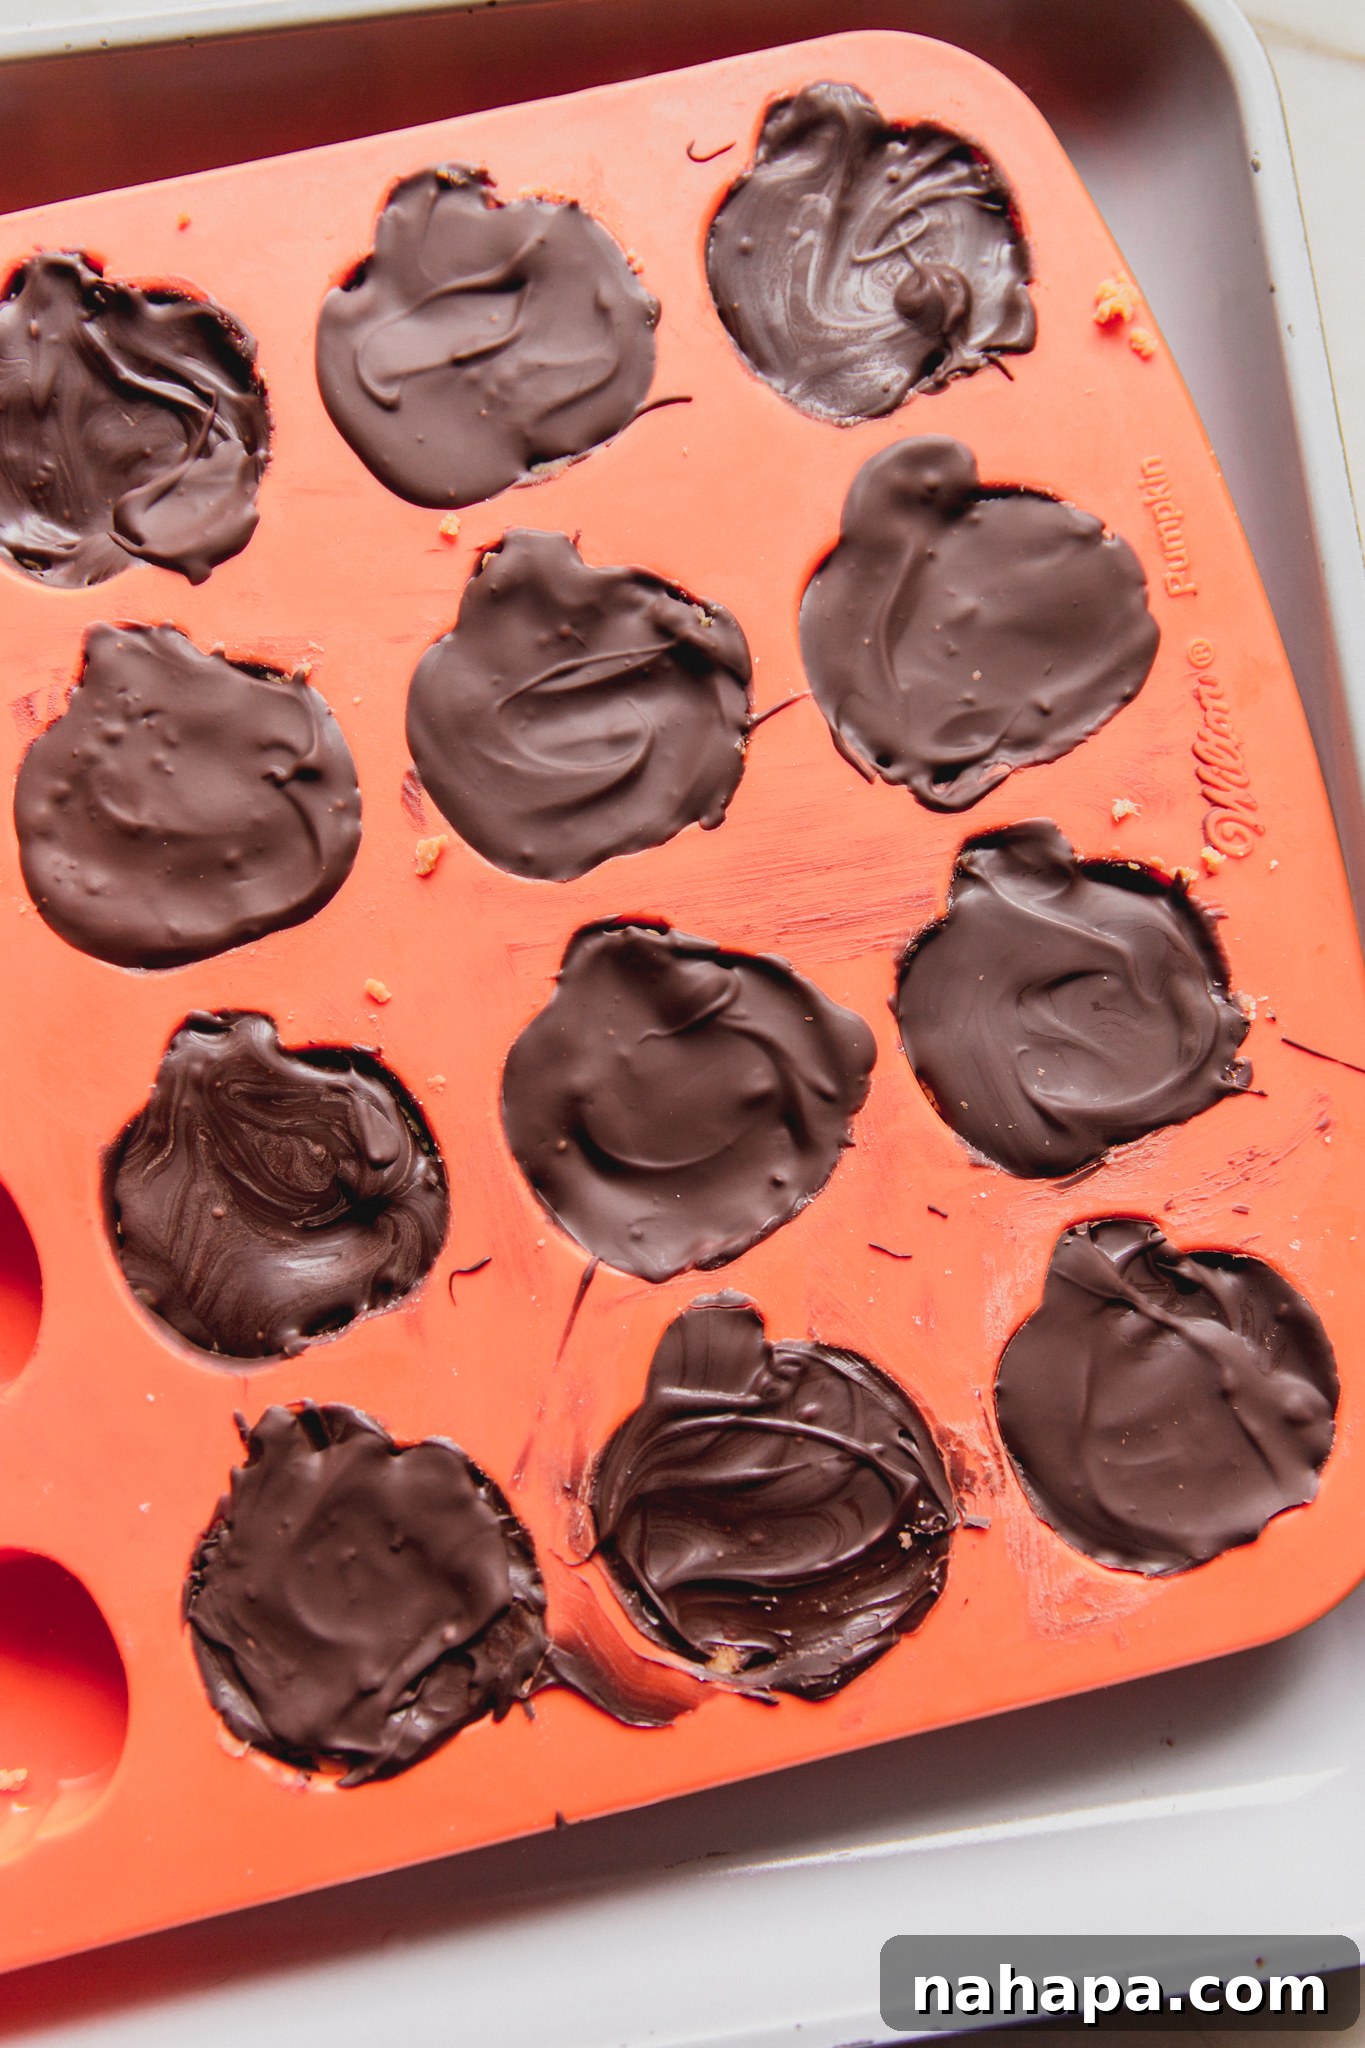
- Fill and Seal Your Treats: Once your chocolate shells are firm, remove the mold from the freezer and retrieve the chilled almond butter filling from the refrigerator. Take small, manageable portions of the almond butter mixture and press them firmly into each chocolate-lined cavity, filling it almost to the very top. Use your fingers to gently flatten and smooth the surface of the almond butter filling. Now, take the remainder of your melted chocolate and carefully pour it over the almond butter layer, ensuring it completely covers the filling and connects seamlessly with the chocolate shell on the sides. Use the back of a spoon to smooth out the top surface, creating a neat and appealing finish.
- The Final Chill and Enjoyment: Return the baking sheet with the filled molds to the refrigerator. Allow them to set undisturbed for at least 30 minutes, or until the chocolate is completely firm and easily pops out of the mold. Once fully set, gently press on the bottom of each cavity to release your perfectly formed, festive pumpkin spice almond butter cups. They are now ready to be enjoyed!
Expert Tips & Tricks for Your Best Homemade Reese’s
Making homemade candy is a fun and rewarding process. Here are some invaluable tips to ensure your pumpkin spice almond butter cups turn out perfectly every time:
- No Mold? No Problem! Hand-Shaping Your Treats: Don’t let the lack of a special mold deter you! You can still create delicious almond butter cups without one.
- First, prepare the almond butter filling as instructed and chill it until it’s very firm.
- Once chilled, roll the filling into small balls or press it into flat, round disc shapes, roughly the size of a standard Reese’s cup. Place these shapes on a parchment-lined baking sheet and return them to the refrigerator to firm up again for another 15-20 minutes.
- Melt your chocolate and coconut oil. Once the almond butter shapes are firm, dip each one completely into the melted chocolate. You might find it easiest to use two forks to gently lower and lift the shapes, allowing any excess chocolate to drip off.
- Place the chocolate-coated shapes back onto the parchment-lined baking sheet and chill them in the refrigerator until the chocolate is fully set. While they might not have the perfect pumpkin shape, they will be just as delicious!
- Taste and Adjust Salt Levels: The natural saltiness of almond butter can vary significantly between brands. Before finalizing your filling mixture, take a small taste. If it feels a bit bland, add another tiny pinch of salt. This simple step ensures the perfect balance of sweet and savory in your treats.
- Optimal Chocolate Consistency is Key: For a smooth, even coating, your melted chocolate should be fluid but not watery. If it appears too thick after melting, stir in an additional half teaspoon of coconut oil until it reaches the desired pourable consistency. If it’s too thin, it may not adhere well to the molds or the filling.
- Avoid Overfilling the Molds: When adding the almond butter filling, remember to leave a small gap at the top of each cavity. This crucial space allows for the final chocolate layer to completely cover the filling and create a smooth, sealed top, preventing any filling from peeking through.
- Patience with Chilling: Rushing the chilling process can lead to broken cups or a messy experience. Ensure both the initial chocolate shells and the final assembled cups are thoroughly firm before attempting to remove them from the molds. Properly set cups will pop out cleanly and hold their shape beautifully.
Can You Make These Nut-Free? Absolutely!
For those with severe nut allergies or who prefer to avoid nuts altogether, this recipe can be easily adapted to be completely nut-free. The key is to substitute almond butter with a seed butter. Excellent choices include sunflower seed butter (often found under brand names like SunButter) or tahini (sesame seed paste). When making this substitution, there’s one important consideration: seed butters typically have a thinner, more liquid consistency compared to almond butter. To counteract this, you will almost certainly need to increase the amount of coconut flour in the filling mixture. Start by adding an extra tablespoon or two beyond what the recipe calls for, mixing thoroughly, and then gradually add more, a teaspoon at a time, until you achieve that firm, moldable, playdough-like texture. Don’t forget to taste and adjust the seasoning if needed!
Storage Tips for Lasting Freshness
Once your delightful pumpkin spice almond butter cups are perfectly set, proper storage is essential to maintain their freshness, texture, and flavor for as long as possible.
- Refrigerator Storage: For immediate enjoyment and optimal texture, store your homemade almond butter cups in an airtight container in the refrigerator. They will remain fresh and firm for up to 5-7 days. The cool temperature helps prevent the chocolate from softening and keeps the filling intact.
- Freezer Storage for Longer Enjoyment: If you’ve made a large batch or wish to save some for later, these cups freeze wonderfully. Arrange them in a single layer on a baking sheet and freeze until solid. Once frozen, transfer them to an airtight, freezer-safe bag or container. They can be stored in the freezer for 1-2 months. When ready to indulge, simply remove them from the freezer and allow them to thaw for a few minutes at room temperature, or enjoy them directly from the freezer for a firmer, chilled treat.
Why Homemade Treats Elevate Your Holiday Experience
In a season often defined by store-bought sweets, choosing to make your own Halloween treats offers a multitude of benefits that extend beyond just dietary needs:
- Unparalleled Ingredient Control: The most significant advantage of homemade treats is knowing exactly what goes into them. You can select organic ingredients, avoid refined sugars, steer clear of artificial additives, and ensure they meet specific allergy requirements, offering peace of mind.
- Customization for Every Palate: Homemade recipes are wonderfully versatile. You can easily adjust sweetness levels, experiment with different spices, or even add extra mix-ins like toasted coconut flakes or chopped seeds to tailor them to your personal preferences.
- Superior Taste and Freshness: There’s simply no comparing the vibrant, fresh flavors and textures of a homemade treat to its mass-produced counterpart. Freshly made candies often taste richer and more nuanced.
- A Rewarding Culinary Experience: Preparing treats from scratch, especially during the festive season, can be a joyful and meditative activity. It’s a wonderful way to connect with the ingredients and the process, and sharing your creations with loved ones adds an extra layer of warmth to the holidays.
- Budget-Friendly Fun: Often, making your own candy can be more cost-effective than buying specialty allergen-friendly versions from the store, allowing you to enjoy more for less.
Explore More Allergy-Friendly Sweet Treats
If you’ve discovered the joy of making these pumpkin spice almond butter cups, you’ll love exploring our other delicious and diet-conscious recipes. Expand your repertoire of wholesome, homemade delights with these fan favorites:
- Homemade Paleo Twix Bars
- Halloween Spider Cookies (Gluten & Dairy-Free)
- Coconut Butter Covered Strawberry Ghosts
Recipe: Homemade Almond Butter Pumpkin Spice Reese’s
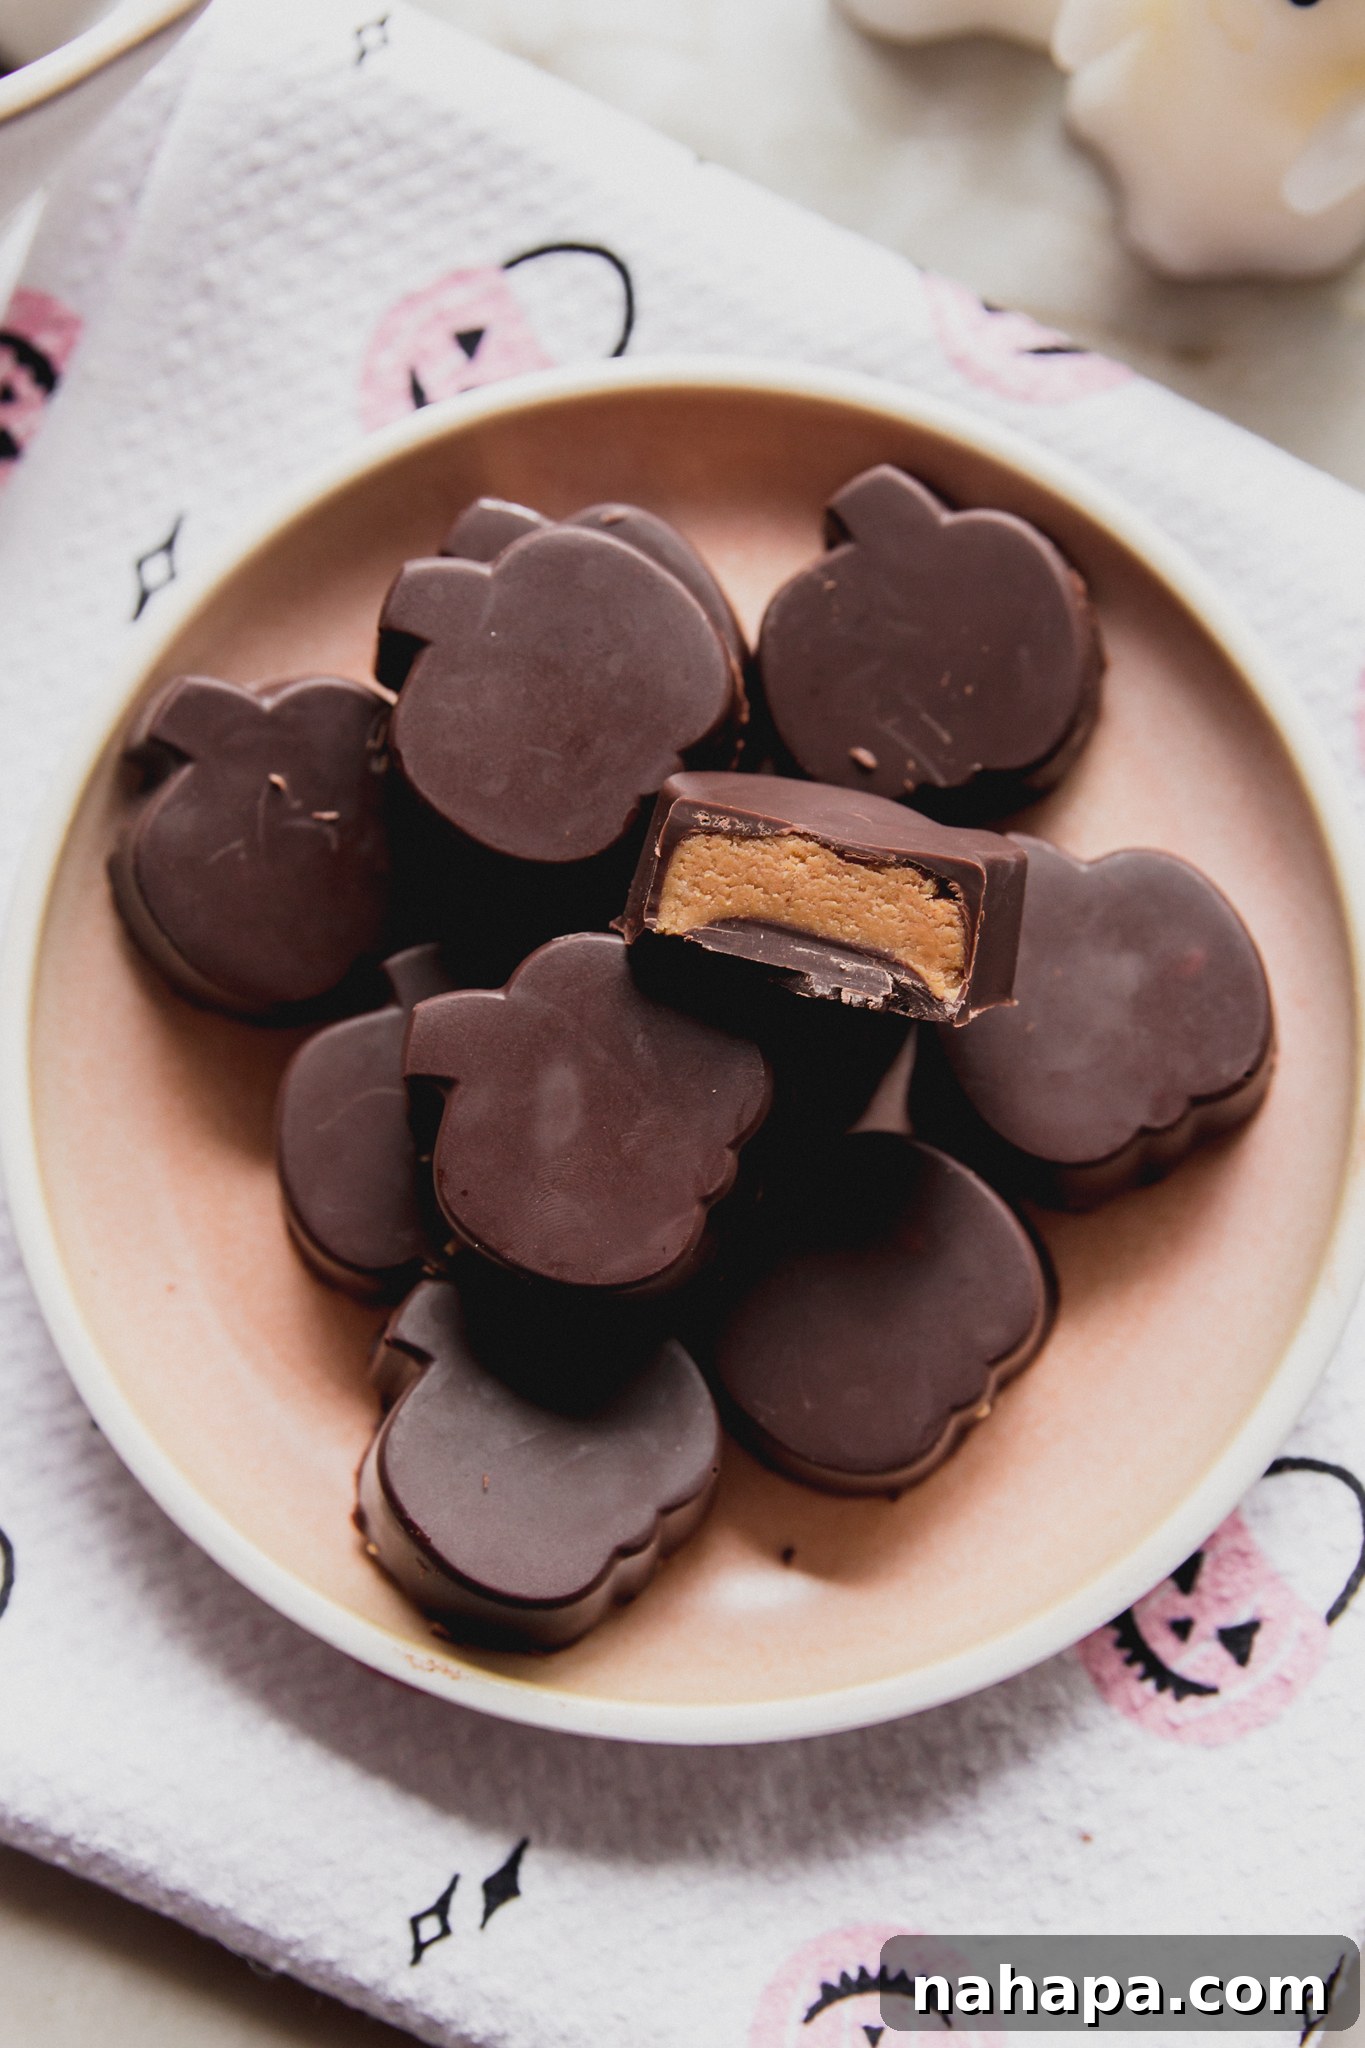
These almond butter copycat Reese’s cups are the perfect Halloween treat! They’re pumpkin-shaped, pumpkin spice-flavored, and completely peanut-free and dairy-free.
Yield: 12 candies
Prep Time: 20 minutes
Total Time: 20 minutes
Author: Michelle
Ingredients
- ½ cup creamy almond butter
- 2 tbsp maple syrup
- 1 tsp pumpkin pie spice
- Pinch of salt
- 3 tbsp coconut flour (see notes for adjustments)
- ¾ cup dairy-free chocolate chips
- 2 tsp coconut oil
Instructions
- Add the almond butter, maple syrup, pumpkin pie spice, and salt to a bowl. Pour over the coconut flour and stir to combine. If your almond butter mixture is still runny, add an extra tablespoon of coconut flour until your mixture is moldable like playdough. Set aside in the fridge.
- Add the chocolate and coconut oil to a heat-safe glass bowl. Using a method of your choice (such as a double boiler), melt the chocolate and coconut oil together until they are fully liquid and smooth.
- Place the mold (like this pumpkin mold) onto a baking sheet for stability. Spoon a large spoonful of melted chocolate into each mold, being mindful to coat the edges up. You should still have some chocolate leftover for topping. Transfer to the freezer for about 20 minutes or until fully set.
- Remove the mold and almond butter filling mixture from the freezer. Press some of the almond butter mixture into each chocolate mold, filling almost to the top, and pressing down with your fingers. Use the remainder of the melted chocolate to top off the almond butter, smoothing the top with a spoon to fully coat that almond butter.
- Return to the fridge to allow to set for about half an hour before popping out of the mold to enjoy! Store in the fridge for a few days, or freeze for 1-2 months.
Notes
Depending on how thick or thin your nut butter is, you’ll need more or less coconut flour. If your nut butter is runny, you may need 1-2 extra tablespoons. You’re looking to get to the point where your mixture is moldable, like playdough!
All nutritional facts are estimated and will vary.
Nutrition Information (Estimated Per Serving)
Serving: 1 candy, Calories: 167kcal, Carbohydrates: 14.4g, Protein: 3.6g, Fat: 11.7g, Fiber: 2.7g
Did you Make this Recipe?
Tag @unboundwellness on Instagram and hashtag #unboundwellness!