

Indulge in a healthier, homemade twist on a beloved candy classic with these incredible Gluten-Free Twix Bars. Forget artificial ingredients and common allergens; this recipe delivers the iconic layers of crisp shortbread, gooey caramel, and rich chocolate in a way that’s not only utterly delicious but also nut-free, dairy-free, and gluten-free. Prepare to be amazed as these bars perfectly replicate the texture and taste of the original, proving that healthier alternatives can be just as satisfying, if not more so.
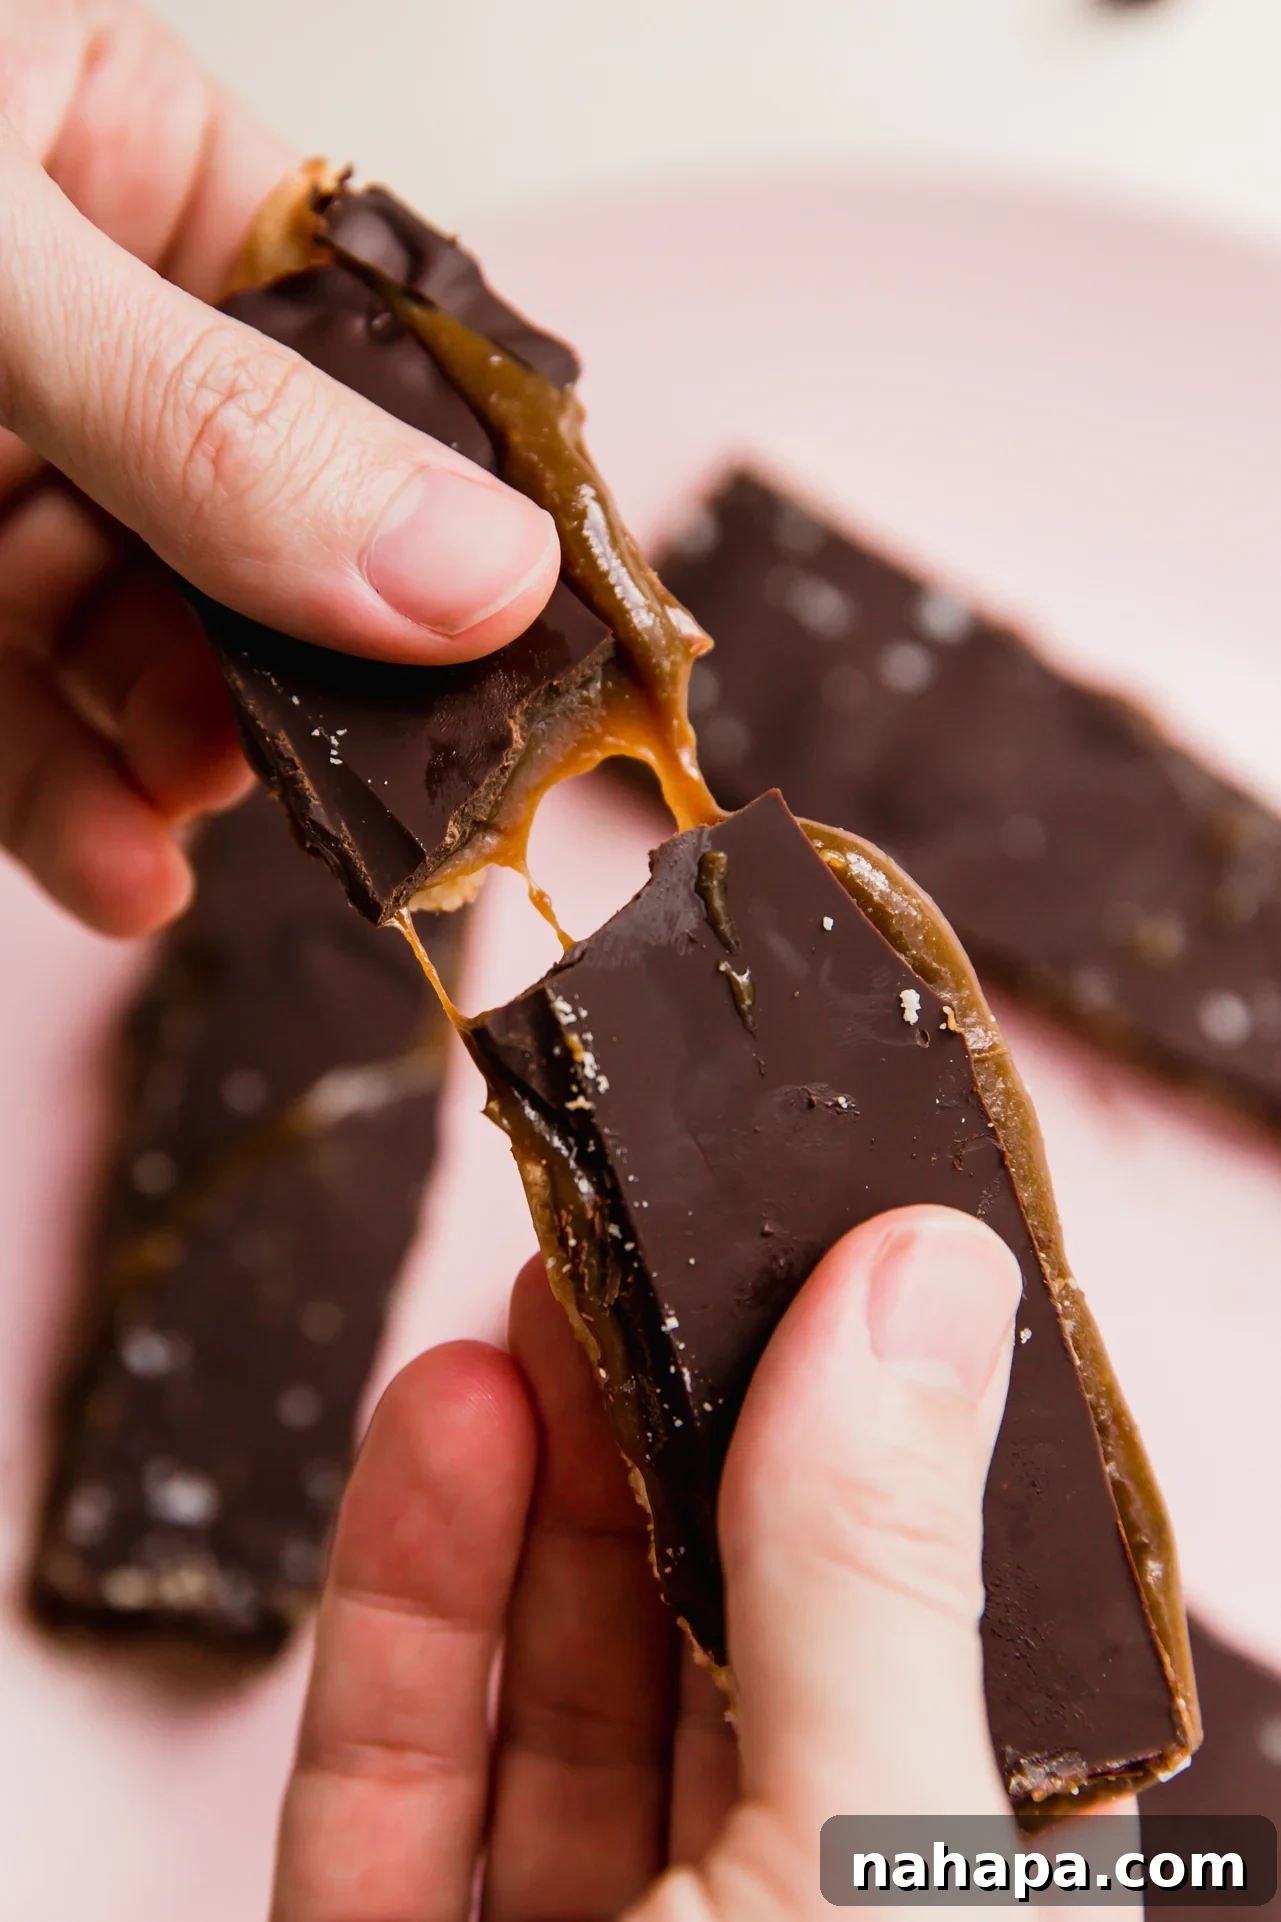
For many, the Twix bar holds a special place in childhood memories – that distinctive snap of shortbread, the luscious pull of caramel, all enveloped in a smooth chocolate coating. While classic candy bars are often laden with corn syrup, soy, enriched flour, and various additives, the fundamental construction of a Twix bar is remarkably simple: a cookie base, a caramel layer, and a chocolate shell. This simplicity makes it a fantastic candidate for a homemade, health-conscious transformation.
These gluten-free Twix bars are an impeccable copycat for the classic, thoughtfully crafted to be dairy-free and nut-free as well!
Table of Contents
- Why You’ll Love These Gluten-Free Twix Bars
- The Anatomy of a Perfect Twix Bar
- Recipe Ingredients Deep Dive
- How to Make Homemade Twix Bars
- Shortbread Crust Instructions
- Caramel Layer Instructions
- Chocolate Coating Instructions
- Expert Tips & Tricks
- Storage and Shelf Life
- Frequently Asked Questions
- More Homemade Gluten-free Candy Recipes
Why You’ll Love These Gluten-Free Twix Bars
- Authentic Flavor and Texture: These homemade Twix bars are engineered for perfection, offering the ideal balance of crisp shortbread, chewy caramel, and smooth chocolate. Every bite delivers that nostalgic, satisfying experience, making it hard to believe they’re a healthier alternative. The flavor profile is so close to the original, you might find yourself questioning if you’ve discovered a new favorite treat!
- Remarkably Allergen-Friendly: A significant advantage of this recipe is its commitment to inclusivity. Unlike many gluten-free alternatives that rely on almond flour or peanut butter, these Twix bars are completely nut-free, making them safe for those with nut allergies. Furthermore, they are dairy-free and gluten-free, addressing some of the most common dietary restrictions without compromising on taste or quality. (Note: While coconut is botanically a fruit, not a tree nut, those with severe allergies should always consult their doctor.)
- A Healthier Indulgence: By making your own Twix bars from scratch, you gain complete control over the ingredients. This recipe thoughtfully replaces conventional candy components like high-fructose corn syrup, enriched flours, and hydrogenated oils with wholesome, natural alternatives. You can enjoy a guilt-free treat that supports your wellness goals without sacrificing the joy of a classic candy bar. It’s about indulging smarter, not harder.
- The Joy of Homemade: There’s an unmatched satisfaction in creating your favorite treats right in your own kitchen. From mixing the shortbread dough to pouring the shimmering caramel and coating everything in chocolate, the process is as rewarding as the final product. Plus, homemade means fresh ingredients and no preservatives, ensuring the best possible flavor and quality.
The Anatomy of a Perfect Twix Bar
To truly appreciate these homemade wonders, it helps to understand the magic behind each layer:
- The Crisp Shortbread Crust: This forms the foundation of our Twix bar. A classic shortbread is known for its buttery, crumbly texture, and our gluten-free version captures that essence beautifully. It provides a crucial structural element and a delightful textural contrast to the soft caramel and smooth chocolate. The secret to its success lies in the careful balance of flours and fats, ensuring it’s firm enough to hold up but still melts in your mouth.
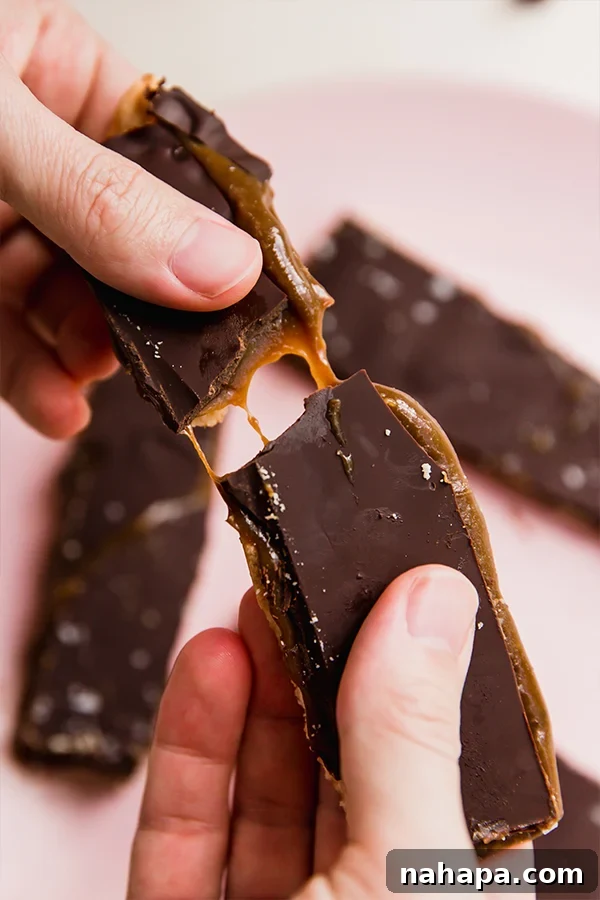
- The Chewy Caramel Layer: This is often considered the heart of a Twix bar, providing that signature stretchy, sweet, and rich experience. Our dairy-free caramel, made with full-fat coconut milk and coconut sugar, delivers an incredible depth of flavor and an irresistibly chewy consistency. It’s sweet without being cloyingly so, with subtle notes that complement the other layers perfectly.
- The Smooth Chocolate Coating: The final layer is what brings everything together. A generous coating of dairy-free chocolate provides a satisfying snap and a luxurious finish. When paired with the shortbread and caramel, the chocolate creates a harmonious blend of flavors and textures that defines the Twix experience. Adding a sprinkle of flaky sea salt elevates the entire bar, cutting through the sweetness and adding a gourmet touch.
Recipe Ingredients Deep Dive
Understanding the role of each ingredient is key to mastering these delicious bars:
- Coconut Flour: This unique gluten-free flour is the star of our shortbread crust. Known for its high fiber content and exceptional absorbency, coconut flour creates a tender, yet sturdy, shortbread. It also contributes a subtle sweetness and a delightful coconut aroma that enhances the overall flavor profile. Due to its distinct properties, I have not found a suitable coconut-free substitute for this recipe and cannot recommend a swap.
- Arrowroot Starch: Paired with coconut flour, arrowroot starch contributes to the lightness and crispness of the shortbread. It helps create that desirable crumbly texture without adding density. Tapioca starch is a generally good substitute for arrowroot if you have it on hand.
- Coconut Milk and Coconut Sugar (for Caramel): These two ingredients are fundamental to creating our rich, dairy-free caramel. It is crucial to use full-fat coconut milk (from a can, not a carton) for its creamy consistency, which is essential for a thick, luscious caramel. Coconut sugar, a natural sweetener, imparts a deep, molasses-like flavor that is perfect for caramel and offers a more complex sweetness than refined white sugar.
- Coconut Oil: Used in both the shortbread and the chocolate coating, coconut oil acts as a healthy fat that contributes to the texture and richness of the bars. In the shortbread, it helps bind the ingredients and creates a tender crumb. In the chocolate, it helps create a smooth, meltable coating that hardens beautifully. Ensure it’s softened for the shortbread and melted for the chocolate.
- Maple Syrup: A natural liquid sweetener for our shortbread, maple syrup adds moisture and a lovely, subtle sweetness that complements the coconut flour. Choose pure maple syrup for the best flavor.
- Dairy-Free Chocolate Chips: The final decadent layer. For a truly dairy-free experience, choose high-quality dairy-free chocolate chips. I often use Hu Kitchen chocolate gems for their excellent flavor and clean ingredients. For those following an AIP (Autoimmune Protocol) diet, a carob alternative (such as a homemade carob “chocolate” recipe) can be used to achieve a similar coating.
- Flaky Sea Salt: While optional, a sprinkle of flaky sea salt on top of the finished chocolate coating is highly recommended. It provides a delightful textural contrast and perfectly balances the sweetness of the caramel and chocolate, elevating the entire bar to a gourmet level.
How to Make Homemade Twix Bars
Crafting these homemade gluten-free Twix bars is a rewarding process, and with these simple steps, you’ll be enjoying your delicious creation in no time. Full, detailed instructions can be found in the recipe section below.
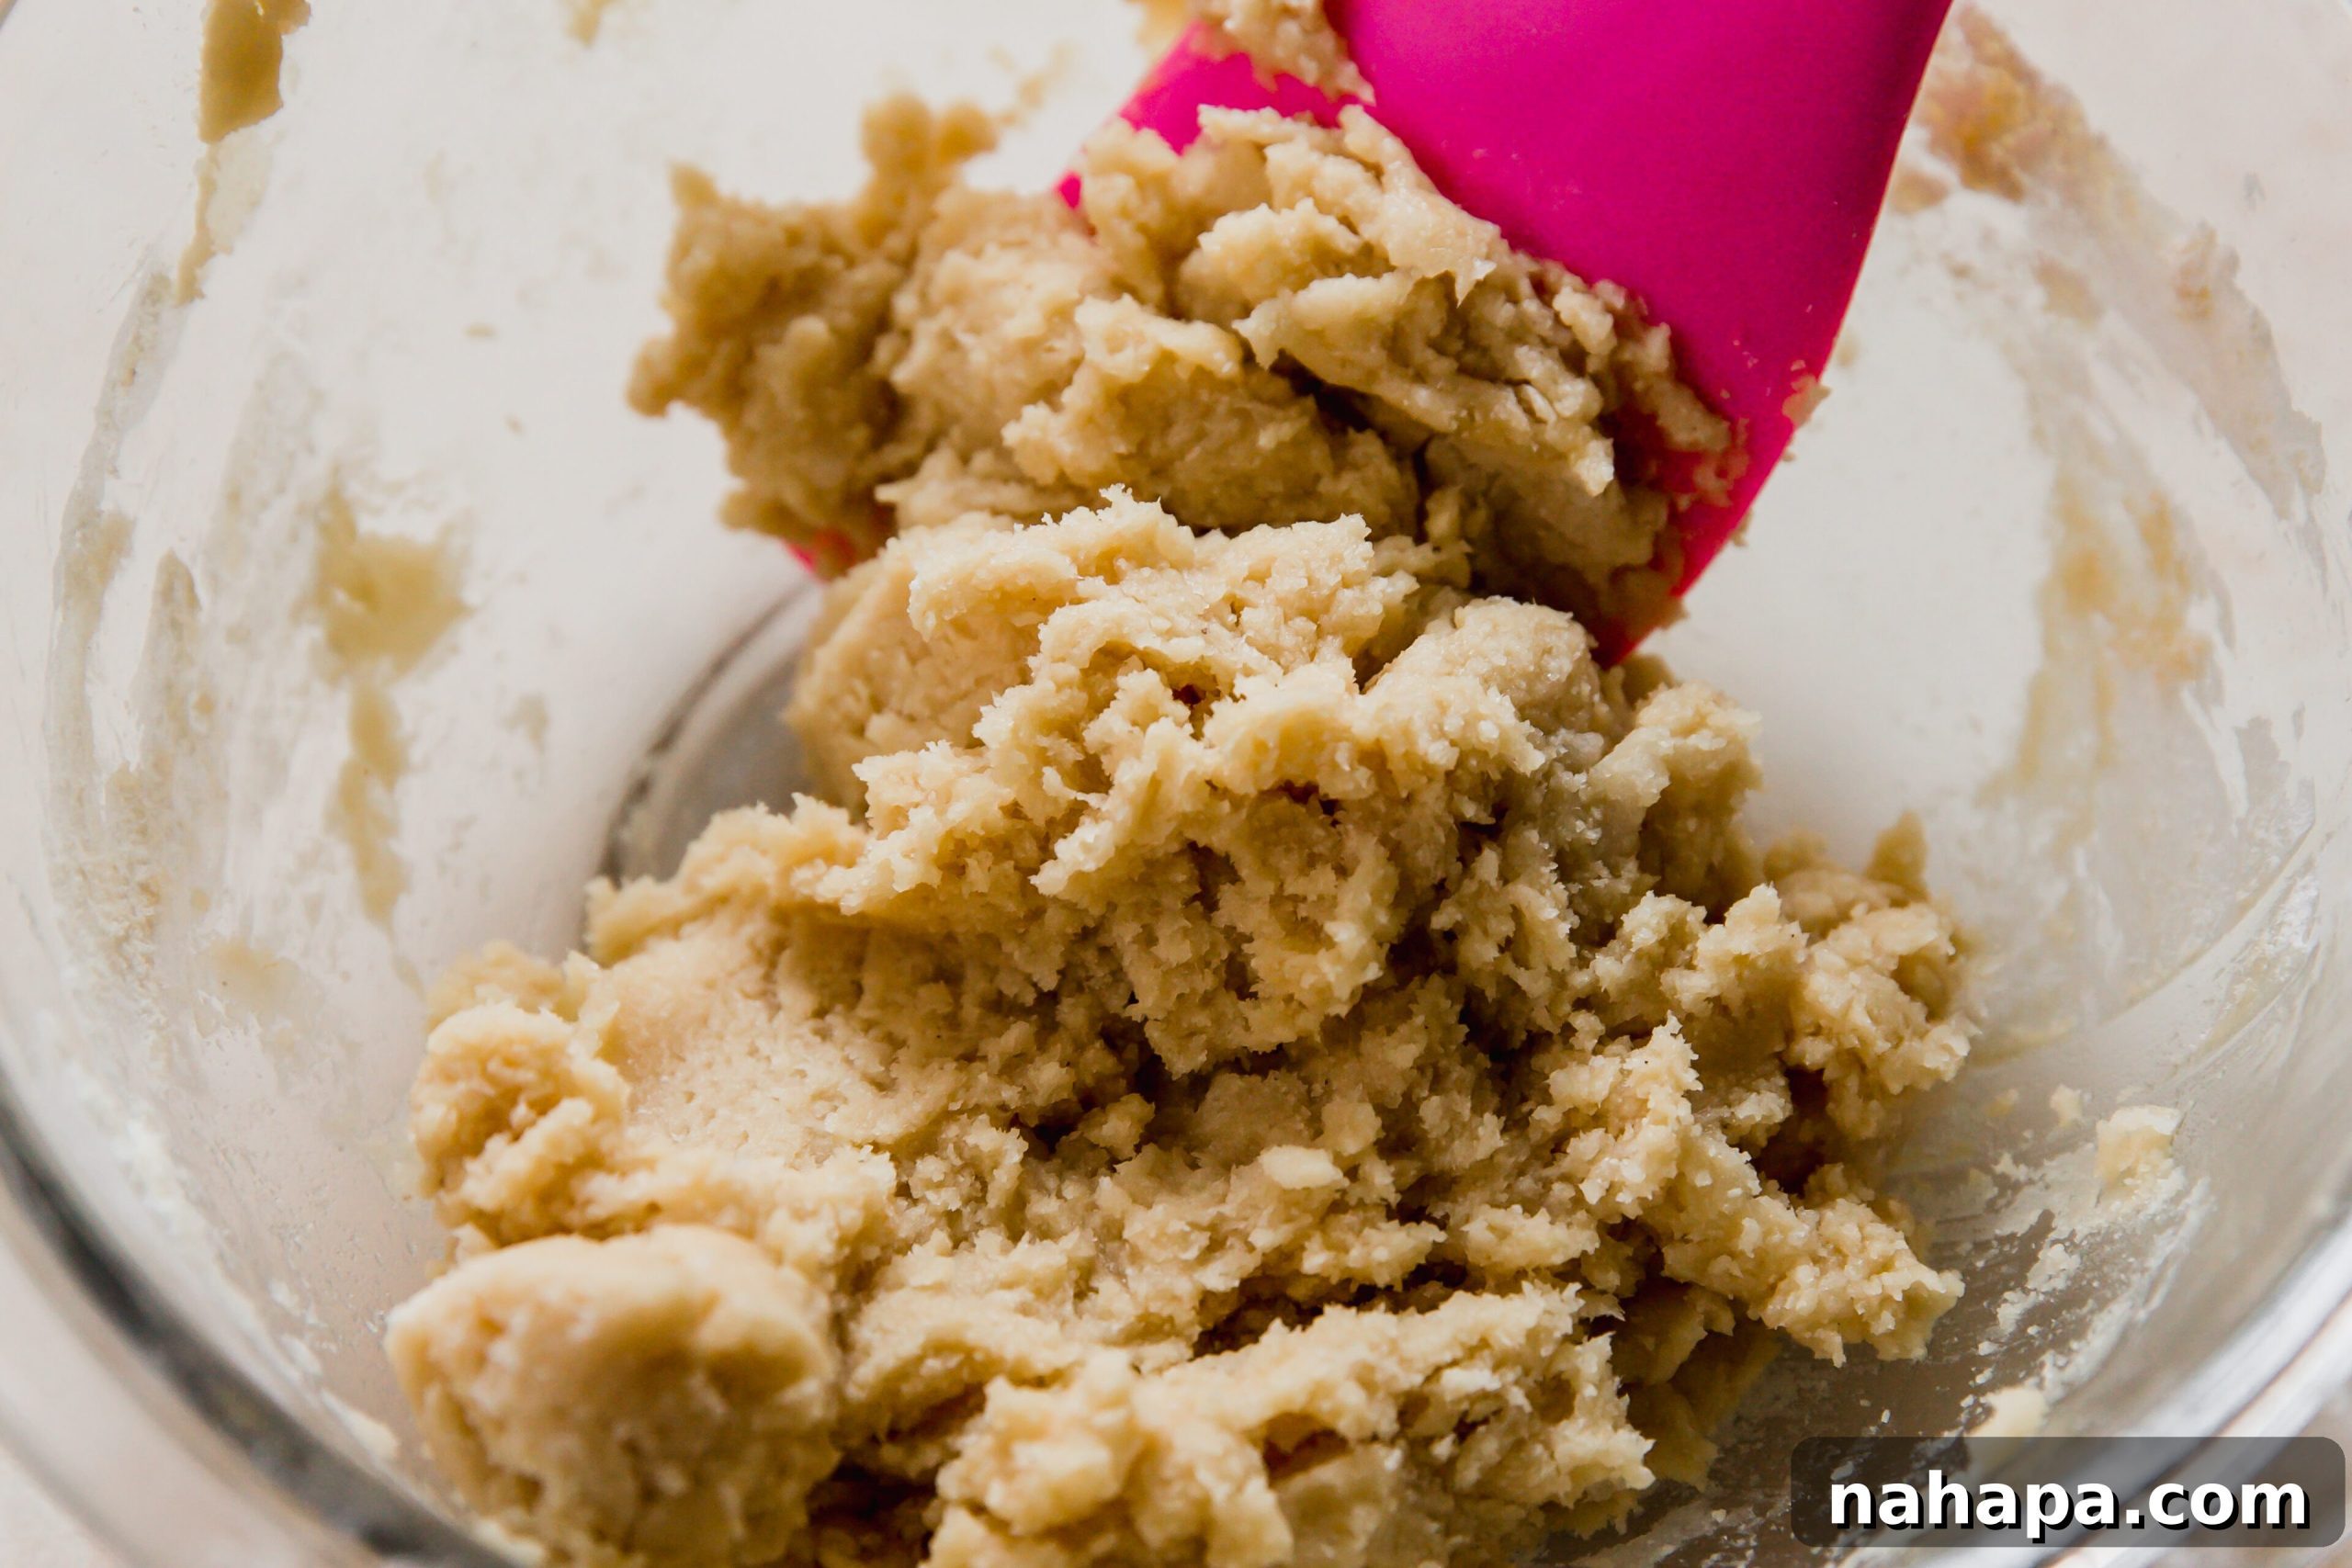
Step One: Prepare the Shortbread Dough. Begin by thoroughly mixing your dry ingredients (coconut flour and arrowroot starch). Then, incorporate the softened coconut oil, maple syrup, and vanilla extract until a cohesive dough forms. Ensure everything is well combined.
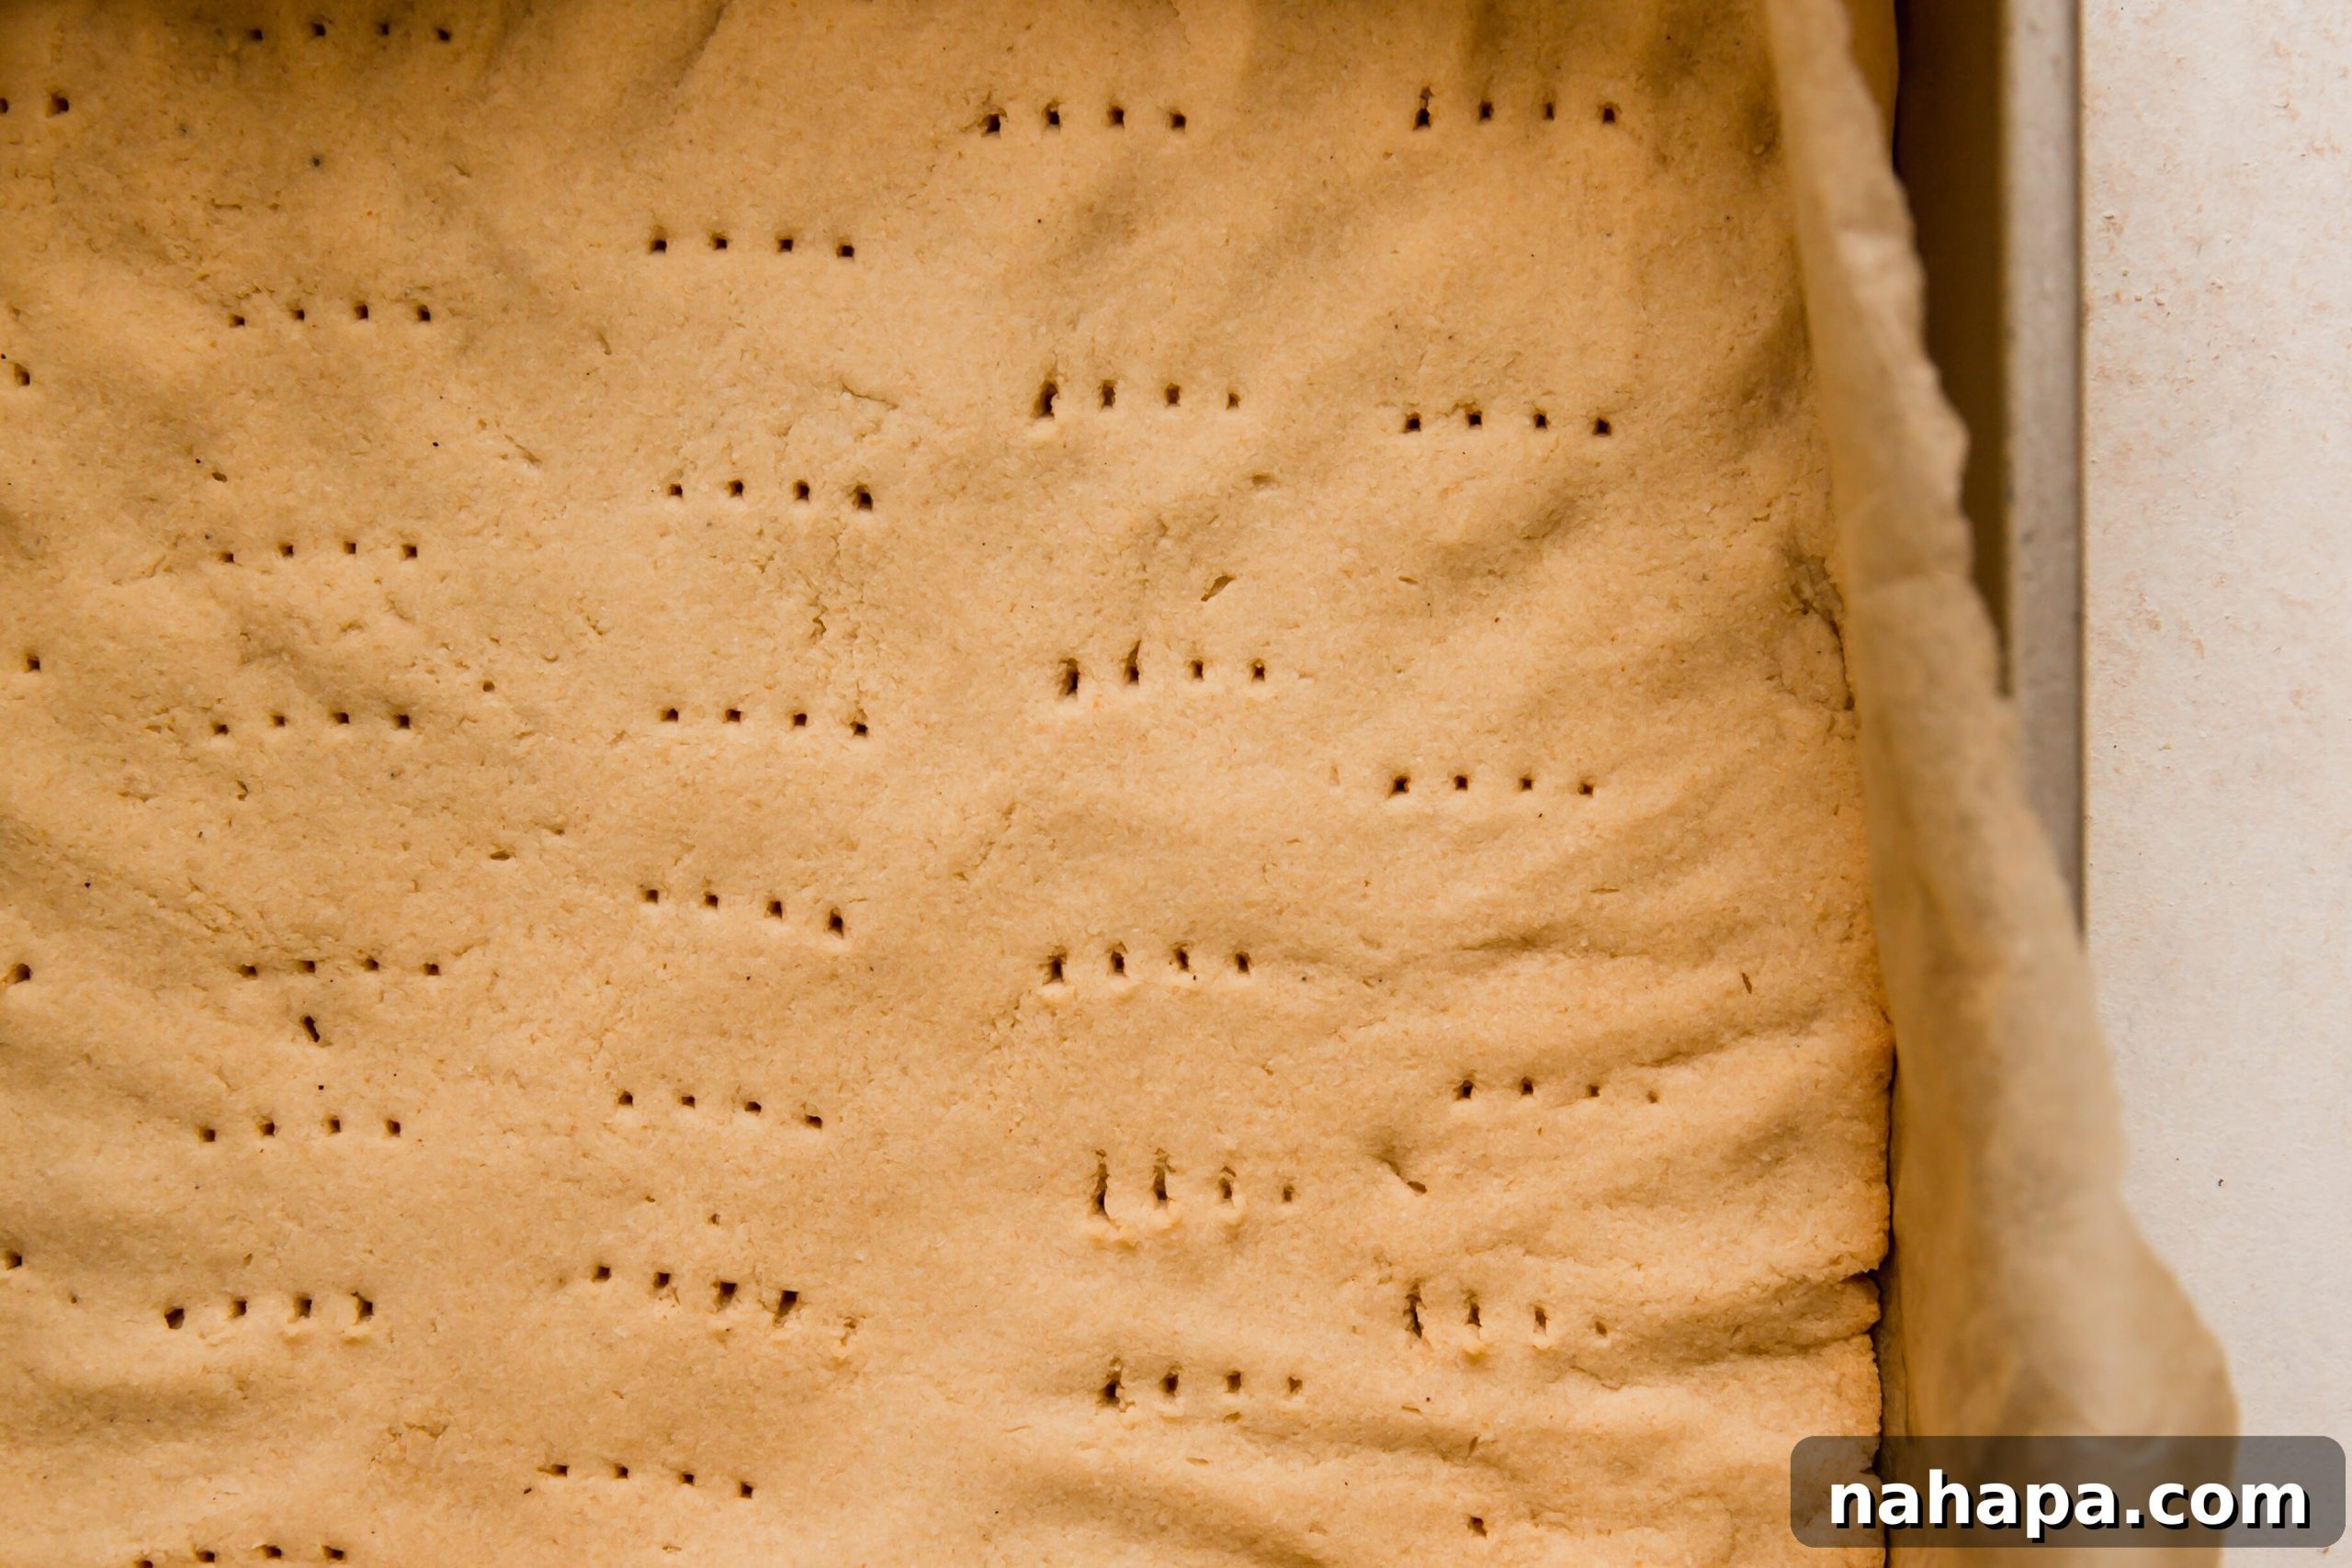
Step Two: Bake the Shortbread Crust. Press the shortbread dough evenly into the bottom of your parchment-lined baking pan. Use a fork to pierce the crust about 10-15 times; this prevents puffing during baking. Bake until golden brown, then allow it to cool completely before proceeding.
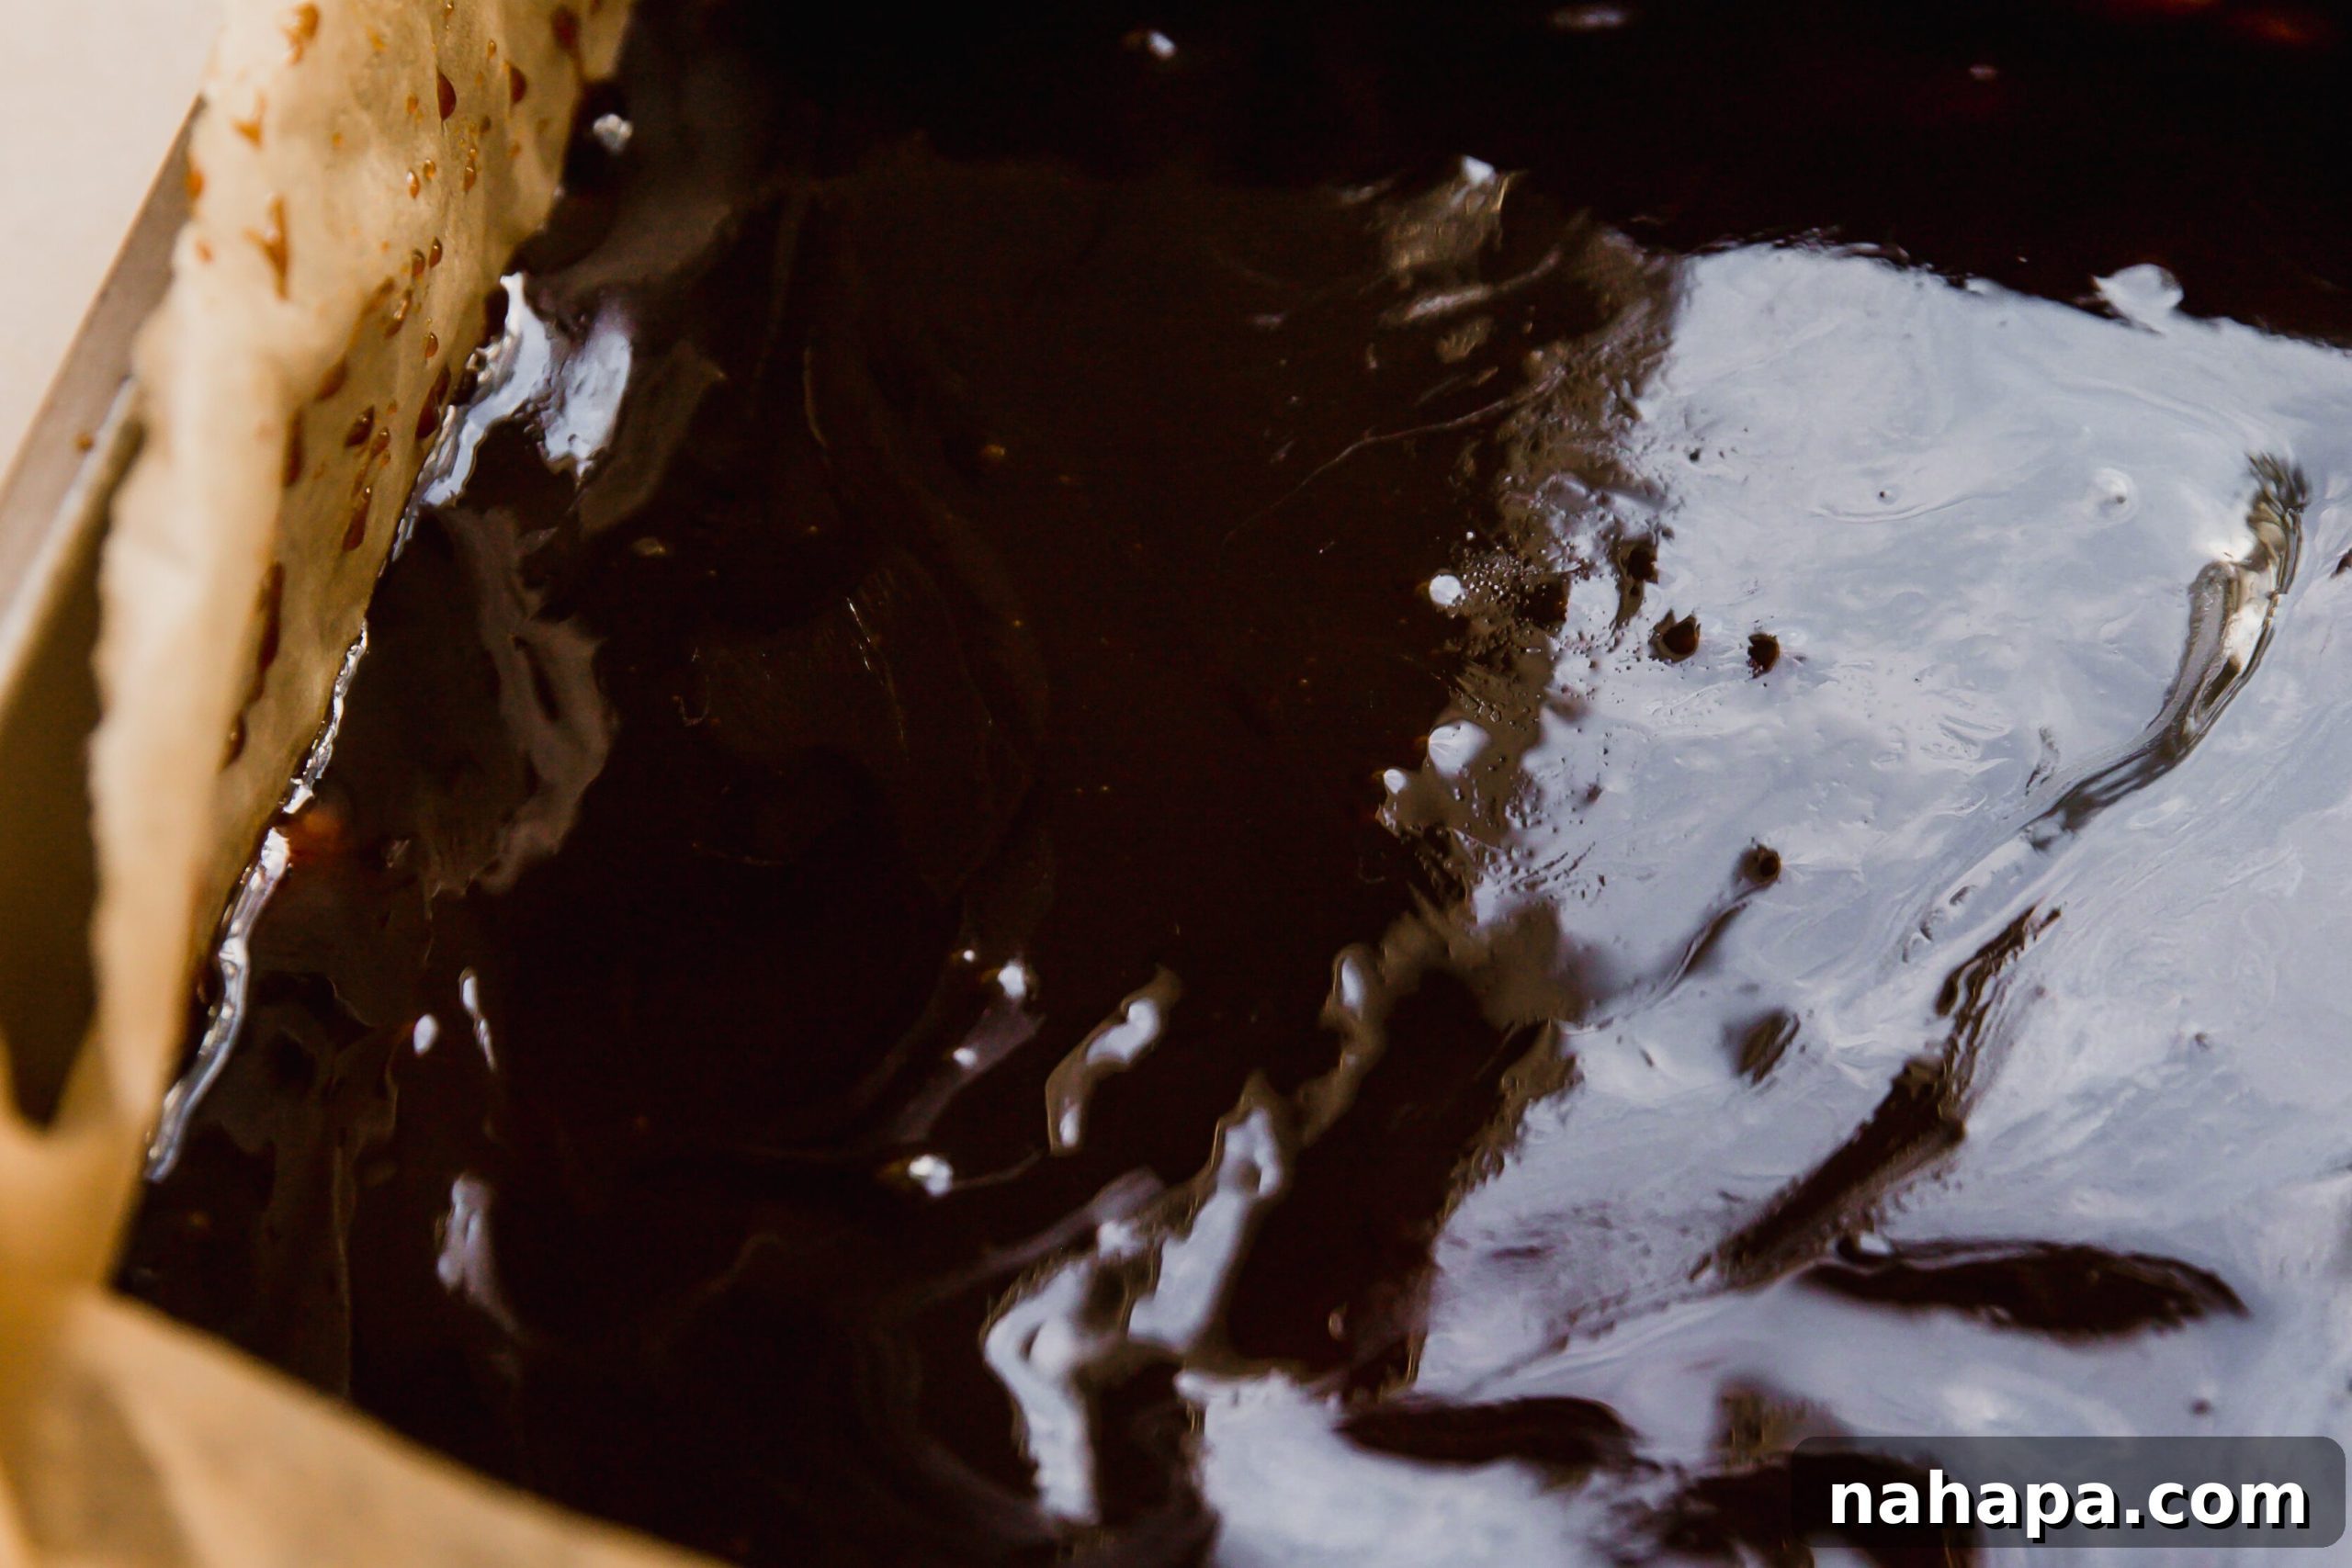
Step Three: Create the Caramel Layer. In a saucepan, combine full-fat coconut milk and coconut sugar. Bring to a simmer over medium-low heat, stirring frequently, until the mixture thickens into a rich, gooey caramel. Pour this warm caramel evenly over your cooled shortbread crust.
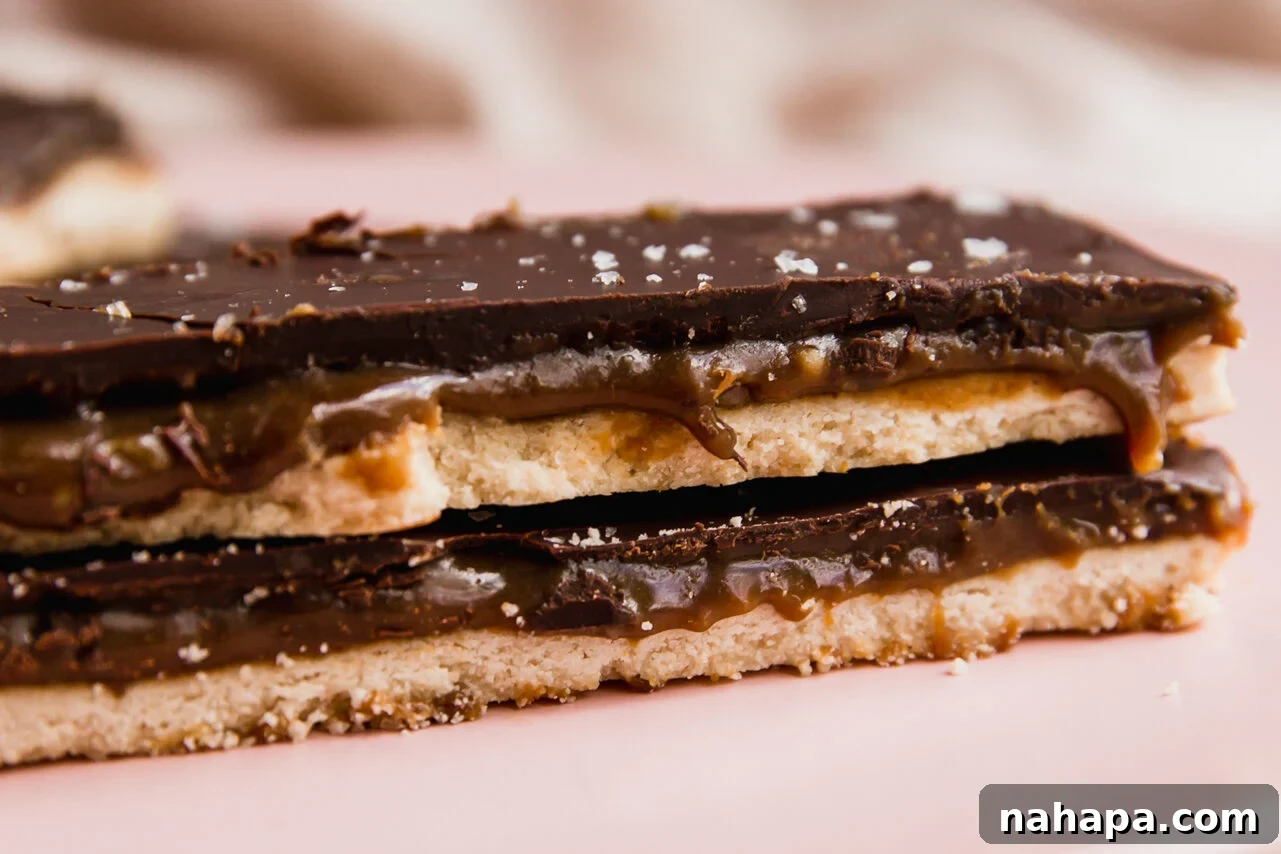
Step Four: Add the Chocolate Coating and Chill. Melt your dairy-free chocolate chips with a bit of coconut oil until smooth. Pour this melted chocolate over the hardened caramel layer, spreading it evenly. Allow the entire pan to chill in the refrigerator until the chocolate is completely set before slicing.
Expert Tips & Tricks
Achieve Twix bar perfection with these essential tips:
- Do Not Rush the Chill Time! This is perhaps the most critical step for success. Both the caramel and chocolate layers require ample time in the refrigerator to set properly. Rushing this process will result in messy, unformed bars. Plan ahead and allow at least 2-3 hours for the caramel to set, and another hour or so for the chocolate. Patience is key to achieving those distinct, perfect layers.
- Embrace Flaky Sea Salt: While original Twix bars don’t typically feature salt, a sprinkle of flaky sea salt on top of your chocolate layer is a game-changer. The salt cuts through the sweetness, enhances the chocolate and caramel flavors, and adds a delightful textural contrast. It transforms a simple candy bar into a more sophisticated, gourmet treat.
- Customize with Your Own Flair: Feel free to get creative with additions! Once the chocolate layer is poured, you could sprinkle shredded coconut for extra texture and flavor (especially if you love coconut), or even some chopped nut-free pretzels for an added crunch. A touch of peppermint extract in the chocolate or a swirl of another dairy-free sauce could also introduce exciting new dimensions.
- Achieving the Perfect Caramel: When making the caramel, keep the heat at medium-low and stir frequently. The goal is a gentle simmer, not a rolling boil, to prevent burning and ensure even thickening. The caramel is ready when it coats the back of a spoon thickly and has reduced significantly, becoming a rich, golden brown. It should be viscous but still pourable.
- Melting Chocolate Like a Pro: For the smoothest chocolate coating, a double boiler method is highly recommended. This involves placing a heatproof bowl with the chocolate and coconut oil over a pot of simmering water, ensuring the bowl doesn’t touch the water. The gentle, indirect heat prevents the chocolate from scorching or seizing, resulting in a perfectly smooth, glossy finish. Alternatively, you can microwave in short bursts, stirring well after each interval.
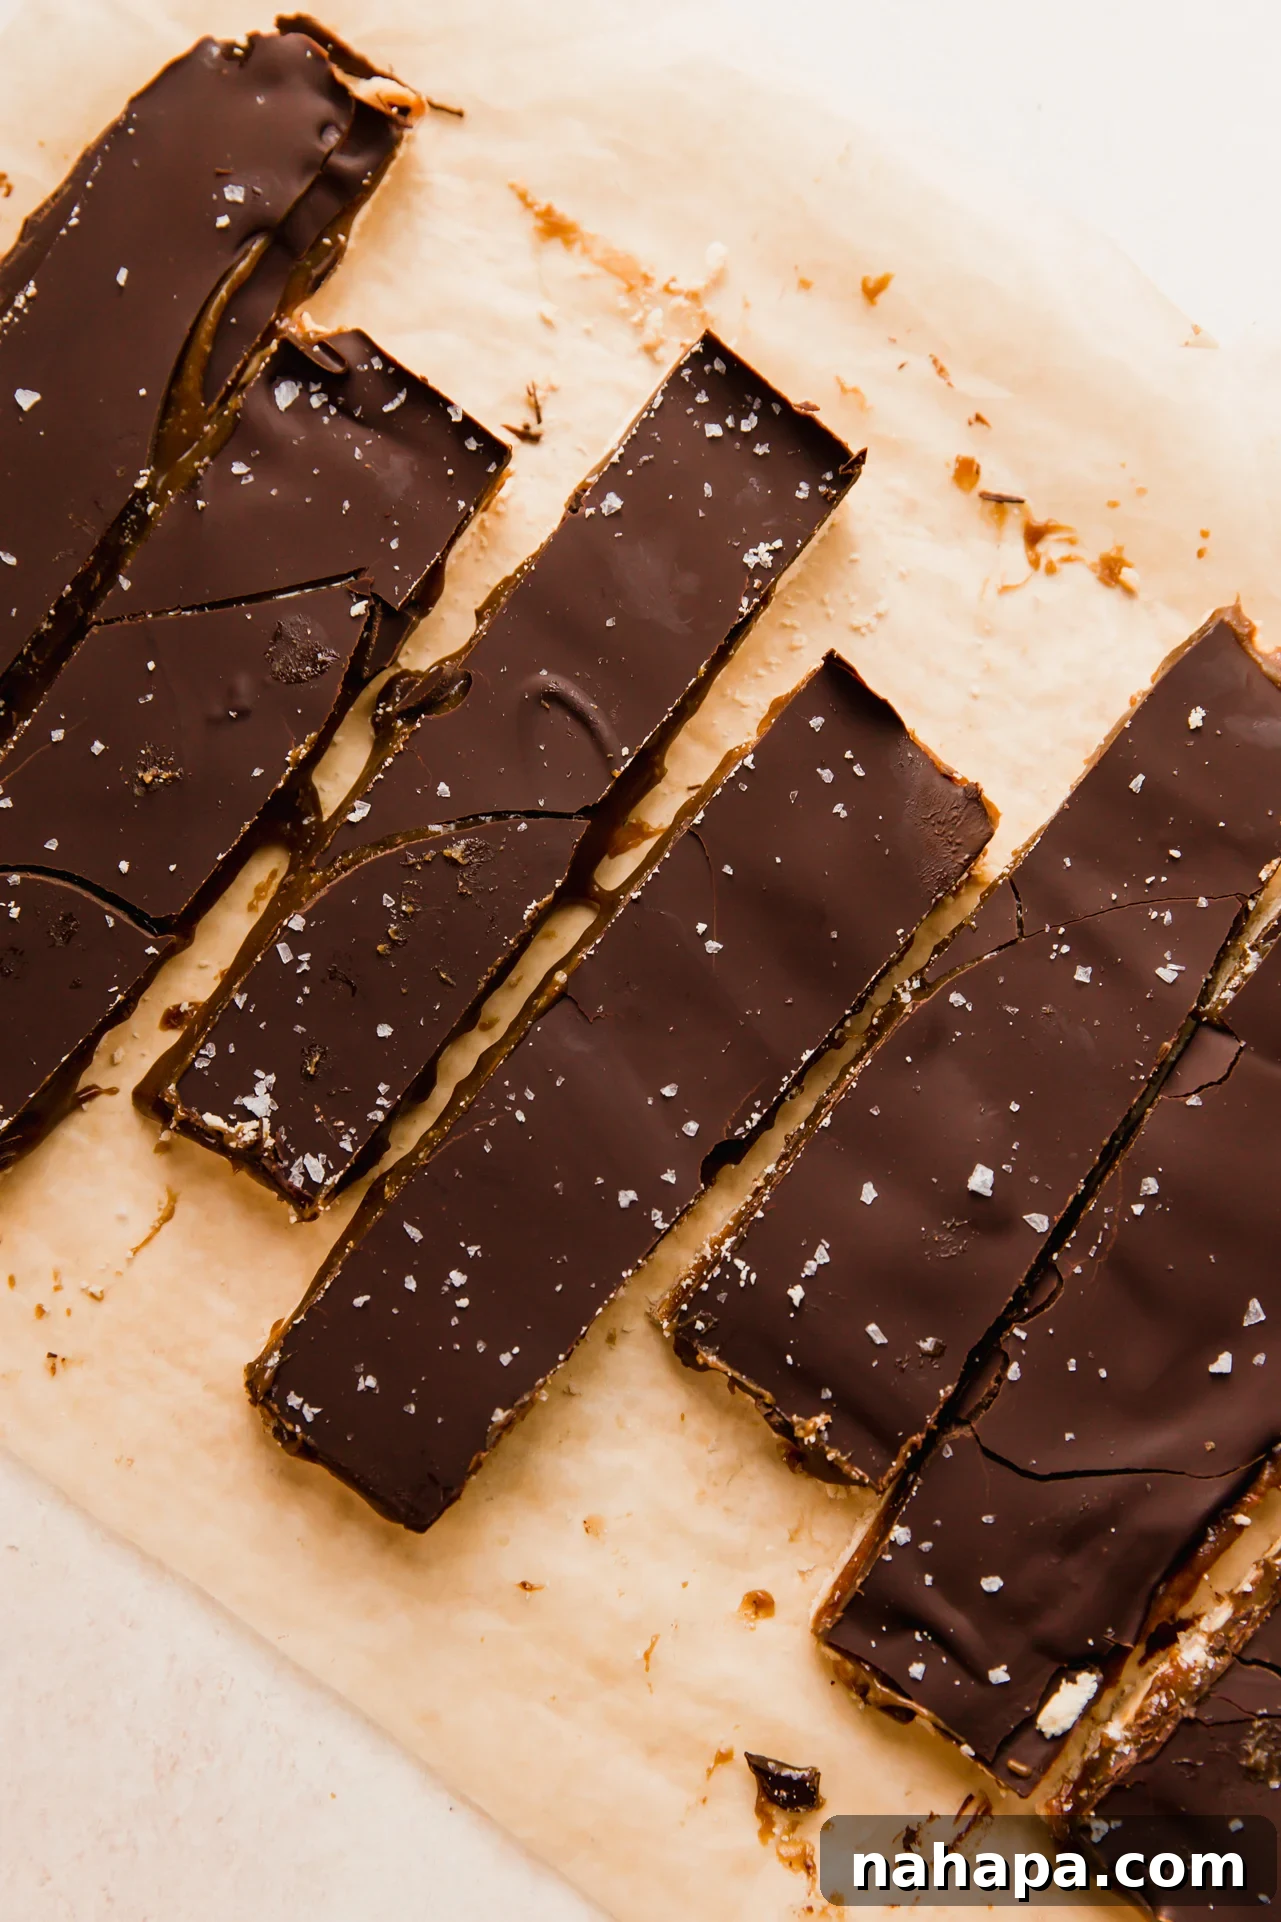
- Clean Slices: To get neat, even bars, make sure your Twix slab is fully chilled and firm before slicing. Use a sharp, warm knife (run it under hot water and wipe dry) for the cleanest cuts. If the chocolate cracks, it usually means it’s too cold; let it sit at room temperature for 5-10 minutes before trying again.
Storage and Shelf Life
- Always Keep Them Chilled: Due to the nature of homemade caramel and chocolate, these Twix bars will soften significantly at room temperature. For optimal texture and to prevent melting, store your finished bars in an airtight container in the refrigerator. This keeps the shortbread crisp, the caramel chewy, and the chocolate firm.
- Prevent Sticking with Parchment Paper: Chocolate is notorious for sticking together when slightly warm or pressed against another piece. To avoid this, separate your sliced Twix bars with small pieces of parchment paper when storing them in the container. This simple trick ensures each bar remains pristine and easy to grab.
- Longevity: When stored properly in the refrigerator, these homemade gluten-free Twix bars will remain fresh and delicious for up to 1-2 weeks. For longer storage, they can also be frozen for up to 1-2 months. If freezing, wrap individual bars tightly in parchment paper and then aluminum foil, or place them in a freezer-safe container. Thaw in the refrigerator before enjoying.
Frequently Asked Questions
- Can I make these without coconut flour? Unfortunately, coconut flour is very unique in its absorbency and texture properties. There isn’t a direct 1:1 substitute that would yield the same shortbread crust. Substituting with other gluten-free flours like almond or oat flour would drastically change the recipe’s consistency and may require significant alterations to liquid ratios. This recipe is specifically formulated for coconut flour.
- What if my caramel isn’t thickening? Ensure you are using full-fat canned coconut milk, not lighter versions or coconut milk from a carton. Patience is also key; the simmering process can take 25-30 minutes, sometimes a little longer depending on your stovetop heat and pan size. Keep stirring consistently to aid evaporation and prevent sticking. The caramel should noticeably thicken and coat the back of a spoon.
- Can I use a different sweetener for the caramel? While coconut sugar provides the best flavor and texture for this specific caramel, you could experiment with other granulated sweeteners like brown sugar. However, this would alter the flavor profile and might slightly change the consistency of the caramel, potentially requiring adjustments to cooking time.
- Why did my chocolate coating seize? Chocolate seizing (becoming thick, clumpy, and grainy) usually happens when even a tiny amount of water or steam comes into contact with it during melting. Always ensure your melting bowl and utensils are completely dry. If using a double boiler, make sure the bottom of your bowl doesn’t touch the simmering water, and prevent steam from escaping and condensing into the chocolate.
- How can I make these even richer? For an extra rich flavor, consider using dark dairy-free chocolate (70% cocoa or higher) for the coating. You could also add a tiny pinch of instant espresso powder to the caramel or chocolate for a subtle depth that enhances their natural flavors.
- Can these be made paleo? Yes, this recipe is naturally paleo-friendly as it uses coconut flour, arrowroot starch, coconut oil, maple syrup, and coconut sugar. Just be sure to use a paleo-approved dairy-free chocolate (like Hu Kitchen) or a carob-based alternative for the AIP diet.
More Homemade Gluten-free Candy Recipes
If you loved making these Twix bars, you might enjoy exploring other homemade, healthier candy creations:
- Healthier Snickers Bars
- Almond Butter Reese’s
Gluten Free Twix Bars
Yield: 12 servings
Prep Time: 2 hrs
Cook Time: 30 mins
Author: Michelle
These gluten-free Twix bars are a healthier alternative to a classic candy! They’re nut-free, gluten-free, and the perfect copycat.
Leave a Review
Pin Recipe
Ingredients
For the shortbread
- ¾ cup coconut flour
- ¼ cup arrowroot starch
- ½ cup coconut oil, softened
- ¼ cup maple syrup
- ½ tsp vanilla extract
For the caramel
- 1 13.5 oz can full-fat coconut milk
- ½ cup coconut sugar
- Pinch of salt
For the chocolate coating
- ¾ cup dairy-free chocolate chips, I use Hu Kitchen, sub a recipe like this for AIP
- 2 tbsp coconut oil
- Flaky salt
Instructions
For the shortbread
- Preheat the oven to 325 F and line an 8×8″ baking pan with parchment paper.
- Start with the crust by mixing together the two flours, and then stirring in the wet ingredients until well combined.
- Evenly flatten the crust in the bottom of the pan and puncture the crust with a fork about 10-15 times.
- Bake the crust until lightly golden brown for about 25-30 minutes. Set aside and allow to completely cool.
For the caramel
- Combine the coconut milk and coconut sugar in a medium saucepan and whisk well. Set over medium-low heat and allow to come to a medium simmer, stirring often for about 25-30 minutes or until thick caramel forms.
- Pour the caramel over the shortbread and spread evenly. Transfer to the fridge for 2-3 hours (or overnight) to allow it to set.
For the chocolate coating
- Melt the chocolate and coconut oil together with a method of your choice (I prefer a double boiler method).
- Pour the chocolate over the hardened caramel and spread it into an even layer. Allow the pan to cool slightly before transferring to the fridge to allow the chocolate to harden completely.
- Transfer the Twix to a cutting board and top with some salt. Use a sharp knife to cut into 12 (or more or less depending on the size you’d prefer) bars. Serve immediately or store in the fridge with parchment paper separating the bars to avoiding sticking.
Discover the visual guide for making these incredible Gluten-Free Twix Bars by watching our comprehensive video tutorial. Follow along step-by-step to perfect each layer, from the crisp shortbread to the chewy caramel and smooth chocolate coating. This video offers helpful tips and techniques to ensure your homemade Twix bars turn out flawlessly every time.
Notes
Store the Twix chilled with parchment paper. Separate them with parchment paper to keep them from sticking to each other! Chocolate will always stick when it melts, so any slight temperature change can have your bars stick together.
Nutrition Facts (Estimated per serving):
- Serving Size: 1 serving
- Calories: 318 kcal
- Carbohydrates: 26.9g
- Protein: 2.4g
- Fat: 23.4g
- Fiber: 2.3g
Did you Make this Recipe?
Tag @unboundwellness on Instagram and hashtag #unboundwellness!