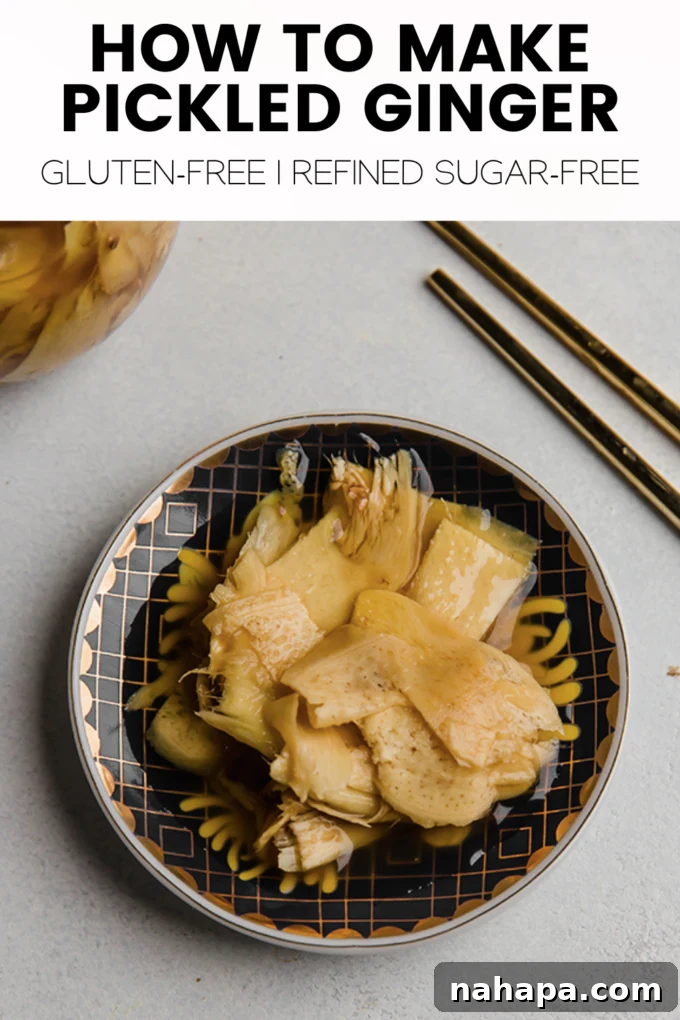
Homemade Pickled Ginger: A Simple, Refined Sugar-Free Recipe
Discover how to create your own vibrant, flavorful, and incredibly healthy pickled ginger right in your kitchen! This recipe offers a delightful twist on traditional gari, swapping out refined sugar and rice vinegar for the wholesome goodness of apple cider vinegar and natural coconut sugar. The result is a simple, fast, and remarkably refined sugar-free condiment that perfectly complements your favorite dishes and elevates your culinary experience.
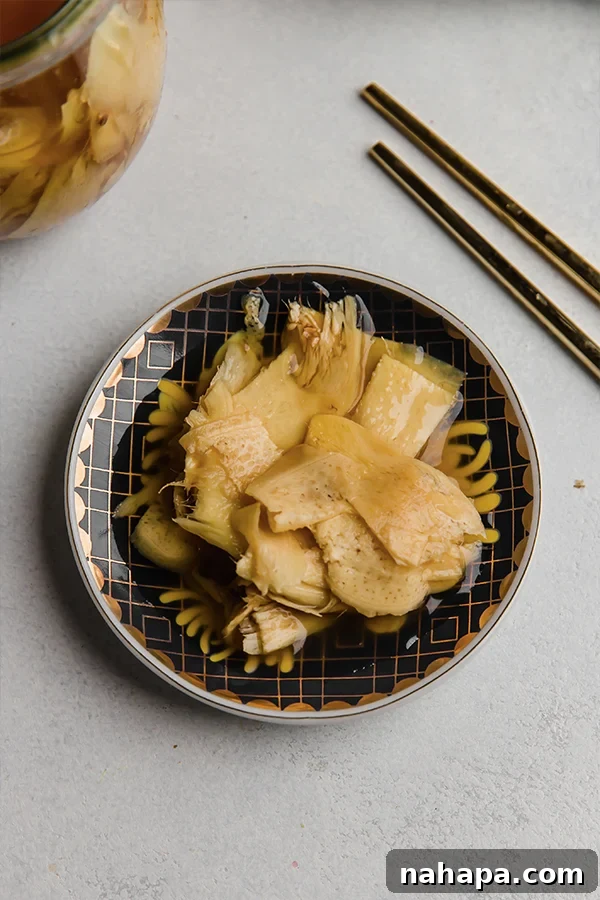
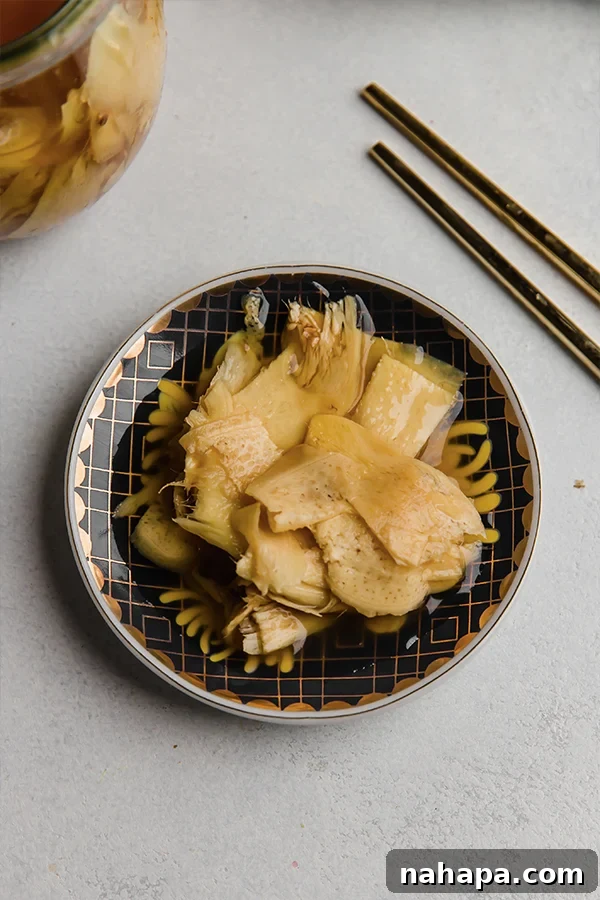
What is Pickled Ginger (Gari)?
Pickled ginger, often known as gari, is a classic Japanese condiment renowned for its refreshing, slightly sweet, and subtly spicy flavor. Traditionally, it’s made from young ginger that is thinly sliced and then marinated in a solution of rice vinegar, sugar, and salt. Its primary role in Japanese cuisine, particularly with sushi and sashimi, is to cleanse the palate between different pieces of fish, enhancing the enjoyment of each unique flavor. Beyond its culinary function, gari adds a crisp texture and a pungent kick that many find irresistible.
While commercially available pickled ginger is convenient, it often contains significant amounts of refined sugar and sometimes artificial colorings to achieve its characteristic pink hue. For those seeking a healthier lifestyle or adhering to specific dietary restrictions, such as avoiding refined sugars or rice vinegar, finding a suitable option can be challenging. This recipe provides a fantastic solution, allowing you to enjoy all the delightful qualities of pickled ginger without compromising your health goals. Our version utilizes the gut-friendly benefits of apple cider vinegar and the natural sweetness of coconut sugar, making it a truly wholesome alternative you can feel good about.
The Wholesome Ingredients for Quick Pickled Ginger
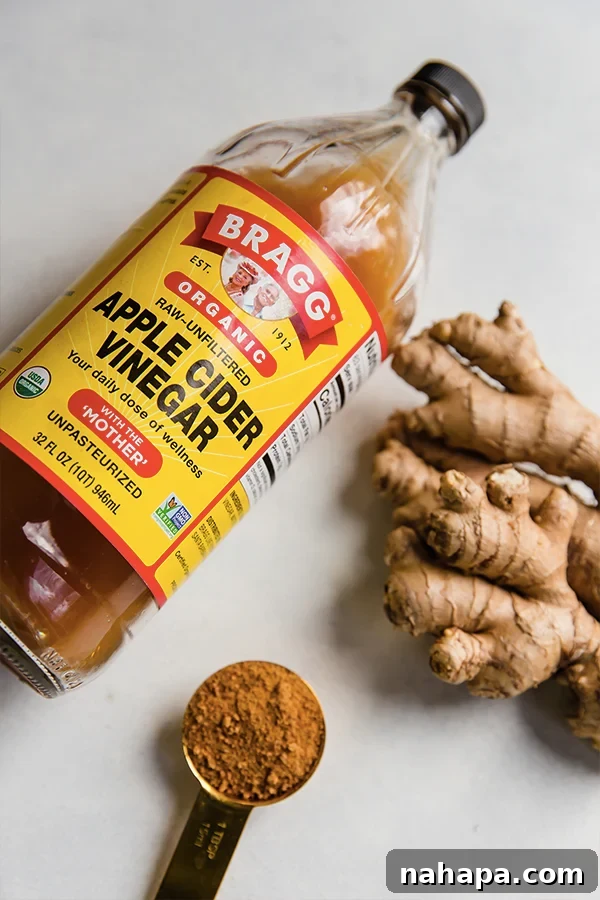
Crafting this exquisite pickled ginger requires just a handful of simple, natural ingredients. Each component plays a crucial role in both flavor and health benefits, ensuring a delicious and nutritious outcome. Below, we delve into the star ingredients that make this recipe shine:
- Fresh Ginger: The hero of our recipe, fresh ginger is not only bursting with zingy flavor but also boasts incredible anti-inflammatory and antioxidant properties. Choosing firm, smooth ginger with minimal blemishes will yield the best results. Young ginger is traditionally preferred for its tenderness and natural pink hue when pickled, but mature ginger works wonderfully too for its robust flavor.
- Water: Essential for creating the pickling brine, water helps to dilute the vinegar and sugar, ensuring the ginger is perfectly submerged and infused with flavor.
- Apple Cider Vinegar (ACV): This is our secret weapon! Unlike rice vinegar, apple cider vinegar is celebrated for its numerous health benefits, including supporting digestion and balancing blood sugar. It lends a unique, slightly fruitier and tangier note to the ginger, creating a distinctive flavor profile that sets this recipe apart. Opt for raw, unfiltered ACV “with the mother” for maximum benefit.
- Coconut Sugar: To keep this recipe refined sugar-free, we turn to coconut sugar. It’s a natural sweetener derived from the sap of the coconut palm, known for its lower glycemic index compared to refined white sugar. It imparts a subtle caramel-like sweetness that complements the ginger beautifully without being overpowering, allowing the natural spice of the ginger to shine through.
- Salt: A fundamental element in any pickling process, salt not only enhances the flavor of the ginger but also plays a vital role in the preservation of the pickles. A good quality sea salt or kosher salt is recommended for the best taste.
How to Make Homemade Pickled Ginger: Step-by-Step Guide
Making your own pickled ginger at home is surprisingly simple and incredibly rewarding. Follow these detailed steps to create a batch of this healthy, flavorful condiment that will impress your taste buds and your guests alike.
Preparation is Key: Peeling and Slicing the Ginger
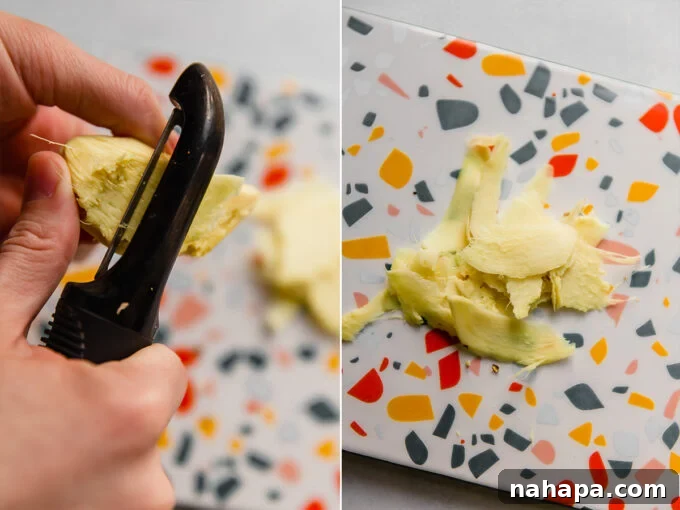
The first step to perfect pickled ginger is preparing your fresh ginger. Begin by washing the ginger root thoroughly under cold water to remove any dirt. For peeling, you have a couple of options: a vegetable peeler works efficiently for larger pieces, while a spoon is surprisingly effective for scraping away the skin from irregular nooks and crannies, minimizing waste. Once peeled, the real magic happens in the slicing. Aim for extremely thin slices, as this is crucial for the ginger to absorb the pickling liquid effectively and achieve that tender, melt-in-your-mouth texture. A mandoline slicer is ideal for achieving uniform, paper-thin slices, but a very sharp knife and a steady hand can also do the trick. The thinner the slices, the quicker and more effectively they will pickle.
Setting Up Your Pickling Jar
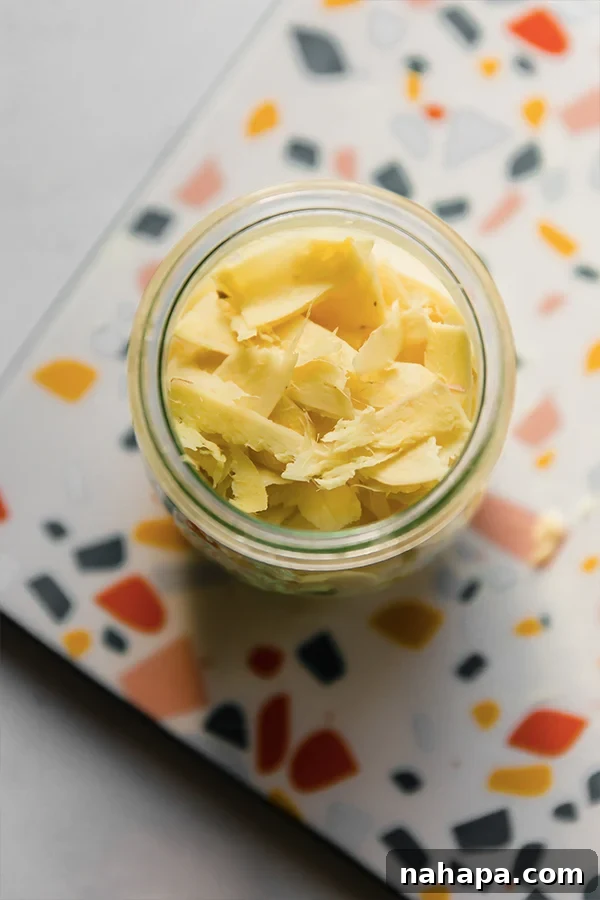
Once your ginger is peeled and thinly sliced, carefully transfer it into a clean, heat-proof glass jar. Ensure the jar is sterilized to prevent any unwanted bacteria from affecting your pickled ginger. You can sterilize jars by washing them in hot, soapy water and then rinsing them thoroughly, or by running them through a dishwasher on a hot cycle. Placing the ginger into the jar now means it will be ready to receive the hot pickling brine, setting the stage for the flavor infusion.
Crafting the Flavorful Brine
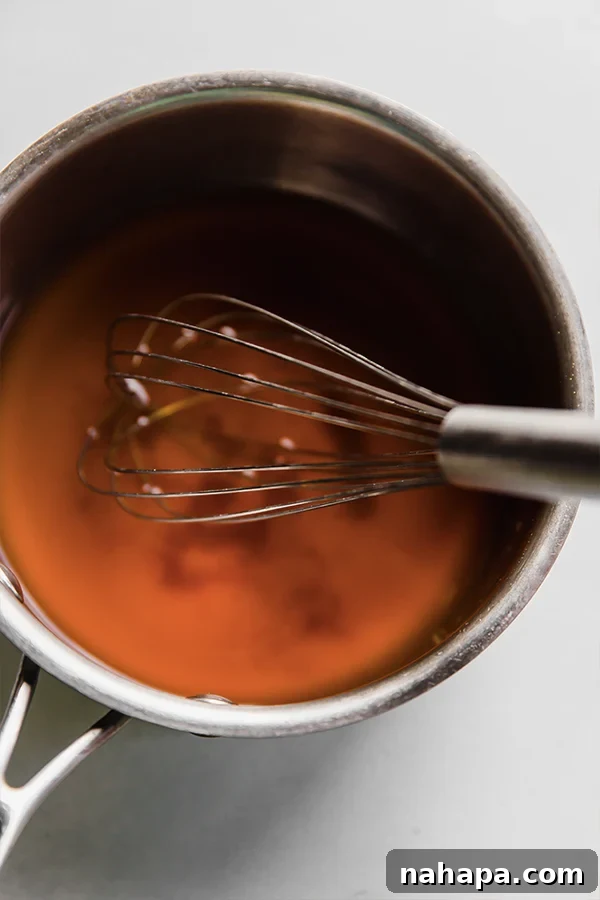
In a small saucepan, combine the water, apple cider vinegar, coconut sugar, and salt. Place the saucepan over medium-high heat on your stove. Begin whisking the mixture continuously. This constant stirring is important to ensure that the coconut sugar fully dissolves into the liquid, preventing it from settling at the bottom. Continue to whisk and heat the brine until it reaches a gentle boil. Once boiling, remove the saucepan from the heat. The hot liquid is essential for quickly pickling the ginger and infusing it with all the wonderful flavors.
Combining Ginger and Brine
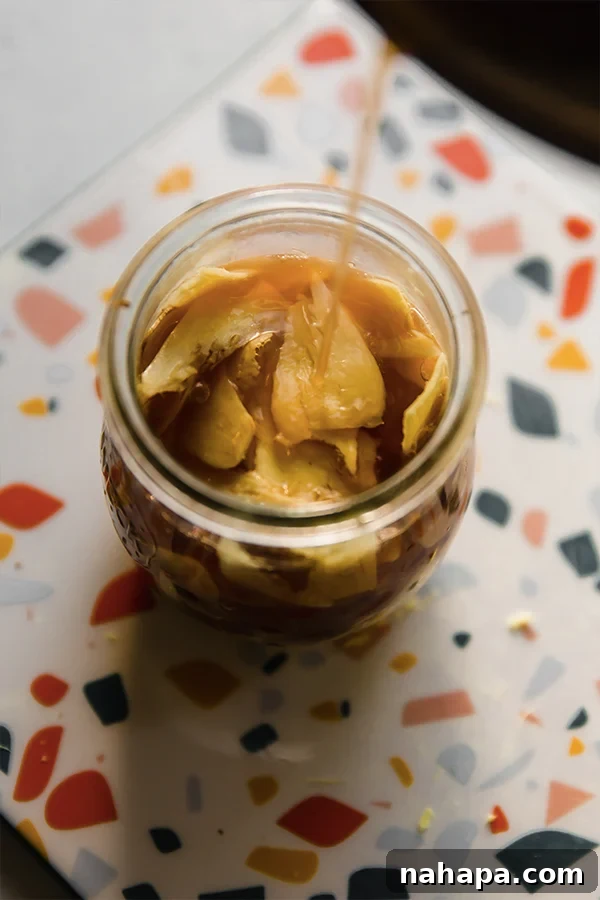
Carefully pour the hot pickling liquid directly over the sliced ginger in the glass jar. Make sure the ginger is completely submerged in the brine; this ensures even pickling and maximum flavor absorption. Once the liquid is poured, allow the jar to cool down to room temperature before securely covering it with a lid. As the jar cools, you can gently swirl and lightly shake it to further combine the ingredients and ensure every piece of ginger is bathed in the flavorful brine. This initial cooling period helps prevent condensation and maintains the quality of your pickled ginger.
Storage and Serving
Once the jar has cooled to room temperature and is covered, transfer it to your refrigerator. For the best flavor development, allow the pickled ginger to chill overnight before enjoying. This gives the ginger ample time to absorb the flavors of the brine, resulting in a perfectly balanced spicy and lightly tangy condiment. Always serve your homemade pickled ginger chilled, as its refreshing qualities are best enjoyed cold. The longer it sits, the more the flavors meld, offering a deeper and more nuanced taste.
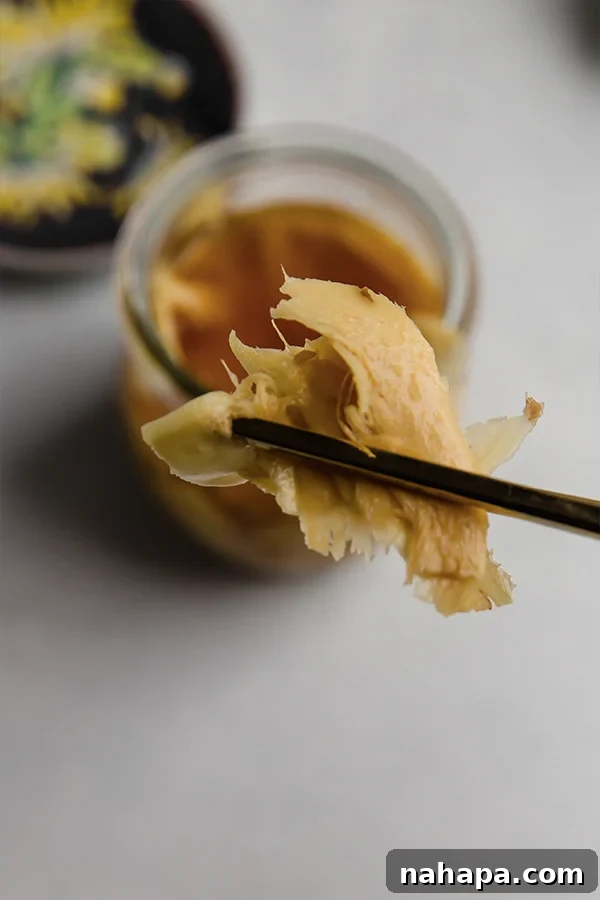
The Health Benefits of This Refined Sugar-Free Pickled Ginger
Is pickled ginger good for you? Absolutely, especially when prepared without refined sugars and with wholesome ingredients like in this recipe! Fresh ginger itself is a powerhouse of health benefits. It’s widely recognized for its potent anti-inflammatory properties, making it an excellent addition to your diet for reducing inflammation throughout the body. Ginger is also a fantastic digestive aid, known to soothe upset stomachs, alleviate nausea, and support overall gut health. It contains powerful antioxidants that help protect your cells from damage, contributing to long-term well-being.
The true advantage of this specific recipe lies in its commitment to being refined sugar-free. Many store-bought pickled gingers are loaded with excessive amounts of added sugars, which can negate the natural health benefits of ginger. By using coconut sugar, we significantly reduce the glycemic load, providing a gentler sweetness that won’t cause drastic blood sugar spikes. Furthermore, incorporating apple cider vinegar brings its own host of benefits, including potential improvements in digestion and a boost to beneficial gut bacteria. This makes our homemade pickled ginger a far more wholesome and health-conscious alternative, allowing the inherent goodness of the ginger to truly shine through, unmasked by unhealthy additives.
Creative Ways to Serve Your Pickled Ginger
While pickled ginger is most famously associated with sushi and sashimi, its versatility extends far beyond Japanese cuisine. Its unique combination of spicy, tangy, and sweet notes makes it an exceptional condiment that can elevate a wide array of dishes. Here are some inspiring ideas on how to incorporate your homemade pickled ginger into your meals:
Enhance Your Sushi and Poke Bowls
This is, of course, the classic pairing. Serve alongside homemade sushi rolls, sashimi, or vibrant poke bowls. The pickled ginger acts as a perfect palate cleanser, preparing your taste buds for the next delicious bite of fish or fresh ingredients. Its crisp texture and zesty flavor cut through the richness of fish and rice beautifully.
A Zesty Addition to Salads
Finely chop your pickled ginger and sprinkle it over green salads, grain bowls, or even potato salads for an unexpected burst of flavor and texture. It adds a delightful zing that can transform an ordinary salad into something truly special.
Pair with Grilled Meats and Seafood
The bright, piquant flavor of pickled ginger makes it an excellent accompaniment to grilled chicken, pork, or fish. It can cut through the richness of meats and provide a refreshing counterpoint, much like a relish or chutney. Try it with grilled salmon or roasted chicken for an Asian-inspired twist.
Elevate Sandwiches and Wraps
Looking to add an extra layer of flavor to your everyday sandwich or wrap? A few slices of pickled ginger can provide a wonderful textural crunch and a tangy kick that complements various fillings, from grilled vegetables to sliced turkey or tofu.
Jazz Up Stir-Fries and Asian Dishes
While often served on the side, pickled ginger can also be a fantastic garnish for stir-fries, noodle dishes, or even fried rice. Add it just before serving for a fresh burst of flavor and a beautiful presentation.
An Intriguing Appetizer or Snack
For adventurous palates, a small bowl of pickled ginger can even be served as part of an appetizer platter, offering a unique tangy bite alongside cheeses, olives, or other pickled vegetables.
Storage and Shelf Life
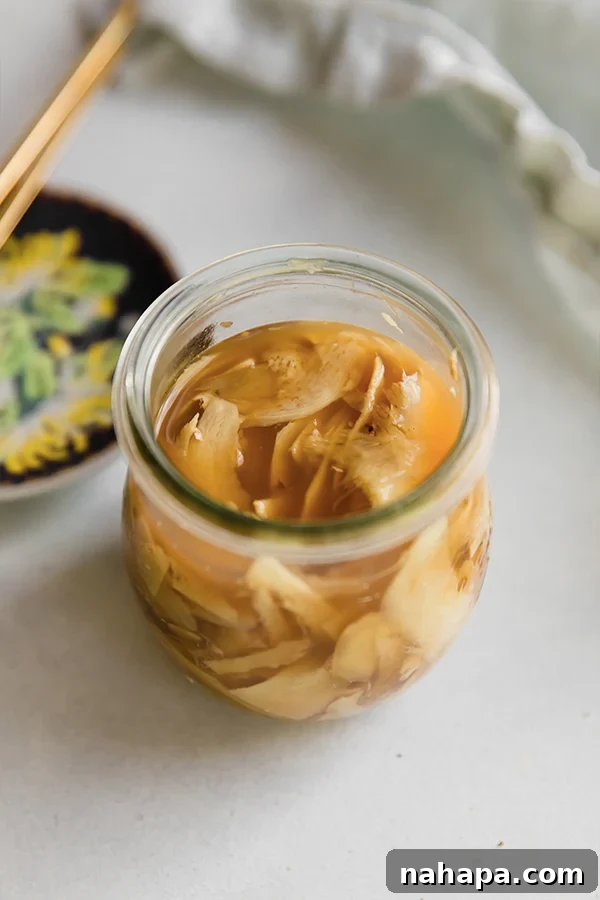
Proper storage is essential to maintain the freshness and flavor of your homemade pickled ginger. After it has cooled down and been transferred to the refrigerator, it will keep well for up to a week. While it might technically be safe for longer, the peak freshness and ideal texture are best enjoyed within this timeframe. Make sure to keep it in an airtight container or a tightly sealed jar to prevent any outside odors from affecting its flavor and to maintain its crispness. Always use clean utensils when retrieving ginger from the jar to avoid introducing contaminants. You’ll likely find that it gets eaten much faster than a week, as its deliciousness makes it a highly sought-after condiment!
Frequently Asked Questions About Pickled Ginger
Here are answers to some common questions you might have when making and enjoying your homemade pickled ginger:
Why isn’t my pickled ginger pink?
The natural pink color often seen in commercial pickled ginger comes from young ginger, which has naturally pink tips near the skin. When young ginger is pickled, it can turn a lovely shade of pink. Mature ginger, which is more commonly available, typically yields a pale yellow or off-white pickled product. Some commercial versions also use food dyes to achieve a vibrant pink. Rest assured, the color does not affect the flavor or health benefits of your homemade version.
Can I use ginger powder instead of fresh ginger?
No, this recipe specifically calls for fresh ginger root. Ginger powder has a different flavor profile and texture, and it will not yield the same crisp, tangy result as thinly sliced fresh ginger. For pickling, fresh ginger is essential.
Can I substitute other vinegars for apple cider vinegar?
While you can experiment with other vinegars, it will alter the flavor profile significantly. Rice vinegar is the traditional choice, but it would change the “refined sugar-free” and “healthier alternative” focus if combined with refined sugar. White vinegar would offer a sharper, less nuanced tang. Apple cider vinegar was chosen specifically for its health benefits and unique flavor, so sticking to it is recommended for this particular recipe.
Can I make a larger batch of pickled ginger?
Absolutely! This recipe can be easily scaled up. Just ensure you maintain the same ratios of ingredients for the brine and have enough clean, sterilized jars to accommodate the larger quantity of ginger. Adjust your saucepan size accordingly for preparing the brine.
What if my ginger isn’t fully submerged in the brine?
It’s crucial for the ginger to be fully submerged to ensure even pickling and prevent spoilage. If you find some pieces floating, you can use a small, clean plate or a food-safe weight to keep the ginger pressed down beneath the brine. This ensures all pieces are properly preserved and flavored.
Other Quick Pickling Recipes You’ll Love
If you enjoyed making this healthy pickled ginger, you’ll love exploring other quick pickling recipes that add a vibrant touch to any meal:
- Quick Pickled Cucumbers
- Quick Pickled Onions
- Easy Vinegar Cucumber Salad
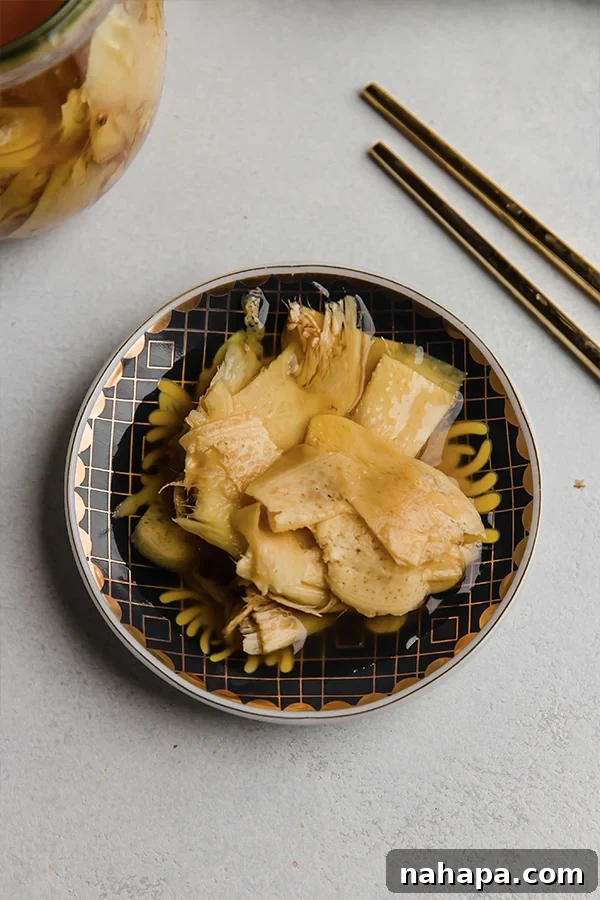
How to Make Pickled Ginger
Author: Michelle
Leave a Review
Pin Recipe
Ingredients
- 6 oz fresh ginger
- ½ cup water
- ⅓ cup apple cider vinegar
- 3 tbsp coconut sugar
- ¼ tsp salt
Instructions
- Wash the ginger well and use a peeler or spoon to remove the peel. Continue to peel or thinly slice the ginger into large, paper-thin pieces. Uniformity in thickness will ensure even pickling.
- Add the thinly sliced ginger to a clean, heat-proof glass jar and set it aside. Ensure the jar is sterilized.
- Combine the water, apple cider vinegar, coconut sugar, and salt in a small saucepan. Place over medium-high heat on the stove, whisking continuously until the coconut sugar fully dissolves and the liquid comes to a boil.
- Pour the hot liquid carefully over the ginger in the jar, ensuring all ginger slices are completely submerged. Allow the jar to cool down to room temperature before covering it securely with a lid. You can gently swirl the jar to mix the contents.
- Store the covered jar in the fridge overnight before enjoying. For optimal flavor and texture, serve chilled. The pickled ginger will be delightfully spicy and lightly tangy.
Notes
All nutrition facts are estimated and will vary based on specific ingredient brands and preparation methods. This recipe offers a healthier, refined sugar-free alternative to traditional pickled ginger.
Nutrition Information (Estimated per serving)
- Serving: 1 serving
- Calories: 17 kcal
- Carbohydrates: 3.8g
- Protein: 0.4g
- Fat: 0.2g
- Fiber: 0.4g
All nutrition facts are estimated and will vary.
Did you Make this Recipe?
Tag @unboundwellness on Instagram and hashtag #unboundwellness!