This recipe contains affiliate links
Healthier Homemade Butterfingers: Your Favorite Candy, Reimagined
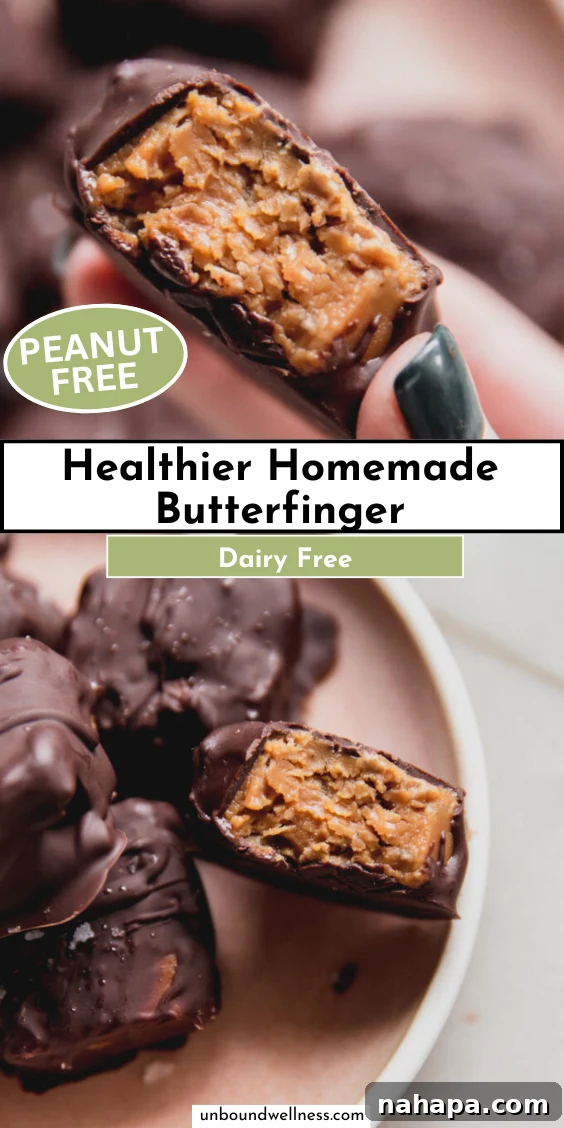
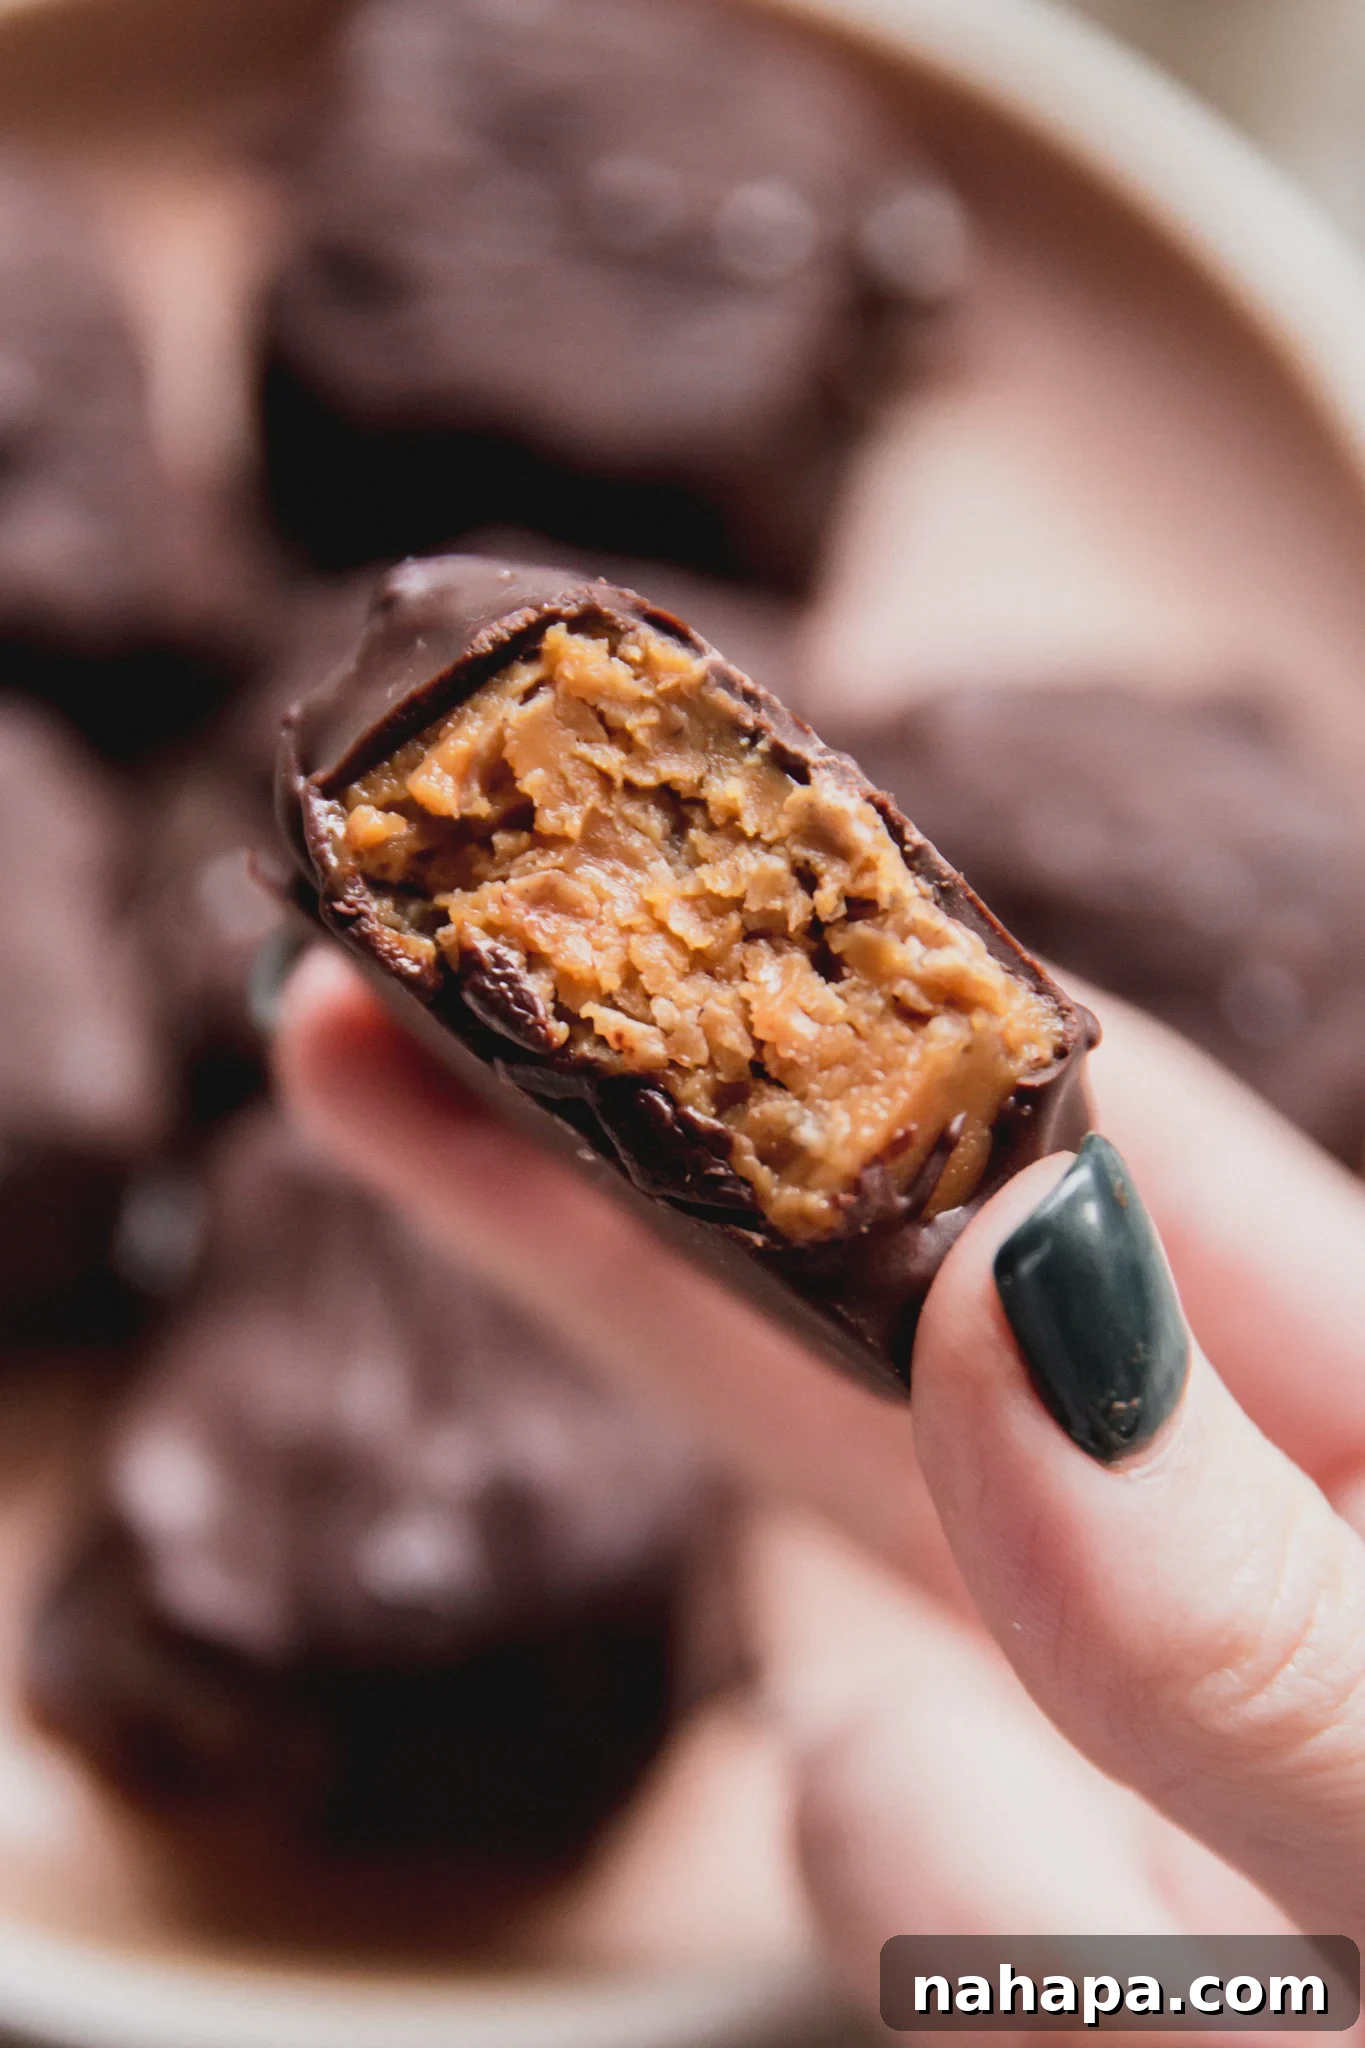
Craving that iconic crunchy, peanut-buttery, chocolate-covered candy bar but looking for a healthier alternative? Look no further! These healthier homemade Butterfingers are the perfect solution, offering a delightful dupe that captures the essence of the classic without common allergens like peanuts, corn, or dairy. Get ready to indulge in a treat that’s both nostalgic and better for you, crafted with wholesome ingredients and bursting with flavor and satisfying crunch.
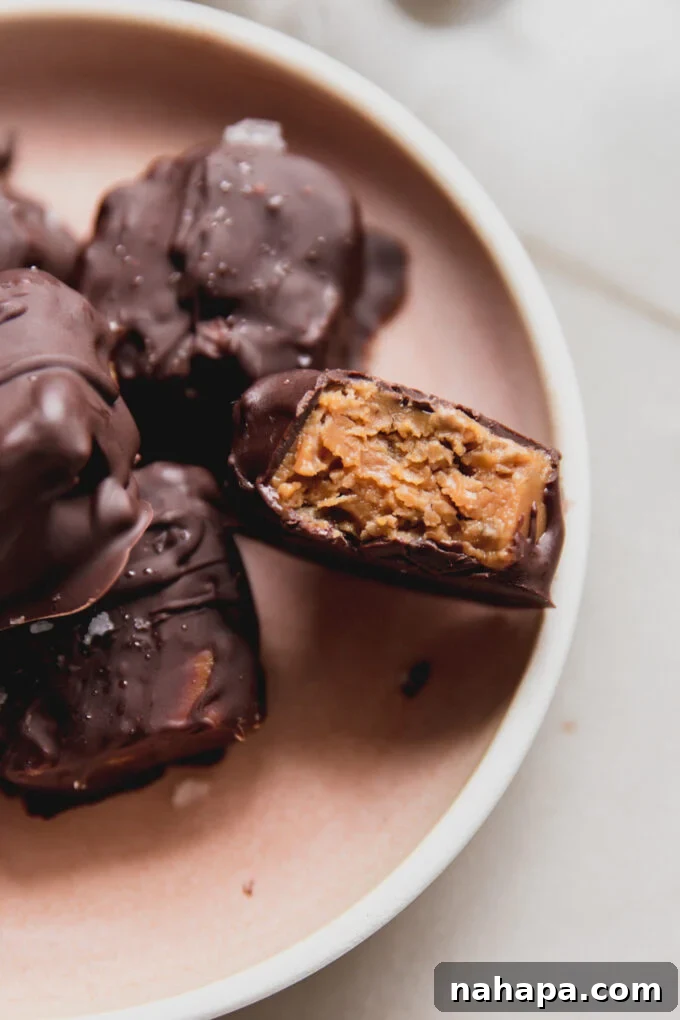
The Butterfinger bar holds a special place in the hearts of candy enthusiasts worldwide. Its distinctive crisp, layered peanut butter filling, enrobed in rich chocolate, is truly unique. For many, including myself, the idea of enjoying such a treat again seemed like a distant dream, especially when navigating dietary restrictions. However, after countless attempts and a passion for recreating beloved classics, I’m thrilled to share this incredible recipe. It’s part of my special Halloween Candy series, designed to bring back the joy of traditional sweets with a healthy twist. This homemade version has quickly become a freezer staple – a truly irresistible, guilt-free indulgence.
Unveiling the Secret Behind the Signature Butterfinger Filling
The magic of a Butterfinger lies in its distinctly flakey and crunchy peanut butter filling. Traditional Butterfinger bars achieve this with a specific, somewhat intricate process involving a sugary, often corn syrup-based, mixture that’s aerated and folded. Many copycat recipes attempt to replicate this by using ingredients like candy corn (for its sugary glaze and orange hue) or cornflakes (for the crunch). However, these ingredients often come with their own set of concerns, especially for those avoiding corn, excessive refined sugars, or specific allergens.
Our healthier approach reimagines this classic texture and flavor profile. Instead of relying on candy corn for that characteristic sugary glaze and color, we harness the natural sweetness and binding properties of honey. This not only eliminates the need for artificial food coloring but also offers a more natural, unrefined sweetness. The flakey crunch, a non-negotiable for any true Butterfinger dupe, is achieved through a carefully selected cereal, making this recipe accessible and delicious for a wider range of dietary needs. The result is a filling that perfectly mimics the original’s delightful crunch and rich flavor, but with a cleaner ingredient list you can feel good about.
Essential Ingredients for Your Homemade Butterfingers
Crafting these healthier Butterfingers requires just a few simple, yet powerful, ingredients. Each component plays a crucial role in achieving the desired texture, flavor, and overall appeal of this classic candy bar dupe. Here’s a closer look at what you’ll need and why:
- Creamy Almond Butter: This forms the rich, nutty base of our filling. I personally love using Barney Butter for its smooth texture and rich flavor, which blends beautifully into the filling. However, feel free to experiment with other nut or seed butters based on your preferences or dietary needs. If you opt for a thinner consistency butter, such as sunflower seed butter (Sunbutter), you might need to slightly reduce the amount of honey to maintain the right consistency for the filling. The goal is a thick, pliable mixture that sets well.
- Honey: Our natural sweetener and binder. Honey provides a lovely depth of flavor and helps create that signature caramel-like chewiness in the filling. It’s a fantastic alternative to refined sugars or candy corn often found in traditional recipes. For a vegan option, or if you prefer a different flavor profile, pure maple syrup works just as wonderfully and will give a slightly different, but equally delicious, taste.
- Flake Cereal: This is where the magic happens for that unmistakable Butterfinger crunch! While classic cornflakes are often used in copycat recipes, many people prefer to avoid corn due to allergies or dietary preferences. That’s why I highly recommend buckwheat flakes. Buckwheat is naturally gluten-free and provides the perfect crisp texture without compromising on health goals. Always remember, despite its name, buckwheat is not a wheat product and is a safe choice for gluten-free diets.
- Dairy-Free Chocolate Chips: To achieve that smooth, decadent outer coating. Choosing a high-quality dairy-free chocolate is key to a truly satisfying experience. Brands like Enjoy Life offer excellent dairy-free options that melt beautifully and provide a rich chocolate flavor. The quality of your chocolate will significantly impact the final taste, so opt for your favorite variety.
- Vanilla Extract: A touch of pure vanilla extract enhances the overall flavor profile of the filling, adding a warm, aromatic note that complements the almond butter and honey beautifully.
- Coconut Oil: Mixed with the dairy-free chocolate, coconut oil helps create a smooth, glossy, and easily dippable chocolate coating that sets up nicely. It gives the chocolate a lovely snap when bitten.
- Flakey Sea Salt: This optional but highly recommended finishing touch elevates the flavors by adding a subtle contrast to the sweetness of the chocolate and filling. A sprinkle of flakey salt just before the chocolate sets makes these homemade Butterfingers truly gourmet.
Crafting Your Healthier Homemade Butterfingers: A Step-by-Step Guide
Making these healthier homemade Butterfingers is surprisingly simple and incredibly rewarding. Follow these detailed steps to create your new favorite sweet treat:
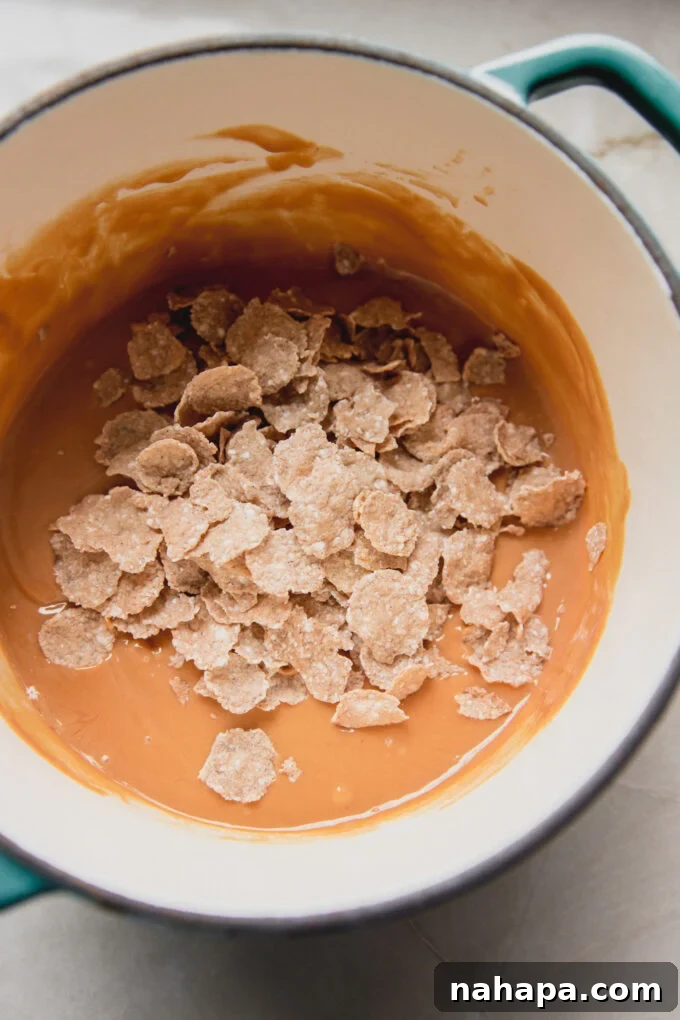
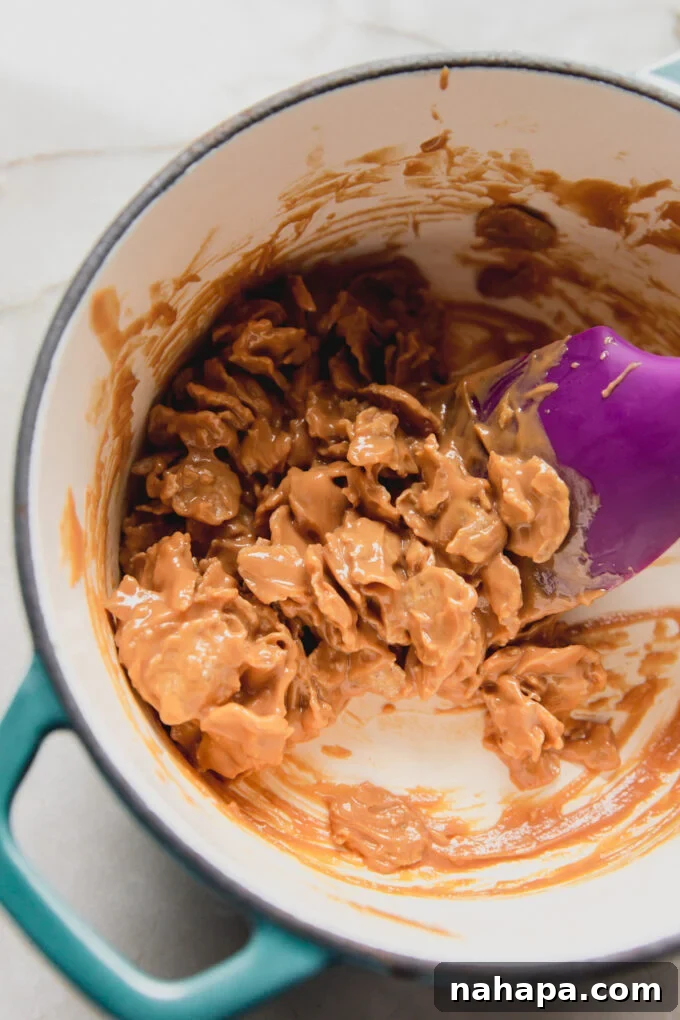
- Prepare the Filling Base: In a small saucepan, combine your chosen almond butter, honey (or maple syrup), and vanilla extract. Place the pot over very low heat. Gently stir the mixture until the ingredients are well combined and the almond butter has melted into a smooth, slightly thinner consistency. Be careful not to overheat it, just enough to make it fluid. Once smooth, remove the pot from the heat.
- Introduce the Crunch: Carefully add the buckwheat flakes (or cornflakes, if using) to the warm almond butter mixture in the pot. Using a spatula, gently fold the cereal into the mixture. The key here is to coat the flakes evenly without crushing them too much, preserving their individual crunch for that authentic Butterfinger texture.
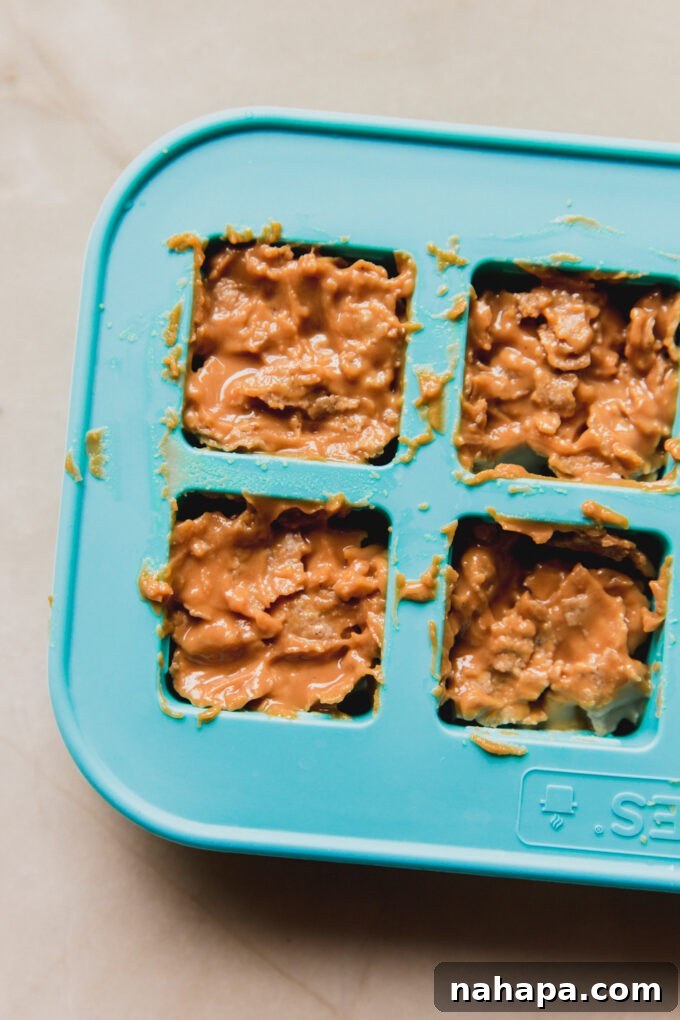
- Form and Freeze the Centers: Prepare a small square candy mold (this is the one I use, perfect for fun-size bars). Spoon approximately 2 tablespoons of the filling mixture into each cavity of the mold. Press the mixture down gently to ensure it’s compact. Transfer the filled mold to the freezer and allow it to freeze completely until the filling cubes are solid. This typically takes a couple of hours.
- Melt the Chocolate Coating: While the filling is freezing, prepare your chocolate coating. Combine the dairy-free chocolate chips and coconut oil in a heat-safe glass bowl. Using a double boiler method (placing the glass bowl over a pot of simmering water, ensuring the bottom of the bowl doesn’t touch the water) is ideal for melting chocolate smoothly without burning it. Alternatively, you can microwave in short bursts, stirring frequently. Stir until the chocolate and coconut oil are fully melted and perfectly smooth. Let the melted chocolate mixture cool slightly for a few minutes before proceeding; this helps prevent the filling from melting too quickly when dipped.
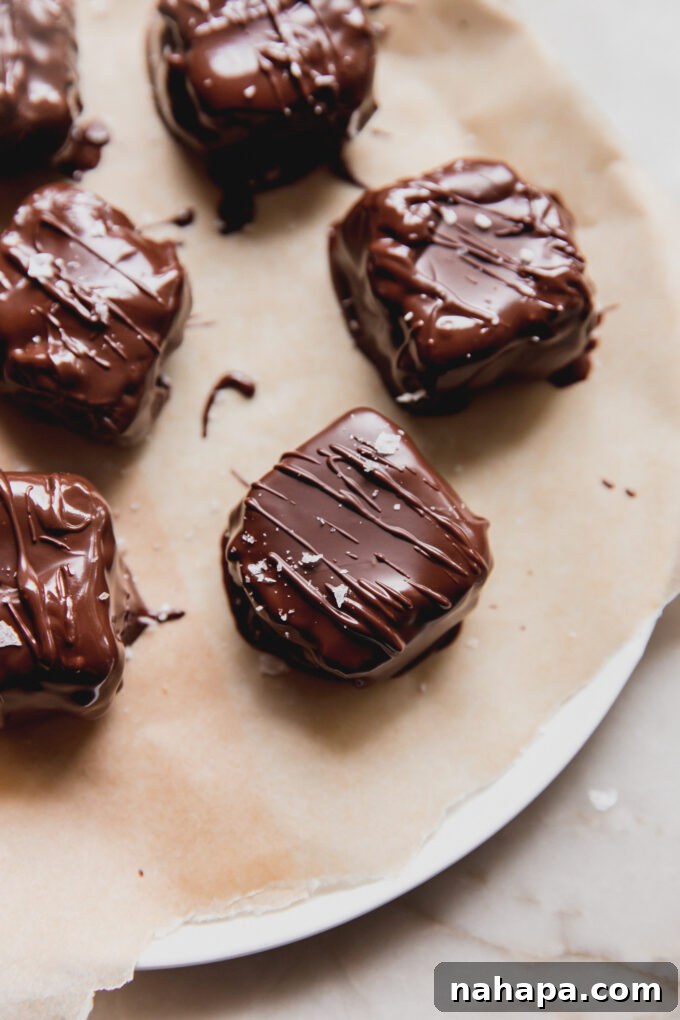
- Coat the Filling: Line a plate or baking sheet with parchment paper. Once the filling cubes are frozen solid, carefully pop them out of the mold. Working with one frozen filling cube at a time, place it on a fork and immerse it into the melted chocolate, ensuring all sides are thoroughly coated. Gently tap off any excess chocolate.
- Add the Finishing Touch: Immediately transfer the chocolate-coated filling onto the parchment-lined plate. While the chocolate is still wet, sprinkle a pinch of flakey sea salt over the top of each candy bar. The salt not only adds visual appeal but also enhances the flavor profile. Repeat this process for all the remaining filling cubes.
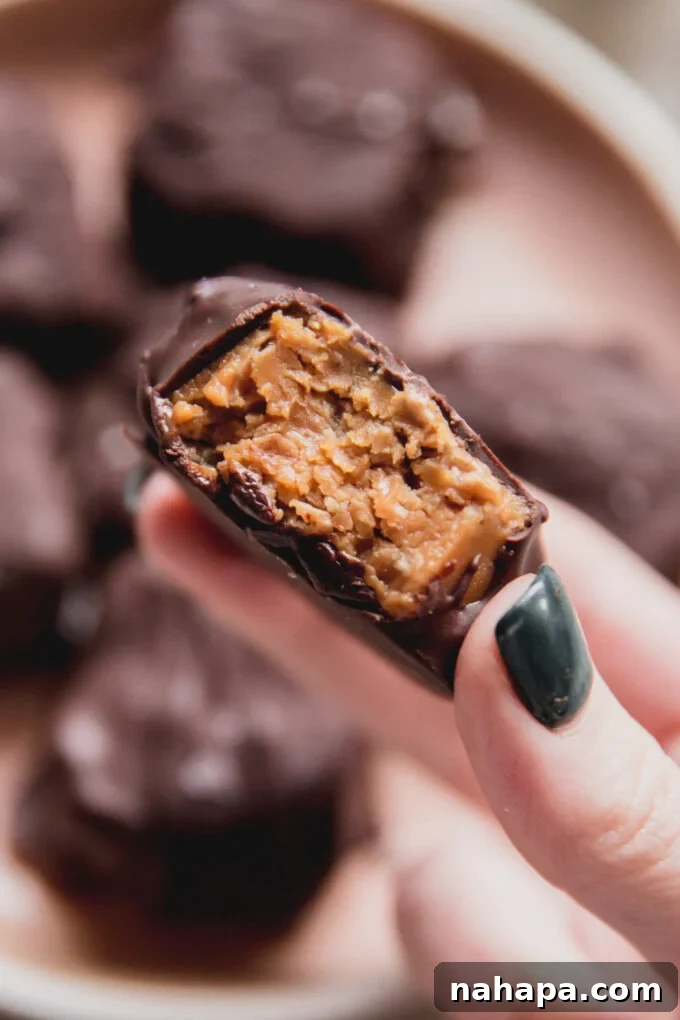
- Set and Enjoy: Place the plate with the coated Butterfinger copycats into the refrigerator. Allow the chocolate to fully set and harden for at least 15-20 minutes. This setting time also gives the filling a chance to soften slightly from its frozen state, resulting in the perfect chew and crunch. Once set, they’re ready to enjoy!
Tips & Tricks for Perfect Homemade Butterfingers
Enhance your Butterfinger-making experience with these helpful tips and tricks:
- Long-Term Storage: These delightful fun-size bars are excellent for freezing! Prepare a large batch and store them in an airtight container in the freezer. When you’re ready for a treat, I recommend allowing them to defrost in the refrigerator for a few hours before eating. This ensures they soften just enough to be perfectly chewy and prevents any risk of damaging your teeth on overly hard, frozen candy.
- Flavor Variations: Don’t be afraid to get creative with your filling! For a seasonal twist, especially around autumn, try adding a pinch of pumpkin pie spice to the almond butter and honey mixture. A hint of cinnamon or a tiny dash of cayenne pepper for a subtle kick could also be intriguing.
- Consistency Check: If your almond butter and honey mixture seems too sticky or hard to work with, gently warm it again over low heat for a minute or two. If it’s too thin, a tiny bit more almond butter or allowing it to cool slightly before folding in the cereal can help.
- Melting Chocolate Mastery: When melting the chocolate, be patient and use low heat. Overheating chocolate can cause it to seize or become grainy. If your chocolate becomes too thick while dipping, gently warm it again for a few seconds.
- Clean Coating: For the neatest chocolate coating, ensure your filling cubes are thoroughly frozen. This helps them hold their shape and keeps the chocolate from melting them too quickly during dipping. A small candy dipping tool or two forks can help manage the cubes without getting too messy.
Frequently Asked Questions About Homemade Butterfingers
Can you make full-size candy bars?
Absolutely! While I find the fun-size bars much easier to handle and perfect for portion control, you can certainly use a larger candy mold to create full-sized versions. Just remember that larger bars will require more filling mixture per mold and might take a bit longer to freeze solid and for the chocolate coating to set. Adjust your measurements accordingly if scaling up.
Are these Butterfingers suitable for vegans?
Yes, this recipe can be easily made vegan! Ensure you use maple syrup instead of honey for the filling, and confirm that your chosen dairy-free chocolate chips are also vegan-certified. Most dairy-free chocolate brands are also vegan, but it’s always good to double-check the ingredient list.
How long do these homemade Butterfingers last?
When stored in an airtight container in the refrigerator, these Butterfingers will maintain their freshness and delicious texture for up to 1-2 weeks. If stored in the freezer, they can last for up to 2-3 months. Just remember to thaw them slightly before enjoying for the best eating experience.
What if I don’t have a square mold?
No problem! You can press the filling mixture into a small, parchment-lined square or rectangular pan. Once frozen solid, simply cut the slab into individual bar shapes. The appearance might be slightly rustic, but the taste will be just as amazing!
You’ll also like…
- Homemade Twix Bars
- Homemade Almond Butter Pumpkin Spice Reese’s
- Pumpkin Spice S’mores Bars
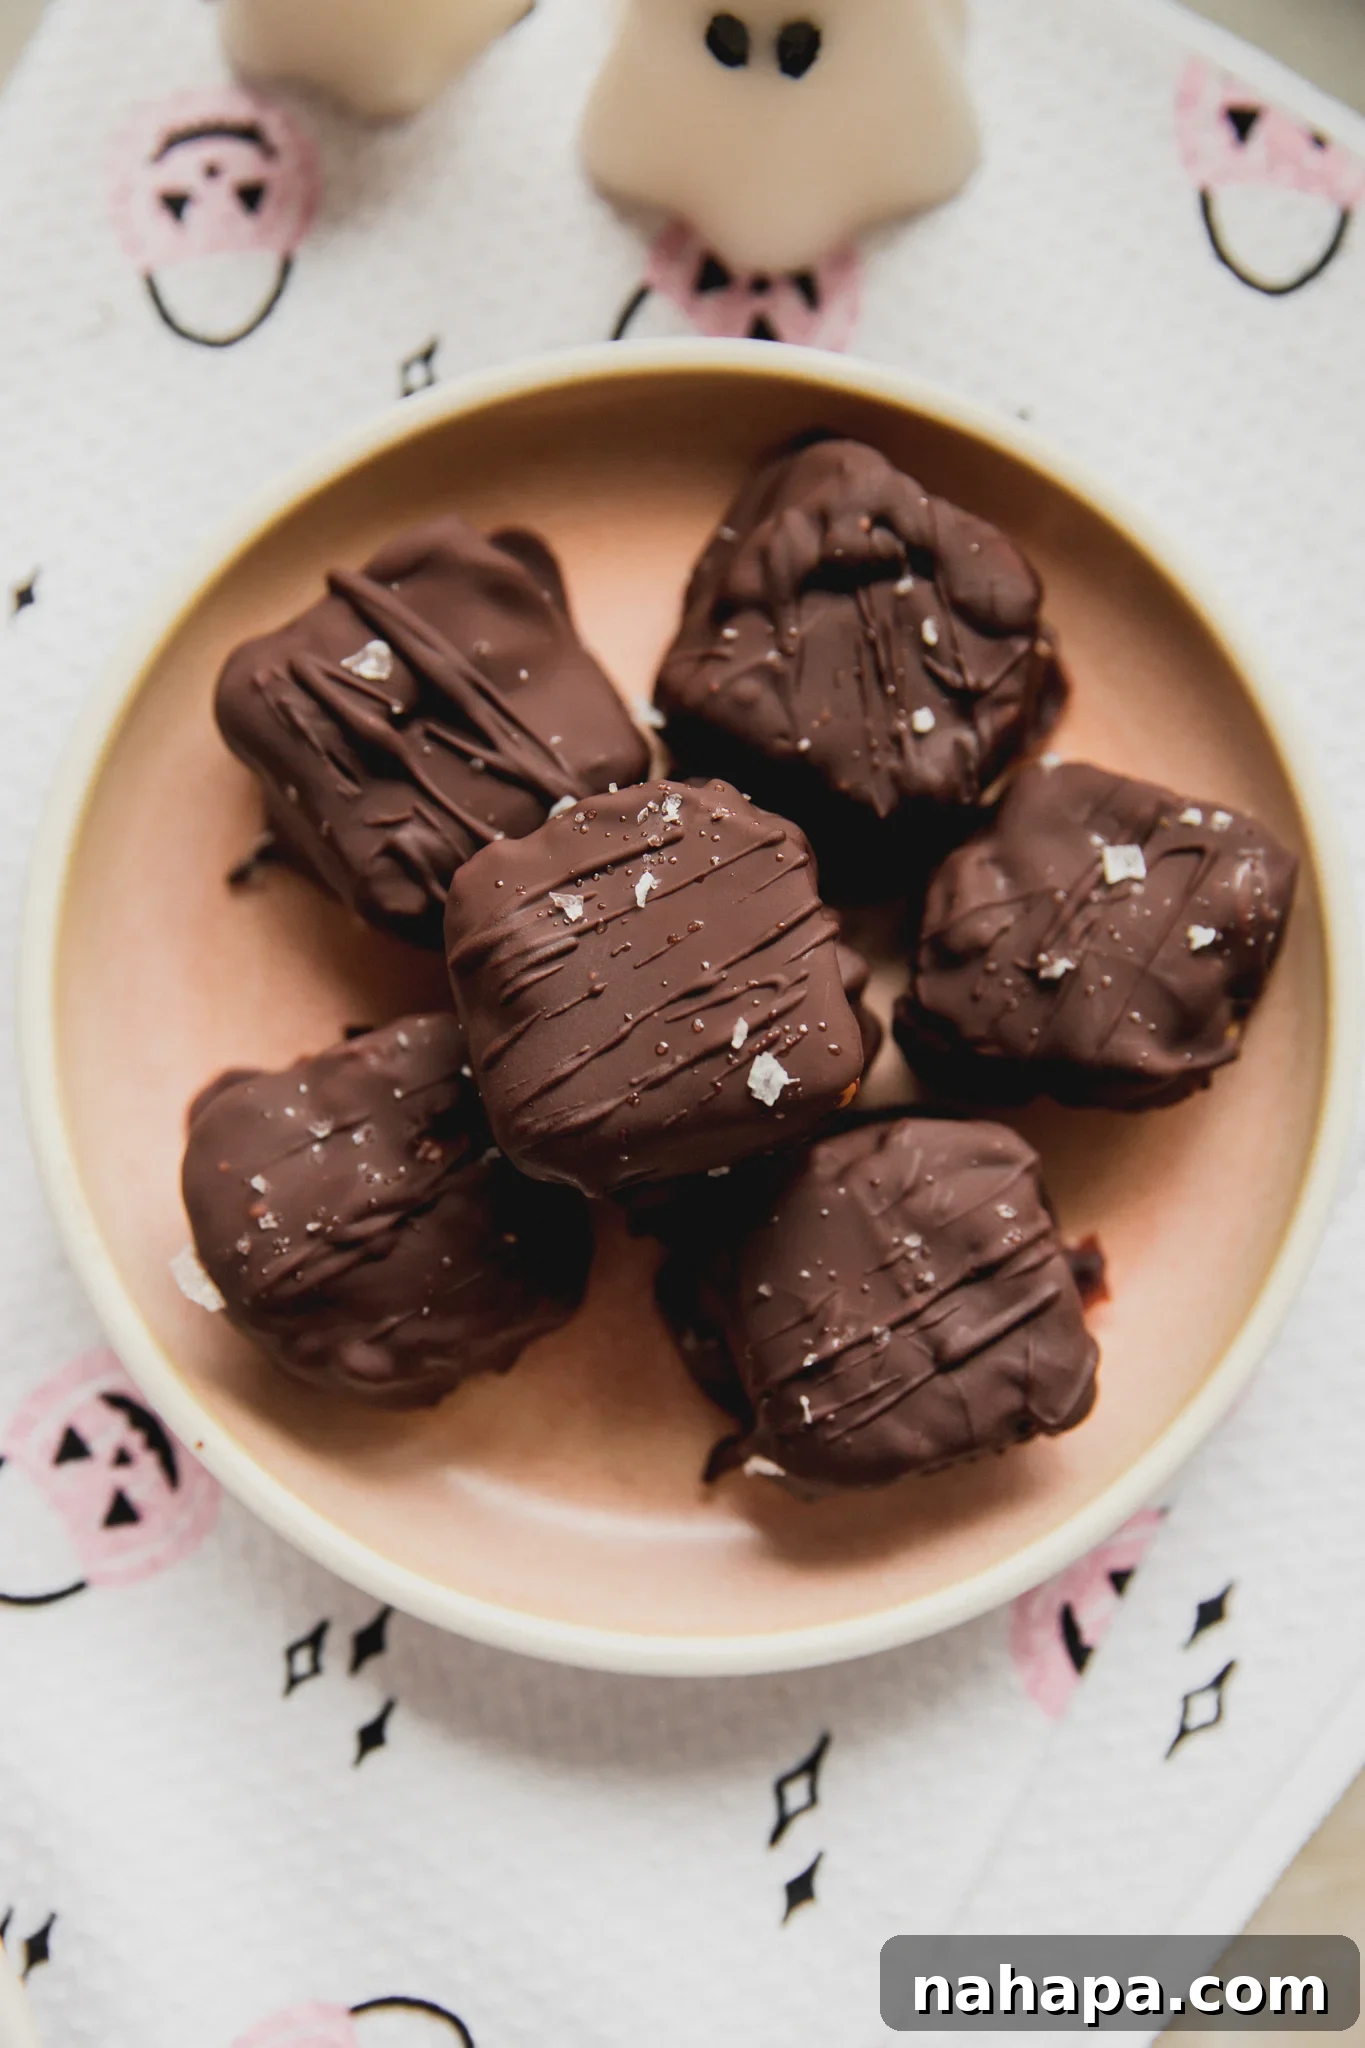
Healthier Homemade Butterfinger
Leave a Review
Pin Recipe
Want to save this for later?
Sign up for our newsletter to get delicious recipes like this delivered straight to your inbox! ✉️
Ingredients
For the filling
- ½ cup creamy almond butter, sub another nut or seed butter
- 3 tbsp honey
- ½ tsp vanilla extract
- 1 cup buckwheat flakes, sub corn flakes
For the coating
- ¾ cup dairy-free chocolate chips
- 2 tsp coconut oil
- Flakey salt
Instructions
-
Using a small pot, combine the almond butter, honey, and vanilla extract. Set over low heat to melt the mixture into more of a smooth, thinner nut butter mixture. Remove from the heat.
-
Add the flake cereal to the pot and gently fold, coating the cereal but not crushing it.
-
Using a small square mold (I use this), add about 2 tbsp worth of the filling to each mold space. Transfer to the freezer and freeze until totally solid.
-
Add the chocolate and coconut oil to a heat-safe glass bowl. Using a method of your choice (I prefer a double boiler method), melt the chocolate and coconut oil together until they are fully liquid. Allow to sit and cool for a few minutes.
-
Prepare a plate lined with parchment paper. Carefully remove the butterfinger filling cubes from the mold. Working with one at a time, place on a fork and hover over the chocolate bowl. Use a spoon to coat with chocolate on all sides. Place on the plate and top with flakey salt.
-
Set in the fridge to allow the chocolate to fully set and the filling to soften a bit before enjoying!
Notes
Calories: 291kcal,
Carbohydrates: 32.3g,
Protein: 5.6g,
Fat: 17.3g,
Fiber: 3.3g