This post contains affiliate links.
Indulge Guilt-Free: The Ultimate Grain-Free “Rice” Crispy Treats (Paleo & AIP Compliant)
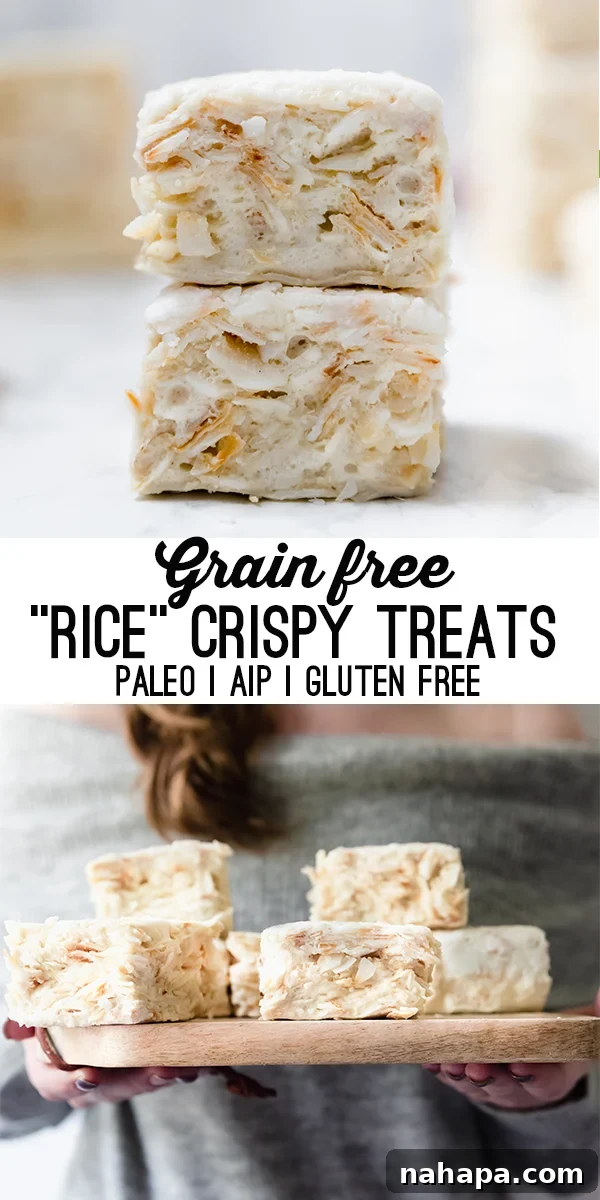
For many, the mention of “rice crispy treats” conjures up a flood of nostalgic childhood memories: sweet, sticky, and irresistibly crispy squares that were the highlight of any snack time or party. The classic version, however, with its marshmallows and puffed rice cereal, often contains ingredients that don’t align with modern dietary needs or health goals, particularly for those following grain-free, gluten-free, Paleo, or Autoimmune Protocol (AIP) lifestyles. But what if you could recapture that beloved taste and texture without compromise?
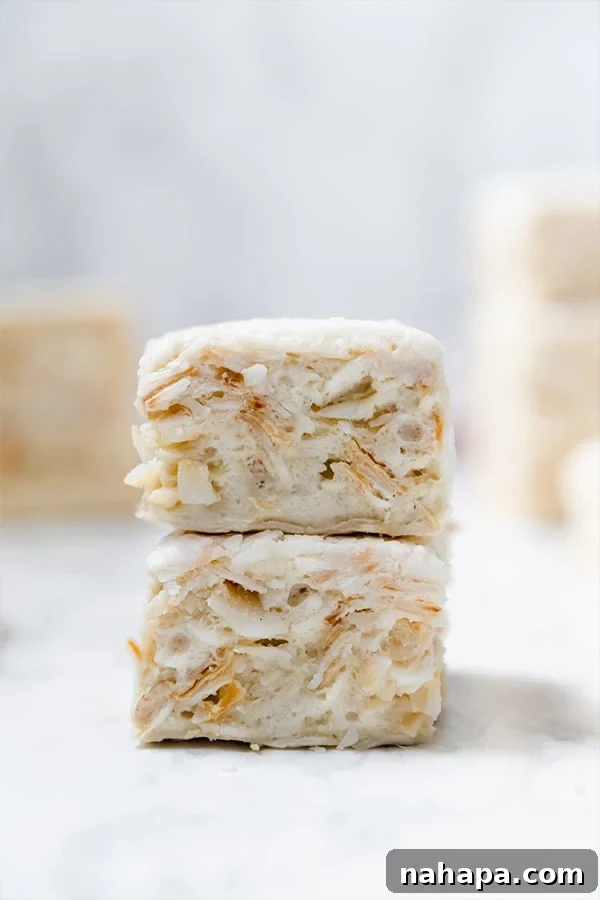
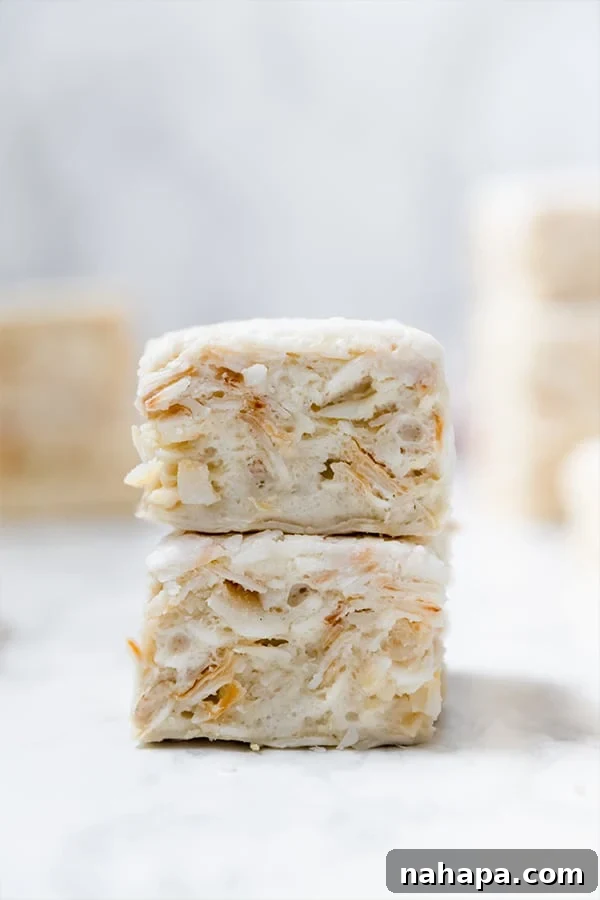
That’s precisely the challenge this recipe tackles and conquers! These innovative “rice” crispy treats are not made with actual rice at all, but they deliver a remarkably similar experience – a delightful crunch, a satisfying chew, and that familiar sweet marshmallow goodness that brings you right back to your favorite memories. Best of all, they are meticulously crafted to be entirely grain-free, gluten-free, Paleo-friendly, and even AIP compliant, making them a truly inclusive dessert for almost everyone.
Reimagining a Classic: The Inspiration Behind Grain-Free “Rice” Crispy Treats
The inspiration for these treats sprang directly from a common craving shared by my community. When I polled my readers on Instagram for their Halloween season dessert wishes, “rice crispy treats” emerged as a clear favorite. It’s no surprise; these bars are universally loved for their simplicity and deliciousness. I vividly recall my mom stocking our pantry with boxes of them, making them the ultimate childhood indulgence. The combination of sweetness, crispiness, and fun in those little bars was unparalleled. However, the pressing question remained: how could I possibly transform such a grain-heavy, sugar-laden classic into something Paleo or AIP friendly?
It seemed like a monumental task, but the desire to recreate that joyful experience, adapted for healthier living, was a powerful motivator. After much experimentation in the kitchen, I finally landed on this revolutionary recipe. The secret? A brilliant substitution for puffed rice cereal: toasted coconut flakes. Paired with homemade, honey-sweetened marshmallows, these treats capture the essence of the original while adhering to strict dietary guidelines. Essentially, you’re enjoying big, fluffy, naturally sweetened marshmallows generously studded with perfectly toasted coconut, creating a textural masterpiece that is both comforting and exciting.
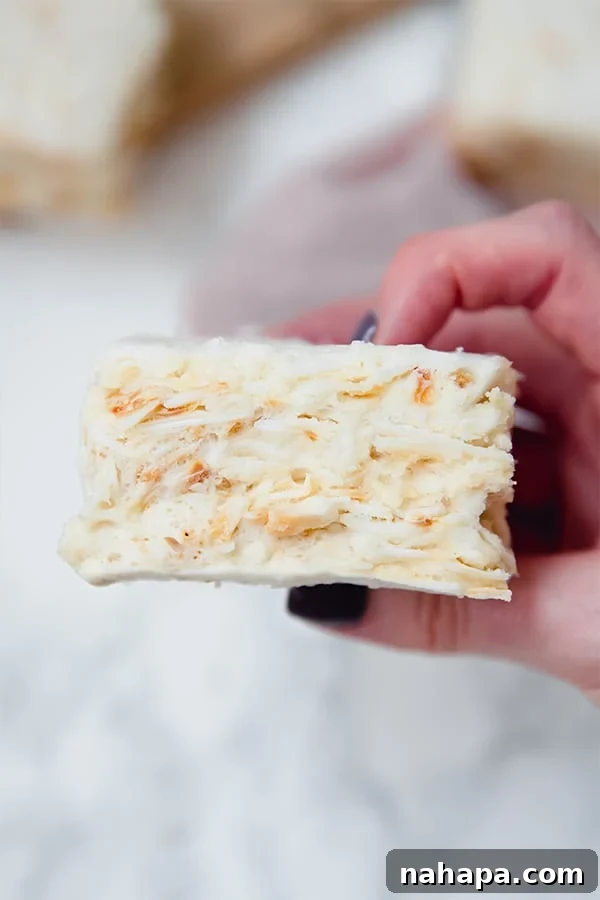
While some may consider using a coconut-based cereal for a more direct “cereal” replication, my goal with all my recipes is to prioritize accessibility. I aim to use ingredients that are readily available in most grocery stores, rather than sending you on a quest for obscure specialty products. That said, if you happen to have an AIP-friendly or Paleo-compliant coconut cereal that you prefer and the measurements align, feel free to experiment! The core principle remains the same: a crunchy base bound by sweet, yielding marshmallow.
A Note on Coconut Sensitivities:
It’s important to address a common question: can these treats be made coconut-free? Unfortunately, after extensive testing, I have not yet discovered a coconut-free alternative that successfully replicates the unique texture and flavor profile these “rice” crispy treats offer. Coconut flakes are truly the star here, providing the essential crispy element and a wonderful depth of flavor. I am always open to new ideas and innovations, but for now, this recipe relies on the magic of coconut.
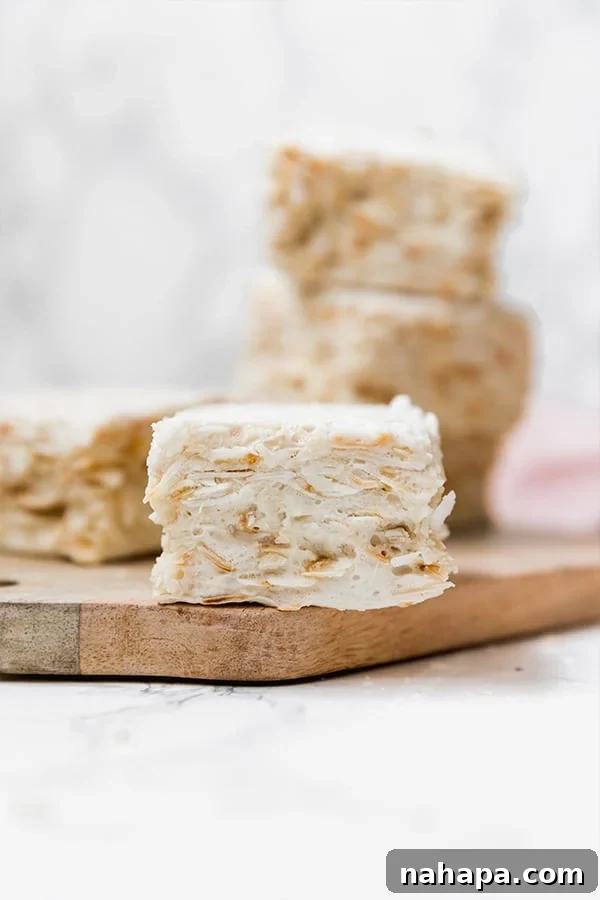
Key Ingredients for Your Grain-Free “Rice” Crispy Treat Adventure
Crafting these extraordinary treats requires just a few simple, wholesome ingredients. Each plays a vital role in achieving that perfect balance of sweetness, chewiness, and satisfying crunch.
Toasted Coconut Flakes: The Game-Changing Rice Substitute
This is where the real magic happens! Toasted coconut flakes are the ingenious substitute for traditional puffed rice cereal. When toasted, coconut flakes transform, developing a wonderfully crisp texture and a rich, nutty flavor that perfectly mimics the character of a “crispy” treat. You have two convenient options here: either purchase pre-toasted coconut flakes for ultimate ease, or toast your own at home. Toasting coconut flakes in the oven is a simple process that unlocks their full flavor potential and adds an extra layer of freshness to your treats. Just spread them in a single layer on a baking sheet and bake at a low temperature, stirring occasionally, until golden brown and fragrant. This step is crucial for the desired texture and taste.
Honey: Nature’s Sweetener and Marshmallow Base
Honey is the cornerstone of our homemade marshmallow. Beyond its delightful sweetness, honey contributes to the unique texture and slight golden hue of the marshmallow base. It’s a natural, unrefined sweetener that fits perfectly within Paleo and AIP guidelines. While you *can* technically substitute maple syrup for honey, be aware that it will alter the color of your treats, making them a bit darker, and may impart a slightly different flavor profile. For the most authentic taste and appearance similar to classic marshmallow, honey is highly recommended.
Gelatin: The Essential Binder for Perfect Marshmallow Texture
Gelatin is absolutely critical for the structure and consistency of these treats. It’s the ingredient responsible for transforming a liquid mixture into a thick, fluffy, and firm marshmallow base that holds everything together. I personally recommend using a high-quality, grass-fed gelatin powder, such as Vital Proteins. It’s crucial to note that **collagen cannot be substituted for gelatin in this recipe.** While both are derived from similar sources, their molecular structures and gelling properties are different. Gelatin forms a firm gel, essential for setting the marshmallows, whereas collagen dissolves without gelling. Using collagen would result in a sticky, liquid mixture rather than solid treats.
Coconut Oil: For Smoothness and Non-Stick Success
Coconut oil serves multiple important functions in this recipe. Firstly, it’s vital for preparing your baking pan, ensuring the sticky marshmallow mixture doesn’t adhere. Secondly, and equally importantly, it’s used to generously grease your knife when slicing the hardened treats. This step is non-negotiable, as the marshmallow base, while firm, will be sticky. Coconut oil prevents sticking, allowing for clean, precise cuts. It also adds a subtle hint of healthy fat and complements the coconut flakes beautifully.
Optional Additions: Elevate Your Flavor Profile
While these grain-free “rice” crispy treats are incredibly flavorful on their own, a dash of creativity can take them to the next level. Consider incorporating these optional additions:
- Vanilla Extract: A classic enhancer, a teaspoon of pure vanilla extract can deepen the sweetness and add a warm, inviting aroma.
- Cinnamon: For a cozy, spiced twist, a pinch of ground cinnamon can be delightful, especially during colder months or holidays.
- Pumpkin Spice Blend: Perfect for autumn, a pumpkin spice blend can infuse your treats with seasonal cheer.
- Lemon Zest: For a bright, fresh flavor, a bit of finely grated lemon zest can cut through the sweetness.
Experiment with these additions to customize your treats and discover your favorite flavor combinations!
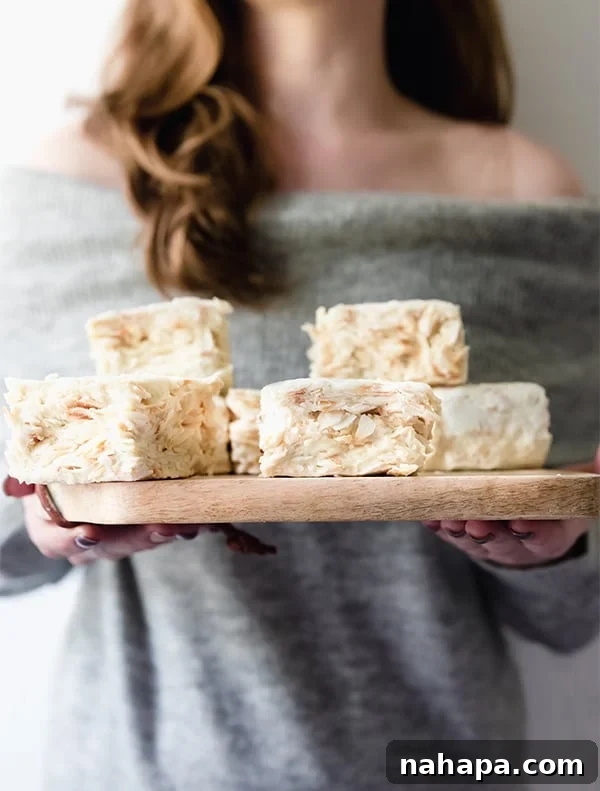
Grain-Free “Rice” Crispy Treats | Paleo & AIP Recipe
Get ready to enjoy these delightful, diet-friendly treats!
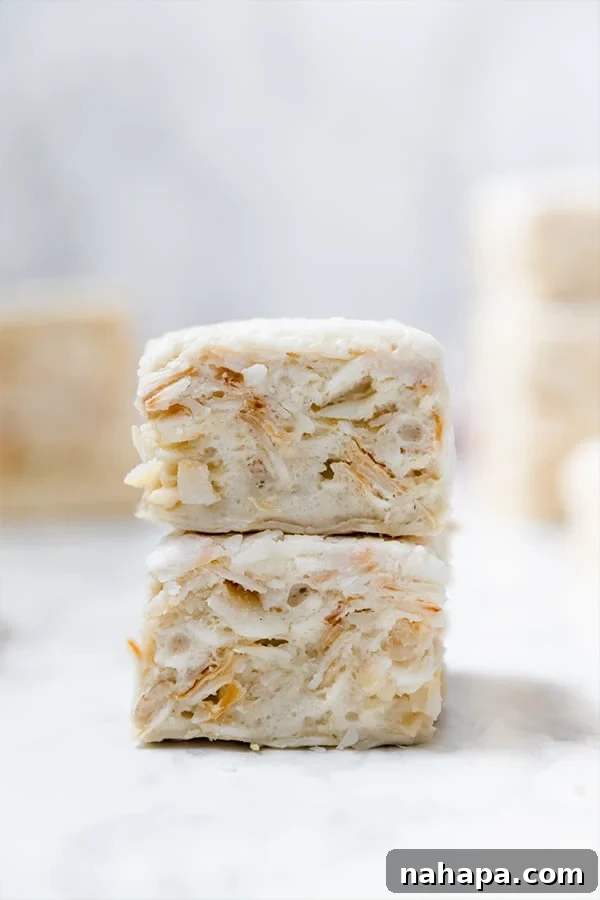
Grain Free “Rice” Crispy Treats | Paleo & AIP
Yield: 9 bars
Cook Time: 20 mins
Author: Michelle
These grain-free “rice” crispy treats are incredibly close to the real thing, offering a delicious, guilt-free indulgence!
Ingredients
- 1 cup water (divided into 1/2 cup portions)
- 3 tbsp gelatin
- 1 cup honey
- 4 cups toasted coconut flakes (you’ll need 2 bags if using some brands)
- 2-3 tbsp coconut oil, melted (for greasing and cutting)
Instructions
- Prepare your pan: Line an 8×8″ (or slightly larger) baking pan with parchment paper, ensuring extra overhang on the sides for easy removal. Generously coat the parchment paper and sides of the pan with melted coconut oil. Set aside. This step is crucial for preventing sticking.
- Bloom the gelatin: In a small bowl, pour 1/2 cup of cold water. Gradually sprinkle the gelatin powder evenly over the surface of the water. Gently stir with a fork to ensure the gelatin is fully moistened and combined. Do not aggressively whisk. Allow this mixture to sit undisturbed for about 5-10 minutes, or until the gelatin has “bloomed” and hardened into a thick gel. Set aside.
- Heat the honey mixture: In a medium-sized, heavy-bottomed pot, combine the remaining 1/2 cup of water with the honey. Heat this mixture over low heat, stirring occasionally, until it slowly reaches a temperature of 235-240°F (113-116°C) on a candy thermometer. It’s essential to use low heat to prevent burning the honey. Once the mixture reaches the target temperature, immediately remove it from the heat.
- Whip the marshmallow base: Transfer the bloomed gelatin mixture to the bowl of a stand mixer fitted with a whisk attachment, or use a large bowl with an electric hand mixer. Begin whisking the gelatin on medium speed. While continuously whisking, slowly and carefully pour the hot honey mixture into the gelatin. Continue whisking for a full 10-12 minutes. During this time, the mixture will transform, becoming thick, fluffy, and increasing significantly in volume. It should cool to a lukewarm temperature, and you’ll notice soft, glossy marshmallow peaks forming.
- Fold in coconut flakes: Gently fold the toasted coconut flakes into the whipped marshmallow mixture. Mix thoroughly until the coconut flakes are evenly distributed throughout the marshmallow. Work relatively quickly, as the marshmallow will continue to set as it cools.
- Set the treats: Pour the coconut-marshmallow mixture into your prepared baking pan. Use a lightly greased spatula or the back of a spoon to gently press the mixture evenly into the pan. Place the pan in the refrigerator for a minimum of 4 hours, or ideally overnight, to allow the marshmallow to fully harden and set.
- Slice and serve: Once the marshmallow has solidified, carefully lift it out of the pan using the parchment paper overhang and place it on a clean cutting board. Generously grease a sharp knife with additional melted coconut oil. Slice the block into 9 even bars (or more for smaller, bite-sized treats). The bars will have a soft, chewy, marshmallow-like consistency, and the “crispy” element will come primarily from the toasted coconut. You may need to re-grease your knife frequently during slicing, using a slow, gentle sawing motion.
- Store and enjoy: Store your grain-free “rice” crispy treats in an airtight container in the refrigerator to maintain their texture and freshness. Enjoy them chilled!
Notes
- All nutritional information provided is an estimation and may vary based on specific ingredients and brands used.
- For a treat with less sugar per serving, consider slicing the bars into smaller, bite-sized pieces. This also makes them perfect for sharing!
Nutrition Facts (Estimated per bar)
Serving: 1 bar
Calories: 427kcal
Carbohydrates: 63.8g
Protein: 4.1g
Fat: 20.8g
Fiber: 3.6g
All nutrition facts are estimated and will vary.
Tips for Success and Troubleshooting Your Grain-Free Crispy Treats
Achieving the perfect texture and flavor for these grain-free treats is straightforward, but a few key tips can make all the difference:
Accurate Temperature is Key
The honey mixture needs to reach precisely 235-240°F (113-116°C). Investing in a good candy thermometer is highly recommended. If the temperature is too low, your marshmallows won’t set properly and will remain too sticky. If it’s too high, the honey can caramelize too much, leading to a harder texture and a burnt flavor. Keep the heat low and steady, and remove from heat immediately once the target is reached.
Don’t Skimp on Whisking Time
The 10-12 minutes of whisking the gelatin and honey mixture is crucial. This process incorporates air, cools the mixture, and develops the fluffy, voluminous texture characteristic of marshmallows. Don’t cut this time short; patient whisking will yield the best results.
Grease Everything Liberally
Marshmallow is inherently sticky. Ensure your baking pan is thoroughly greased with coconut oil over the parchment paper. When it comes time to slice, generously coat your knife. Reapply coconut oil to the blade as needed between cuts. This will prevent tearing and ensure clean, attractive bars.
Patience During Setting
While 4 hours in the fridge is the minimum, allowing the treats to set overnight provides the best, firmest consistency. Resist the urge to cut them too early; a fully set marshmallow is much easier to work with.
Customizing the Crunch
If you desire an even crispier treat, you can slightly increase the amount of toasted coconut flakes, or ensure your flakes are very finely toasted to a deep golden brown. The “crispy” comes from the coconut, so focus on that aspect for texture.
Storage Best Practices
These treats are best stored in an airtight container in the refrigerator. This helps maintain their firm marshmallow texture and keeps the coconut flakes crisp. They can last for up to 5-7 days when stored properly. While they can be left at room temperature for a short period, they tend to soften significantly.
Why Choose Grain-Free, Paleo, or AIP?
Beyond being incredibly delicious, these “rice” crispy treats offer significant benefits for those following specific dietary paths:
- Grain-Free: Ideal for individuals avoiding grains due to sensitivities, allergies, or personal preference. Eliminating grains can often reduce inflammation and improve digestion.
- Gluten-Free: Essential for those with celiac disease or gluten sensitivity, preventing adverse reactions and supporting gut health.
- Paleo: Adheres to the principles of the Paleolithic diet, focusing on whole, unprocessed foods and excluding grains, legumes, and refined sugars. This promotes stable blood sugar and nutrient density.
- AIP Compliant: The Autoimmune Protocol is a stricter elimination diet designed to reduce inflammation and heal the gut for individuals with autoimmune conditions. This recipe avoids common AIP triggers like gluten, dairy, eggs, nuts (coconut is generally allowed on AIP), and nightshades, making it a safe and satisfying option.
By creating treats that fit these guidelines, you can enjoy a beloved classic without straying from your health goals, proving that dietary restrictions don’t have to mean sacrificing deliciousness!
So go ahead, whip up a batch of these extraordinary grain-free “rice” crispy treats. Share them with friends and family, or simply savor them yourself, knowing you’re enjoying a wholesome, indulgent dessert that caters to your well-being. They’re a testament to how creative cooking can transform even the most classic comfort foods into something healthy and utterly irresistible.