
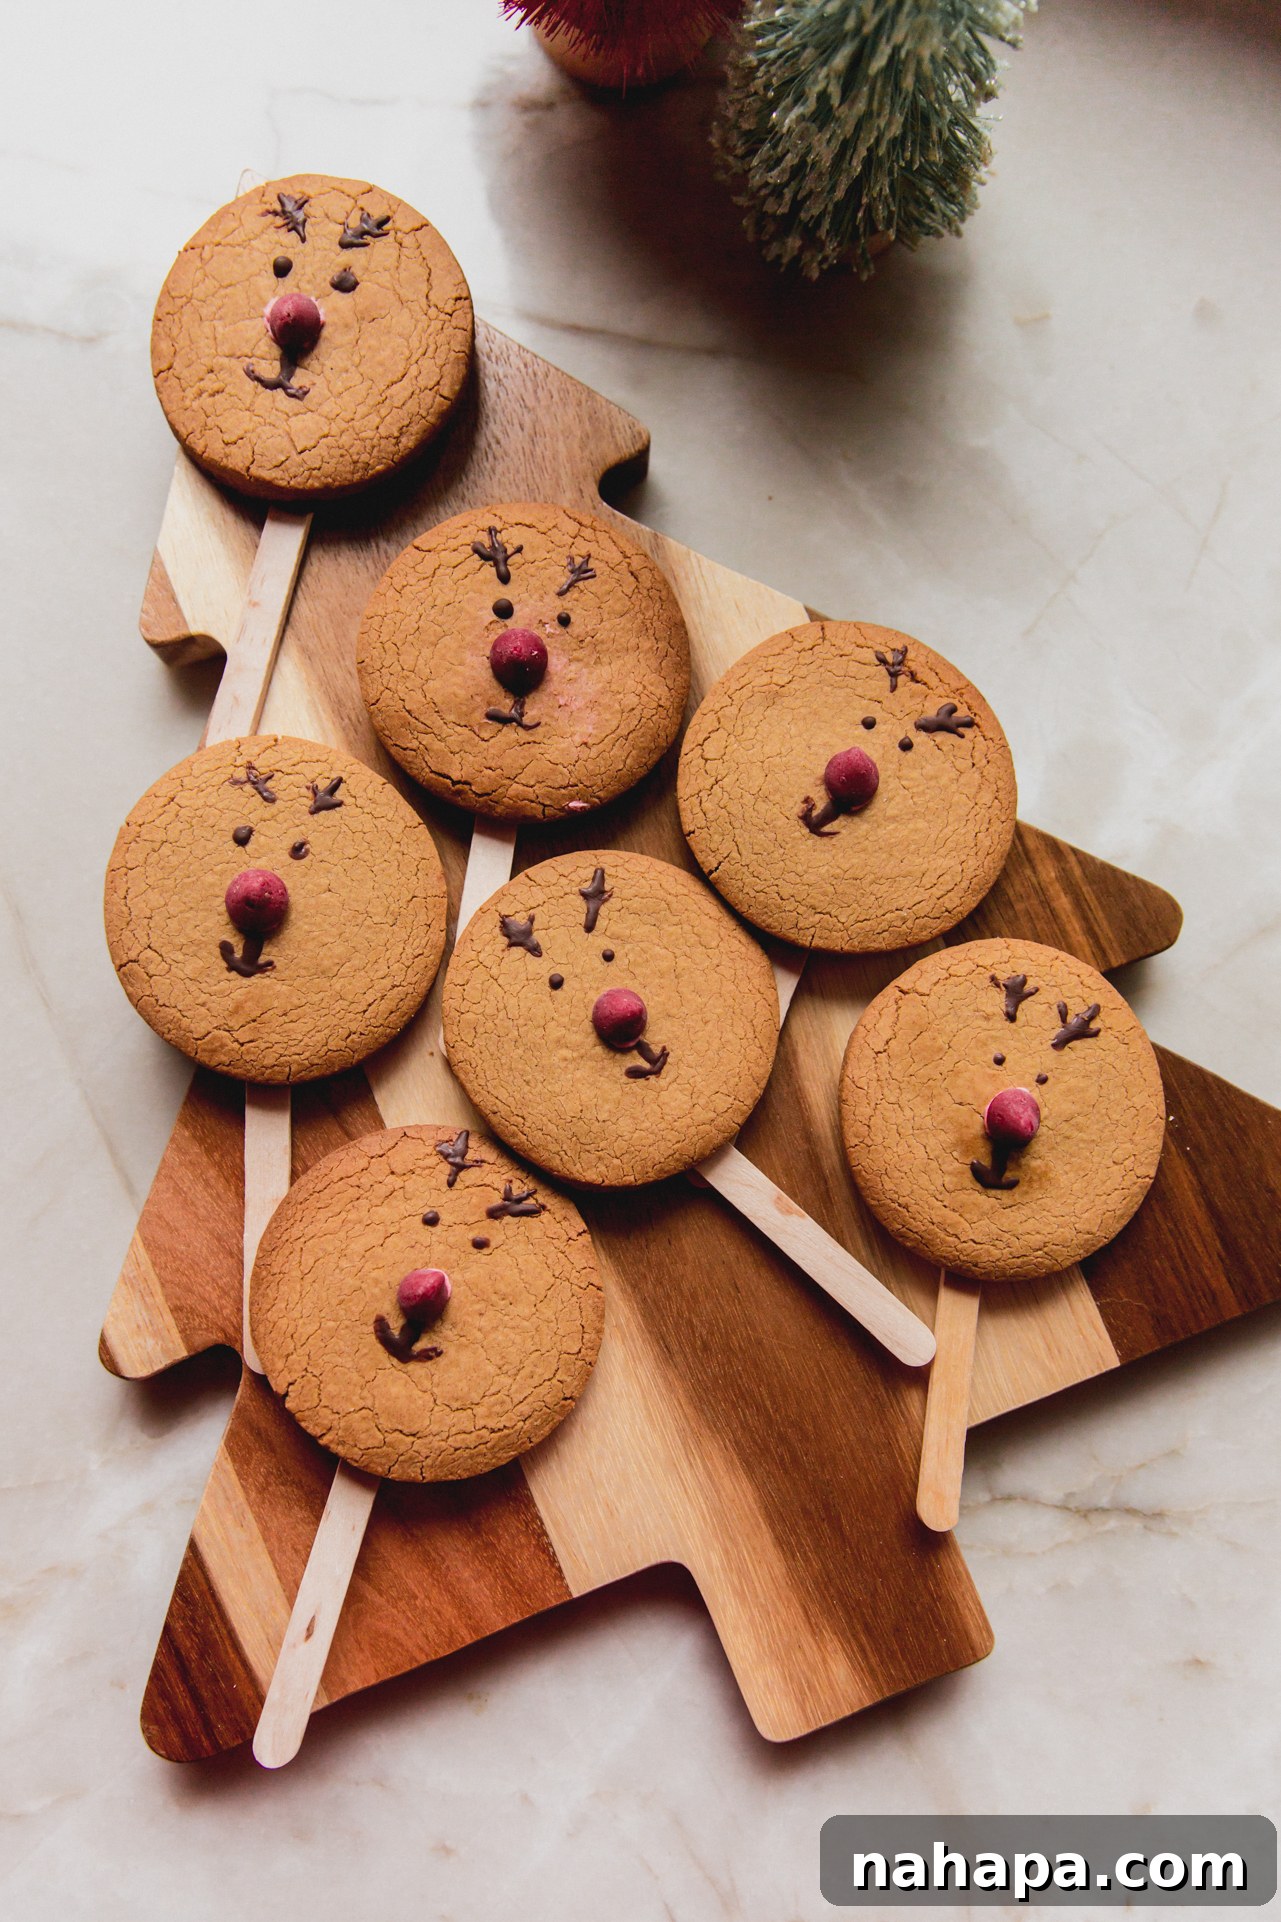
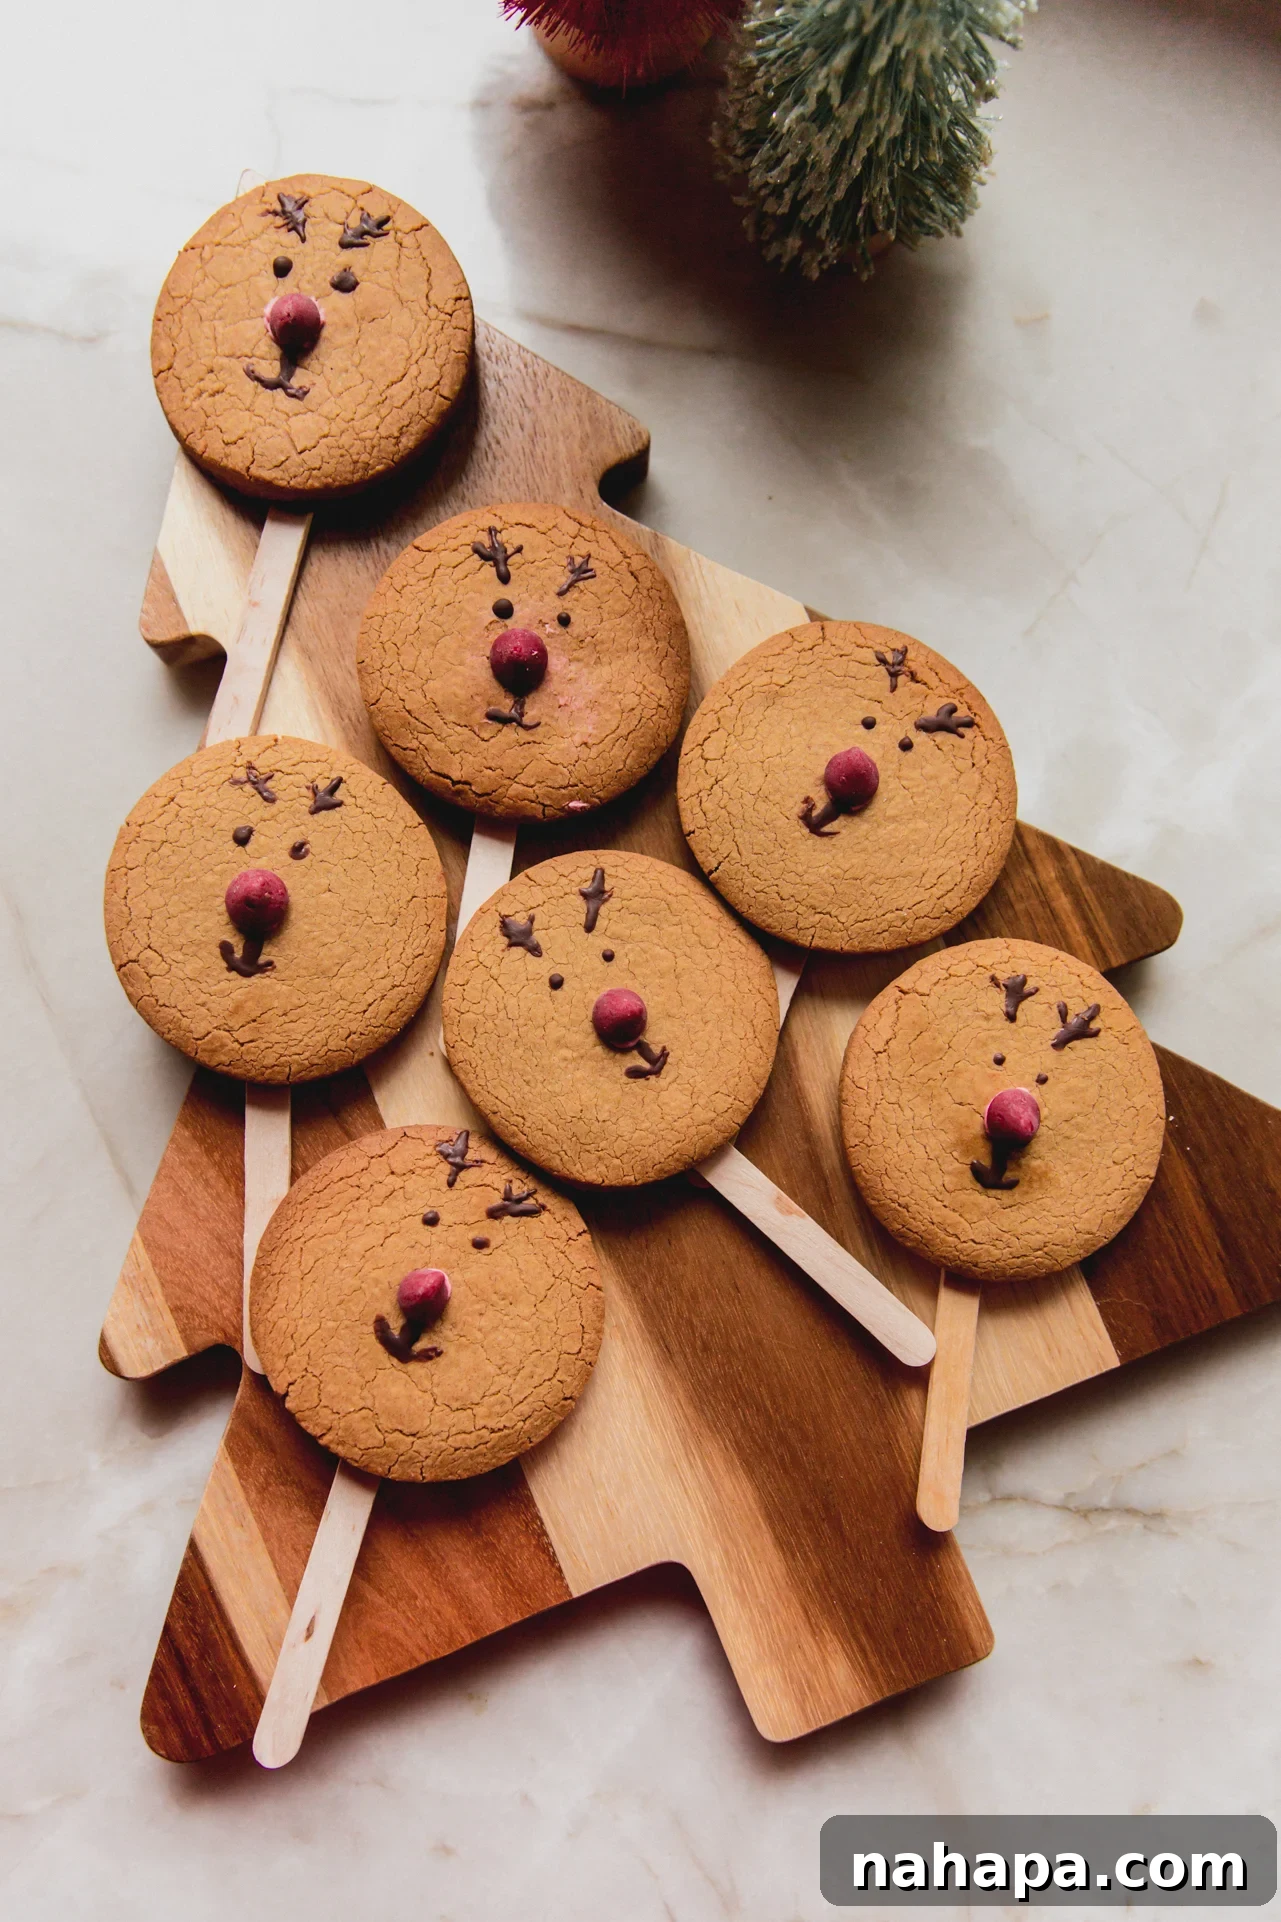
Embark on a delightful culinary journey this holiday season with these adorable Gingerbread Rudolph Reindeer Cookies! More than just a festive treat, these cookies are a gateway to childhood wonder, bringing the beloved character of Rudolph the Red-Nosed Reindeer right into your home. Designed with little ones in mind, they feature a convenient popsicle stick, transforming each delicious cookie into a fun, interactive toy. Imagine your children giggling as they hold their gingerbread Rudolph up to their noses, creating cherished memories that last a lifetime. What makes these even more special is their thoughtful formulation: they are completely gluten-free and egg-free, ensuring that everyone can partake in the holiday magic without dietary worries.
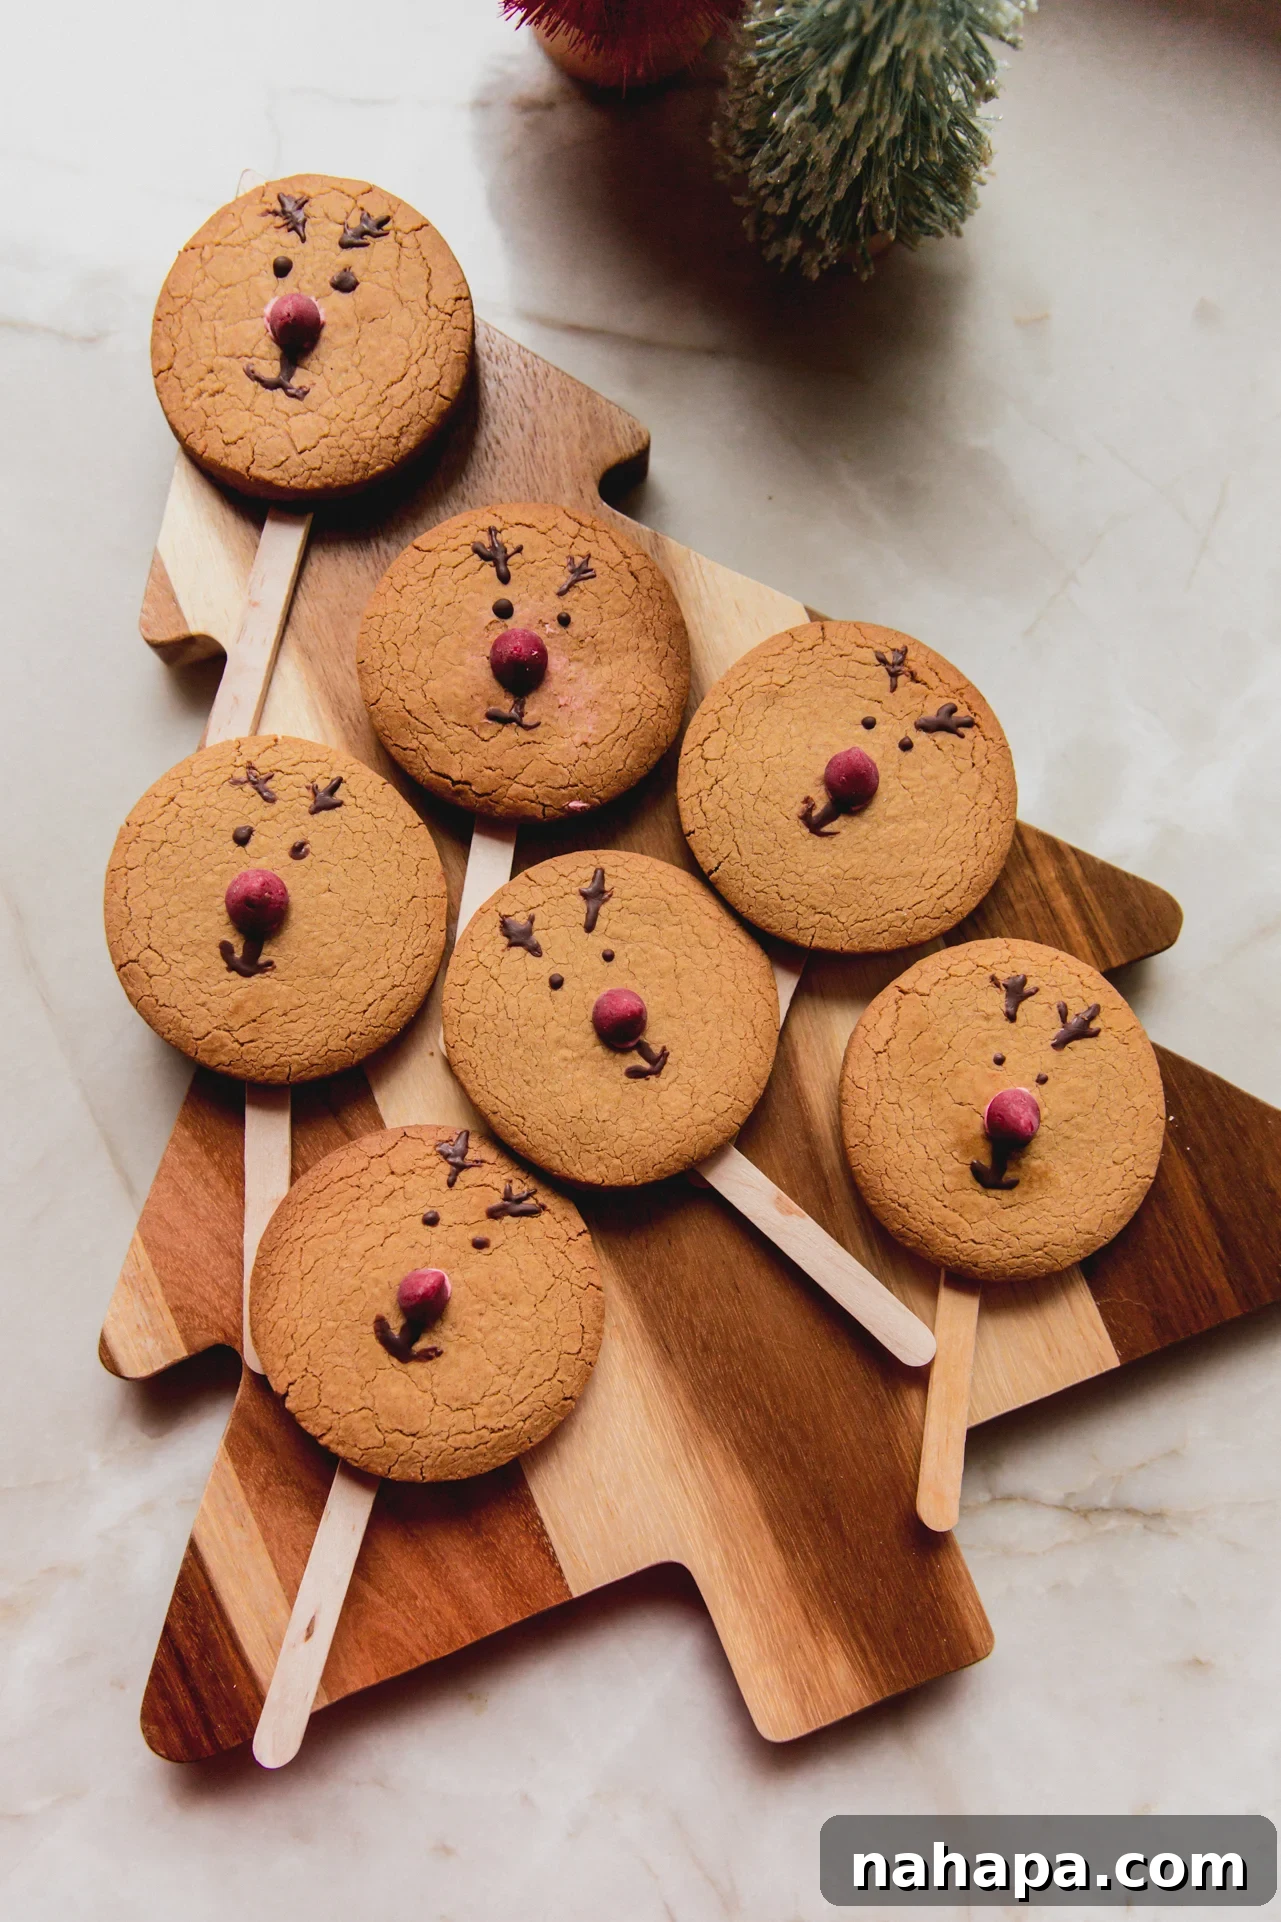
The Magic of Gingerbread During the Holidays
Gingerbread is an undisputed holiday classic, its warm, spiced aroma instantly evoking feelings of joy and nostalgia. From traditional gingerbread houses to intricate gingerbread men, these treats are synonymous with festive cheer. We love exploring innovative twists on this beloved flavor, such as our comforting gingerbread cookie cake or the indulgent dairy-free gingerbread hot cocoa. These charming gingerbread Rudolph reindeer cookies were inspired by our original AIP gingerbread cookie recipe, a staple from our cookbook. With a few thoughtful modifications and an imaginative, delightful presentation, we’ve transformed a classic into an irresistible holiday showstopper that’s sure to capture hearts.
These Gingerbread Rudolph Reindeer Cookies truly embody the spirit of the season! They offer the beloved taste of classic gingerbread, elevated by an irresistibly cute and playful design.
Table of Contents
- Why These Reindeer Cookies Will Be Your Family’s New Tradition
- Gather Your Ingredients for Festive Fun
- Creative Substitutions & Modifications for Every Baker
- Step-by-Step: Crafting Your Adorable Gingerbread Rudolph Reindeer Cookies
- Expert Tips & Tricks for Perfect Rudolph Cookies
- Frequently Asked Questions About Rudolph’s Favorite Cookies
- Discover More Gluten-Free Holiday Delights
Why These Reindeer Cookies Will Be Your Family’s New Tradition
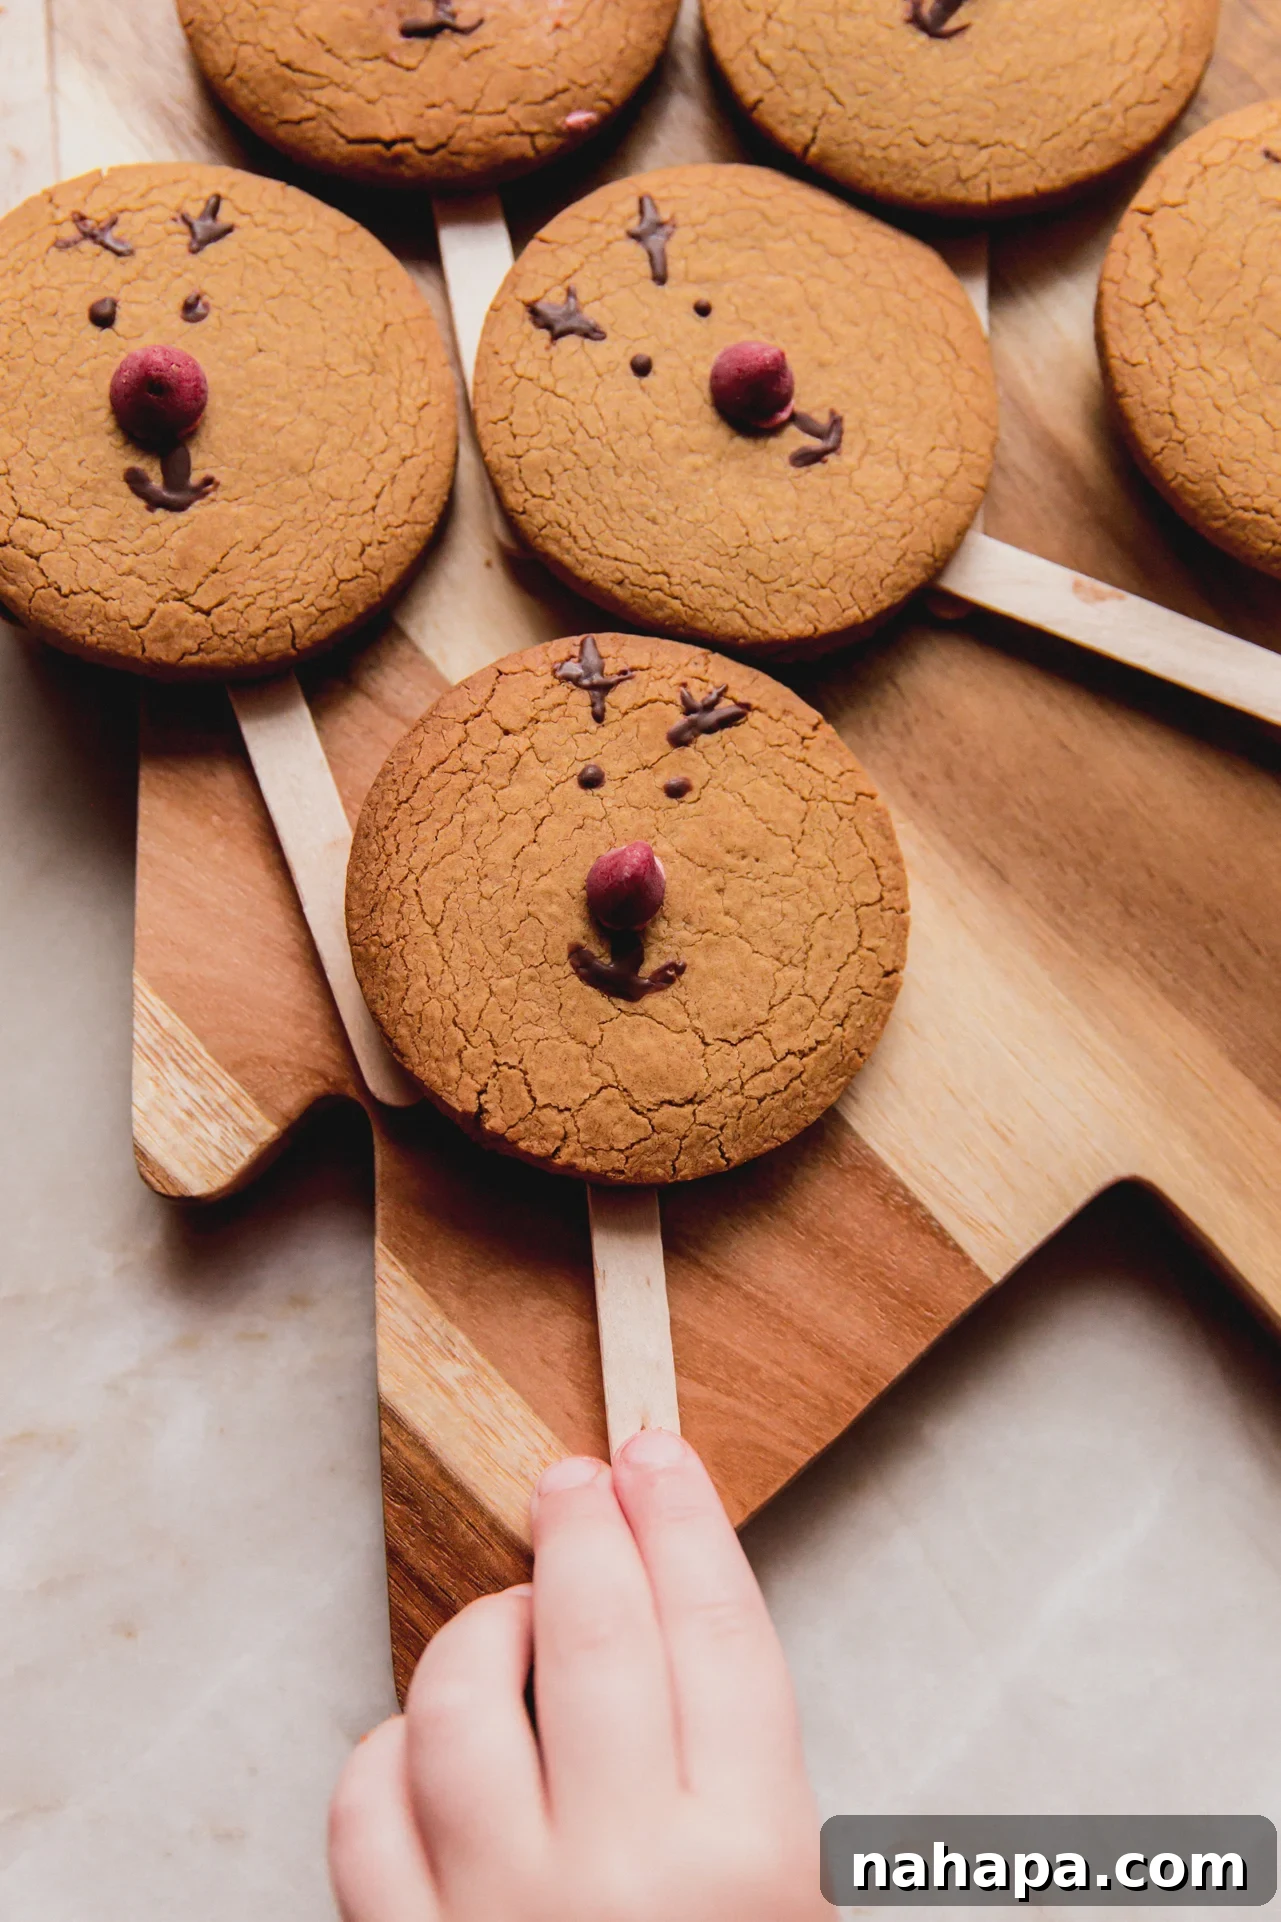
- Unforgettable Fun for Kids! These Rudolph reindeer cookies are designed to spark pure joy. My four-year-old son absolutely lit up when he first saw them, eagerly grabbing one to pretend it was Rudolph’s nose. We even shared the leftovers with friends, and they were an instant sensation! Every child delighted in transforming their cookie into a playful Rudolph prop, creating a truly interactive and memorable experience. These aren’t just cookies; they’re an invitation to imaginative play, making them a perfect addition to any holiday gathering or a cozy afternoon activity at home.
- Deliciously Allergen-Friendly. Inclusivity is at the heart of our kitchen. We understand the importance of catering to various dietary needs, especially during celebrations. That’s why these gingerbread Rudolph cookies are meticulously crafted to be gluten-free, dairy-free, and egg-free. This thoughtful formulation ensures that individuals with common allergies or sensitivities can enjoy the festive flavors without compromise. You can confidently serve these cookies knowing that almost everyone at your holiday table can indulge in their delightful taste and charm.
- Simple to Make, Yet Impressive Results. Despite their intricate appearance, these Rudolph cookies are surprisingly straightforward to prepare. The recipe is designed with ease in mind, allowing even novice bakers to achieve stunning and delicious results. From mixing the dough to the final decorative touches, each step is manageable, making the baking process enjoyable rather than daunting. This simplicity ensures that you can focus on the fun of creating and decorating with your family, rather than stressing over complex techniques.
Gather Your Ingredients for Festive Fun
Crafting these delightful gingerbread Rudolph reindeer cookies begins with a careful selection of quality ingredients. Each component plays a crucial role in achieving the perfect flavor, texture, and allergen-friendly profile. Here’s a closer look at what you’ll need:
- Arrowroot Starch and Tapioca Starch: These two flours form the base of our gluten-free cookie dough. Arrowroot starch provides a light, crisp texture, while tapioca starch contributes to a pleasant chewiness, mimicking the characteristics of traditional wheat flour without the gluten. They are essential for a tender, yet sturdy cookie that holds its shape beautifully.
- Gelatin Powder: This is a key binder in our egg-free recipe. When used dry in the dough, gelatin helps create structure and elasticity, preventing the cookies from being too crumbly. We’ve found it to be an excellent egg substitute here, and it’s important to note that substituting with an actual egg would likely introduce too much moisture, altering the dough’s consistency.
- Red Melting Morsels: These vibrant morsels are your secret weapon for Rudolph’s iconic red nose! They melt smoothly, offering a bright, appealing color and a delicious, subtly sweet flavor that complements the gingerbread perfectly. Look for brands that are dye-free if you prefer natural coloring.
- Palm Shortening: In place of traditional butter or vegetable shortening, palm shortening offers a dairy-free and vegan alternative. It contributes to the tender crumb of the cookies and helps them maintain their shape during baking. Ensure you source sustainably harvested palm shortening for an ethical choice.
- Maple Syrup and Blackstrap Molasses: These natural sweeteners are absolutely critical for the distinct, deep, and complex flavor profile of classic gingerbread. Maple syrup provides a delicate sweetness, while blackstrap molasses infuses the cookies with that rich, dark, slightly bitter, and robust flavor that gingerbread lovers adore. It’s the secret to that authentic, warm spice depth.
- Ground Ginger and Ground Cinnamon: These essential spices provide the characteristic warmth and aromatic fragrance of gingerbread. The generous use of ginger gives it that signature zing, while cinnamon adds a sweet, woody note, creating a comforting and inviting aroma as your cookies bake.
- Baking Soda: A crucial leavening agent, baking soda reacts with the molasses to give the cookies a slight lift and contributes to their tender texture.
- Vanilla Extract: A touch of vanilla enhances all the other flavors, adding a subtle sweetness and depth that rounds out the overall taste profile.
Creative Substitutions & Modifications for Every Baker
While our recipe is carefully crafted for optimal results, we understand that sometimes you might need to make adjustments based on availability or personal preference. Here are some easy substitutions and modifications to help you create your perfect batch of Gingerbread Rudolph Reindeer Cookies:
- For Rudolph’s Red Nose: If red melting morsels aren’t available or you’re looking for an alternative, pomegranate seeds make an excellent and naturally vibrant red nose! Their tartness offers a lovely contrast to the sweet gingerbread. Alternatively, a small red candy (ensure it’s allergen-friendly if needed) or a dab of red frosting colored with natural food dyes (like beet powder) would work wonderfully.
- Tapioca Starch for Arrowroot Starch: Should you only have one on hand, tapioca starch can be substituted 1:1 for arrowroot starch. Both are gluten-free starches that perform similar binding and thickening functions in baking, ensuring your cookies maintain their structure and texture.
- Sweetener Adjustments: If you prefer a less intense molasses flavor, you can slightly increase the maple syrup and slightly decrease the blackstrap molasses, though this will alter the traditional gingerbread depth. Experiment to find your perfect balance.
- Spice Variations: Feel free to adjust the amount of ground ginger and cinnamon to your liking. For an extra kick, a pinch of ground cloves or nutmeg can be added to enhance the spice profile.
- Palm Shortening Alternatives: For those who cannot use palm shortening, refined coconut oil (solid at room temperature) can be used as a 1:1 substitute. Be aware that coconut oil melts at a lower temperature, so chilling the dough thoroughly will be even more important.
Step-by-Step: Crafting Your Adorable Gingerbread Rudolph Reindeer Cookies
Creating these charming gingerbread Rudolph reindeer cookies is a rewarding and fun experience. Follow these detailed steps, complete with visual guidance, to bring your festive treats to life. The full ingredient list and precise measurements can be found in the recipe card below.
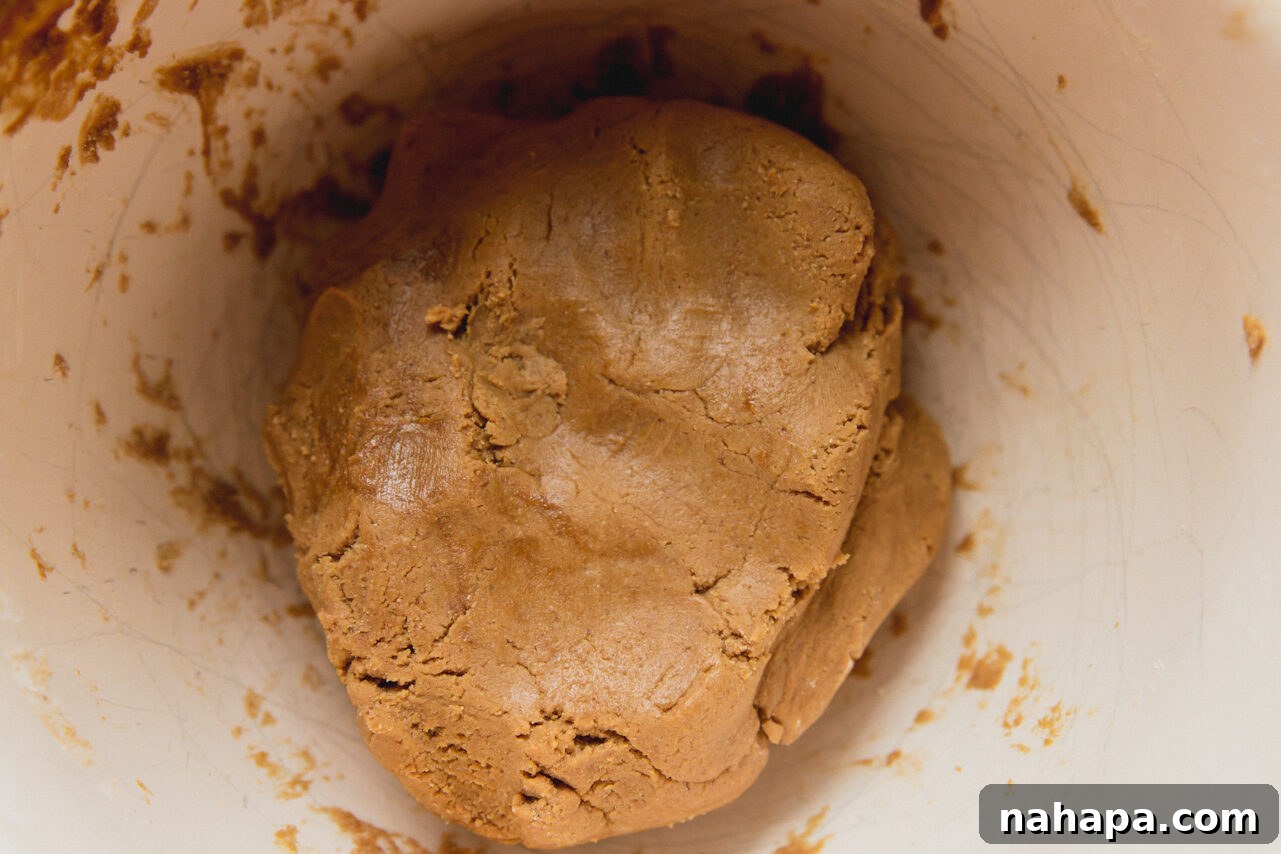
Step one: Prepare the Dough with Care. Begin by preheating your oven to 350°F (175°C) and lining a baking sheet with lightly greased parchment paper. In a large mixing bowl, thoroughly whisk together all the dry ingredients: arrowroot starch, tigernut flour, gelatin powder, baking soda, ground ginger, and ground cinnamon. In a separate medium bowl, cream together the palm shortening, maple syrup, and blackstrap molasses until smooth and well combined. Gradually add this wet mixture to the dry ingredients, stirring until just combined. Finally, stir in the vanilla extract. Continue mixing until all ingredients are fully incorporated, forming a cohesive dough. The dough will have a firm, yet slightly sticky consistency – this is perfectly normal!
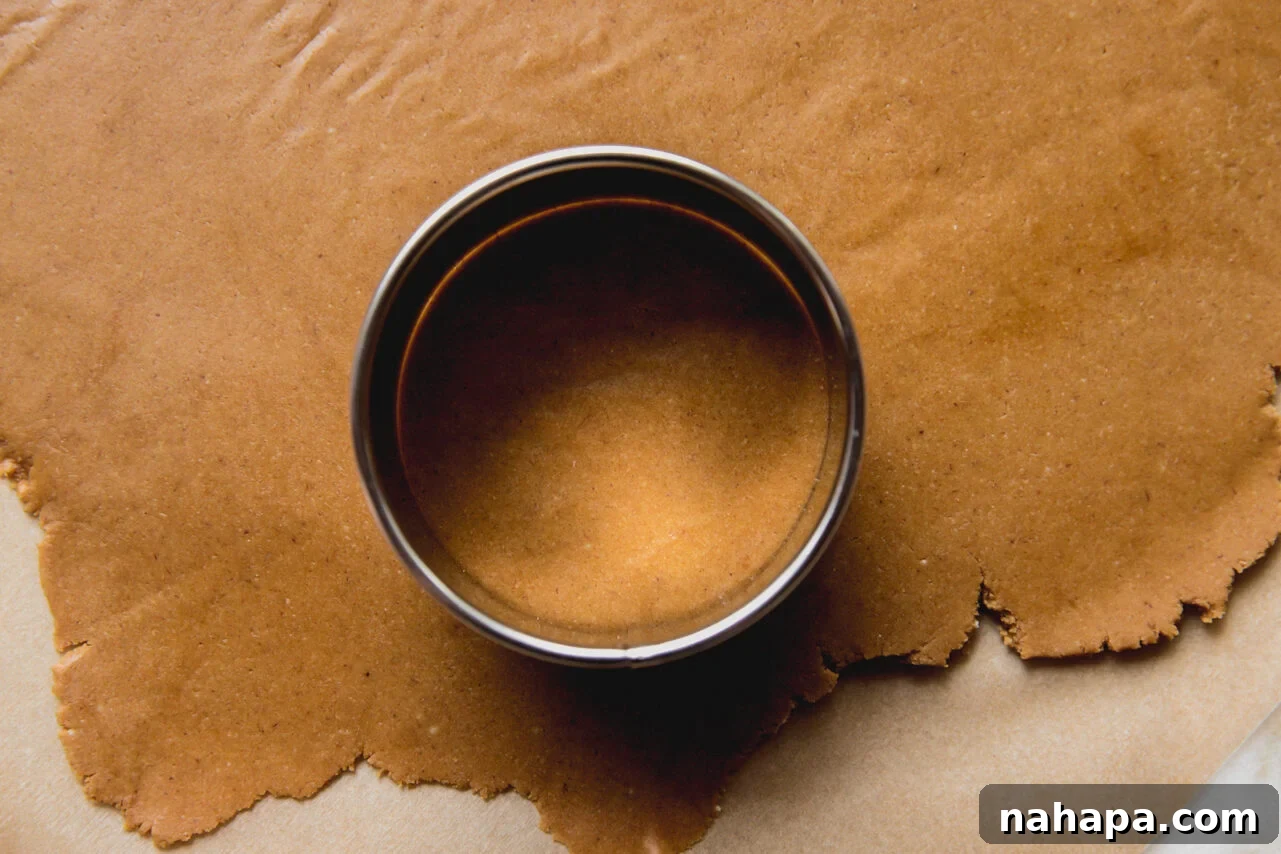
Step two: Roll and Cut Your Rudolph Shapes. Transfer your prepared dough onto a clean piece of parchment paper. Place another piece of parchment paper on top of the dough. Using a rolling pin, gently roll the dough out to an even thickness, about ¼-inch. This ensures even baking. Take a round cookie cutter and carefully cut out approximately 9 round cookies. If you have extra dough scraps, gently gather them, re-roll, and cut additional cookies until all the dough is used. Aim for consistent shapes for best results.
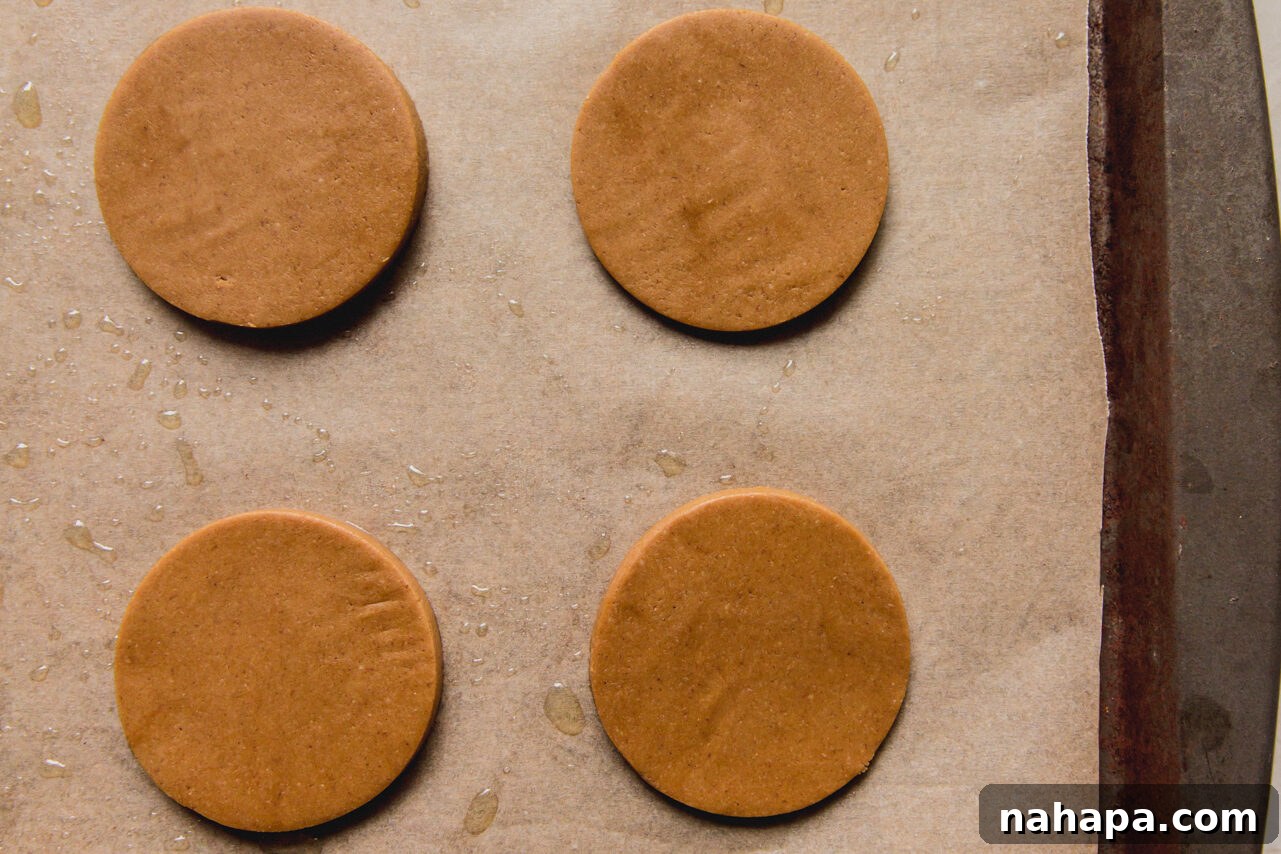
Step three: Arrange for Baking. Carefully transfer your cut gingerbread dough rounds onto the prepared baking sheet. Ensure they are evenly spaced, leaving enough room for them to expand slightly during baking without touching. Proper spacing promotes uniform cooking and prevents them from sticking together. This meticulous arrangement sets the stage for beautifully baked cookies.
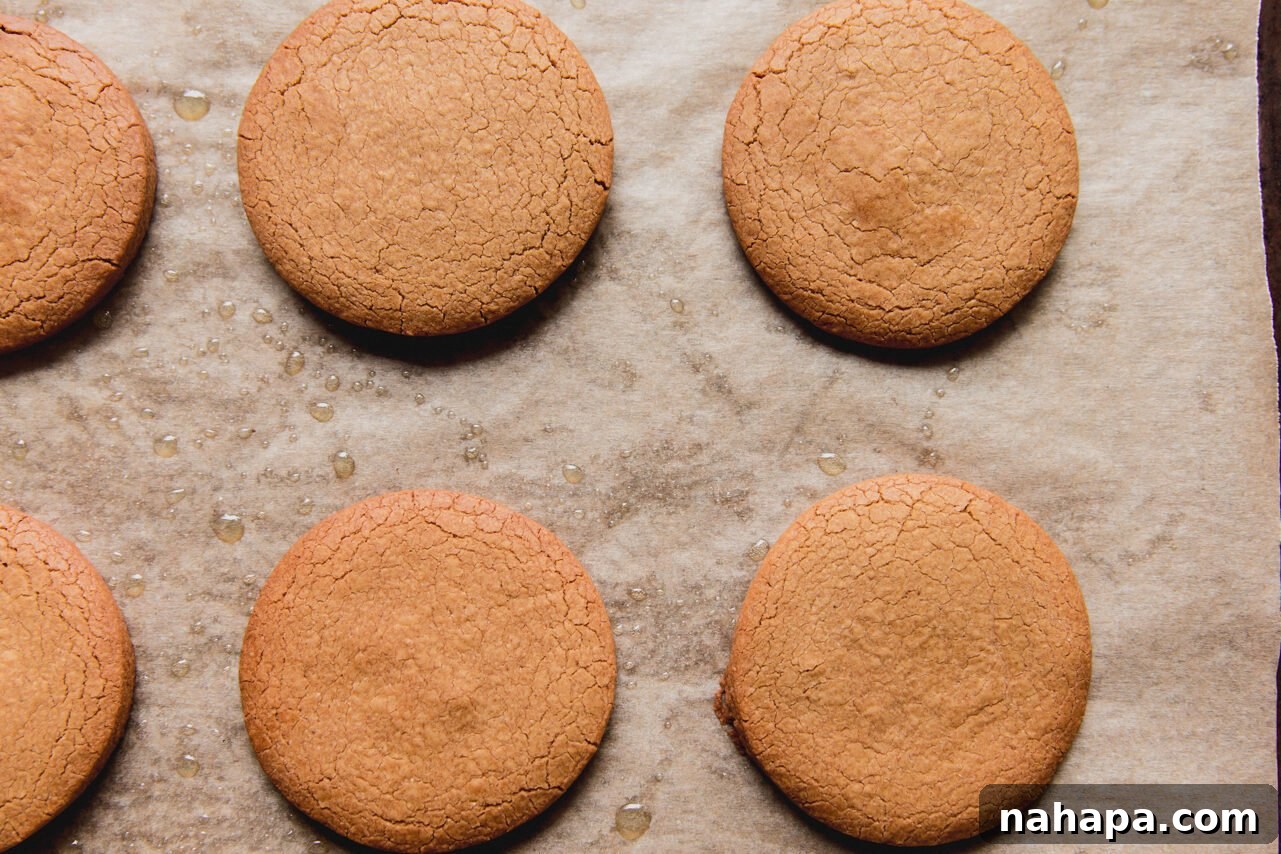
Step four: Bake to Golden Perfection. Place the baking sheet into the preheated oven and bake for approximately 12 minutes, or until the edges of the cookies are light golden brown and the centers are set. Baking times can vary depending on your oven, so keep a close eye on them. Once baked, carefully remove the cookies from the oven and transfer them to a wire cooling rack. Allow them to cool completely before attempting to decorate. This patience is key, as warm cookies can cause chocolate decorations to melt or smudge.
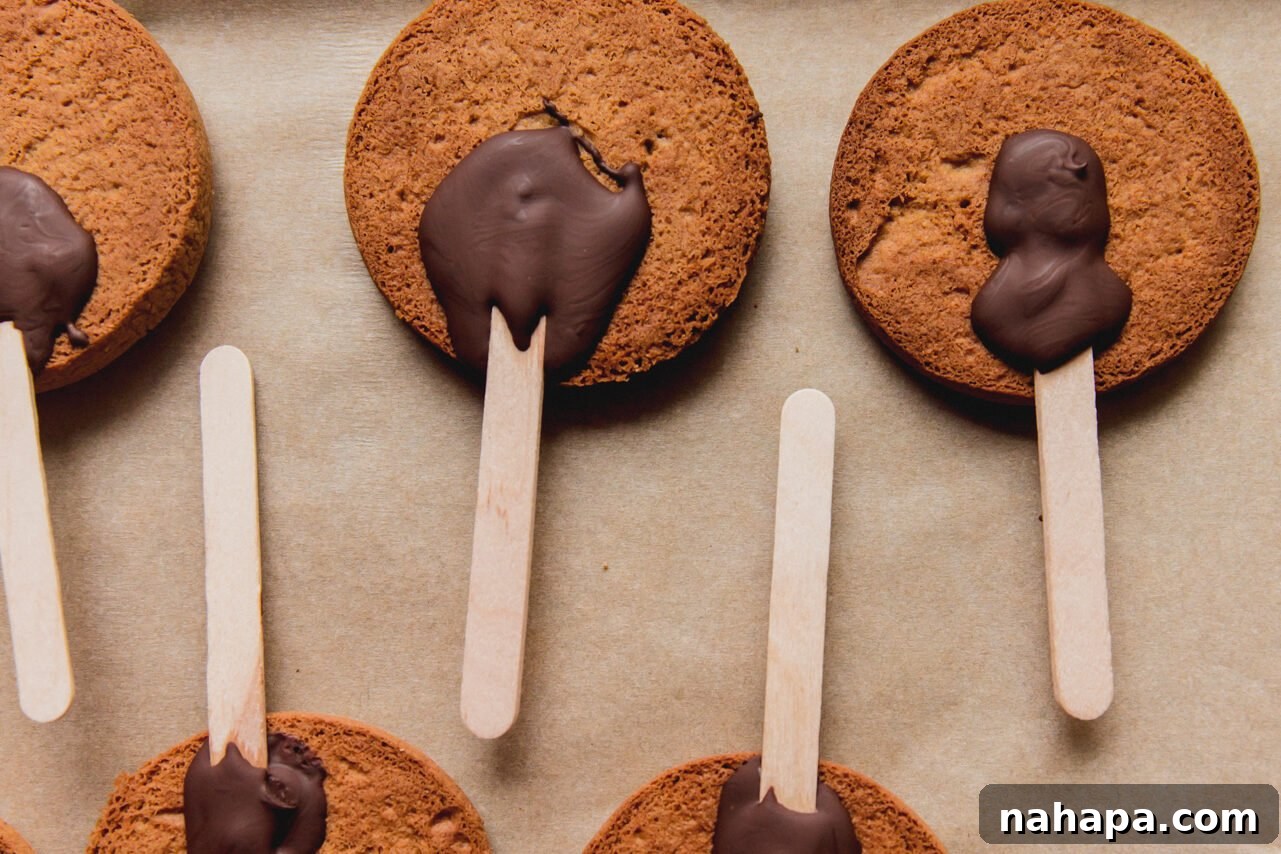
Step five: Attach the Playful Popsicle Sticks. This step adds the interactive fun! In a microwave-safe bowl, combine your chocolate chips and coconut oil. Melt in the microwave at 20-second intervals, stirring thoroughly after each interval, until the chocolate is smooth and fully melted. Dip one end of a popsicle stick into the melted chocolate. Gently press the chocolate-coated end onto the flat back of a cooled gingerbread cookie. Place the cookie, popsicle stick side up, on a parchment-lined plate or platter. Repeat this process for all cookies. Transfer the platter to the freezer for 10-15 minutes, or until the chocolate is completely set and the popsicle sticks are securely attached. Once set, gently flip the cookies over, ready for their transformation into Rudolph!
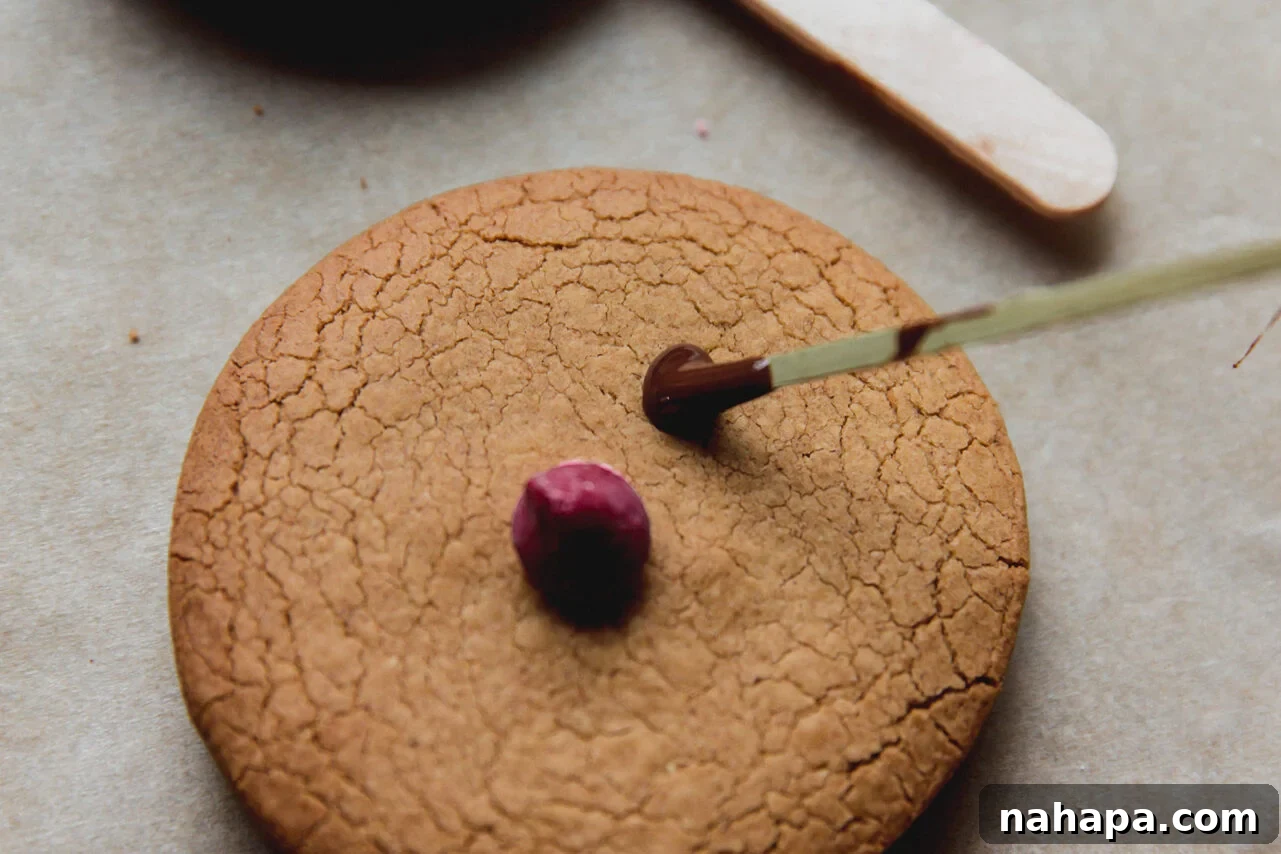
Step six: Decorate Rudolph’s Iconic Features. Now for the creative part! For Rudolph’s shining red nose, gently press a red melting morsel onto the center of each cookie, securing it with a tiny dab of frosting or melted chocolate if needed. Alternatively, use a pomegranate seed or a small red candy. Next, using a toothpick dipped in the remaining melted chocolate, carefully draw on Rudolph’s eyes, a cheerful mouth, and his characteristic antlers. You can make simple dots for eyes or small, curved lines. For antlers, draw two branches extending upwards from the top sides of the cookie. Let your creativity guide you!
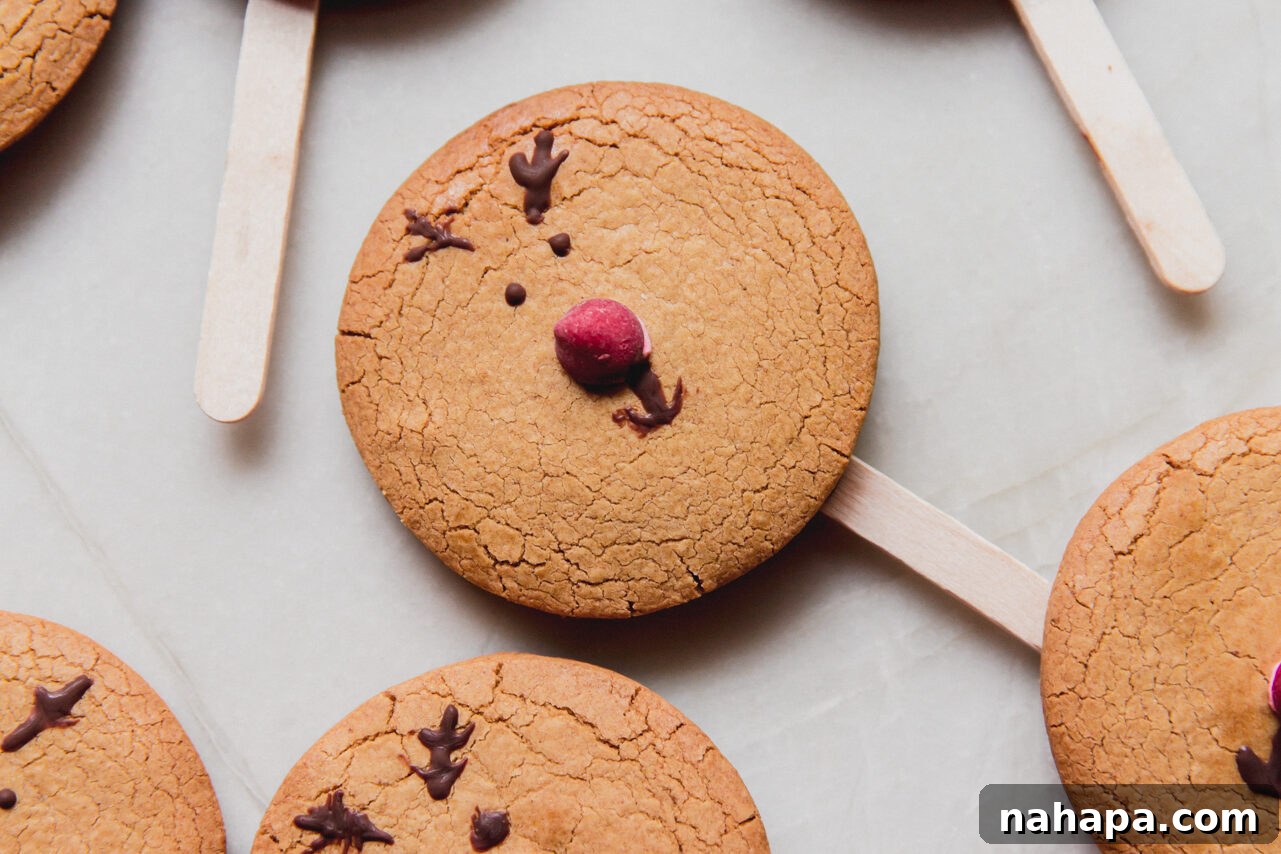
Step seven: Set the Decorations. Once all your adorable Rudolphs are decorated, carefully transfer the cookies back to the refrigerator. Allow them to chill for at least 15-20 minutes, or until the melted chocolate decorations have fully set and hardened. This step is essential to prevent any smudging or melting when handling the cookies, ensuring their festive designs remain perfect.

Step eight: Share and Enjoy! With the chocolate set and your Rudolphs complete, it’s time to share these charming treats! Present them on a festive platter or gather your loved ones for a delightful cookie-eating and face-playing session. Watch as smiles light up faces and the spirit of the holidays fills the air. These cookies are not just a dessert; they are an experience, perfect for gifting, holiday parties, or simply enjoying with a warm mug of hot cocoa. Enjoy every magical bite!
Expert Tips & Tricks for Perfect Rudolph Cookies
- Be Prepared for Messy Noses (and Happy Kids!): When children are playing with these cookies, chocolate on their noses is almost guaranteed – and utterly adorable! I learned this firsthand when I shared these cookies with friends; all the kids ended up with melted chocolate from the back of the cookie on their faces. It was a sweet, memorable mess, and the kids didn’t mind a bit. Still, it’s a good idea to keep some wet wipes or napkins handy for quick clean-ups after the fun!
- No Cookie Cutter? No Problem! While fancy cookie cutters can be fun for elaborate shapes like our Gluten-free Spritz Cookies, you absolutely don’t need special tools for these Rudolphs. A simple drinking glass or a round jar lid can be used to cut perfectly circular cookies from the rolled-out dough. Just press firmly and cleanly, and you’ll have all the rounds you need.
- Chilling the Dough for Perfect Shape: If your dough feels too soft or sticky to roll out, don’t hesitate to chill it in the refrigerator for 20-30 minutes. This will firm it up, making it much easier to handle and cut, which helps prevent the cookies from spreading too much during baking, ensuring your Rudolphs retain their ideal round shape.
- Creative Antler Designs: For the antlers, don’t feel restricted to one design. You can draw simple V-shapes, or more elaborate branching designs with your toothpick and melted chocolate. If you’re feeling adventurous, you could even use small pretzel sticks for a more three-dimensional antler effect, attaching them with melted chocolate before it sets.
- Storage for Freshness: Once decorated and the chocolate has set, store your gingerbread Rudolph cookies in an airtight container at room temperature for up to 3-4 days. If you want them to last longer, they can be kept in the refrigerator for up to a week. For longer storage, see our freezing tips in the FAQs.
Frequently Asked Questions About Rudolph’s Favorite Cookies
Absolutely! These cookies are perfect for preparing in advance. You can bake and fully decorate them, then store them in an airtight container in the fridge for 1-2 days. Alternatively, if you plan to have the kids participate in the decorating fun, you can bake the cookies ahead of time and store the plain rounds. Then, on the day you wish to decorate, simply prepare your chocolate and frosting, and let the creativity begin!
While we love using food-dye-free red candy morsels for their convenience and vibrant color, there are several other fantastic options for Rudolph’s bright red nose. A fresh pomegranate seed offers a beautiful, natural ruby red hue and a pleasant burst of tartness. Small red jelly beans (check for allergens), candied cherries, or even a small dollop of red-colored frosting (achieved with beet powder for natural coloring) would also work wonderfully. Get creative with what you have on hand!
Yes, these cookies freeze beautifully! You can freeze the plain baked cookies before decorating, or freeze them fully decorated. For plain cookies, allow them to cool completely, then arrange them in a single layer on a baking sheet and freeze until solid. Transfer to an airtight freezer-safe container or bag for up to 2-3 months. For decorated cookies, flash freeze them similarly to set the decorations, then gently layer them in an airtight container with parchment paper between layers. Thaw at room temperature before serving.
For neat antlers, make sure your melted chocolate is not too hot or too thick. If it’s too hot, it will be too runny; if too thick, it will be hard to draw. A perfect consistency is smooth but not watery. Use a very thin toothpick or a fine-tipped piping bag (you can make one by snipping a tiny corner off a Ziploc bag) for precise lines. If you’re nervous about freehand drawing, you can lightly sketch the antler shape onto the cooled cookie with an edible marker first, then trace with chocolate.
Discover More Gluten-Free Holiday Delights
If you’ve fallen in love with these Gingerbread Rudolph Reindeer Cookies, you’ll be thrilled to explore our other festive, allergen-friendly treats perfect for the holiday season. Our collection of gluten-free Christmas cookies ensures that everyone can indulge in sweet celebrations. Be sure to check out these delicious recipes:
- Classic Gluten-Free Thumbprint Cookies
- Festive Peppermint Joe Joe’s (Copycat Recipe)
- Rich Almond Butter Blossoms (Paleo & Vegan)
If you tried these delightful Gingerbread Reindeer Cookies or any other recipe on my blog, please take a moment to leave a 🌟 star rating and share your experience in the 📝 comments below. Your feedback truly helps our community! Thanks for visiting and happy baking!
Gingerbread Rudolph Reindeer Cookies {gluten free}
8
servings
20
mins
12
mins
32
mins
Michelle
Leave a Review
Pin Recipe
Want to save this for later?
Just drop your name and email below, and we’ll send the recipe right to your inbox. ✉️
Ingredients
For the cookies
- ¾ cup arrowroot starch
- ½ cup tigernut flour
- 1 tbsp gelatin powder
- ¼ tsp baking soda
- 1 tsp ground ginger
- ¾ tsp ground cinnamon
- ⅓ cup palm shortening
- 3 tbsp maple syrup
- 2 tbsp blackstrap molasses
- 1 tsp vanilla extract
For the decorations
- ½ cup chocolate chips (dairy-free if needed)
- 1 tsp coconut oil
- Red Melting Morsels (or pomegranate seeds, small red candies)
- Frosting (dairy-free if needed)
- Beet powder (optional, for natural red frosting color)
- Popsicle sticks (for added fun)
- Toothpicks (for drawing details)
Instructions
To make the cookies
-
Preheat the oven to 350°F (175°C) and line a baking sheet with lightly greased parchment paper.
-
In a large bowl, combine the dry ingredients (arrowroot starch, tigernut flour, gelatin powder, baking soda, ground ginger, ground cinnamon). In a medium bowl, cream together the palm shortening, maple syrup, and molasses. Add the wet mixture to the dry ingredients. Stir in the vanilla extract and combine well until all ingredients are blended and form a firm, slightly sticky dough.
-
Transfer the dough to a clean piece of parchment paper. Top with another piece of parchment paper and roll out flat with a rolling pin to about ¼-inch thickness. Use a round cookie cutter to cut 9 round cookies. Gather and re-roll dough scraps if more surface area is needed.
-
Transfer the cut dough rounds to the prepared baking sheet, ensuring they are evenly spaced. Bake for 12 minutes or until the cookies are light golden brown and set.
-
Carefully transfer the baked cookies to a wire cooling rack and let them cool completely before decorating. Once cool, move them to a parchment-lined plate or platter.
To decorate the cookies
-
To add the popsicle stick on the back: Melt the chocolate chips and coconut oil together in the microwave at 20-second intervals, stirring until fully melted and smooth. Working one at a time, dip the tip of a popsicle stick into the melted chocolate and place it on the flat side of a cooled cookie. Place the cookie on the parchment paper, with the popsicle stick side up. Repeat for all cookies. Transfer to the freezer for 10-15 minutes or until the chocolate is fully set. Turn the cookies over to decorate.
-
To make the nose: Combine your chosen frosting with beet powder (if using for natural color) until you reach your desired red hue. Add the frosting to a small piping bag (or a Ziploc bag with a corner snipped off) and pipe a small dot in the center of the cookie for the nose. Alternatively, gently press a red melting morsel or pomegranate seed into the center.
-
To draw the face and antlers: Use a toothpick and the remainder of the melted chocolate. Dip the toothpick in the chocolate and slowly draw eyes (simple dots or small circles), a cheerful mouth, and distinctive antlers on each cookie. Get creative with your designs!
-
Transfer the decorated cookies back to the fridge for another 15-20 minutes to allow the chocolate to set completely before enjoying! This ensures your Rudolphs are perfect for playing and eating.
Notes
Feel free to swap out the red melting morsel nose for a fresh pomegranate seed or another small red candy if desired.
Helpful Tools Used: Consider having Popsicle sticks for the festive touch, a reliable rolling pin for even dough, and a sturdy round cookie cutter to shape your Rudolphs.
Serving:
1
cookie
,
Calories:
267
kcal
,
Carbohydrates:
33.7
g
,
Protein:
2.3
g
,
Fat:
15.4
g
,
Fiber:
4.1
g
Did you Make this Recipe?
Tag @unboundwellness on Instagram and hashtag #unboundwellness!