
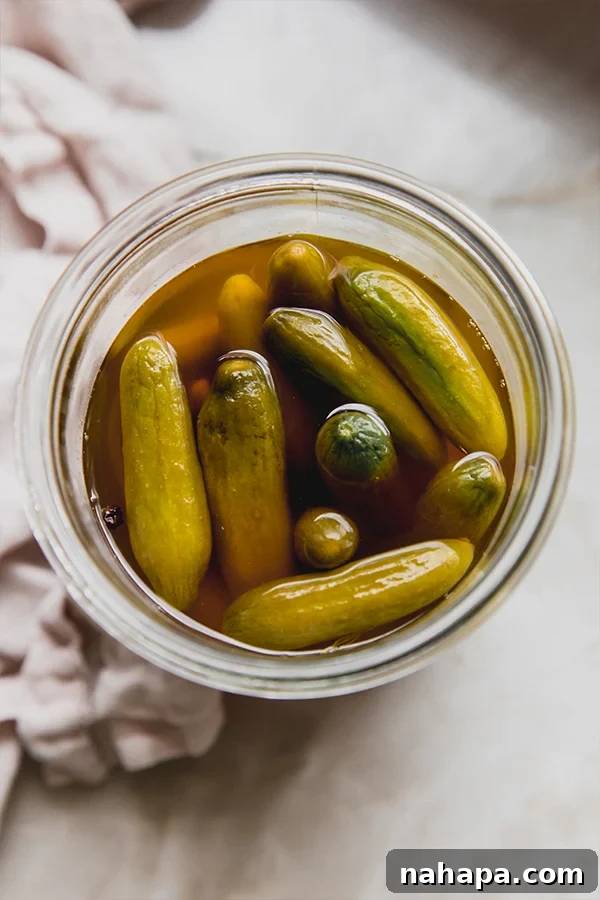
Dive into the world of homemade goodness with these incredible apple cider vinegar refrigerator pickles! Say goodbye to store-bought versions laden with white sugar and white vinegar, and embrace a healthier, simpler alternative that’s bursting with vibrant flavor. These pickles are not only incredibly easy to make, requiring no intimidating canning process, but they’re also perfect for guilt-free snacking or adding a refreshing crunch to your favorite dishes.
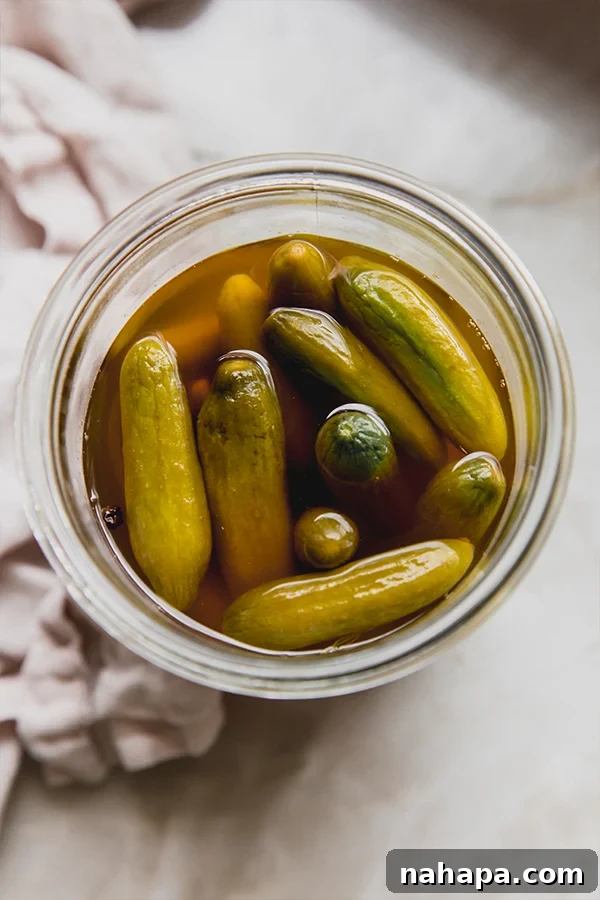
Understanding Refrigerator Pickles: A Simple Path to Homemade Goodness
The words “pickling” and “fermenting” can sound daunting, conjuring images of elaborate kitchen setups and complex sterilization techniques. While traditional canning certainly has its place for long-term food preservation, there’s a wonderfully straightforward method for making delicious pickles at home: refrigerator pickles. This approach bypasses the complexities of high-heat canning, making it accessible even for beginners.
Refrigerator pickles, as their name suggests, are made quickly and must be stored in the refrigerator. Unlike their shelf-stable canned counterparts, they aren’t processed to create a vacuum seal, meaning they have a shorter but still generous lifespan of several weeks. The magic happens over just a day or two as cucumbers soak in a flavorful brine, absorbing all the tangy goodness. This method ensures a crisp texture and fresh taste that many prefer over traditionally canned pickles.
Traditionally, many quick pickle recipes use white vinegar, which can often be derived from corn. For those following a grain-free diet or seeking alternatives, this recipe offers a fantastic solution by utilizing apple cider vinegar. Not only is apple cider vinegar grain-free, but it also brings its own unique set of health benefits and a more complex flavor profile to the pickles.
Why These Apple Cider Vinegar Pickles Will Become Your New Favorite
- Effortless Preparation: Forget the pressure cooker and boiling water baths! Making these pickles is as simple as preparing your ingredients, boiling a brine, combining them in a jar, and letting your fridge do the rest. It’s a truly “set it and forget it” recipe after the initial quick steps. No specialized canning equipment is needed, making it ideal for busy individuals or anyone new to pickling.
- A Health-Conscious Alternative: We’ve consciously crafted this recipe to be free from white sugar and conventional white vinegar. Instead, we harness the power of apple cider vinegar, known for its potential digestive benefits and gut-friendly properties. Coupled with natural sweetness from coconut sugar, these pickles offer a guilt-free indulgence that aligns with a healthier lifestyle, including grain-free dietary preferences.
- Superior Flavor & Texture: The apple cider vinegar provides a bright, tangy kick that is distinct from white vinegar. It complements the fresh dill, pungent garlic, and earthy peppercorns beautifully, creating a well-rounded and invigorating flavor. The quick pickling process also helps maintain the cucumber’s natural crispness, delivering that satisfying crunch with every bite.
- Incredibly Versatile: These pickles aren’t just for snacking, though they excel at that! Their vibrant flavor and texture make them a fantastic addition to a multitude of dishes. Chop them up for salads, layer them into sandwiches and burgers, serve them as a side dish with grilled meats, or even incorporate them into healthy bowls and wraps for an extra zing.
Essential Ingredients for Your Perfect ACV Pickles
Crafting delicious apple cider vinegar refrigerator pickles starts with selecting the right ingredients. Each component plays a vital role in achieving that perfect balance of tang, salt, and aromatic depth.
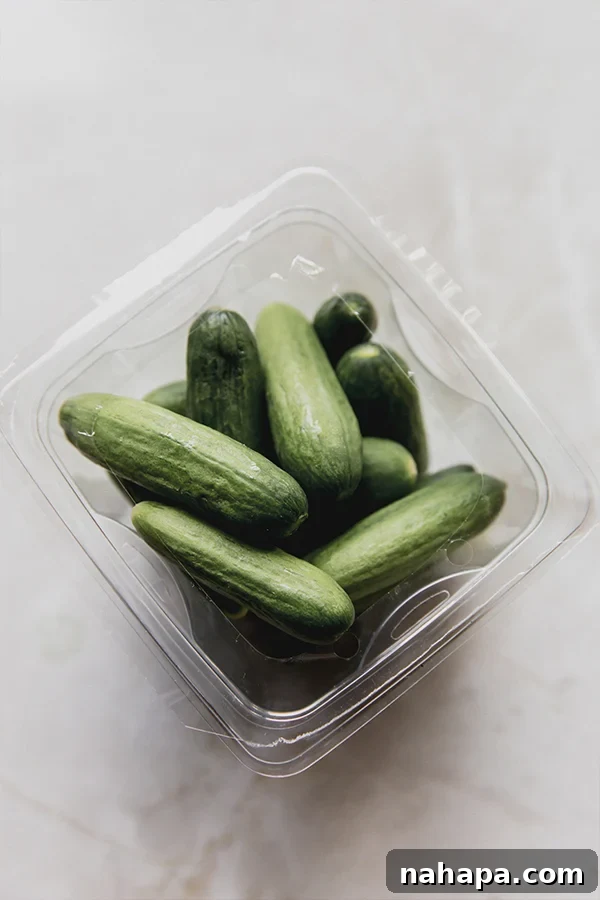
- Mini Cucumbers: For this recipe, mini cucumbers are highly recommended. Their small size makes them perfect for snacking without much prep, offering a delightful bite-sized treat. They also tend to be crispier and less watery than larger varieties. If mini cucumbers aren’t available, Kirby cucumbers are an excellent alternative; simply slice them into spears or rounds. Persian cucumbers also work wonderfully. Always wash them thoroughly before use.
- Apple Cider Vinegar: This is the star of our brine, replacing traditional white vinegar. Choose an unfiltered, raw apple cider vinegar “with the mother” for added probiotic benefits and a richer flavor profile. Its naturally fruity tang provides a more nuanced pickle than standard white vinegar, and it’s inherently grain-free.
- Salt: While it might seem like a generous amount, salt is fundamental to pickle flavor and acts as a mild preservative, even for refrigerator pickles. It draws out moisture from the cucumbers, contributing to their crispness, and is essential for the characteristic salty-sour taste. Fine grain salt (like fine sea salt or pickling salt) is ideal as it dissolves quickly and evenly in the brine. Avoid iodized table salt, which can sometimes make brine cloudy or alter the flavor.
- Coconut Sugar: A touch of sweetness is crucial for balancing the sharp acidity of the vinegar. Coconut sugar is our preferred choice as a natural, unrefined alternative to white sugar. It provides a subtle caramel note that enhances the overall flavor without being overtly sweet. If you prefer to omit sugar entirely for a keto-friendly option, you can, but adjust the salt slightly to compensate for the flavor balance.
- Aromatic Enhancers: Garlic, Fresh Dill, and Peppercorns: These three ingredients are the backbone of classic pickle flavor.
- Garlic: Smashed cloves release their potent aroma and flavor into the brine.
- Fresh Dill: Sprigs of fresh dill impart that iconic, herbaceous pickle taste. If fresh dill is hard to find, you can substitute with dried dill, typically about 2 teaspoons for every 3-4 sprigs.
- Peppercorns: Whole black peppercorns add a mild, aromatic spice without overpowering.
For those who enjoy a bit of heat, a pinch of chili flakes can be added to the jar for spicy pickles. Mustard seeds, coriander seeds, or a bay leaf can also be interesting additions for varied flavor profiles.
Crafting Your Own Apple Cider Vinegar Refrigerator Pickles: A Step-by-Step Guide
Making your own refrigerator pickles is incredibly rewarding and simpler than you might think. Follow these easy steps to create a batch of crisp, tangy, and healthy apple cider vinegar pickles.
- Step One: Prepare Your Jar and Cucumbers. Begin by thoroughly washing your mini cucumbers. While sterilization isn’t strictly necessary for refrigerator pickles, ensuring your jar is impeccably clean is always a good practice. Place the cleaned cucumbers into a large, clean glass jar. Add the smashed garlic cloves, peppercorns, and fresh dill sprigs to the jar, nestling them among the cucumbers. Packing them snugly but not overly tight will ensure even pickling.
- Step Two: Craft the Flavorful Brine. In a medium pot, combine the water, apple cider vinegar, fine salt, and coconut sugar. Whisk the ingredients well to ensure the salt and sugar begin to dissolve. Place the pot over medium heat and bring the mixture to a low boil, stirring occasionally. This gentle heating helps fully dissolve the salt and sugar, creating a homogenous brine, and also allows the flavors to meld. Once boiling, remove it from the heat immediately.
- Step Three: Combine Brine and Cucumbers. Allow the hot brine to cool slightly for about 5 minutes after removing it from the heat. This brief cooling period helps prevent the cucumbers from becoming too soft when the hot liquid is poured over them, ensuring a crispier pickle. Carefully pour the warm brine over the cucumbers and aromatics in the jar, making sure the cucumbers are fully submerged. If they float, you can use a fermentation weight or a small, clean plate to keep them under the liquid.
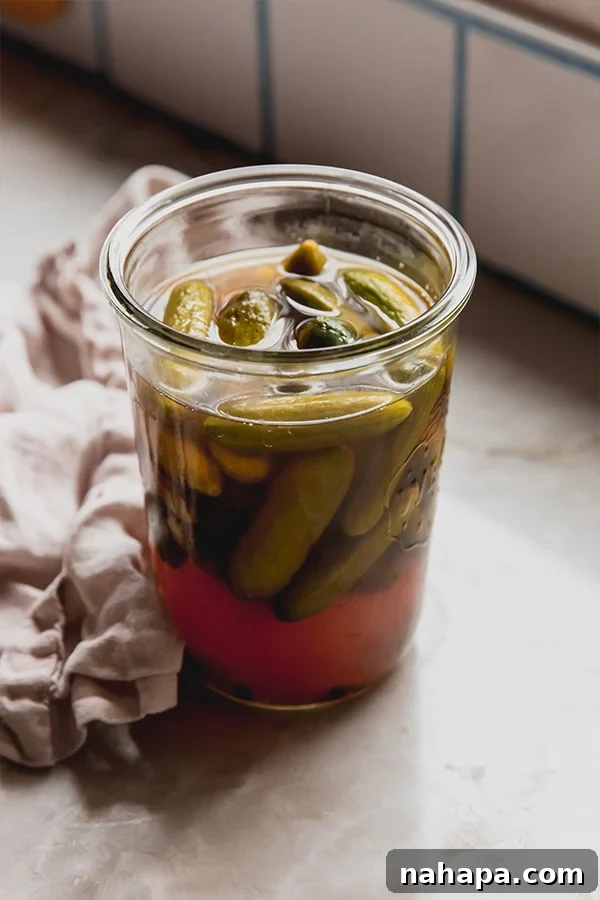
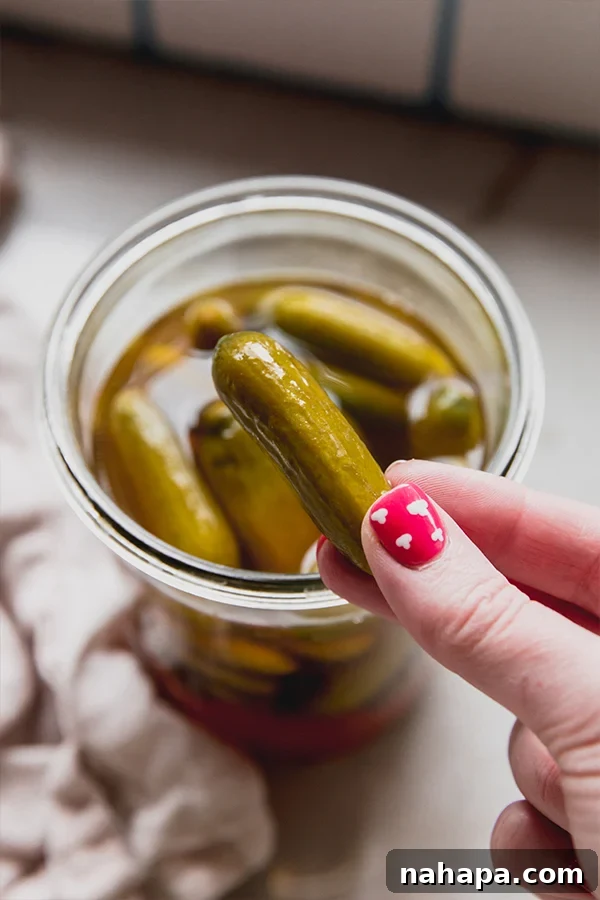
- Step Four: Cool, Refrigerate, and Enjoy! Allow the jar of pickles to cool completely to room temperature on your counter. Once cooled, secure the lid tightly and transfer the jar to the refrigerator. For the best flavor development, allow the pickles to sit in the fridge for at least 24-48 hours before digging in. The longer they sit, the more intense their flavor will become. These delicious pickles will stay fresh in your refrigerator for 2-3 weeks, providing a healthy and flavorful snack whenever you desire.
Pro Tips & Troubleshooting for Flawless Homemade Pickles
Even though refrigerator pickles are simple, a few tips can elevate your pickling game and help you avoid common issues.
- Choosing the Right Jar: Ensure you use a glass jar large enough to comfortably hold your cucumbers and the brine. A 32-ounce (quart-sized) Mason jar or a similar large glass jar works perfectly. You can also divide the ingredients into two smaller jars if preferred. While not strictly canning, always use clean jars to ensure the best taste and shelf life for your pickles.
- Customizing Your Flavor Profile: The beauty of homemade pickles is the ability to adjust flavors to your liking.
- For Spicy Pickles: Add a pinch or two of red chili flakes (or even a sliced jalapeño) to the jar along with the other aromatics.
- For Extra Garlicky Flavor: Increase the garlic cloves to 3 or 4, or thinly slice them for more intense distribution.
- Experiment with Herbs & Spices: Consider adding mustard seeds, coriander seeds, a bay leaf, or even a sprig of fresh thyme for different aromatic notes.
- “Help, my garlic turned blue!” Don’t panic! This is a completely normal, albeit surprising, phenomenon. It’s a natural chemical reaction between the enzymes in garlic and the acid in the vinegar. It doesn’t mean your garlic has gone bad or that your pickles are spoiled. The blue or green hue is simply the result of sulfur compounds in the garlic reacting with the acid. If the color bothers you aesthetically, you can always omit the garlic or remove it after the pickling process.
- Fresh vs. Dried Dill: Fresh dill offers a brighter, more vibrant flavor. If fresh dill isn’t available, you can substitute with dried dill. As a general rule, use about 2 teaspoons of dried dill for every 3-4 sprigs of fresh dill recommended in the recipe. Adjust to your taste, as dried herbs can sometimes be more potent.
- Maintaining Crispness: To ensure your pickles remain wonderfully crisp:
- Start with firm, fresh cucumbers.
- Don’t overcook your brine; bring it to a low boil just until salt and sugar dissolve.
- Allow the brine to cool slightly before pouring it over the cucumbers.
- Ensure the pickles cool completely to room temperature before refrigerating.
- Keep the pickles submerged in the brine during storage.
Frequently Asked Questions About ACV Refrigerator Pickles
- How long do apple cider vinegar refrigerator pickles last?
- When stored properly in an airtight container in the refrigerator, these pickles will stay fresh and delicious for 2-3 weeks. Their flavor will continue to develop over this time.
- Can I use other vegetables for this recipe?
- Absolutely! This brine is wonderfully versatile. You can use it to pickle other vegetables like sliced carrots, red onions, radishes, green beans, or even bell peppers. Adjust the preparation (slicing, chopping) according to the vegetable, and ensure they are fully submerged in the brine.
- Do I have to use coconut sugar? What are some alternatives?
- Coconut sugar is recommended for its natural sweetness and lower glycemic impact, but you can certainly experiment with other natural sweeteners like maple syrup or honey if your dietary preferences allow. For a strict sugar-free or ketogenic diet, you can omit the sugar entirely, or use a small amount of a sugar substitute, though the flavor balance might be slightly different.
- Can I reuse the pickling brine?
- While it might be tempting, it’s generally not recommended to reuse pickling brine for safety and quality reasons. The brine will have absorbed flavors and released some liquid from the previous batch of vegetables, altering its acidity and salt concentration, which are crucial for safe pickling and consistent flavor.
- My pickles aren’t as crunchy as I’d like. What went wrong?
- Several factors can affect pickle crispness. Ensure you’re starting with very fresh, firm cucumbers. Overcooking the brine or pouring it boiling hot over the cucumbers can soften them. Also, allowing the pickles to cool completely before refrigerating, and ensuring they remain submerged in the brine, helps maintain their crunch.
More Delicious Pickling Recipes to Explore
If you loved these apple cider vinegar refrigerator pickles, you might enjoy experimenting with other quick pickling adventures:
- Quick Pickled Onions
- How to Make Pickled Watermelon Radish
- How to Make Pickled Ginger
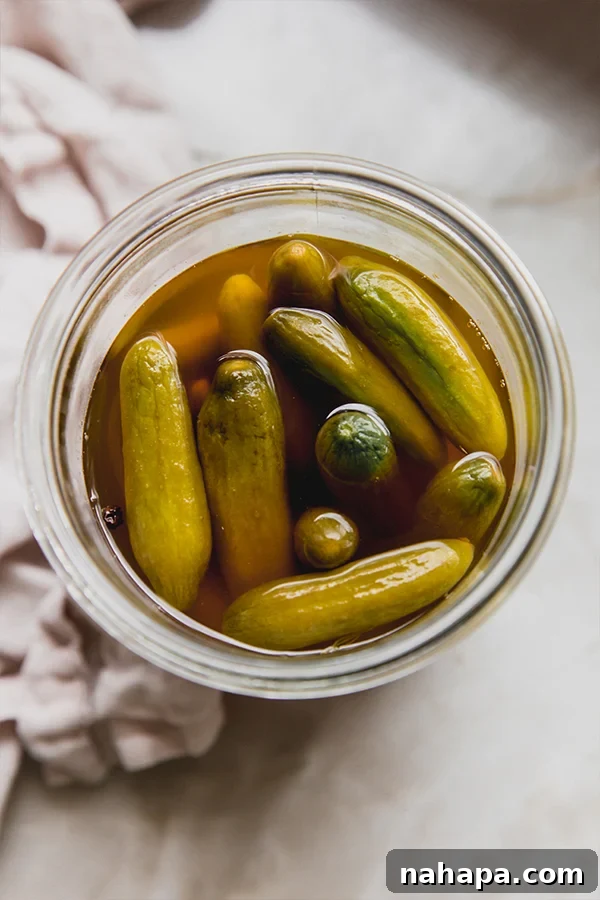
Apple Cider Vinegar Refrigerator Pickles
Pin Recipe
Want to save this for later? Save this page to your bookmarks or share with a friend!
Ingredients
- 9 oz mini cucumbers, washed well
- 2 cloves garlic, smashed
- 2 tsp peppercorns
- 3-4 sprigs fresh dill
- 1 ½ cup water
- ¾ cup apple cider vinegar
- 1 tbsp fine salt
- 1 tbsp coconut sugar
Instructions
- Add the cucumber, peppercorns, garlic and dill to a clean large jar (like this one) and set aside.
- Combine the water, apple cider vinegar, salt and coconut sugar in a pot and whisk well. Set over medium heat and bring to a low boil to allow the salt and sugar to fully dissolve.
- Remove the brine from the heat and allow to cool for about 5 minutes before pouring the brine over the cucumbers in the jar. Ensure the pickles are submerged. Allow to cool completely to room temperature before adding the lid and transferring to the fridge.
- Allow the pickles to sit in the fridge for at least 24-48 hours before enjoying them for optimal flavor development. These stay fresh in the fridge for 2-3 weeks.
Notes
Did you Make this Recipe? Share your creations with us on Instagram! Tag @unboundwellness and use the hashtag #unboundwellness to show off your delicious pickles!
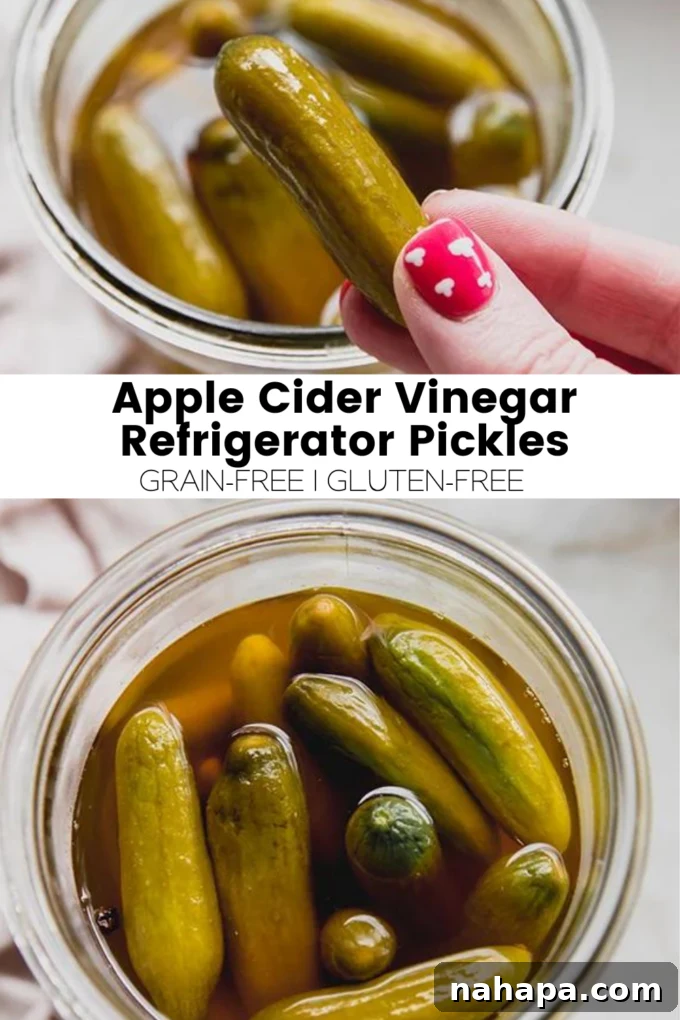
Embrace the simplicity and satisfaction of homemade pickling with these delightful apple cider vinegar refrigerator pickles. They’re a testament that healthy eating can be incredibly flavorful and easy to achieve. Whether you’re looking for a grain-free snack, a vibrant addition to your meals, or just a fun kitchen project, this recipe delivers on all fronts. Enjoy the tangy crunch and feel good about what you’re eating!