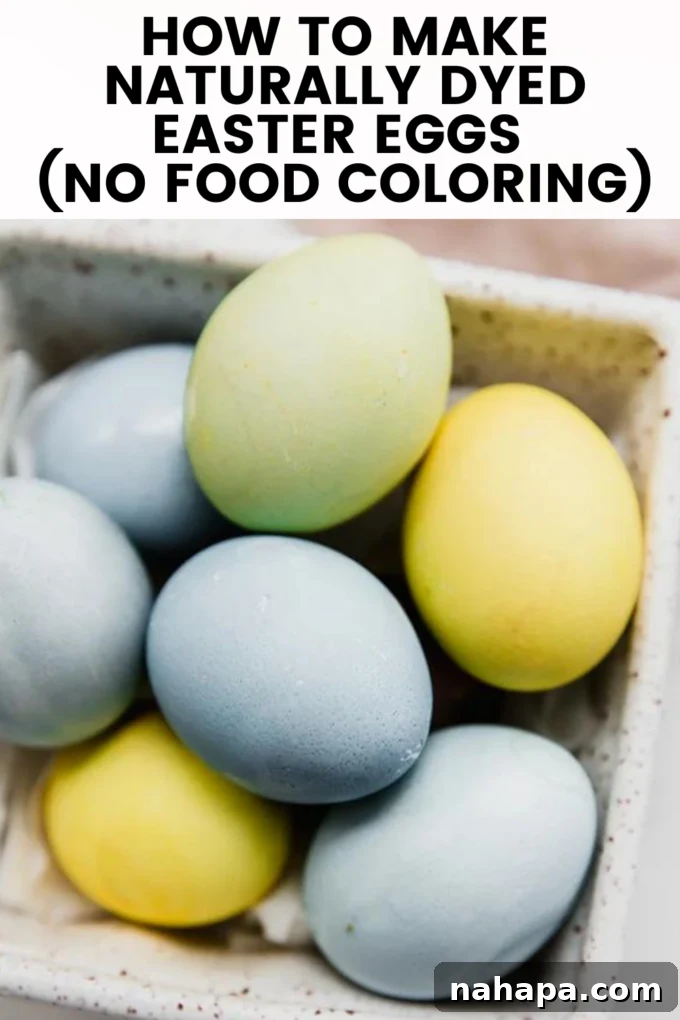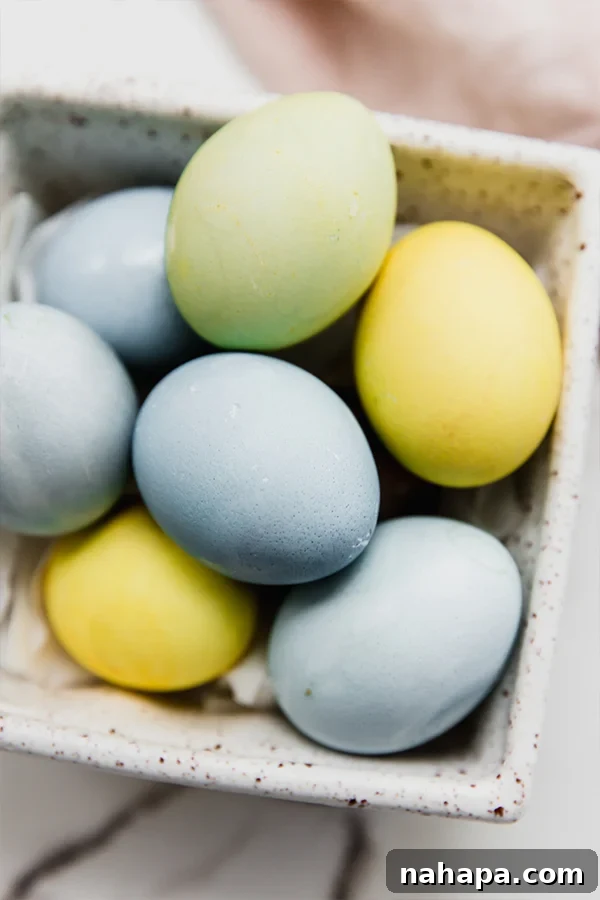
As Easter approaches, the tradition of dyeing eggs brings joy and creativity to households worldwide. While artificial food colorings have long been the standard, a growing number of families are seeking safer, more natural alternatives. This comprehensive guide will show you the easiest and most vibrant ways to create **naturally dyed Easter eggs** using everyday ingredients like red cabbage and turmeric. Prepare to transform plain white or brown eggs into a beautiful spectrum of blues, yellows, and greens, all while keeping the process simple, fun, and entirely food-safe. Embrace an eco-friendly approach this holiday season and craft stunning, chemical-free decorations that are as delightful to make as they are to behold.
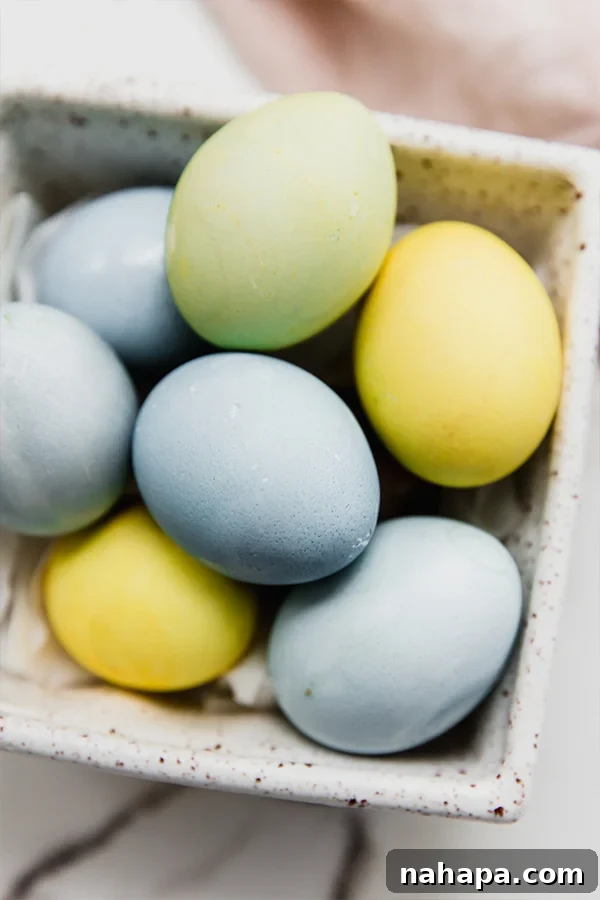
The Ultimate Guide to Naturally Dyed Easter Eggs: Safe, Simple & Vibrant Colors
Creating beautiful, vibrant Easter eggs doesn’t require synthetic dyes. In fact, some of the most stunning colors can be found right in your kitchen! This method focuses on using natural ingredients to achieve a fantastic range of hues, making the process not only eco-friendly but also a wonderful activity for the entire family, especially for those sensitive to artificial additives. Forget about harsh chemicals and embrace the beauty of nature’s palette. Let’s dive into how to craft these naturally colored masterpieces with ease, ensuring your Easter celebration is both colorful and conscious.
Why Choose Natural Dyes Over Artificial Food Coloring for Easter Eggs?
Many of us grew up with the annual tradition of dipping eggs into brightly colored cups of artificial food dye. It was a staple of childhood Easter preparations, evoking fond memories of family gatherings. However, there are compelling and increasingly important reasons to switch to natural alternatives for your Easter egg dyeing adventures:
- Health & Safety Concerns: A significant number of children, and even adults, experience sensitivities or adverse reactions to artificial food colorings. These can range from hyperactivity and behavioral issues to allergic reactions and digestive discomfort. Opting for **natural Easter egg dye** eliminates these worries entirely, providing a safer and healthier option for everyone participating in the fun, particularly if the eggs are intended for consumption after the decorating is done. You gain peace of mind knowing your family is interacting with wholesome, food-grade ingredients.
- Cost-Effectiveness & Accessibility: You likely already have many of the necessary ingredients for natural dyes in your pantry or can easily find them at any standard grocery store. Utilizing common foods like red cabbage, turmeric, beet juice, or onion skins for **homemade Easter egg dye** is not only remarkably economical but also incredibly simple to prepare. This saves you the additional expense and special trip often required to purchase artificial dyeing kits, making it a budget-friendly holiday activity.
- Eco-Friendly & Sustainable Practices: Choosing natural dyes significantly reduces your household’s reliance on synthetic chemicals that can have a detrimental impact on the environment. Artificial dyes, when disposed of, can contribute to water pollution. By contrast, natural dyes are biodegradable and come from renewable resources. It’s a small but meaningful step towards a more sustainable lifestyle, teaching children valuable lessons about where colors come from and how to be mindful stewards of our planet.
- Unique & Earthy Aesthetics: While artificial dyes offer intensely bright and uniform shades, natural dyes produce a unique spectrum of rich, earthy, and beautifully nuanced colors. Each naturally dyed egg becomes a one-of-a-kind work of art, displaying subtle variations and depth that reflect the organic source of the dye. These distinctive, often muted yet vibrant, tones frequently complement natural decor themes much better, adding an authentic charm to your Easter display.
- Educational & Engaging Opportunity: Making **DIY Easter egg dye** from fruits, vegetables, and spices is an excellent educational activity for all ages. Children can engage in hands-on learning about basic color theory, observe simple chemical reactions (like vinegar’s effect on cabbage dye), and discover the fascinating science of how different plants yield different hues. It transforms a simple craft into an engaging, multi-sensory science experiment and an appreciation for nature’s bounty.
Embracing **food-safe colors** for your Easter eggs means celebrating tradition with a modern, health-conscious, and environmentally friendly twist. It’s a choice that feels good, looks beautiful, and offers enriching experiences for the entire family.
Essential Ingredients for Your Natural Easter Egg Dye Palette
While the world of natural dyes is vast and exciting, offering possibilities like blueberries for deep purples, spinach for delicate greens, and onion skins for rustic tans, we’re going to keep it wonderfully simple for this guide. You’ll be amazed at the broad spectrum of vibrant colors you can achieve with just a few core ingredients, making this method perfect for beginners and seasoned crafters alike. For a versatile and stunning natural dye palette, all you’ll truly need is:
- Red Cabbage: This humble, often overlooked vegetable is a superstar in the natural dyeing world. Its anthocyanin pigments are pH-sensitive, making it capable of producing stunning shades ranging from deep blue to vibrant purple, depending on the acidity level of your dye bath. It’s truly magical!
- Ground Turmeric: Renowned for its bright golden hue and warm flavor, turmeric is your go-to spice for achieving rich, sunny yellow eggs that radiate warmth and cheerfulness. Ensure you use pure ground turmeric for the best color intensity.
- Water: The universal solvent, pure water is absolutely essential for extracting the precious pigments from your natural sources, forming the base of your dye solutions.
- White Vinegar: This common household staple is a crucial ingredient in natural dyeing. It acts as a mordant, a substance that helps the natural colors adhere more effectively to the porous eggshells, resulting in deeper, more saturated, and longer-lasting hues. Don’t skip it!
- Hard-boiled Eggs: Of course, you’ll need a batch of perfectly hard-boiled eggs as your blank canvas! For the purest and most predictable color results, we highly recommend starting with white eggs. However, brown eggs can also be used to yield beautiful, darker, more muted, and earthy tones, offering another dimension to your natural collection.
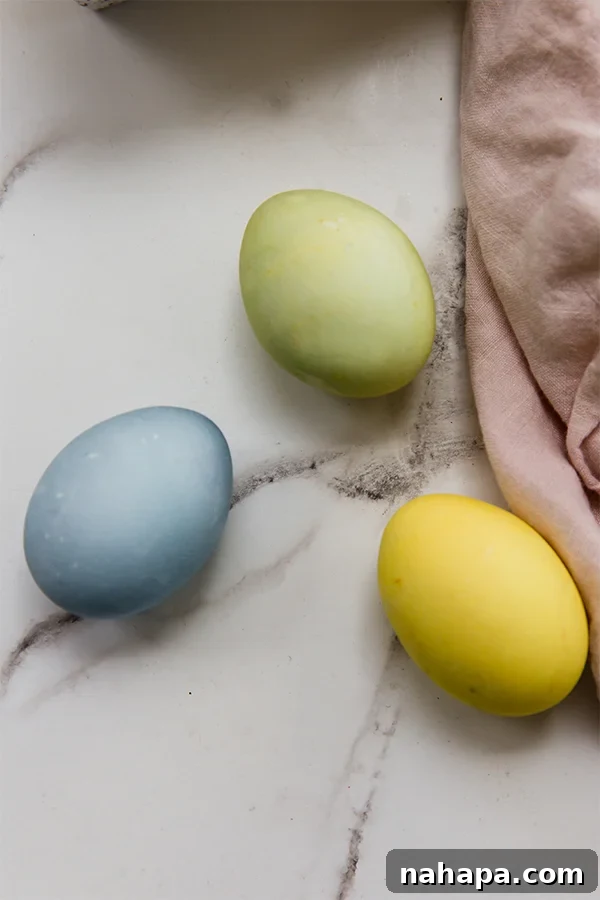
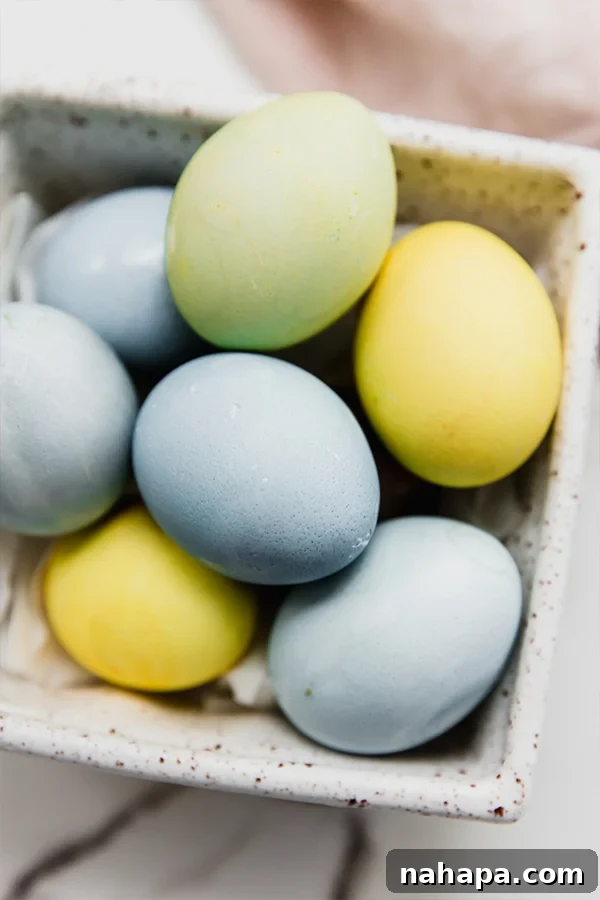
With just red cabbage and ground turmeric as your primary dye sources, complemented by water and vinegar, you’ll unlock the secrets to creating beautiful **blue Easter eggs**, cheerful **yellow Easter eggs**, and even charming **green Easter eggs** by cleverly combining the two dyes. It’s truly incredible what natural ingredients can accomplish, turning your kitchen into a natural dye laboratory!
Step-by-Step Guide: How to Make Naturally Dyed Easter Eggs
This section will walk you through the entire process, from properly preparing your hard-boiled eggs to crafting your vibrant natural dyes and finally achieving beautifully colored eggs. Follow these simple and clear steps for a truly rewarding and fun Easter crafting experience that yields stunning results.
1. Prepare Your Hard-Boiled Eggs
Before you embark on the dyeing process, ensure you have a batch of perfectly hard-boiled eggs. For optimal results and the most vibrant colors, use white eggs, as their light shells provide the cleanest and most neutral canvas for the natural pigments to shine. Allow your hard-boiled eggs to cool completely to room temperature before handling or submerging them in the dye. This prevents further cooking and helps achieve even coloring. Handle all eggs gently to prevent cracking, which can lead to uneven dye absorption or color bleeding into the egg white.
2. Crafting the Natural Dyes from Scratch
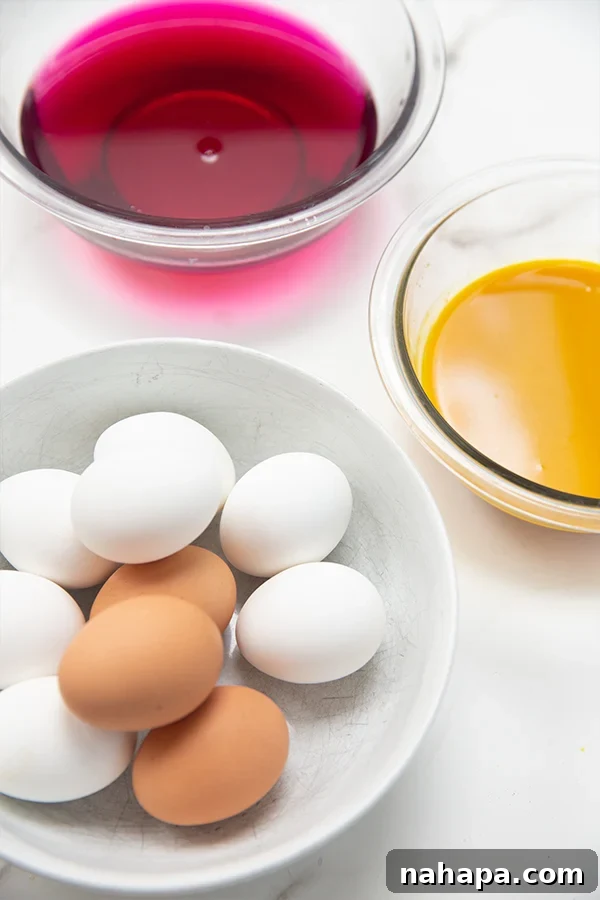
The magic truly begins here! We’ll prepare two primary, versatile dye baths: one that produces stunning blues from red cabbage, and another that yields brilliant yellows from turmeric. These two foundational dyes will also cleverly combine later to create unique and lovely green shades, maximizing your color options.
For the Vibrant Blue Dye (Using Red Cabbage)
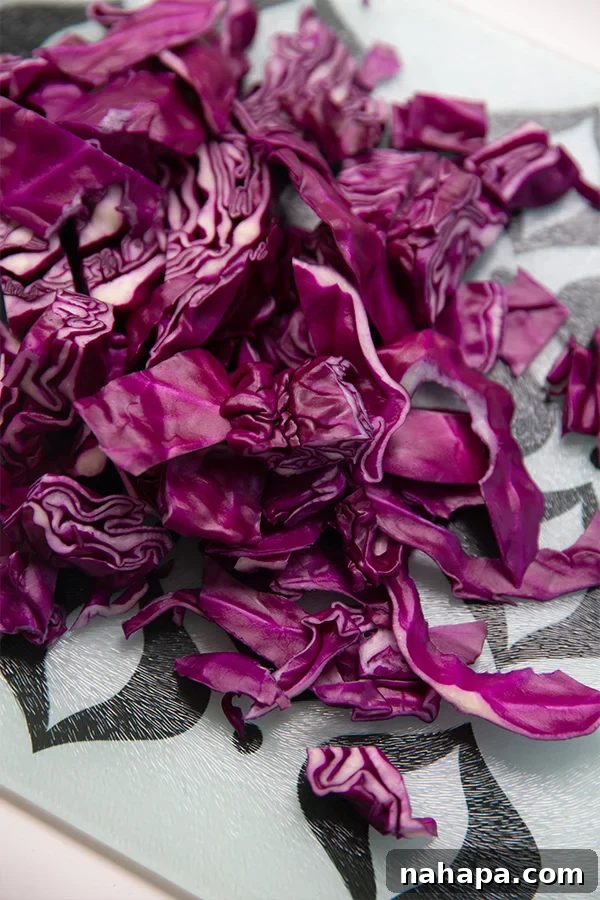
- Chop the Cabbage: Take half of a large red cabbage and chop it into roughly 1-inch pieces. The goal is to maximize the surface area, which helps in efficient color extraction.
- Simmer with Water: Place the chopped cabbage into a small saucepan. Pour 3 cups of water over the cabbage, ensuring all pieces are fully submerged. Bring this mixture to a gentle, low simmer over medium heat.
- Extract the Color: Continue simmering gently for 25-30 minutes. This slow and steady process allows the red cabbage to release its deep, beautiful anthocyanin pigments into the water, turning the liquid a rich purplish-blue.
- Cool and Strain: Carefully remove the saucepan from the heat and allow the dye solution to cool down completely to room temperature. This step is important for safety and for getting the best color. Once cool, strain the liquid meticulously through a fine-mesh sieve or a piece of cheesecloth into a clean glass jar or bowl. Discard the spent cabbage solids. You should now have a stunning deep purplish-blue liquid.
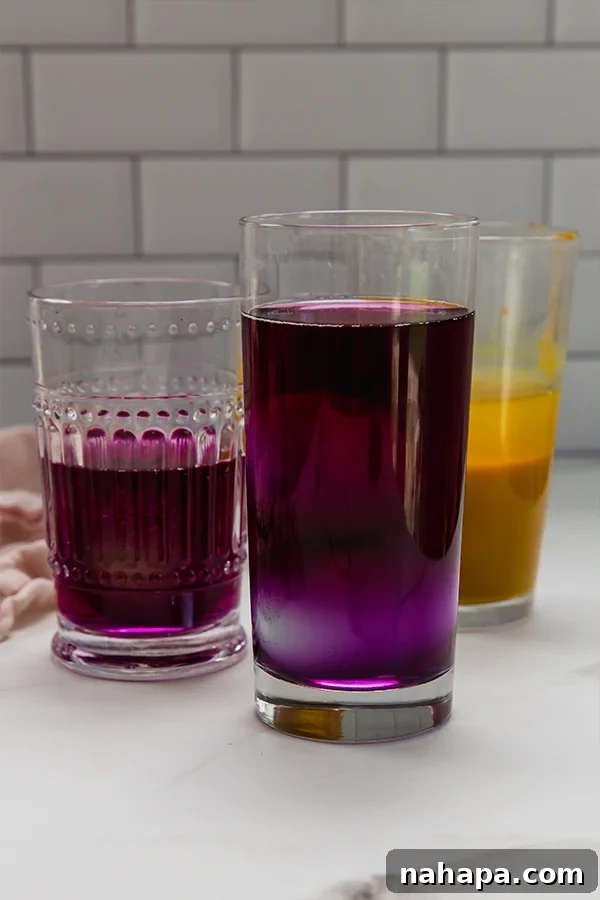
- Add Vinegar for Blue: Stir in 3 tablespoons of white vinegar into the strained cabbage dye. The acidity of the vinegar is absolutely crucial here; it reacts with the cabbage pigment, shifting the color from purple to a beautiful, clear blue. Without this vinegar, your eggs might turn more purple than blue, so don’t skip this step!
- Your potent **red cabbage egg dye** is now perfectly prepared and ready to transform your eggs!
For the Sunny Yellow Dye (Using Ground Turmeric)
- Prepare Turmeric Solution: In a separate small saucepan, add 1 tablespoon of high-quality ground turmeric.
- Simmer with Water: Pour 2 cups of water over the turmeric. Bring this mixture to a low simmer for 25-30 minutes, stirring occasionally to ensure the turmeric powder is fully dissolved and releasing its vibrant golden color into the water.
- Cool and Strain: Remove the saucepan from the heat and allow the turmeric dye to cool completely to room temperature. This dye can stain, so handle with care during this step. Strain the liquid through a fine-mesh sieve or cheesecloth into another clean glass jar or bowl.
- Add Vinegar for Adhesion: Add 2 tablespoons of white vinegar to the strained yellow dye and mix thoroughly. Just like with the cabbage dye, the vinegar will significantly help the bright yellow pigments adhere beautifully and intensely to the eggshells.
- Your brilliant **turmeric egg dye** is now complete and ready for use!
3. The Easter Egg Dyeing Process: Immersion and Patience
Now comes the most exciting and artistic part – submerging your hard-boiled eggs and watching them transform!
- Set Up Dye Stations: Pour enough of each prepared dye liquid (blue and yellow) into separate drinking glasses, ramekin dishes, or small bowls. Ensure each container has enough liquid to fully submerge an egg without it touching the bottom or sides too much. It’s helpful to have one container per egg if you’re experimenting with different soak times.
- Submerge the Eggs: Gently place your hard-boiled eggs into the dye baths using a spoon or tongs. Ensure each egg is completely submerged in the liquid for even coloring and to avoid unsightly lines or patches.
- Monitor Soaking Time: The immersion time is absolutely crucial for determining the final color intensity. For lighter, pastel shades, leave the eggs in the dye for at least 2 hours. For deeper, more vibrant, and saturated colors, allow them to soak overnight (typically 8-12 hours). For overnight soaking, store the eggs in their dye baths in the refrigerator to maintain food safety. The longer the soak, the more intense and rich the hue will become.
- Check Color Development: Periodically, you can carefully lift an egg out of the dye with a spoon to check its color development. Once you’re fully satisfied with the shade achieved, it’s time to remove the egg from the dye.
- Dry and Set: Gently remove the dyed eggs from their baths and place them on a wire rack set over a baking sheet or paper towels. This allows them to air dry completely and evenly, preventing smudges and ensuring the color fully sets. For an extra touch of sheen and to protect the color, you can gently rub a tiny amount of cooking oil (like coconut or vegetable oil) on the dried eggs with a soft cloth.
Crafting Specific Colors with Natural Dyes: Detailed Guides
How to Make Naturally Dyed Blue Easter Eggs
- Prepare Blue Dye: Begin by diligently making the vibrant blue dye using the red cabbage method described in detail above, ensuring you add the crucial white vinegar for that perfect blue hue.
- Light Blue Hue: Submerge a perfectly white hard-boiled egg in the cooled red cabbage dye for at least 2 hours. This duration will typically yield a lovely, delicate light blue egg, perfect for a springtime palette.
- Dark Blue Intensity: For a deeper, more profound, and rich **dark blue Easter egg**, allow the egg to remain in the dye bath overnight (approximately 8-12 hours). Remember to store the dye bath with the egg in the refrigerator during this extended soak. The longer immersion time allows the anthocyanin pigments to fully penetrate and saturate the eggshell, resulting in a truly striking deep blue.
How to Make Naturally Dyed Yellow Easter Eggs
- Prepare Yellow Dye: Prepare the brilliant yellow dye from ground turmeric, following the detailed method provided earlier, and incorporate the white vinegar to aid color adhesion.
- Vibrant Yellow: Submerge a white hard-boiled egg in the prepared vibrant yellow turmeric dye for at least 2 hours. This will consistently yield a bright, cheerful **vibrant yellow Easter egg** that radiates sunshine.
- Darker Yellow/Golden Hue: If you desire a **darker yellow egg** with a more earthy, golden, or mustard-like tone, consider using a brown hard-boiled egg instead of a white one. The natural brown undertones of the eggshell will beautifully blend with the turmeric, creating a richer, more complex goldenrod yellow that stands out.
How to Make Naturally Dyed Green Easter Eggs
Creating beautiful green eggs is an exciting and fun two-step process that cleverly combines your previously prepared blue and yellow dyes, showcasing the magic of color mixing!
- First Blue Layer: Submerge a white hard-boiled egg in your prepared blue (red cabbage) dye for approximately 2 hours. This initial dip will give the egg a foundational light blue hue, which is essential for the subsequent color transformation.
- Transition to Yellow: Carefully remove the blue-tinted egg from the blue dye. Allow any excess liquid to drip off briefly, but you don’t need to dry it completely.
- Second Yellow Layer (Green Creation): Immediately transfer the blue-tinted egg into the yellow (turmeric) dye. Let it soak for at least 30 minutes. As the yellow dye layers over the blue, it will gradually transform into a lovely **light green Easter egg**. For a deeper, more pronounced green, you can extend the soaking time in the yellow dye, checking periodically until your desired shade is reached.
Frequently Asked Questions About Natural Egg Dyeing
Should you use white or brown eggs for naturally colored Easter eggs?
For the most vibrant, true-to-dye colors, I highly recommend using a majority of **white hard-boiled eggs**. Their pristine white shells provide a clean, blank canvas, allowing the natural pigments to show their full potential and resulting in bright, clear blues, yellows, and greens. White eggs yield the most predictable and intense color outcomes. However, don’t shy away from **brown eggs**! While they will naturally yield darker, more muted, and rustic tones due to their inherent shell color, they can create a stunning, earthy palette. For instance, a brown egg dyed with turmeric will likely result in a deep mustard or goldenrod yellow, which is quite distinct and beautiful compared to the bright yellow achieved with a white egg. Experimentation with both types of eggs is definitely part of the fun and allows for a wider range of artistic expression!
Can you add decorations with tape or flowers to natural Easter eggs?
Absolutely! Adding decorations before dyeing is a fantastic and creative way to produce intricate patterns and unique designs. The easiest method is to apply thin strips of electrical tape, masking tape, or even rubber bands to your hard-boiled eggs before submerging them in the dye. The areas covered by the tape or bands will resist the dye, leaving behind a beautiful undyed pattern when they are carefully removed after the egg has dried. You can also get wonderfully creative by pressing small, delicate leaves, ferns, or flower petals onto the eggshell. To secure these botanicals, wrap the egg tightly in an old nylon stocking or cheesecloth before dyeing. The parts covered by the leaves or flowers will remain uncolored, creating stunning, natural botanical prints or geometric designs. Always ensure the tape or botanicals are pressed firmly to the egg surface to prevent any dye from seeping underneath.
Can you draw or color on the eggs after dyeing?
Yes, you certainly can! Adding extra details after the natural dyeing process can enhance your eggs even further. While I haven’t personally tried traditional wax crayons on naturally dyed eggs, using non-toxic markers works wonderfully, especially for younger children. My toddler has had immense fun and great success coloring on them, adding extra details, facial features, or personalized messages. Just be mindful that if you’re planning to eat the eggs, any non-food-safe markers or crayons should be strictly avoided on the parts you might consume. For eggs intended purely for decorative purposes, feel free to let your creativity flow with a variety of art supplies, including metallic markers for a touch of sparkle.
Can you still eat naturally dyed Easter eggs?
Yes, absolutely! One of the significant advantages of using natural dyes from food-grade ingredients is that the eggs remain perfectly safe to eat, provided they are handled and stored correctly. The most important rule is to treat them like any other hard-boiled egg: ensure they are properly refrigerated within two hours of cooking and dyeing, and consume them within seven days for optimal freshness and safety. The natural dyes may slightly tint the egg white, especially if the shell cracked during boiling or dyeing, but this is entirely harmless and often results in a beautiful, subtle marbled effect or a light tint that is quite appealing!
Tips for Achieving the Best Results with Natural Dyes
- Prioritize White Eggs: For the most vibrant and predictable colors, make white eggs your primary canvas.
- Vinegar is Essential: Never skip adding white vinegar to your dye baths! It’s absolutely crucial for helping the dye pigments adhere effectively to the eggshell, resulting in deeper, richer colors.
- Embrace Patience: Natural dyeing is not a rushed process. Patience is key! The longer you allow the eggs to soak in the dye, the deeper and more saturated the color will become. For truly intense hues, overnight refrigeration is often necessary.
- Cool Dyes Only: Always let your dye liquids cool completely to room temperature before adding the hard-boiled eggs. Submerging eggs in hot dyes can cause them to cook further, potentially leading to cracking or uneven, blotchy coloring.
- Be Adventurous: Don’t be afraid to experiment with other natural ingredients! Beet juice yields lovely pinks and reds, yellow onion skins create beautiful oranges and browns, coffee produces rich browns and tans, and even avocado skins can create delicate pinks. You can also try mixing different dye baths for unique custom shades!
- Protect Your Hands: While natural, some dyes (especially turmeric and beet) can temporarily stain your hands. Wearing gloves is highly recommended during the dyeing process to avoid colorful fingertips.
- Store Properly: If you plan to eat your beautiful creations, refrigerate them promptly after they have dried and consume them within a week.
How to Make Naturally Dyed Easter Eggs (No Food Coloring)
Yield: 7-8 Easter Eggs | Author: Michelle
Leave a Review |
Pin Recipe
Ingredients
For the Blue Dye
- ½ red cabbage, chopped
- 3 cups water
- 3 tbsp white vinegar
For the Yellow Dye
- 1 tbsp ground turmeric
- 2 cups water
- 2 tbsp white vinegar
The Eggs
- 7-8 hardboiled eggs
Instructions
For the Blue Easter Eggs
- To make the blue dye, chop half of the red cabbage and add to a small saucepan. Cover with 3 cups of water and bring to a low simmer for 25-30 minutes.
- Strain the liquid and allow it to come to room temperature.
- Add 3 tbsp of white vinegar to the dye and mix thoroughly.
- Add enough of the dye liquid to submerge a hard-boiled egg in a separate drinking glass or ramekin dish.
- Submerge a white hard-boiled egg in the blue dye for at least 2 hours for a light blue egg. For a dark blue egg, leave the egg in the dye overnight (8-12 hours) in the refrigerator.
For the Yellow Easter Eggs
- In a separate saucepan, add 1 tbsp of ground turmeric and cover with 2 cups of water. Bring to a low simmer for 25-30 minutes, stirring occasionally.
- Strain the liquid and allow it to come to room temperature.
- Add 2 tbsp of white vinegar to the dye and mix well.
- Add enough of the dye liquid to submerge a hard-boiled egg in a separate drinking glass or ramekin dish.
- Submerge a white hard-boiled egg in the yellow dye for at least 2 hours to make a vibrant yellow egg. To achieve a darker yellow egg, use a brown hard-boiled egg instead.
For the Green Easter Eggs
- Submerge a white hard-boiled egg in the blue dye for 2 hours to create a base blue tint.
- Strain the egg from the blue dye and immediately transfer it to the yellow dye. Let it soak for at least 30 minutes to make a light green egg. For a deeper green, extend the soaking time.
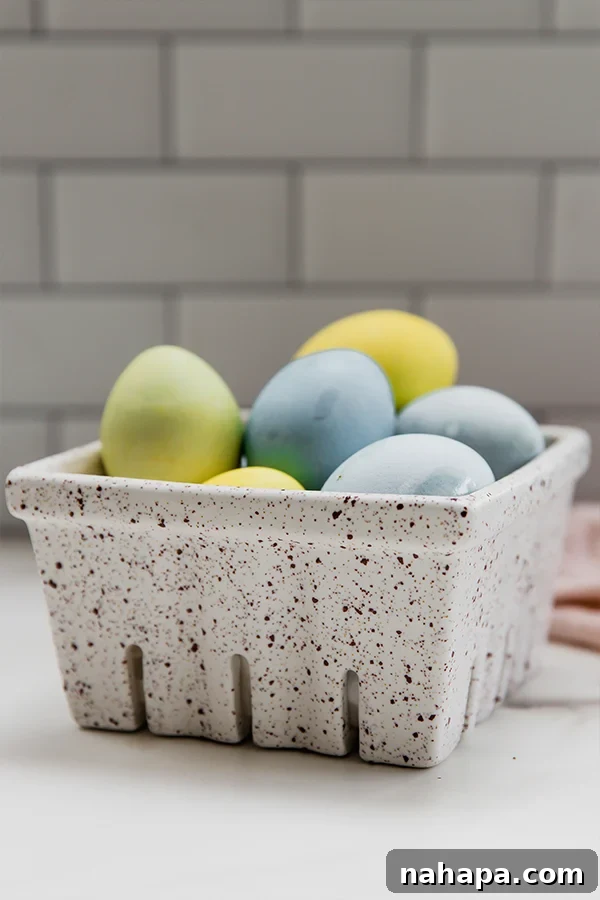
- Once dyed, remove the eggs and let them air dry completely on a wire rack. Use the eggs as decor or enjoy them as delicious hard-boiled eggs, ensuring they are properly refrigerated after drying.
Notes
- For the most vibrant and true-to-dye colors, we highly recommend sticking with a majority of white eggs, as they provide a neutral base. Brown eggs can be used for beautiful darker, more muted, and rustic tones.
- Enhance your eggs with unique patterns by applying tape, rubber bands, or tying twine around them before dyeing. Remove the decorations after the eggs have dried to reveal stunning undyed patterns.
- Always refrigerate naturally dyed eggs promptly after they have dried if you plan to eat them, and consume within 7 days for safety and freshness.
Want to save this for later?
Just drop your name and email below. Then we’ll email it right to your inbox. ✉️
Did you Make this Recipe?
Tag @unboundwellness on Instagram and hashtag #unboundwellness!