This post containsaffiliate links.
Homemade Gluten-Free Dino Nuggets: A Fun, Healthy, and Nostalgic Treat for Everyone
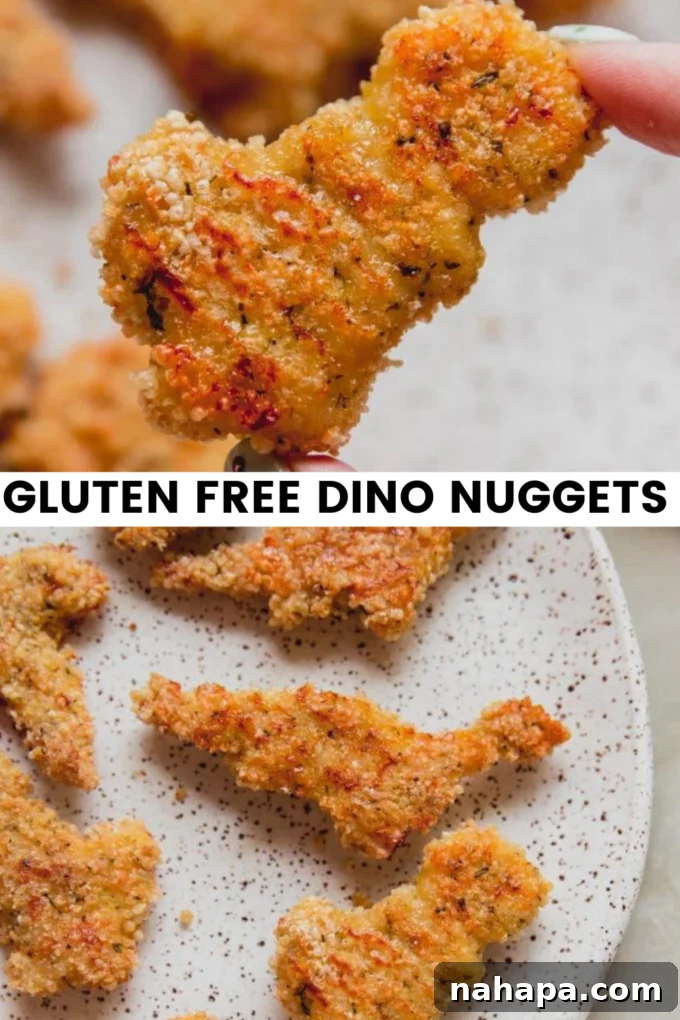
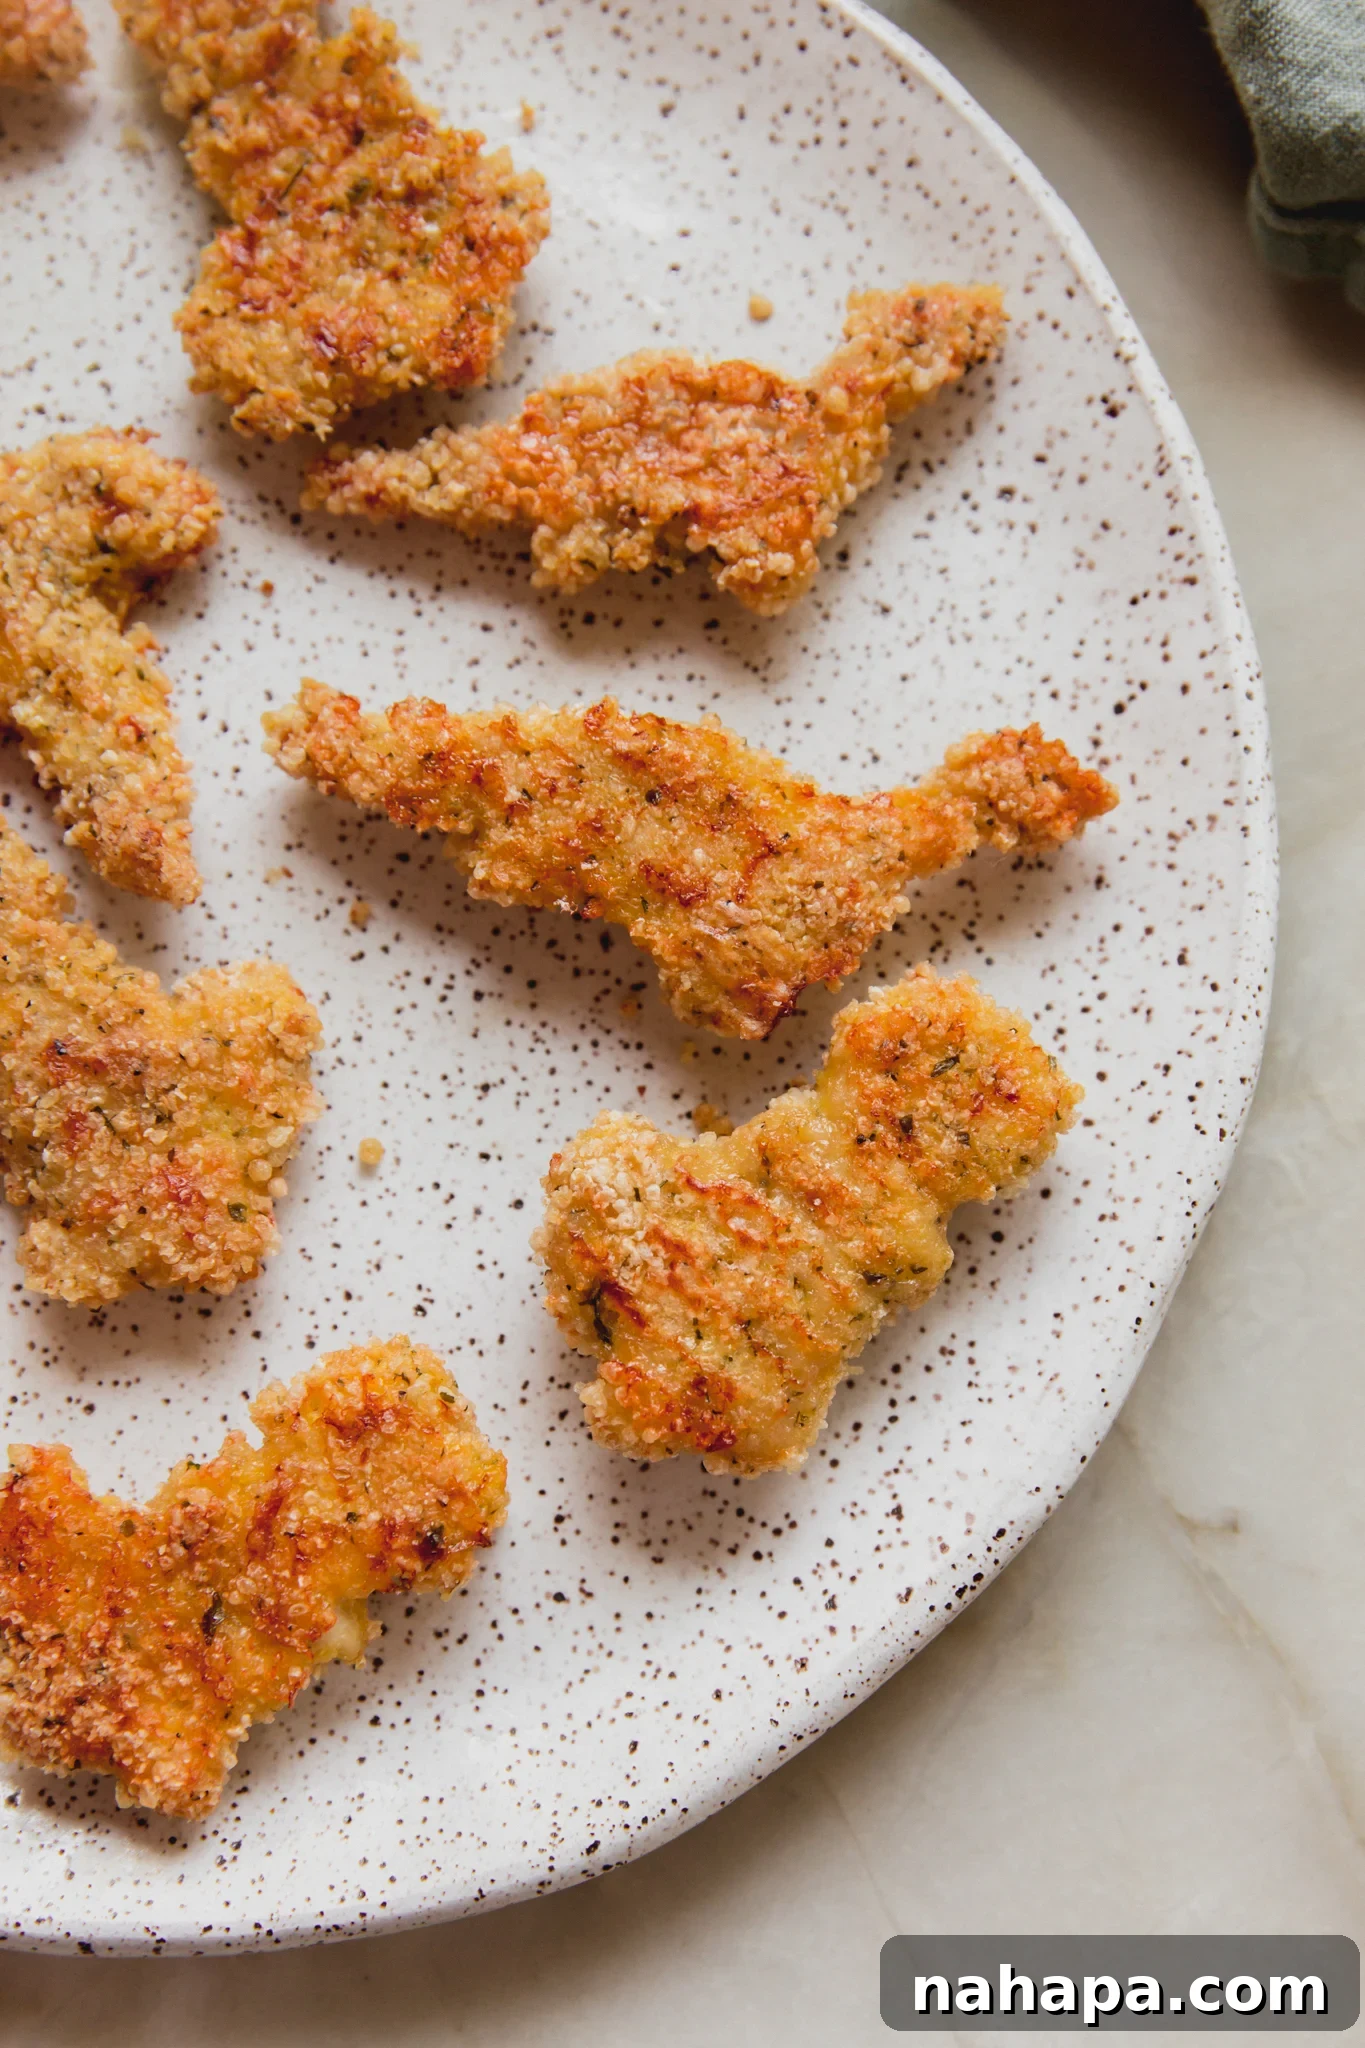
Step back in time to a prehistoric era of deliciousness with these delightful homemade gluten-free dino nuggets! Perfectly crafted for both the young and the young at heart, this recipe brings a beloved childhood favorite back to the dinner table with a healthy, allergy-friendly twist. Gone are the days of store-bought, mystery-meat nuggets; now, you can create crispy, flavorful chicken bites shaped like everyone’s favorite dinosaurs, all from the comfort of your kitchen. Whether you’re a parent seeking to make mealtime exciting for your children or an adult longing for a taste of nostalgia without compromising dietary needs, these dino nuggets are an absolute game-changer.
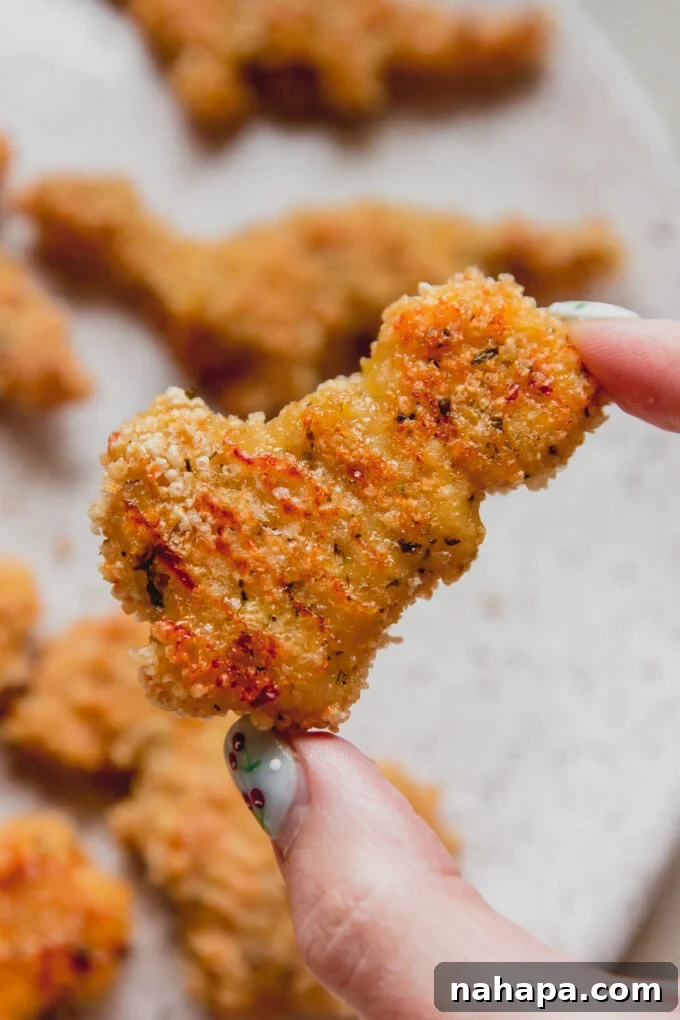
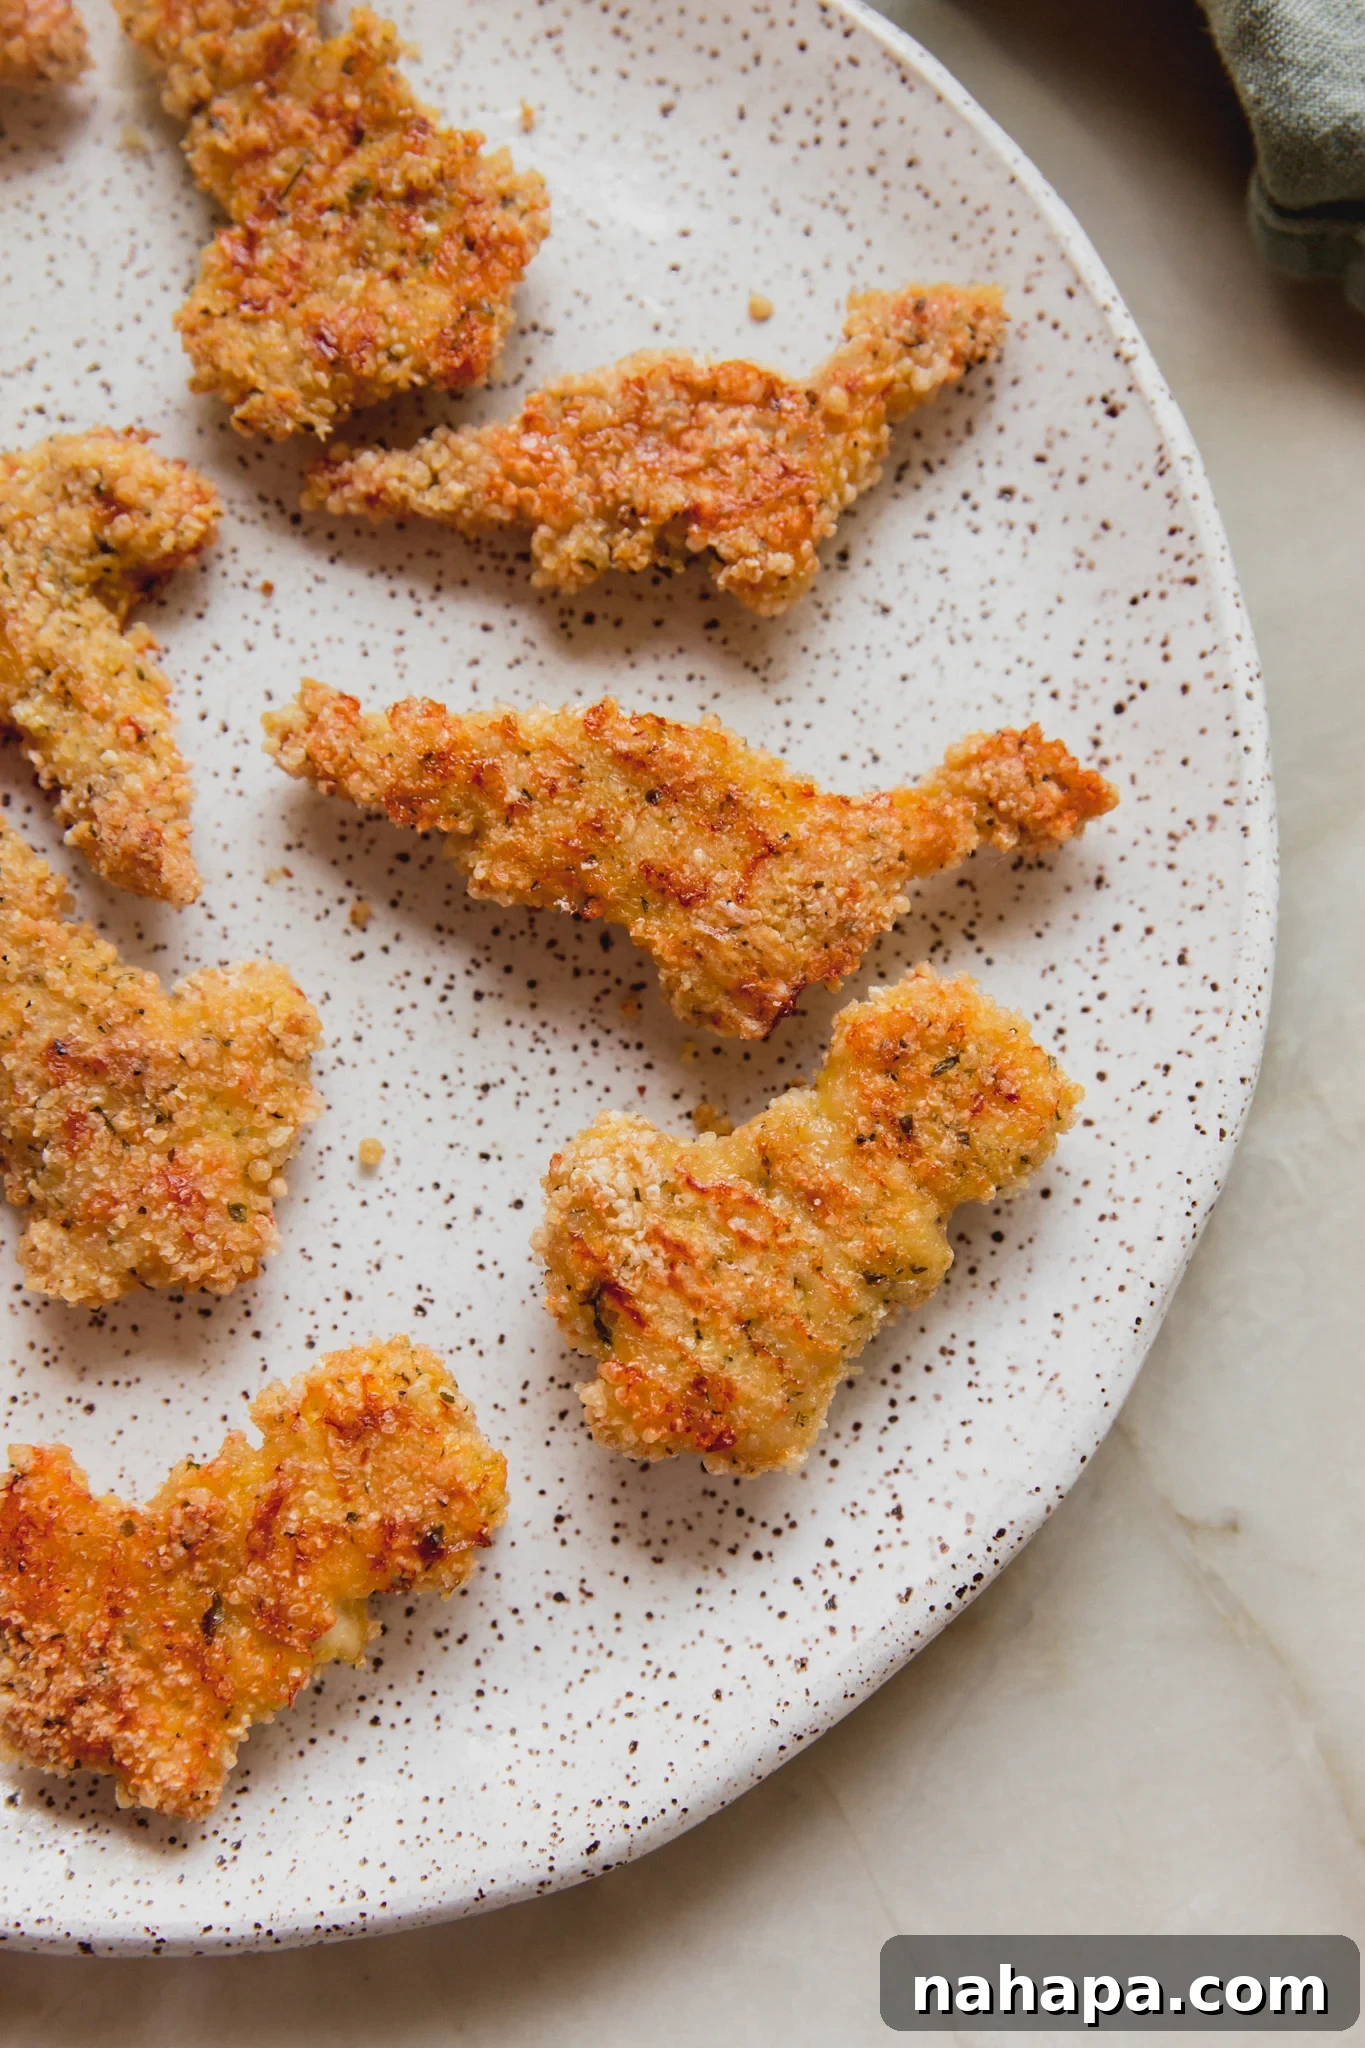
Our recipe features a light, crispy gluten-free panko coating that achieves that satisfying crunch you expect from a great chicken nugget. Using simple cookie cutters, you can transform ordinary ground chicken into an edible dinosaur safari, guaranteed to put smiles on faces. This isn’t just a meal; it’s an experience that combines healthy eating with playful imagination.
Rediscover Childhood Joy with a Healthy Twist
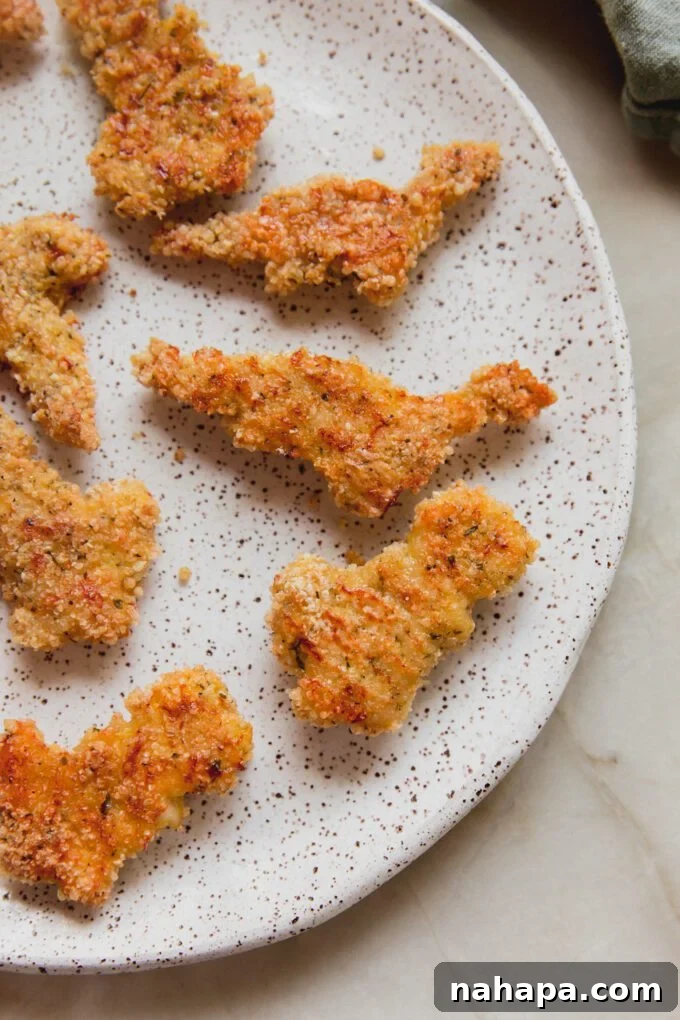
Who doesn’t cherish the memory of biting into a perfectly shaped dino nugget? That simple joy often made dinner the highlight of the day. As adults, we sometimes find ourselves craving those comforting flavors and playful shapes. However, modern dietary considerations, especially gluten sensitivities, can make enjoying such classics challenging. This recipe bridges that gap, offering a delicious and safe alternative that recaptures all the fun of those original dino nuggets, but with wholesome, natural ingredients.
Making your own nuggets means you’re in complete control of what goes into them. No questionable additives, no preservatives, and certainly no gluten. This makes them an ideal choice for families dealing with celiac disease, gluten intolerance, or simply those striving for a cleaner diet. Plus, the process of making them is part of the fun – imagine the excitement of your kids helping to cut out their favorite dinosaur shapes!
Why Choose Homemade Gluten-Free Dino Nuggets?
Beyond the undeniable nostalgia, there are numerous compelling reasons to opt for homemade gluten-free dino nuggets:
- Dietary Control: For individuals with gluten sensitivities or celiac disease, store-bought nuggets are often off-limits due to gluten-containing breading. Crafting them at home ensures they are entirely gluten-free and free from cross-contamination concerns.
- Healthier Ingredients: Commercial nuggets can contain fillers, unhealthy oils, and artificial flavors. By making them yourself, you choose lean protein like ground chicken or turkey, healthy fats like avocado oil, and natural spices, providing a much more nutritious meal.
- Customizable Flavor: The seasoning blend in this recipe is versatile. You can adjust the salt, pepper, garlic, and onion powder to your family’s preferences. Want a little kick? Add a pinch of paprika or cayenne. Prefer milder flavors for tiny palates? Stick to the basics.
- Engaging for Kids: Involving children in the cooking process, especially the fun task of cutting out dinosaur shapes, can make them more enthusiastic about eating their dinner. It transforms meal prep into a playful activity.
- Budget-Friendly: Making food from scratch often proves more economical than regularly purchasing specialty gluten-free processed foods.
- Freezer-Friendly: These nuggets are excellent for meal prepping. Make a large batch, freeze them, and you’ll have quick, healthy meals ready for busy weeknights.
Essential Ingredients for Your Dino Nuggets Adventure
Creating these delightful nuggets requires a handful of accessible ingredients. Each component plays a crucial role in achieving the perfect texture and flavor:
- Ground Chicken: The foundation of our nuggets. Lean ground chicken provides a tender base. You can easily substitute it with ground turkey if you prefer, offering a similar flavor profile and lean protein. Ensure it’s fresh and good quality for the best results.
- Eggs: These act as the crucial binding agent, helping the panko coating adhere perfectly to the chicken. Without eggs, achieving that crisp exterior would be a challenge. While I haven’t tested egg substitutes for this specific recipe, traditional egg washes are highly effective here.
- Gluten-Free Panko: This is where the magic of crispiness happens. Traditional panko is made from wheat, so opting for a certified gluten-free version is key. Rice-based panko is widely available and works wonderfully, providing a light and airy crunch. For those on a grain-free diet, pork panko is an excellent alternative, offering a savory, crackling texture that’s equally delicious. When using rice panko, you might find it beneficial to break it up slightly with a fork for a finer crumb.
- Arrowroot Starch: A fantastic gluten-free thickening agent, arrowroot starch (also known as arrowroot powder) contributes to the overall crispiness of the coating. It helps create a light, delicate crust that’s incredibly satisfying. If you don’t have arrowroot, tapioca starch (or tapioca flour) can be used as a direct substitute with similar results.
- Seasonings: A blend of salt, black pepper, garlic powder, onion powder, and dried parsley infuses the nuggets with classic, savory flavor. These spices are carefully chosen to complement the chicken without overpowering it, creating a taste profile that appeals to both kids and adults. Feel free to adjust these to your taste; adding a pinch of paprika for color or a dash of your favorite herb blend can also be delightful.
- Avocado Oil Spray: Used for coating the nuggets before baking, avocado oil provides a healthy fat source and helps achieve that beautiful golden-brown color and extra crispness in the oven. Its high smoke point makes it ideal for baking at higher temperatures.
Step-by-Step Guide: Crafting Your Own Dino Nuggets
Creating these delicious and fun dino nuggets is surprisingly simple. Follow these detailed steps to ensure perfectly shaped, crispy, and flavorful chicken bites every time.
Step One: Prepare and Chill the Chicken
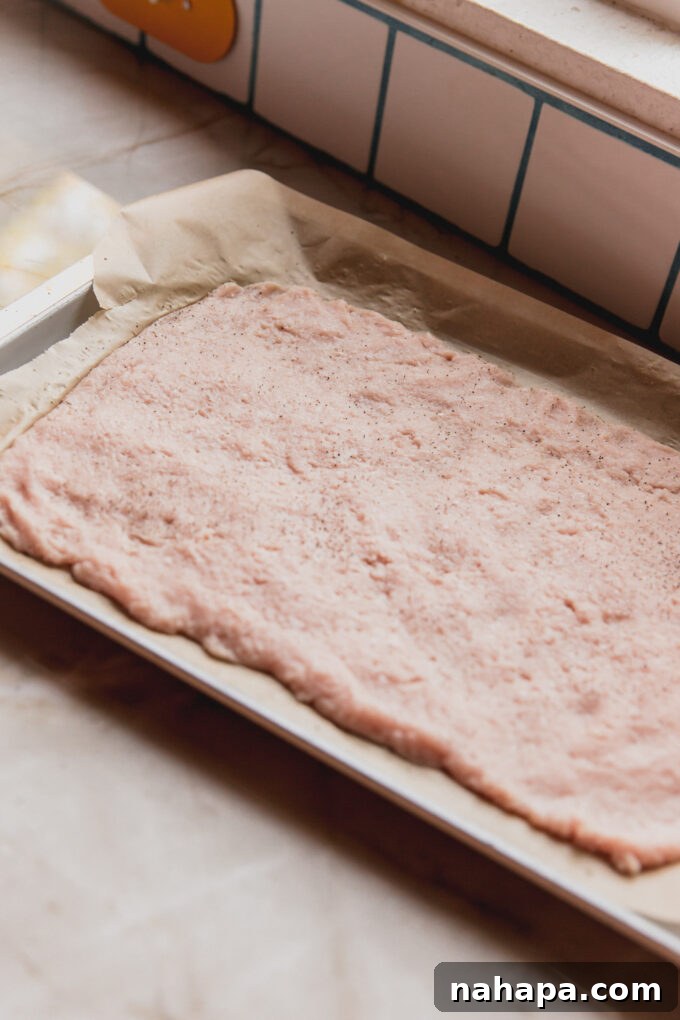
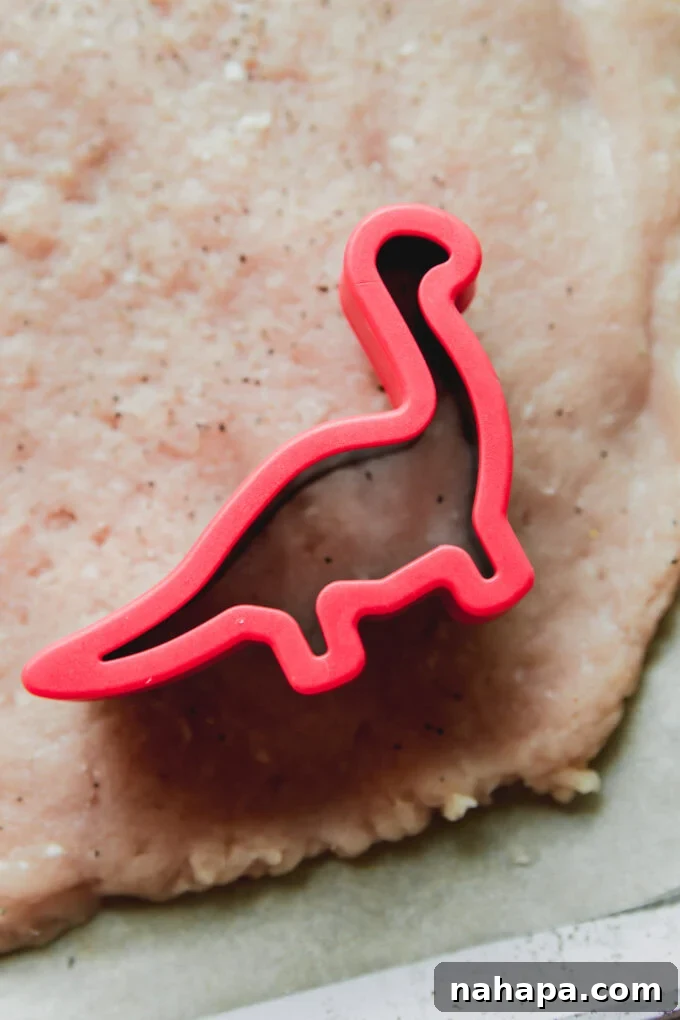
Begin by taking your ground chicken and spreading it evenly onto a large baking sheet lined with parchment paper. Press the chicken down firmly with your hands or the back of a spatula to achieve a flat, uniform layer, approximately ¼ inch thick. This even thickness is crucial for consistent cooking and shaping. Once flattened, transfer the baking sheet to the freezer. Allow the chicken to chill for 30-45 minutes. This freezing step is vital as it firms up the chicken, making it much easier to cut out shapes and helping the nuggets maintain their form during the coating and baking process. Do not skip this!
Step Two: Prepare the Coating and Cut Shapes
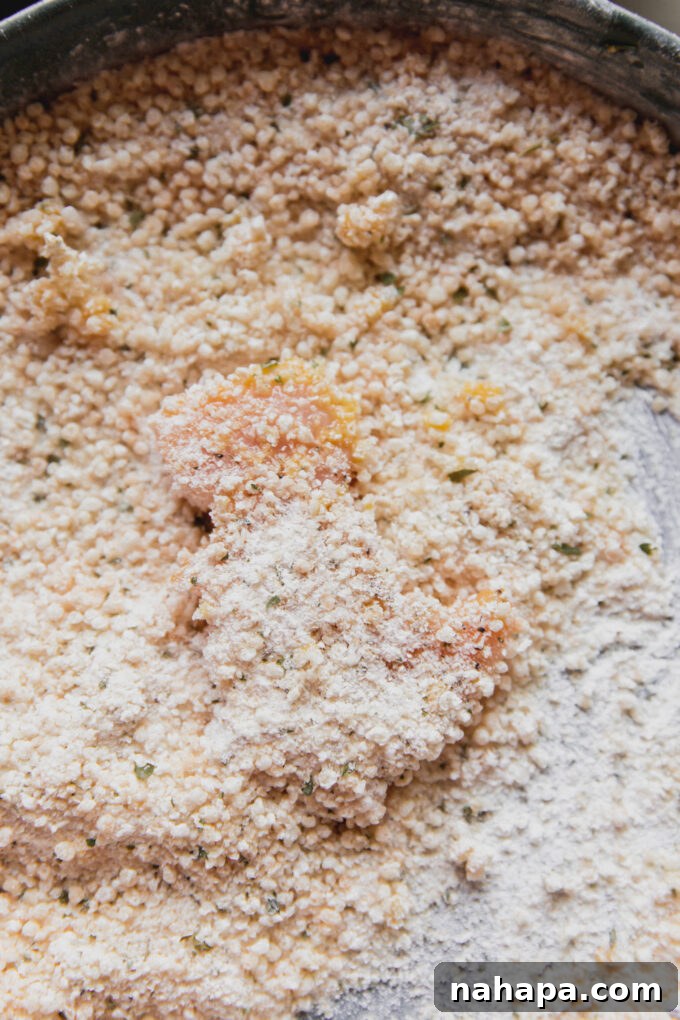
While the chicken is chilling, prepare your breading station. In a shallow bowl, combine the gluten-free panko, arrowroot starch, salt, black pepper, garlic powder, onion powder, and dried parsley. Use a fork to thoroughly mix these ingredients, and gently press down with the fork to break up any larger pieces of panko, ensuring a finer, more even crumb. In a separate shallow bowl, whisk the two eggs until well combined to create an egg wash. Set both bowls aside.
Once the chicken has firmed up in the freezer, retrieve it. Using your favorite dinosaur cookie cutters, firmly press down into the flattened chicken to cut out your dinosaur shapes. Carefully remove the chicken dinosaurs and place any leftover chicken scraps back on the baking sheet to re-flatten and cut more nuggets, minimizing waste.
Step Three: The Perfect Coating Process
Preheat your oven to 375°F (190°C). Line a clean baking sheet with parchment paper and lightly grease it with avocado oil spray. This prevents sticking and promotes even browning.
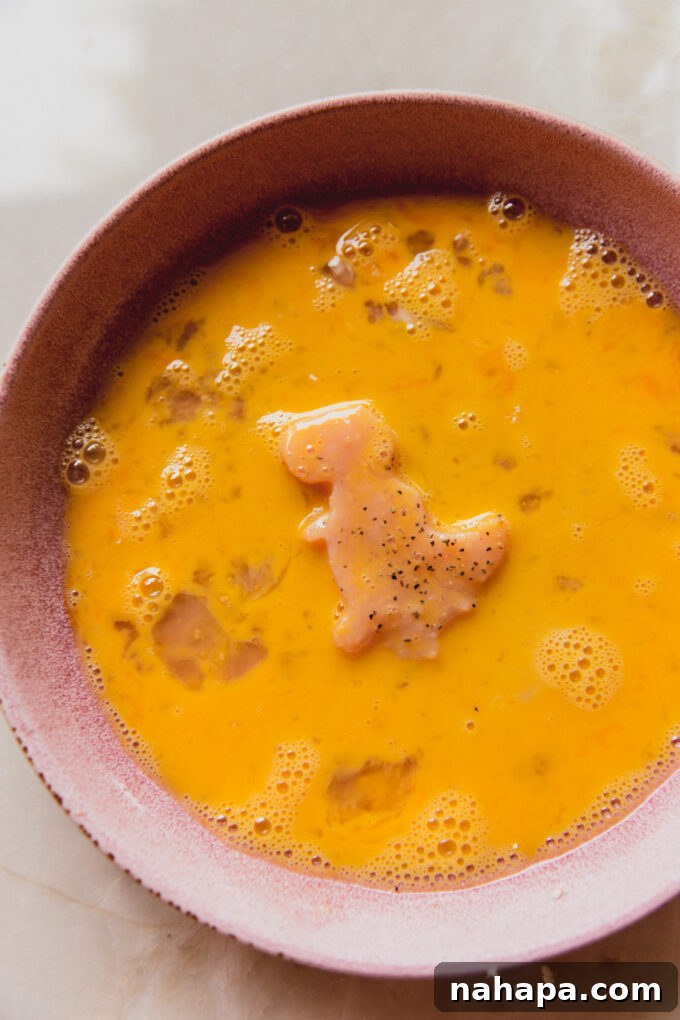
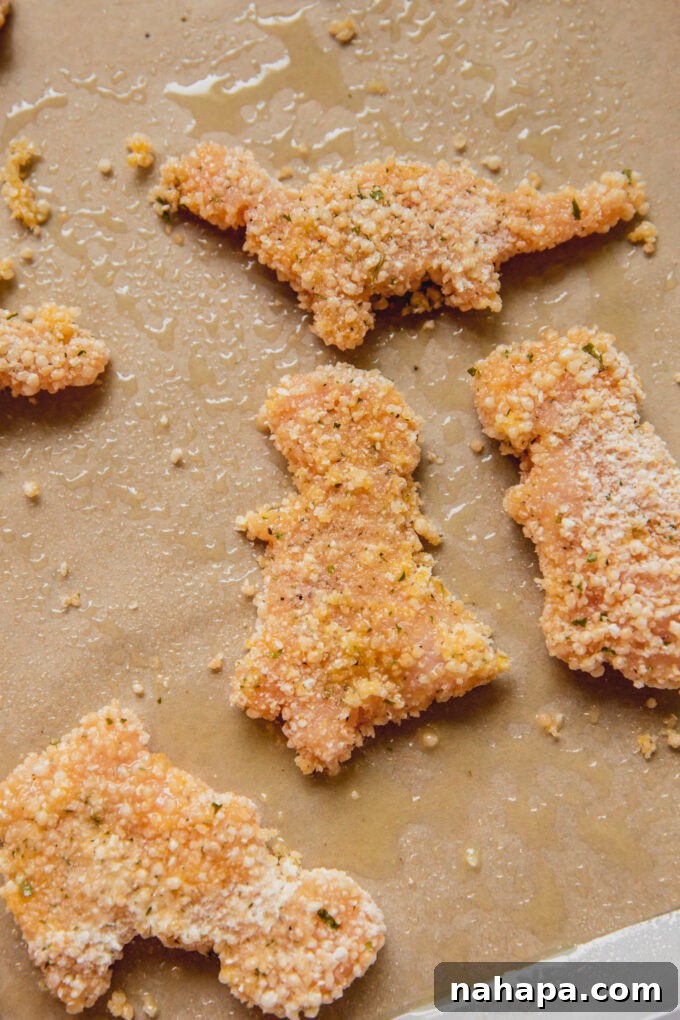
Now it’s time to coat your dino nuggets. Working with one chicken dinosaur at a time, first dip it into the whisked egg wash, ensuring both sides are fully coated. Allow any excess egg to drip off. Then, transfer the egg-coated nugget to the panko mixture. Using your other hand (to keep one hand dry and one hand wet, preventing a sticky mess), gently press the panko onto all sides of the chicken until it’s fully coated. Place the coated nugget onto the prepared baking sheet. Repeat this process with all the chicken pieces, arranging them in a single layer without overcrowding the pan. Once all nuggets are coated and on the baking sheet, lightly spray the tops with avocado oil spray for extra crispiness.
Step Four: Bake to Golden Perfection
Carefully transfer the baking sheet with the prepared dino nuggets to your preheated oven. Bake for 13-15 minutes on one side, then carefully flip each nugget using a spatula and continue baking for another 13-15 minutes, or until they are golden brown, crispy, and cooked through. Ensure the internal temperature of the chicken reaches 165°F (74°C) for food safety. The baking time may vary slightly depending on your oven and the exact thickness of your nuggets, so keep an eye on them for that perfect crisp.
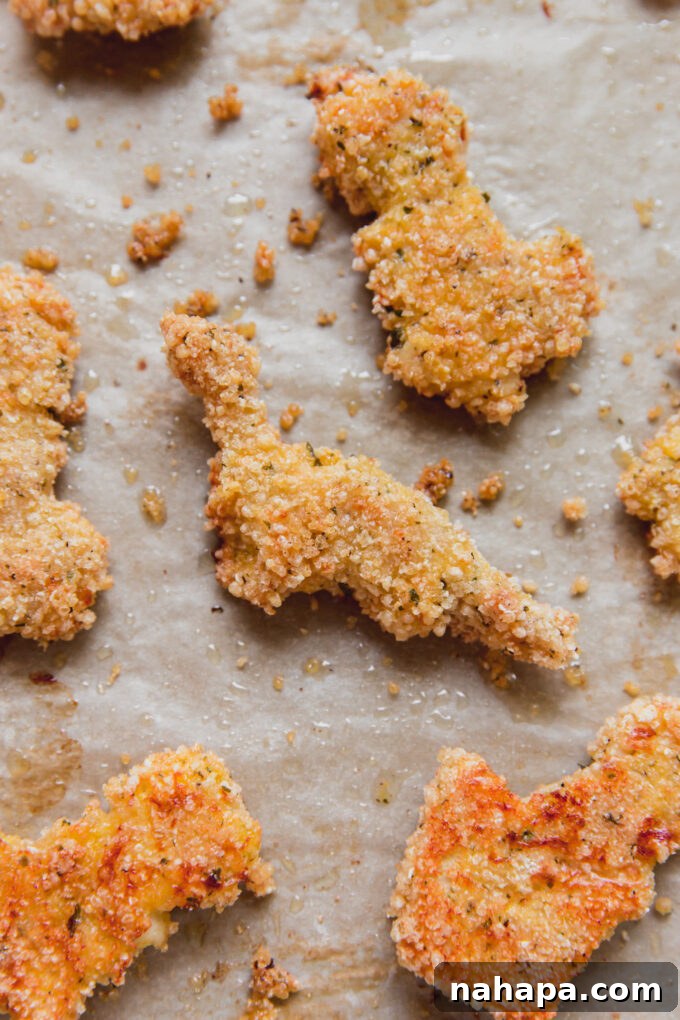
Step Five: Serve and Savor
Once baked to crispy perfection, remove the dino nuggets from the oven. Let them cool for a minute or two before serving. These nuggets are best enjoyed warm, fresh from the oven, accompanied by your favorite dipping sauce. They pair wonderfully with ketchup, honey mustard, BBQ sauce, or even a healthier homemade ranch dressing. Watch as these delightful dinosaur-shaped treats disappear quickly!
Pro Tips for the Best Homemade Dino Nuggets
Achieving perfectly crispy and tender dino nuggets is easy with these expert tips:
- Don’t Skip Freezing the Chicken: This is the most crucial step for success. Freezing the flattened chicken for 30-45 minutes firms it up significantly. This firmness allows you to easily cut clean, well-defined dinosaur shapes with your cookie cutters, ensuring they hold their form during cooking. Without this step, the ground chicken would be too soft and difficult to work with, resulting in messy, misshapen nuggets.
- Break Up the Panko a Bit: Gluten-free rice panko can sometimes be coarser than traditional wheat panko. For a more uniform and crispier coating, take a moment to gently crush the panko flakes with a fork or pulse them briefly in a food processor. This creates a finer crumb that adheres better and provides a more consistent crunch.
- Minimize Waste: After cutting out your initial batch of dinosaur shapes, gather the leftover chicken scraps. Gently re-flatten them on the baking sheet and cut out more nuggets. Repeat this until all the chicken is used. You might end up with some smaller, irregularly shaped nuggets, but they’ll be just as delicious!
- Batch Cooking and Freezing: These dino nuggets are excellent for meal prep. Once baked and cooled completely, you can store them in an airtight container in the refrigerator for up to 3-4 days. For longer storage, freeze the baked nuggets on a baking sheet until solid, then transfer them to a freezer-safe bag for up to 2-3 months. Reheat in the oven or air fryer until warm and crispy.
- Air Fryer Option: For an even crispier result, you can cook these nuggets in an air fryer. Preheat your air fryer to 375°F (190°C). Arrange the coated nuggets in a single layer in the air fryer basket, ensuring not to overcrowd it. Cook for 8-12 minutes, flipping halfway through, until golden brown and cooked through.
- Seasoning Variations: Don’t be afraid to experiment with your favorite spice blends. A touch of smoked paprika can add depth, or a pinch of dried oregano and basil can give them an Italian twist. For a slightly spicier version, add a tiny dash of cayenne pepper.
Serving Suggestions to Complete Your Meal
These homemade gluten-free dino nuggets are versatile and can be paired with a variety of side dishes to create a balanced and appealing meal. Here are some ideas:
- Classic Dipping Sauces: Ketchup, BBQ sauce, honey mustard, or a creamy ranch dressing are timeless favorites that kids adore. For a healthier option, try a homemade yogurt-based dip or a simple marinara sauce.
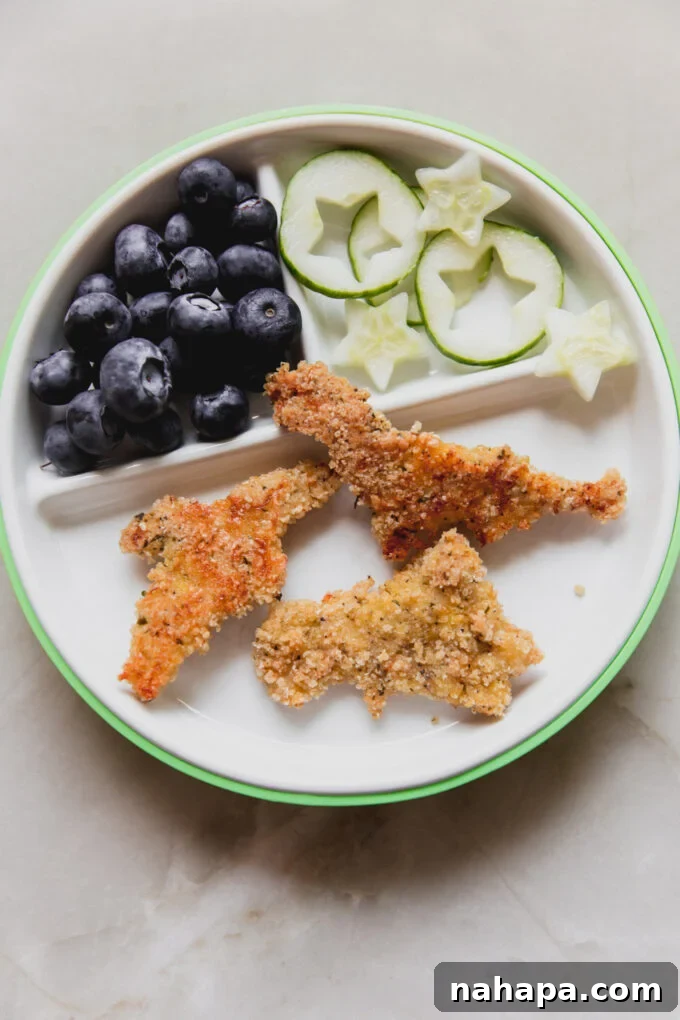
- Fresh Veggies: Serve alongside a vibrant medley of steamed broccoli, carrot sticks, cucumber slices, or bell pepper strips. Roasting vegetables like sweet potatoes or zucchini can also be a delicious and nutritious accompaniment.
- Fruity Sides: Fresh fruit slices such as apple, orange segments, or a handful of blueberries or grapes add a refreshing sweetness and essential vitamins.
- Healthy Grains: A small serving of brown rice, quinoa, or gluten-free pasta salad can complete the meal, offering complex carbohydrates.
- Salad: For adults and older children, a simple side salad with a light vinaigrette dressing can add freshness and fiber.
Frequently Asked Questions About Gluten-Free Dino Nuggets
Here are answers to some common questions you might have about making these fun and healthy nuggets:
- Can I use ground turkey instead of chicken?
Yes, absolutely! Ground turkey is a fantastic substitute for ground chicken and will yield equally delicious and lean nuggets. The cooking time and method remain the same. - What if I don’t have a dinosaur cookie cutter?
No problem! You can use any cookie cutter shape you like (stars, hearts, circles) or simply cut the chicken into traditional nugget shapes with a knife. The fun is in the shape, but the taste is always there! - Can I make these ahead of time?
Yes, these nuggets are perfect for meal prep. You can prepare and bake them fully, then let them cool completely. Store them in an airtight container in the refrigerator for up to 3-4 days. For longer storage, freeze them for up to 2-3 months (see “Pro Tips” for freezing instructions). - How do I reheat frozen dino nuggets?
For best results, reheat frozen nuggets in a preheated oven at 350°F (175°C) for about 15-20 minutes, or in an air fryer at 375°F (190°C) for 10-15 minutes, until heated through and crispy. - Are these dairy-free?
Yes, this recipe is naturally dairy-free! No dairy products are used in the ingredients or coating. - Can I fry these instead of baking?
While this recipe focuses on baking for a healthier option, you could pan-fry them in a shallow amount of avocado oil until golden brown and cooked through. Be sure to cook them in batches to avoid overcrowding the pan and reduce oil temperature. However, baking is recommended for ease and a lighter result.
More Delicious Gluten-Free Chicken Nugget Recipes You’ll Love
If you enjoyed making these gluten-free dino nuggets, you’ll love these other allergy-friendly chicken nugget recipes from Unbound Wellness:
- Zucchini Veggie Chicken Nuggets
- Crispy Italian Chicken Nuggets
- Baked Pork Panko Chicken Nuggets
Gluten Free Dino Nuggets
Yield: 6 servings
Author: Unbound Wellness
Ingredients
- 1 ½ lbs ground chicken
- 1 cup gluten-free panko
- 2 tbsp arrowroot starch
- 1 tsp salt
- ¼ tsp black pepper
- 1 tsp garlic powder
- 1 tsp onion powder
- 2 tsp dried parsley
- 2 eggs
- Avocado oil spray
Instructions
- Add the ground chicken to a large baking sheet and press in flat, about ¼” thick. Transfer to the freezer and allow to set for 30-45 minutes.
- Prep the coating by combining the panko, arrowroot, and seasonings. Combine with a fork, pushing the fork down to crush some of the panko pieces. In a separate bowl, whisk the eggs together. Set aside.
- Preheat the oven to 375 F and line a baking sheet with lightly greased parchment paper.
- Using a dinosaur cookie cutter set, cut the chicken into dinosaur pieces. Working with one at a time, dip a nugget into the egg wash, coating on both sides. Using your opposite hand, coat the nuggets in the panko. Place on the baking sheet and repeat with all of the chicken. Spray with avocado oil spray.
- Transfer the prepared nuggets to the oven and bake for 13-15 minutes on each side, carefully flipping halfway. Ensure that the nuggets are cooked through to 165 F and crisp.
- Serve with a dip of your choice!
Notes
All nutrition facts are estimations.
Nutrition Information (Estimated Per Serving)
- Serving: 1 serving
- Calories: 370kcal
- Carbohydrates: 31.3g
- Protein: 24.5g
- Fat: 16g
- Fiber: 2.9g
All nutrition facts are estimated and will vary.