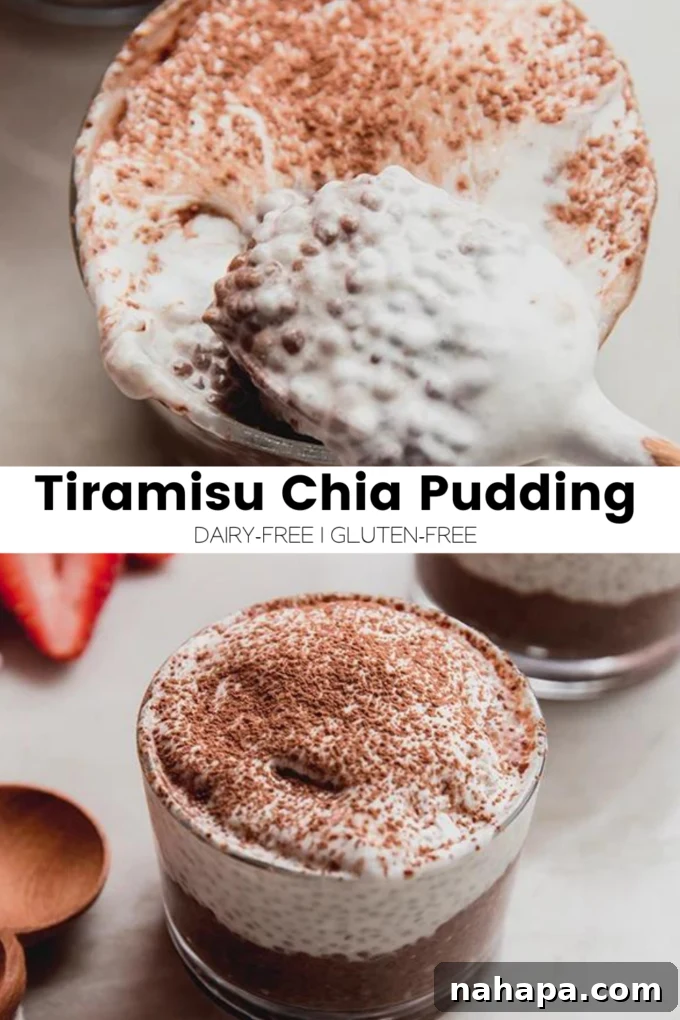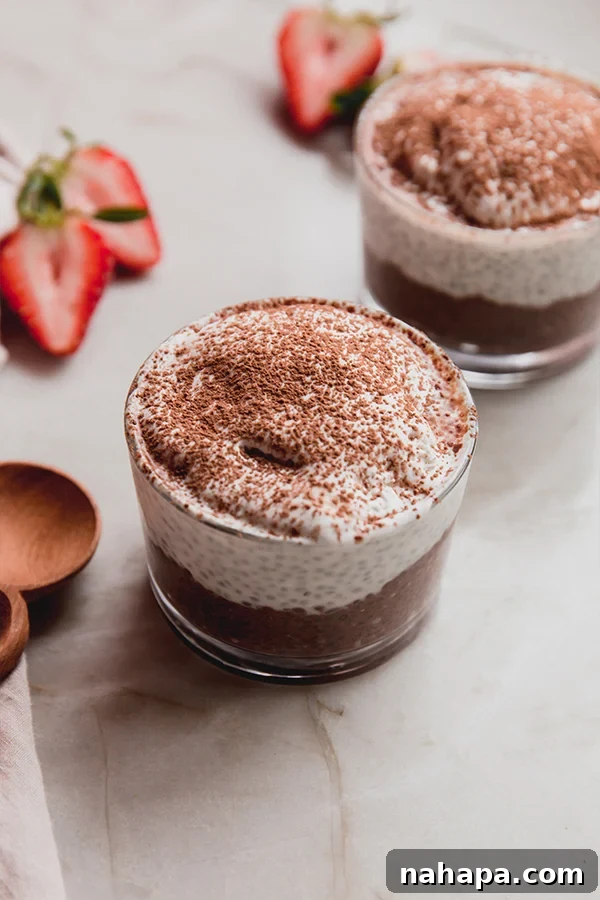
Indulge in the luscious flavors of Italy’s most beloved dessert, reimagined for a healthier lifestyle! This **tiramisu chia pudding** offers the quintessential taste experience of classic tiramisu, but with a wonderfully nourishing twist. Perfect for those seeking a delightful treat without compromising on dietary needs, this recipe is entirely gluten-free, dairy-free, and remarkably straightforward to prepare. Say goodbye to complicated baking and hello to an effortless dessert that truly satisfies.
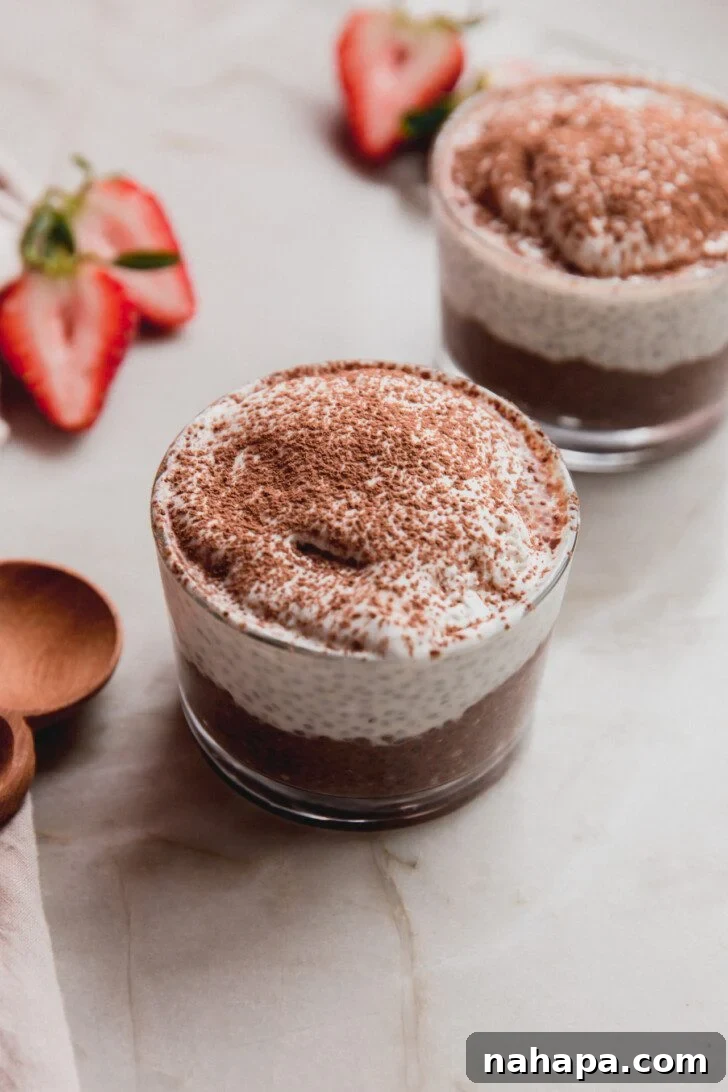
For years, crafting a truly authentic gluten-free tiramisu has been a top request from my community – and understandably so! While I adore creating Italian-inspired, gluten-free desserts like my creamy cannoli dip without cream cheese or charming gluten-free Italian wedding cookies, traditional tiramisu typically involves a more intricate process. It requires delicate ladyfingers, a rich mascarpone cream, and precise layering, often making it a time-consuming endeavor. The challenge has always been to capture that iconic coffee-infused, cocoa-dusted, creamy richness without the usual fuss and traditional ingredients. After extensive experimentation and refinement, I believe we have finally perfected a version that delivers on all fronts, transforming this elegant dessert into an accessible, guilt-free pleasure.
This **tiramisu chia pudding** stands out as a luxurious, no-bake dessert that is incredibly simple to create. It masterfully encapsulates all the beloved flavors of traditional tiramisu, yet it’s completely free of dairy and gluten, and requires only a fraction of the effort.
Why You’ll Adore This Tiramisu Chia Pudding
Prepare to fall in love with this innovative twist on a classic. This tiramisu chia pudding isn’t just a dessert; it’s a smart, satisfying, and utterly delicious choice for any occasion. Here’s why it’s destined to become a staple in your recipe collection:
- Effortlessly No-Bake: Ditch the oven and complicated baking steps! Much like my popular no-bake chocolate pie, this recipe celebrates simplicity. It comes together quickly with minimal fuss, making it ideal for busy weekdays or when you need a stunning dessert without the stress of baking. Just mix, chill, and enjoy!
- A Powerhouse of Fiber: Forget desserts that leave you crashing! Chia seeds are renowned for their impressive nutritional profile, boasting approximately 10 grams of fiber per ounce. This makes our tiramisu chia pudding not just a treat, but a truly satisfying and gut-friendly dessert. The high fiber content helps keep you feeling fuller for longer, aiding digestion and supporting overall wellness.
- Designed for Meal Prep: Imagine having a delicious, healthy dessert ready and waiting for you all week long. This tiramisu chia pudding is an absolute dream for meal prepping. Whip up a large batch at the start of your week, portion it into individual servings, and delight in a convenient, wholesome indulgence whenever a craving strikes. It holds up beautifully in the fridge, maintaining its delightful texture and flavor.
- Allergen-Friendly Indulgence: Catering to various dietary needs can be challenging, but this recipe makes it easy. Being gluten-free and dairy-free means it’s suitable for those with sensitivities or dietary preferences, allowing everyone to enjoy a taste of tiramisu without worry.
- Customizable to Your Liking: While we provide a perfect foundation, this recipe is wonderfully versatile. Adjust the sweetness, espresso strength, or even the type of dairy-free milk to match your personal palate. Feel free to get creative with toppings too!
Essential Ingredients for Your Tiramisu Chia Pudding
Crafting this delightful dessert requires a handful of simple, wholesome ingredients that come together to create a symphony of tiramisu flavors. Here’s a closer look at what you’ll need:
- Dairy-Free Milk: This forms the liquid base for our chia pudding. I personally prefer unsweetened almond milk for its neutral flavor, which allows the other tiramisu notes to shine. However, feel free to use creamy full-fat coconut milk for a richer pudding or oat milk for a slightly sweeter, oat-y undertone. Ensure your chosen milk is unsweetened to control the overall sweetness of the dessert.
- Espresso: The heart of any tiramisu! You’ll need just a small amount of freshly brewed espresso. This provides that characteristic coffee depth and aroma. If you don’t have an espresso machine, a strong-brewed coffee or even instant espresso powder dissolved in a little hot water can work as a fantastic substitute. For those sensitive to caffeine or who prefer to omit coffee, you can try leaving it out, but do note that the authentic tiramisu flavor will be less pronounced.
- Maple Syrup: Our natural sweetener of choice. Maple syrup not only adds a lovely sweetness but also contributes a subtle warmth and complexity that complements the other flavors beautifully, without overpowering them. Adjust the quantity to your preferred level of sweetness.
- Coconut Yogurt: This is our secret weapon for achieving that signature mascarpone-like creaminess and delightful tang, all while keeping the recipe completely dairy-free. I highly recommend using a thick, unsweetened coconut yogurt, such as the brand Culina, for the best texture and flavor. The quality of your coconut yogurt can significantly impact the final “mascarpone” layer.
- Vanilla Extract, Cocoa Powder, and Almond Extract: These three ingredients are crucial for building the distinct, complex flavor profile of tiramisu. Vanilla extract adds a classic sweetness and aromatic depth. High-quality cocoa powder provides the rich, slightly bitter chocolate notes that contrast beautifully with the sweet layers. And a touch of almond extract is a subtle, yet powerful, addition that truly elevates the dessert, mimicking the delicate notes often found in traditional tiramisu preparations. Don’t skip the almond extract for that authentic Italian touch!
Crafting Your Tiramisu Chia Pudding: A Step-by-Step Guide
Making this healthier tiramisu is surprisingly simple. Follow these easy steps to create a delightful, layered dessert that looks as impressive as it tastes.
- Step One: Prepare the Chocolate-Coffee Layer. In a medium bowl, combine all the ingredients designated for the chocolate layer (dairy-free milk, espresso, maple syrup, cocoa powder, and chia seeds). Whisk thoroughly until the chia seeds are evenly dispersed and there are no clumps of cocoa powder. Allow the mixture to rest for about 5 minutes, then stir again to ensure the seeds are fully hydrated and distributed. This double stir helps prevent clumping. Once mixed, cover the bowl and place it in the refrigerator. Let it chill for at least 3-4 hours, or ideally overnight, until it has thickened into a pudding-like consistency.
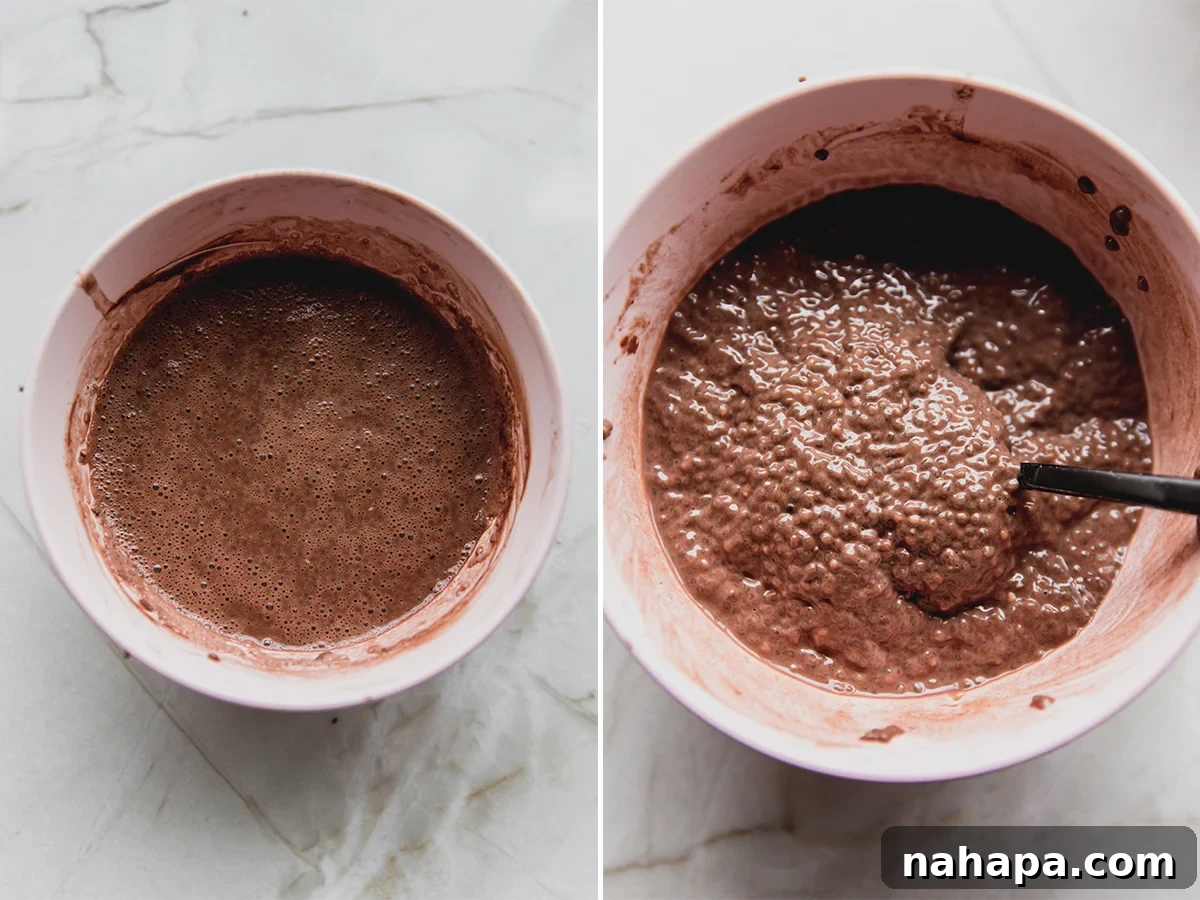
- Step Two: Create the “Mascarpone” Cream Layer. In a separate bowl, combine all the ingredients for the “mascarpone” layer (dairy-free milk, coconut yogurt, maple syrup, chia seeds, vanilla extract, and almond extract). Whisk vigorously until everything is well combined and smooth. Similar to the chocolate layer, let this mixture sit for 5 minutes, then give it another good stir to ensure proper hydration of the chia seeds. Cover the bowl and refrigerate it alongside the chocolate layer for 3-4 hours, or until it reaches a thick, creamy consistency reminiscent of mascarpone cheese.
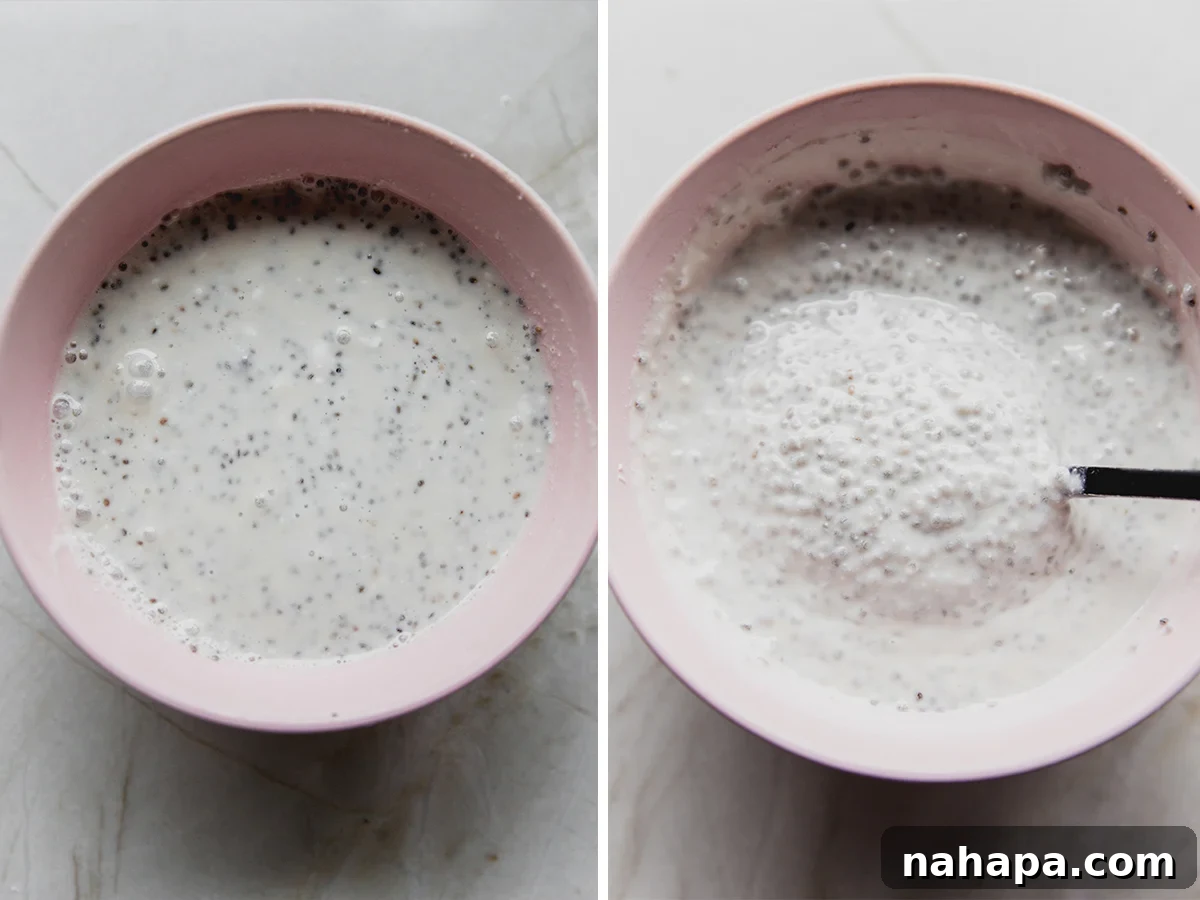
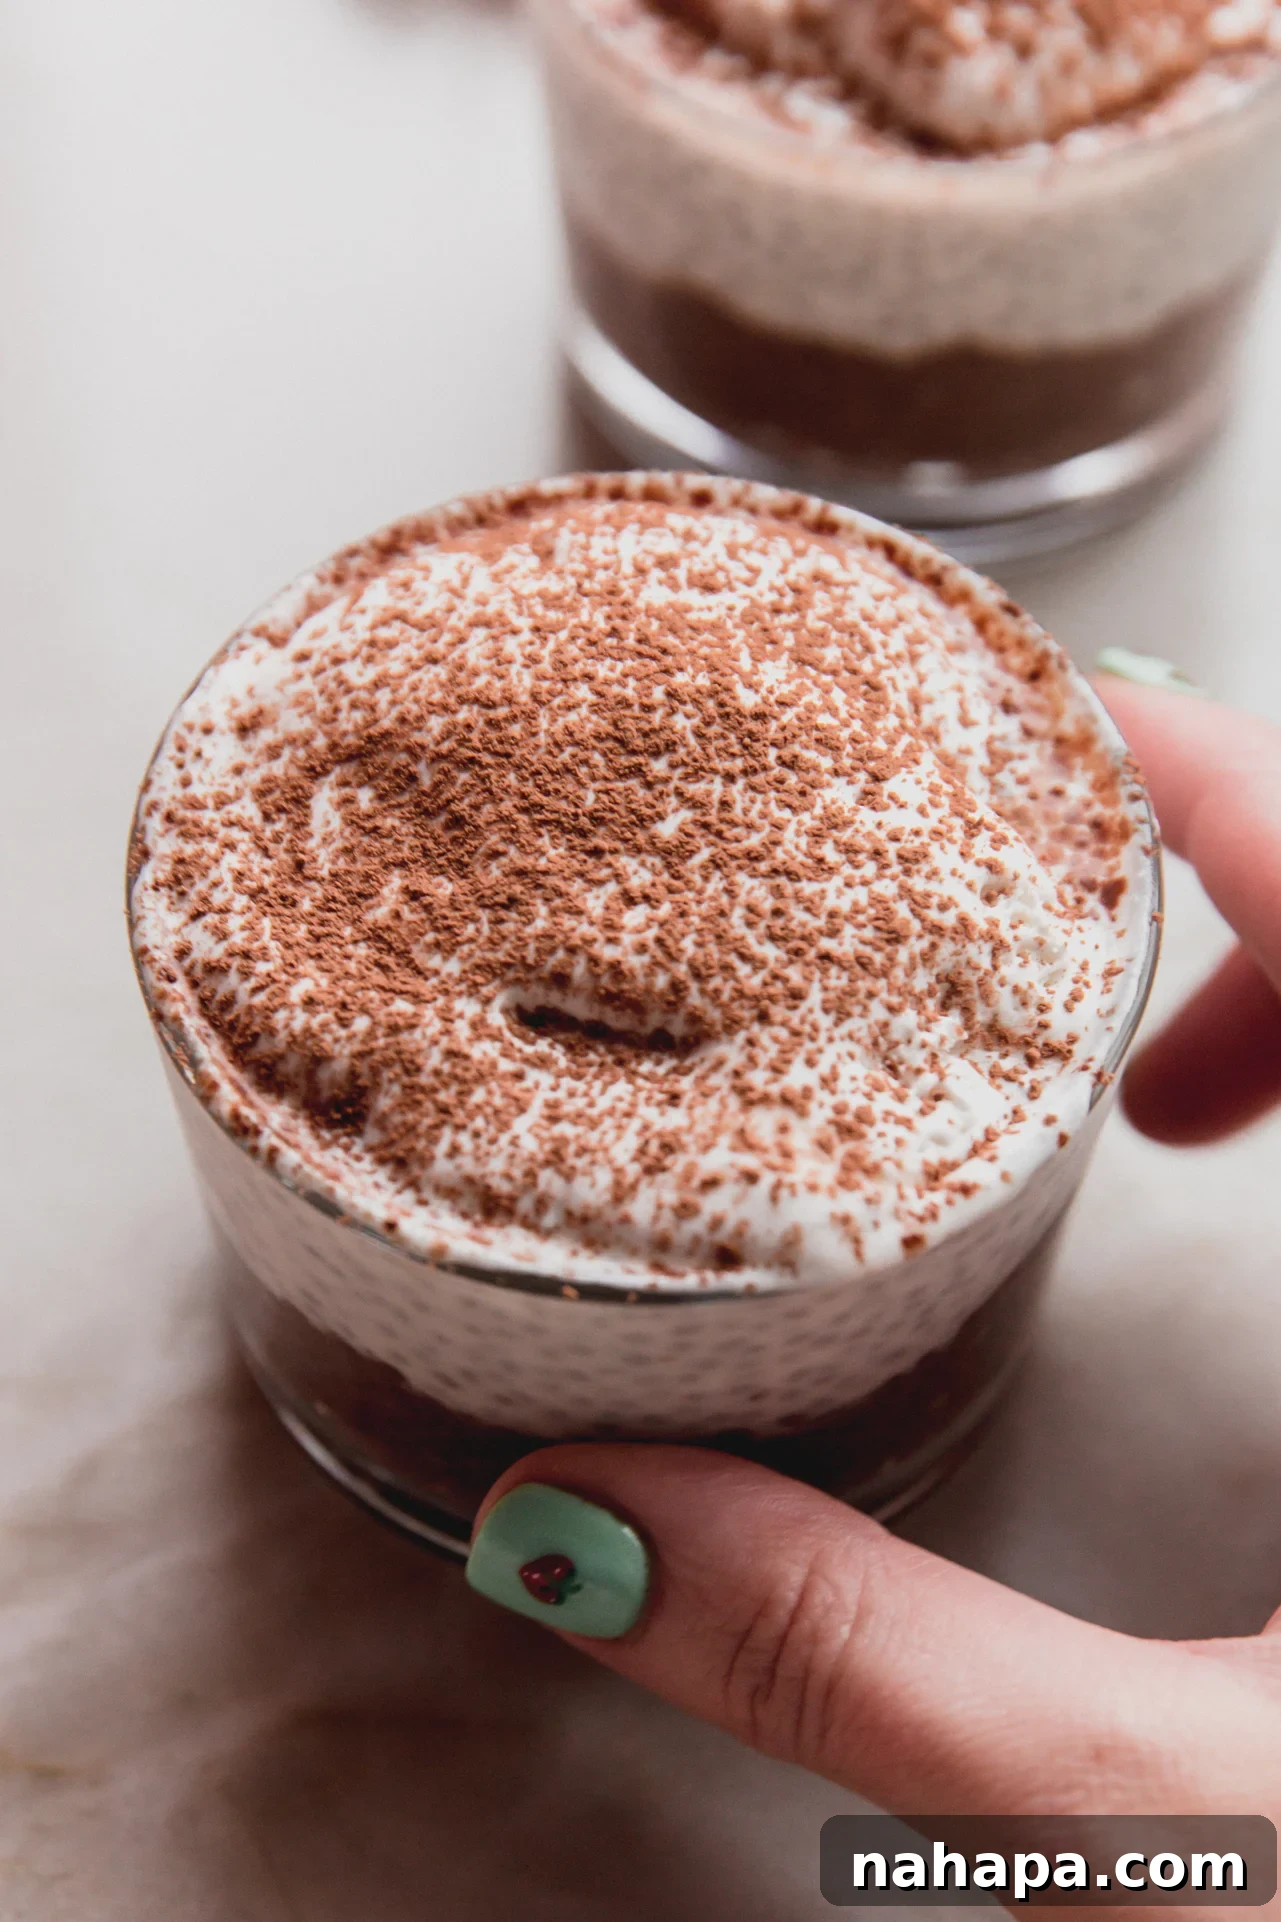
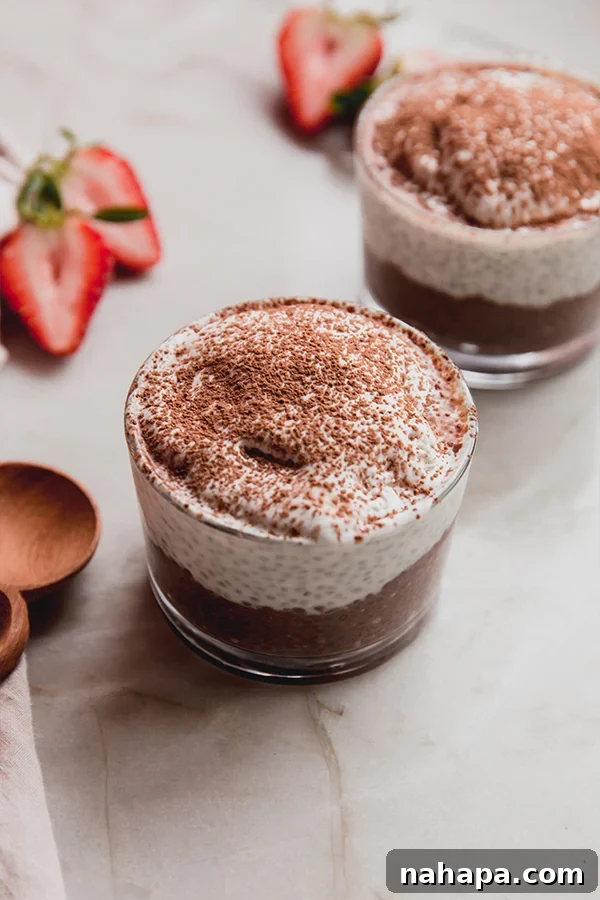
- Step Three: Assemble and Garnish Your Tiramisu. Once both chia pudding layers are fully set, it’s time for the exciting part – assembly! Choose two to three small dessert bowls, glasses, or jars for individual servings. Begin by spooning a generous portion of the chocolate-coffee layer into the bottom of each vessel. Gently smooth it out. Next, carefully add a layer of the creamy “mascarpone” pudding on top of the chocolate layer. You can repeat the layers if your serving dishes allow for a multi-layered effect. For a beautiful finish, pipe or spoon a dollop of whipped coconut cream (or your favorite dairy-free whipped topping) over the top. Finally, dust generously with a sprinkle of cocoa powder using a small sieve. Serve immediately and enjoy chilled!
Expert Tips & Tricks for Perfect Tiramisu Chia Pudding
Achieving the perfect tiramisu chia pudding is easy with a few insider tips. Whether you’re a chia pudding novice or an experienced pro, these pointers will help you make the most of this delicious recipe:
- Maximize with Meal Prep! As highlighted, chia pudding is an absolute star for meal prepping. Dedicate a small amount of time on the weekend to prepare a big batch of both the chocolate and “mascarpone” layers. Store them in separate airtight containers in the fridge. This way, you can easily assemble individual servings throughout the week, ensuring you always have a healthy, delightful dessert or snack ready to grab and go. It’s a fantastic way to stay on track with healthier eating habits.
- The Secret is in the Mix, Mix, Mix. The beauty of chia pudding lies in its effortless thickening, but this relies heavily on proper mixing. When you first combine the ingredients with the chia seeds, ensure you stir vigorously for at least 1-2 minutes. Then, after the initial 5-minute rest, give it another thorough stir. This prevents the chia seeds from clumping together at the bottom and ensures they absorb the liquid evenly, resulting in that wonderfully smooth, pudding-like texture we all crave.
- Try Blending for an Ultra-Creamy Texture. If the subtle texture of whole chia seeds isn’t your preference, or if you simply desire an even silkier, more decadent pudding, try blending the base! After combining all the ingredients for each layer, transfer them to a blender or use an immersion blender. Blend until completely smooth and creamy. The ratios of ingredients remain exactly the same; blending just transforms the mouthfeel into something akin to a traditional mousse or custard. This is a fantastic alternative for those who prefer a completely smooth dessert.
- Adjust Sweetness to Taste: The amount of maple syrup provided is a general guideline. Feel free to taste the mixtures before chilling and adjust the sweetness to your personal preference. Remember, you can always add more sweetener, but you can’t take it away!
- Garnish Creatively: Beyond cocoa powder and whipped cream, consider other toppings to enhance your tiramisu chia pudding. Shavings of dark chocolate, a few fresh raspberries or strawberries, or even a sprinkle of toasted coconut flakes can add extra texture and flavor dimension.
- Don’t Rush the Chill Time: Patience is key for perfectly set chia pudding. While 3-4 hours will generally get you there, allowing the puddings to chill overnight guarantees the best, thickest consistency and allows the flavors to meld beautifully.
Storage Instructions
To keep your tiramisu chia pudding fresh and delicious, store any leftovers in an airtight container in the refrigerator for 3-4 days. For optimal freshness and texture, I highly recommend storing the chocolate and “mascarpone” components separately if you’re meal prepping a large batch. Assemble individual servings just before you plan to enjoy them. This prevents the layers from melding too much and ensures the best presentation. If already assembled, store covered tightly to prevent the pudding from absorbing fridge odors.
Tiramisu Chia Pudding: Your Questions Answered
This recipe is designed to yield approximately three modest servings, with each serving estimated at around 245 calories. If you prefer a larger, more indulgent portion and decide to divide the recipe into two servings instead, each would be approximately 367 calories. Please keep in mind that these figures are estimates and can fluctuate based on the specific brands of ingredients you choose, such as your dairy-free milk, coconut yogurt, and maple syrup, which can have varying nutritional values.
The term “healthy” is often subjective and can depend on individual dietary needs and goals. However, from a nutritional standpoint, chia seeds are undeniably a powerhouse. They are packed with fiber, omega-3 fatty acids, protein, and various micronutrients. This makes chia pudding an excellent option for a fiber-rich snack that supports digestion and provides sustained energy. When made with wholesome ingredients and mindful sweeteners, it can certainly be considered a very healthy and beneficial snack choice.
Yes, it is always recommended to let chia seeds soak before consuming them. When dry, chia seeds can absorb a significant amount of liquid, and if consumed unsoaked in large quantities, they can potentially cause digestive discomfort. Soaking them allows them to swell and form a gel-like consistency, making them easier to digest and ensuring you get the full nutritional benefits. This tiramisu chia pudding recipe incorporates ample soaking time, ensuring your chia seeds are perfectly hydrated and ready to enjoy.
Chia seeds are an exceptional source of dietary fiber, particularly soluble fiber. When consumed, this soluble fiber forms a gel in your digestive system, which can help slow down digestion, promote feelings of fullness, and stabilize blood sugar levels. This gel also acts as a prebiotic, feeding the beneficial bacteria in your gut microbiome, which is crucial for healthy digestion and overall gut health. Regular consumption of fiber-rich foods like chia seeds can contribute to regular bowel movements and a balanced gut environment.
For the best results and a properly thickened, creamy texture, I recommend allowing your chia pudding to set in the refrigerator for a minimum of three hours. This gives the chia seeds sufficient time to absorb the liquid and achieve their characteristic gel-like consistency. While three hours will yield a good pudding, chilling it overnight (6-8 hours) will result in an even thicker, more luxurious texture and allows the flavors to fully meld, enhancing the overall taste experience.
A commonly recommended starting ratio for basic chia pudding is 1 part chia seeds to 4 parts liquid, meaning about 1/4 cup of chia seeds per 1 cup of milk. However, this tiramisu chia pudding recipe deviates slightly to achieve its desired richness and texture. It also incorporates coconut yogurt for extra creaminess and tang, which alters the overall liquid content and consistency. Always refer to the specific recipe instructions for the precise ratios to ensure your pudding sets perfectly.
Absolutely! This tiramisu chia pudding is an ideal make-ahead dessert, perfect for entertaining. You can prepare both the chocolate and “mascarpone” layers up to 2-3 days in advance and store them separately in airtight containers in the refrigerator. On the day of your party, simply layer them into individual serving glasses or a larger trifle dish, add your whipped topping and cocoa dusting, and serve chilled. This allows you to spend more time with your guests and less time in the kitchen.
If your chia pudding isn’t thickening as expected, there are a few common culprits. Firstly, ensure you’ve used the correct chia seed to liquid ratio as specified in the recipe. Too much liquid or too few chia seeds will result in a runny consistency. Secondly, proper mixing is crucial – make sure the chia seeds are thoroughly dispersed and not clumping at the bottom. Lastly, patience is key! Ensure you’ve allowed adequate chilling time, ideally 3-4 hours, or even overnight. If it’s still too thin after sufficient chilling, you can try adding an additional half tablespoon of chia seeds, stirring well, and chilling for another hour.
More Easy Gluten-Free Treats to Discover
If you’re looking for more delicious and simple gluten-free desserts to sweeten your day, explore some of these fantastic recipes from my collection:
- Easy Classic Chia Pudding
- Delectable Cannoli Chia Pudding
- Rich Homemade Chocolate Pudding
- Irresistible Tiramisu Cookies
If you’ve had the pleasure of trying this Tiramisu Chia Pudding recipe or any other delightful creation from my blog, I would be absolutely thrilled to hear from you! Please consider leaving a 🌟 star rating and sharing your experience in the 📝 comments section below. Your feedback and ratings are incredibly valuable and help others discover these nourishing recipes. Thank you immensely for visiting and for being a part of our wellness journey!
Tiramisu Chia Pudding
3
servings
20
mins
20
mins
Michelle
Leave a Review
Pin Recipe
Want to save this for later?
Just drop your name and email below. Then we’ll email it right to your inbox. ✉️
Ingredients
- Chocolate Layer
- Mascarpone Layer
For Topping
Instructions
For the Chocolate Layer
- Combine all the ingredients for the chocolate layer (dairy-free milk, brewed espresso, maple syrup, cocoa powder, and chia seeds) in a medium-sized bowl. Whisk well to ensure the chia seeds are thoroughly dispersed and the cocoa powder is fully integrated without clumps. Let the mixture sit for 5 minutes, then stir once more. Cover the bowl and place it in the refrigerator for at least 3-4 hours, or until it has completely set and reached a thick, pudding-like consistency.
For the “Mascarpone” Layer
- In a separate bowl, combine all the ingredients for the “mascarpone” layer (dairy-free milk, coconut yogurt, maple syrup, chia seeds, vanilla extract, and almond extract). Whisk until everything is smoothly combined. Allow it to sit for 5 minutes, then stir again to ensure the chia seeds are hydrating properly. Cover the bowl and refrigerate for 3-4 hours, or until the layer is fully set and creamy.
To Assemble
- Using two to three small dessert bowls, glasses, or jars, begin by spooning the thickened chocolate layer into the bottom of each.
- Next, carefully layer the “mascarpone” pudding on top of the chocolate layer. For a more dramatic effect, you can repeat the chocolate and mascarpone layers if your serving dish allows.
- Finally, spoon or pipe whipped coconut cream generously over the top of the “mascarpone” layer. Finish by dusting with a fine layer of cocoa powder using a sieve. Serve your Tiramisu Chia Pudding chilled and enjoy!
Notes
Try blending it! If you prefer an exceptionally smooth, mousse-like texture and are not keen on the texture of whole chia seeds, simply blend the ingredients for each layer using a blender or immersion blender. The ratios remain the same, but the result is a wonderfully creamy pudding.
Calories: 245kcal,
Carbohydrates: 28.7g,
Protein: 5.7g,
Fat: 12.5g,
Fiber: 10.4g
Did You Make This Recipe?
Tag @unboundwellness on Instagram and hashtag #unboundwellness!