
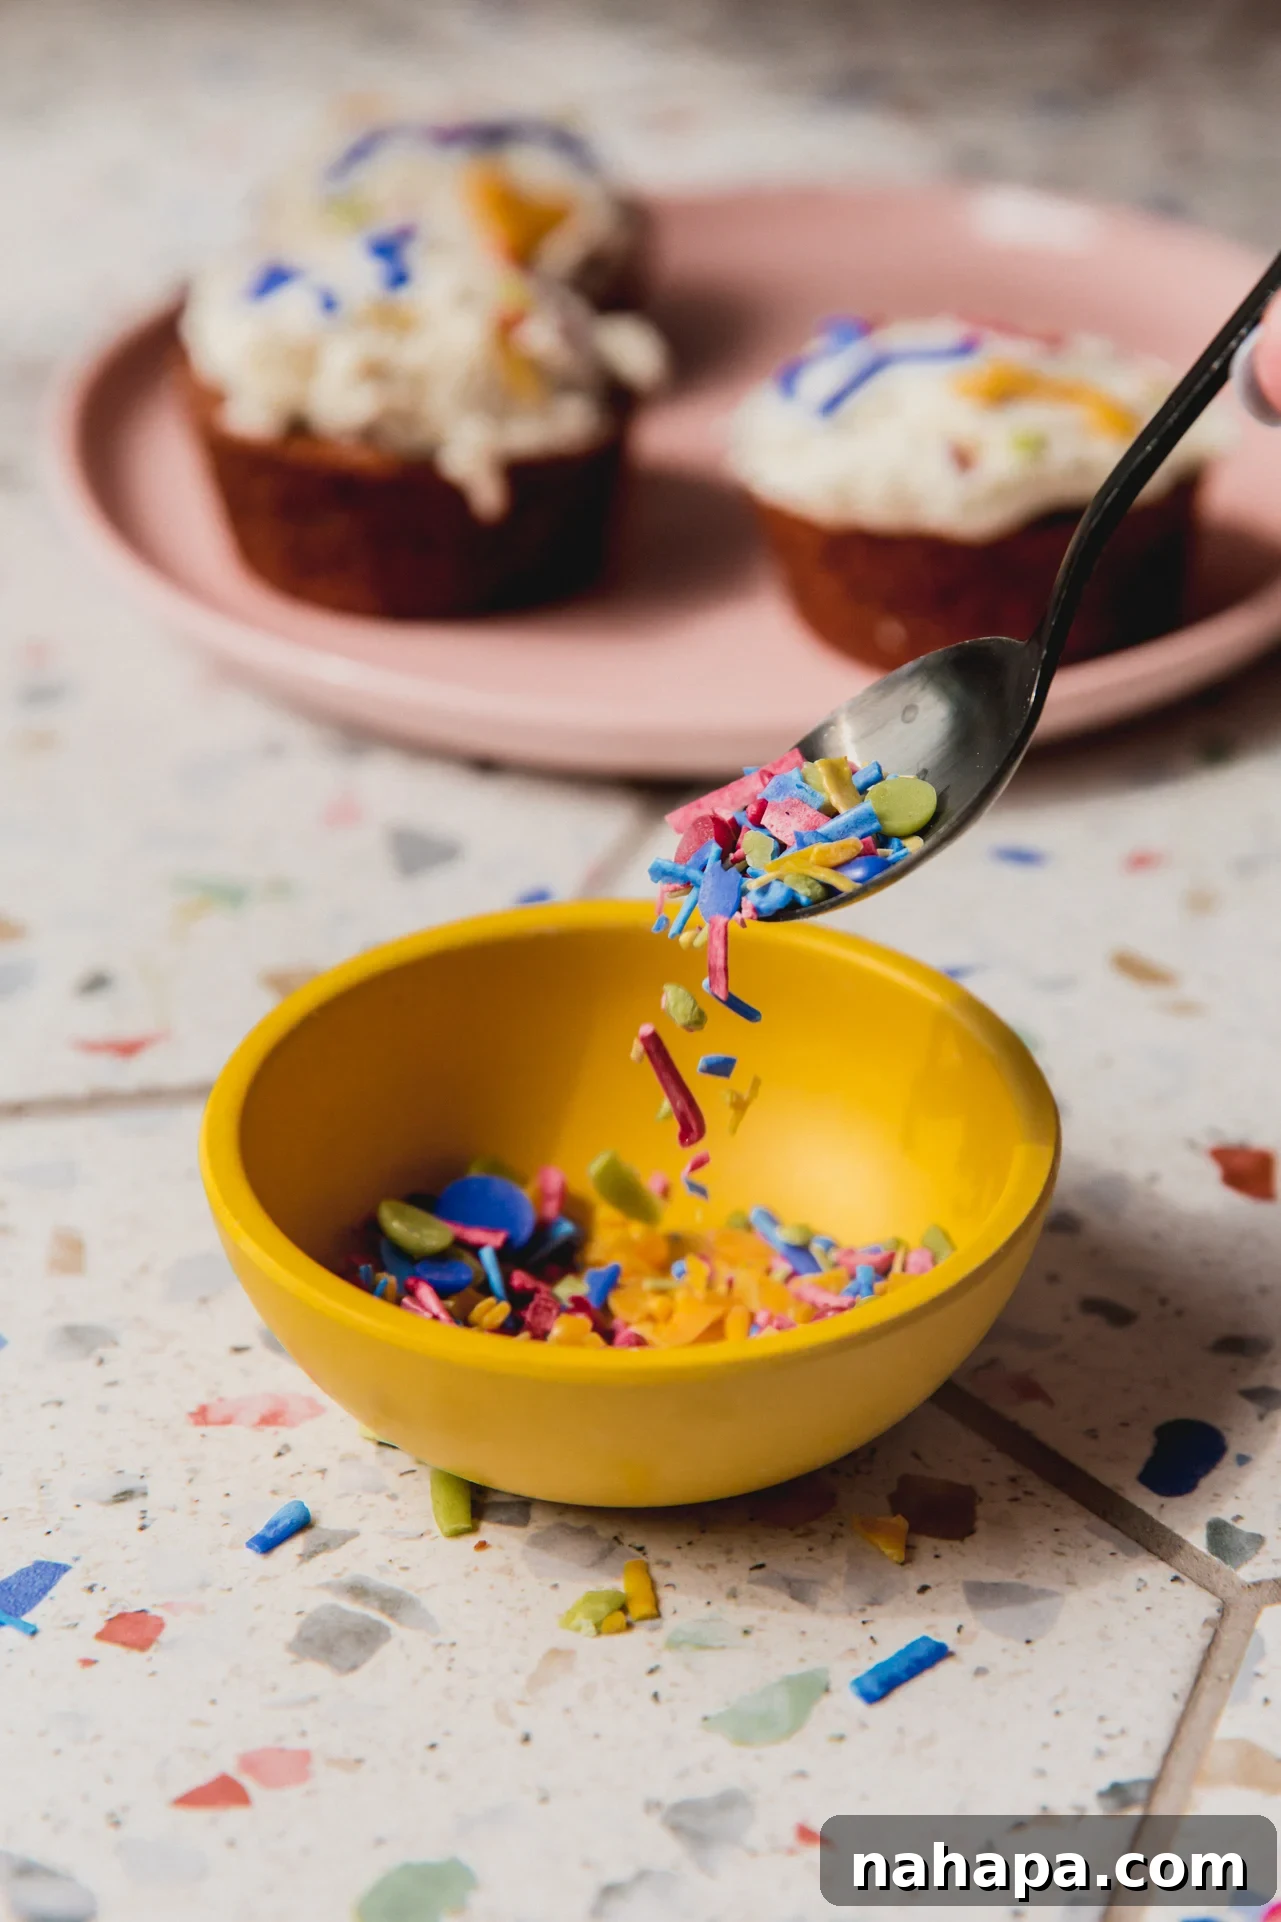
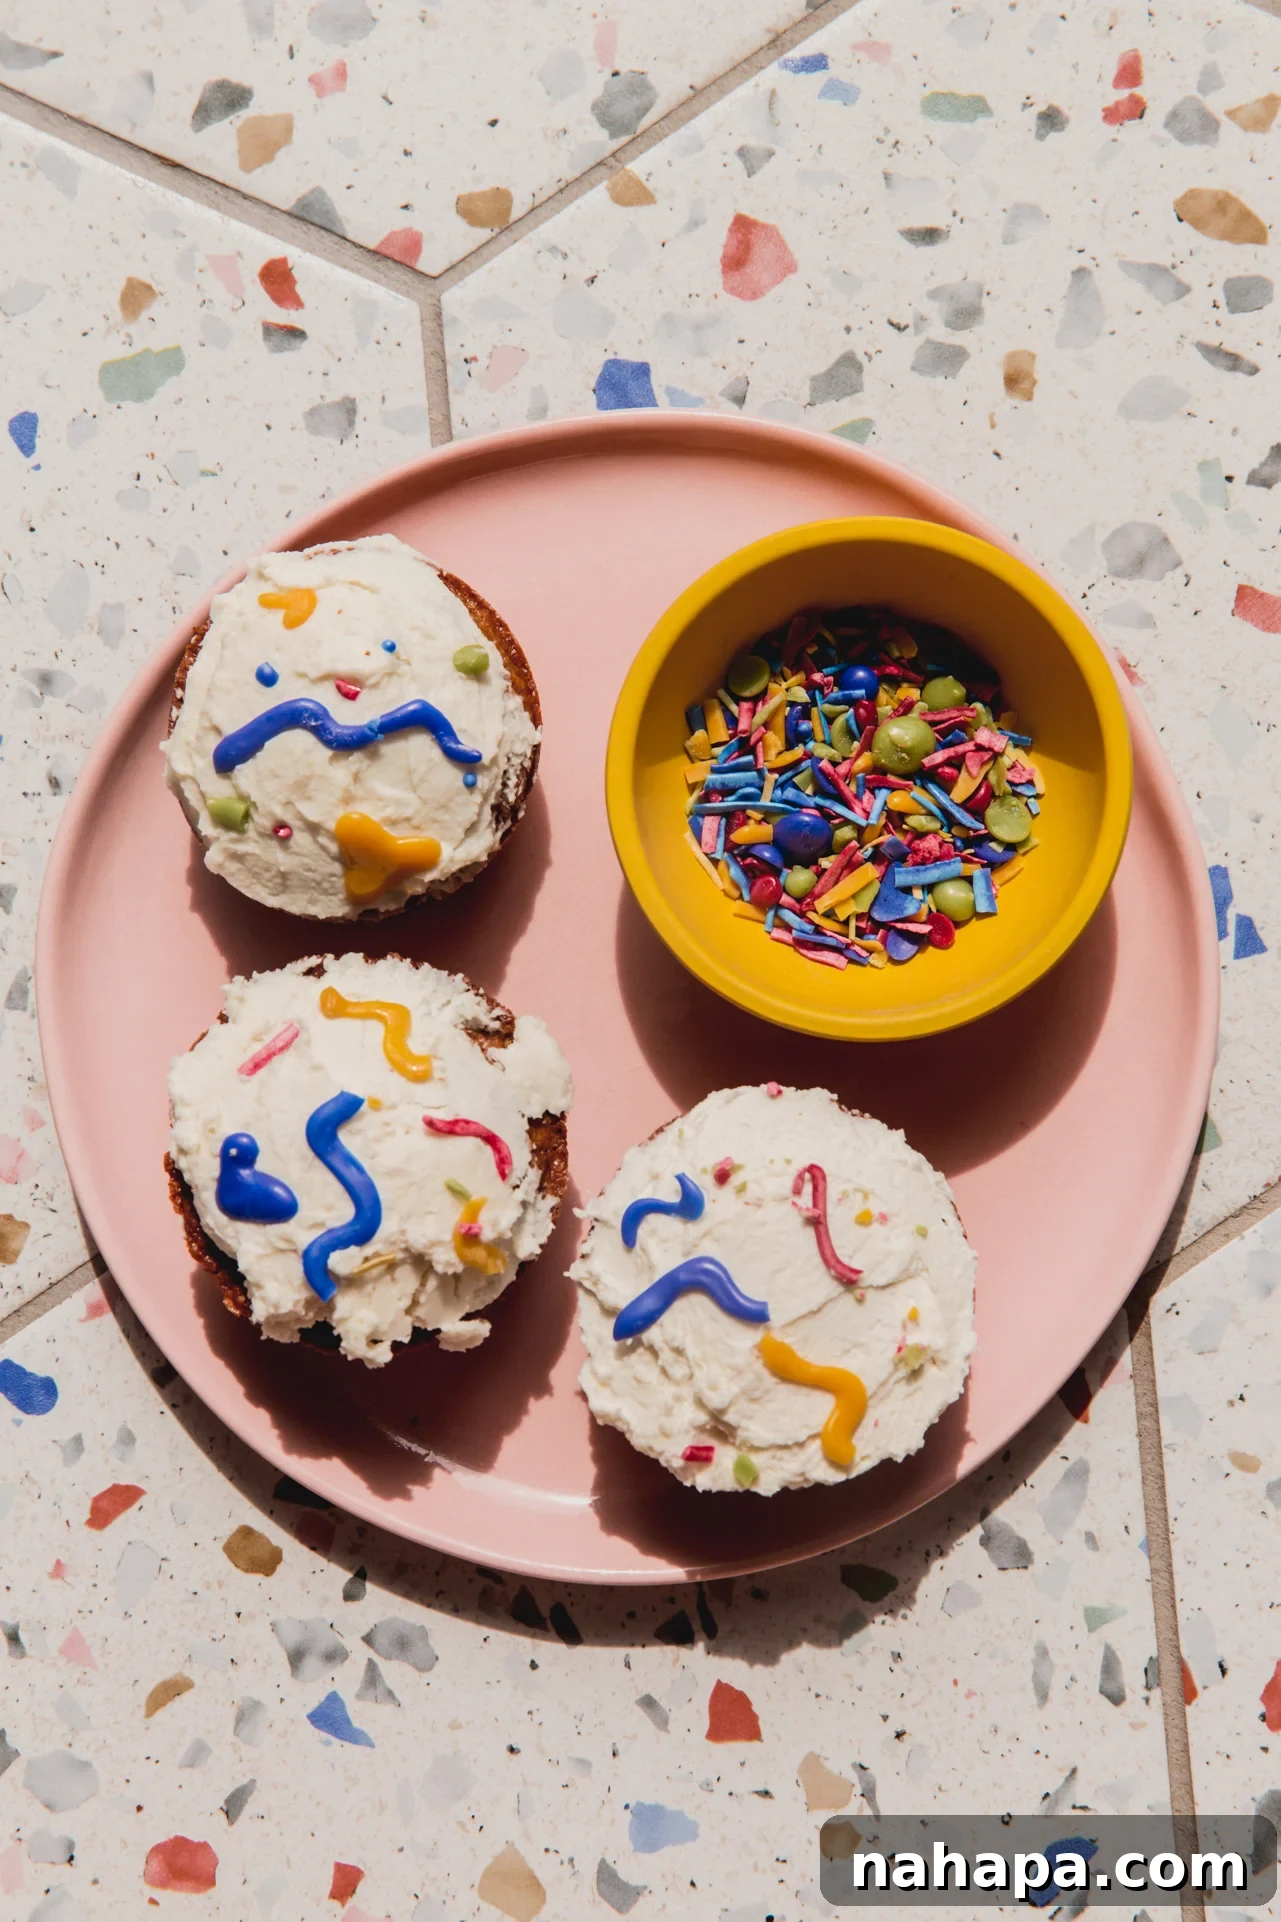
Once you experience the joy of making these **homemade sprinkles**, you’ll likely never want to buy a store-bought version again! They are crafted with simple, wholesome ingredients, entirely without corn syrup, and boast vibrant hues from natural dyes. Elevate your baking and decorating with these delightful, healthier alternatives.
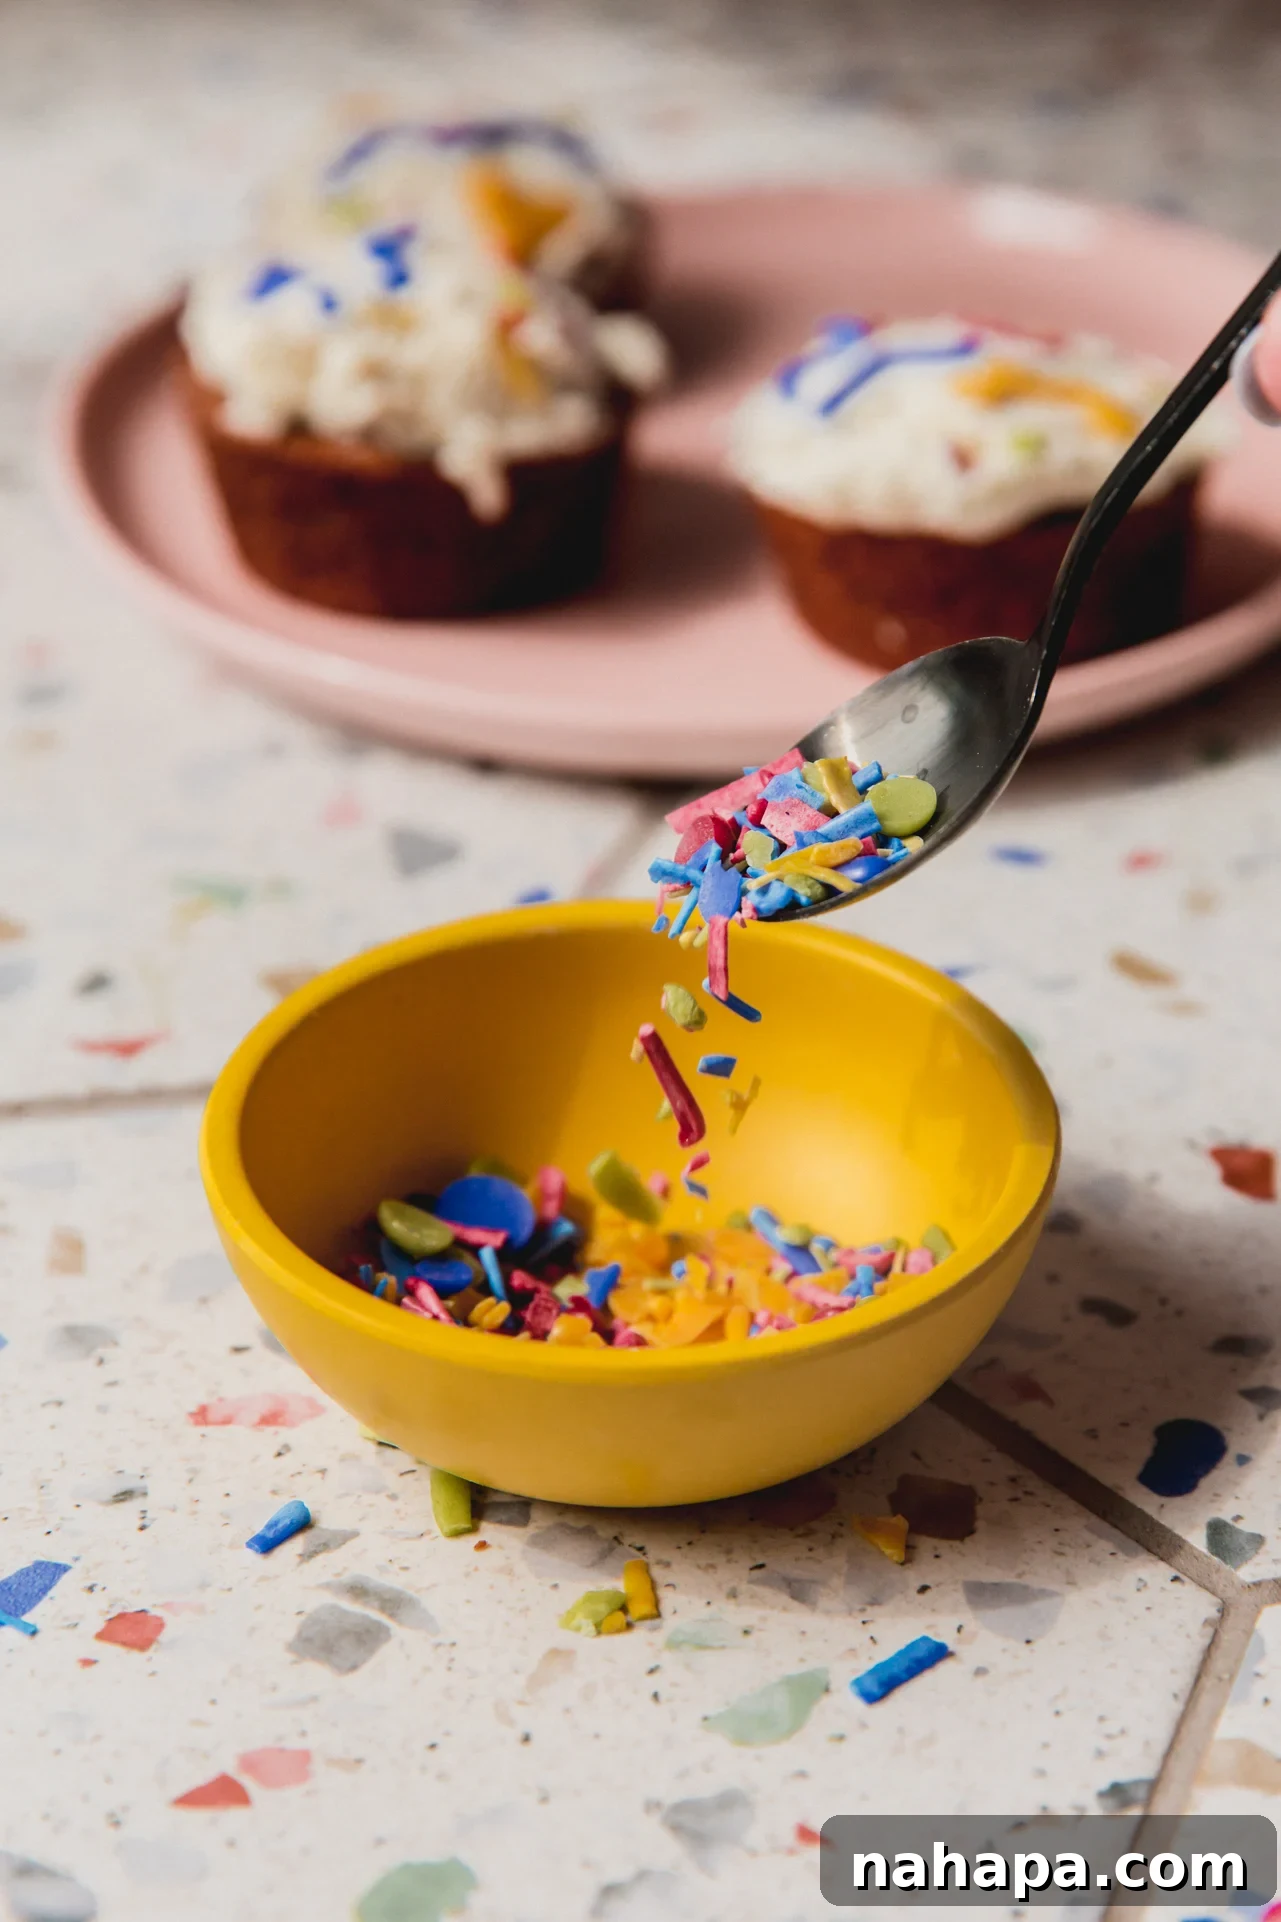
The idea of making sprinkles at home might seem a bit whimsical or even daunting, perhaps something only achievable with specialized bakery equipment. However, the reality is wonderfully different! Crafting your own sprinkles is surprisingly straightforward and incredibly rewarding. It’s an accessible kitchen project that brings a touch of magic to your homemade desserts.
As someone who loves to reimagine classic treats with a healthier twist, like my popular homemade peach ring gummies and gluten-free Kit-Kat bars, tackling sprinkles felt like a natural next step. The satisfaction of knowing exactly what goes into your food, especially something as fun as sprinkles, is immense. Don’t let the thought intimidate you; with this guide, you’ll master the art of homemade sprinkles in no time.
Most commercial sprinkles are loaded with corn syrup and artificial dyes, which many of us prefer to avoid. If you’re seeking a purer, more natural alternative for your family, you’ve certainly come to the right place!
Table of contents
- Why You’ll Love These Homemade Sprinkles
- Recipe Ingredients for Natural Sprinkles
- How to Make Homemade Sprinkles: A Step-by-Step Guide
- Michelle’s Expert Tips & Tricks 🤓
- Homemade Sprinkles Recipe FAQS
- Delightful Gluten-Free Recipes to Use Your Sprinkles With…
Why You’ll Fall in Love with These DIY Natural Sprinkles
Beyond the simple fact that they’re homemade, these sprinkles offer a multitude of benefits that make them superior to their store-bought counterparts. Here’s why you’ll want to add this recipe to your regular baking repertoire:
- Completely Free of Artificial Food Dyes and Corn Syrup! This is by far the biggest advantage. Finding sprinkles in stores that don’t contain these ingredients is incredibly challenging, often impossible. By making your own, you have complete control over what goes into them, ensuring a healthier and more natural topping for your treats. This is particularly important for children and those with sensitivities to artificial additives.
- Surprisingly Easy to Make! The process might seem intimidating at first glance, but I assure you, it’s quite simple. With a few basic ingredients and some patience for drying time, you’ll be creating beautiful, vibrant sprinkles that impress everyone. It’s a fun and engaging kitchen activity, perfect for bakers of all skill levels.
- Unleash Your Creativity with Custom Colors and Shapes! Forget the limited color palettes of commercial sprinkles. With natural powders, you can create a rainbow of hues or even custom shades to match any party theme or holiday. You’re also not limited to traditional rods; pipe fun shapes like hearts, stars, or tiny dots for truly unique decorations.
- A Cost-Effective Baking Hack! While the initial cost of some natural color powders might seem higher, a little goes a long way. Over time, making your own sprinkles becomes a much more economical choice, especially if you use them frequently. Plus, you’re investing in quality ingredients rather than questionable additives.
- An Allergy-Friendly Option: For those managing food allergies or dietary restrictions, store-bought sprinkles can be a minefield of hidden ingredients. This recipe is inherently gluten-free, dairy-free, and vegan, making it suitable for a wide range of dietary needs. You can confidently adorn your allergy-friendly desserts without worry.
Essential Recipe Ingredients for Your Natural Sprinkles
The beauty of this recipe lies in its simplicity and the quality of its components. You’ll need just a handful of ingredients to create these delightful, naturally colored sprinkles. For precise measurements and quantities, please refer to the full recipe card below.
- Powdered Sugar: This forms the base of our sprinkles, providing the necessary sweetness and structure. While most powdered sugar contains cornstarch to prevent clumping, if you’re looking for a cornstarch-free option, this organic powdered sugar from Wholesome is an excellent choice. Sifting your powdered sugar thoroughly is a crucial first step to ensure a smooth, lump-free icing.
- Vanilla Extract: A touch of pure vanilla extract adds a subtle, delicious flavor that elevates the overall taste of your sprinkles. Choose a high-quality extract for the best results.
- Water: Just enough water is needed to bring the powdered sugar and vanilla together to form a thick, pipeable icing. The exact amount can vary slightly depending on your climate and the specific powdered sugar used, so add it gradually.
-
Natural Food Coloring Powders (Matcha, Turmeric, Blue Spirulina, and Beet Powder): These vibrant powders are our secret to achieving a beautiful, natural rainbow of colors without any artificial additives.
- Matcha provides a lovely green hue, perfect for spring or festive themes.
- Turmeric gives us a bright, cheerful yellow.
- Blue Spirulina creates a stunning natural blue.
- Beet Powder delivers a gorgeous pink or red, depending on the concentration.
You can easily adjust the types and amounts of these powders based on the specific colors you wish to create. Feel free to experiment with other natural powders like cocoa for brown, or a blend of beet and spirulina for purple!
How to Make Homemade Sprinkles: A Simple Visual Guide
Creating your own sprinkles is a fun and straightforward process. Follow these simple steps, accompanied by illustrative photos, to achieve perfect homemade sprinkles. Full, detailed instructions can be found in the recipe card at the bottom of this post.
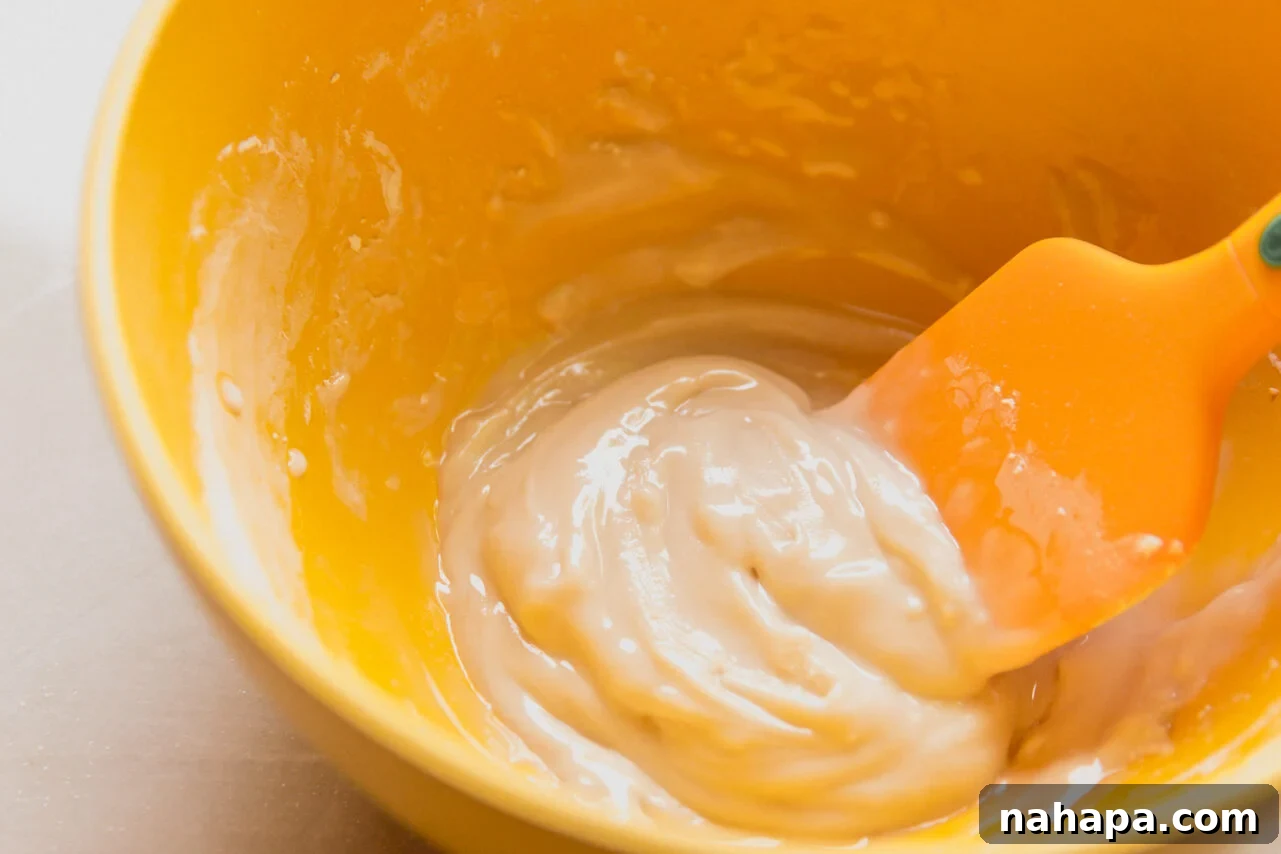
Step one: Prepare the Icing Base. Begin by sifting the powdered sugar into a mixing bowl to eliminate any lumps, ensuring a smooth final product. Then, add the vanilla extract and water. Stir thoroughly with a spoon or whisk until a very thick, smooth icing forms. The consistency should be similar to royal icing – firm enough to hold its shape when piped, but still flowable.
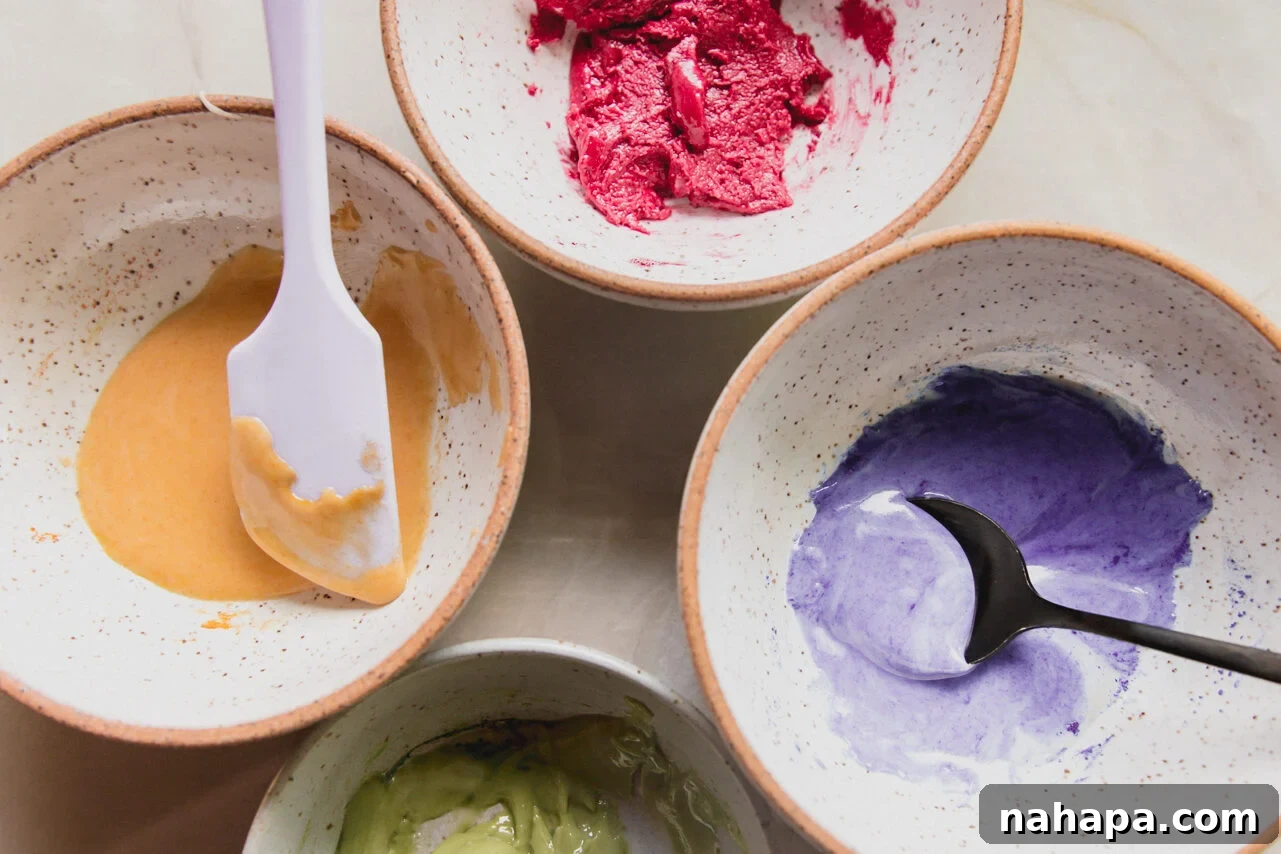
Step two: Color Your Icing. Divide the thick white icing equally into four separate small bowls. Now, it’s time to add your natural food colorings. Incorporate a quarter teaspoon of each chosen natural powder (matcha, turmeric, blue spirulina, beet powder) into a different bowl. Stir each bowl vigorously until the color is fully and evenly incorporated, creating four distinct, vibrant batches of icing.
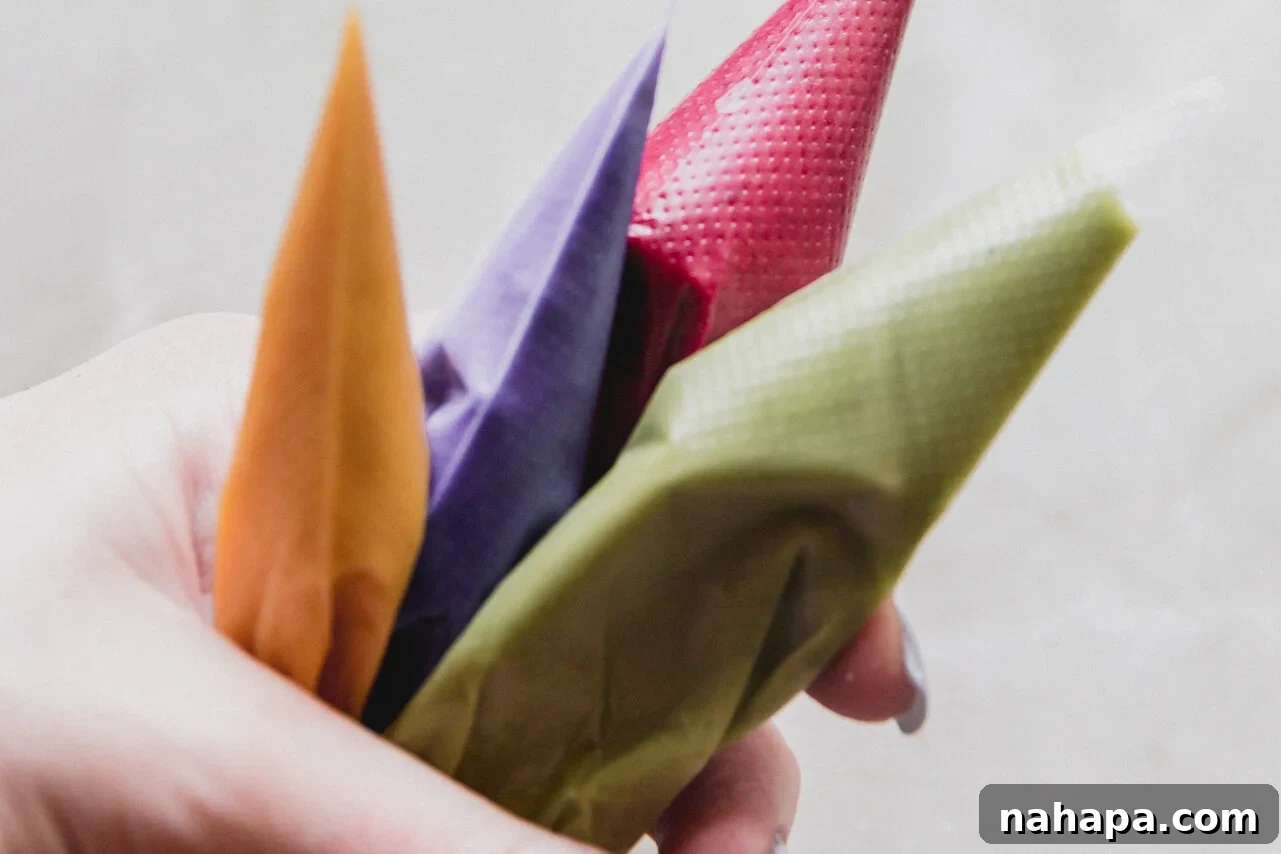
Step three: Prepare for Piping. Carefully spoon each colored icing into a separate piping bag. Push the icing down towards the tip of the bag, removing any air bubbles. Then, snip a very small portion off the pointed end of each piping bag. The smaller the cut, the thinner your sprinkles will be, so start conservatively and you can always cut a bit more if needed.
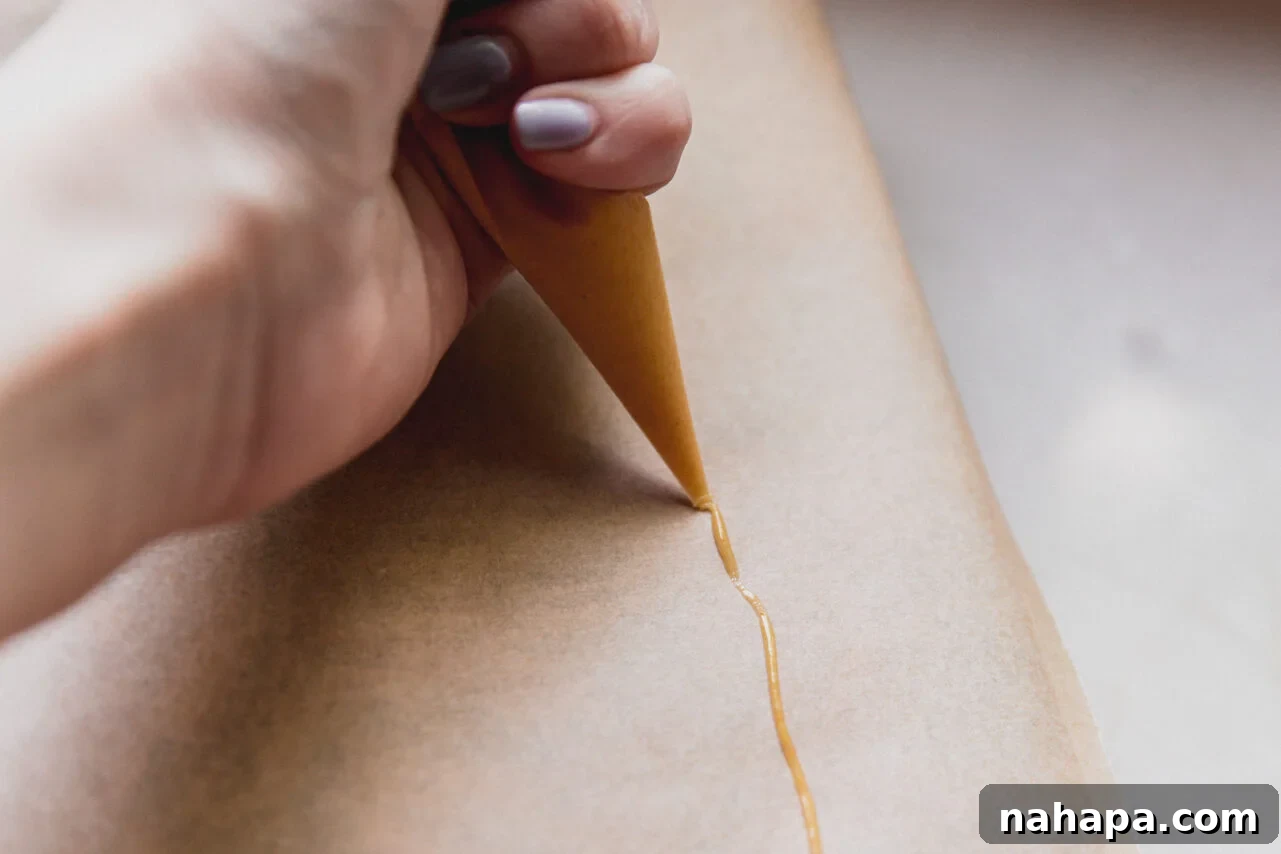
Step four: Pipe the Sprinkles. Lay a large sheet of parchment paper over a flat, sturdy surface, such as a large cutting board or a baking sheet. Taping the corners of the parchment paper down can prevent it from shifting. Now, working with one color at a time, steadily pipe long, straight lines of icing onto the parchment paper. Aim for consistent thickness for uniform sprinkles. Leave a little space between each line to prevent them from merging as they dry.
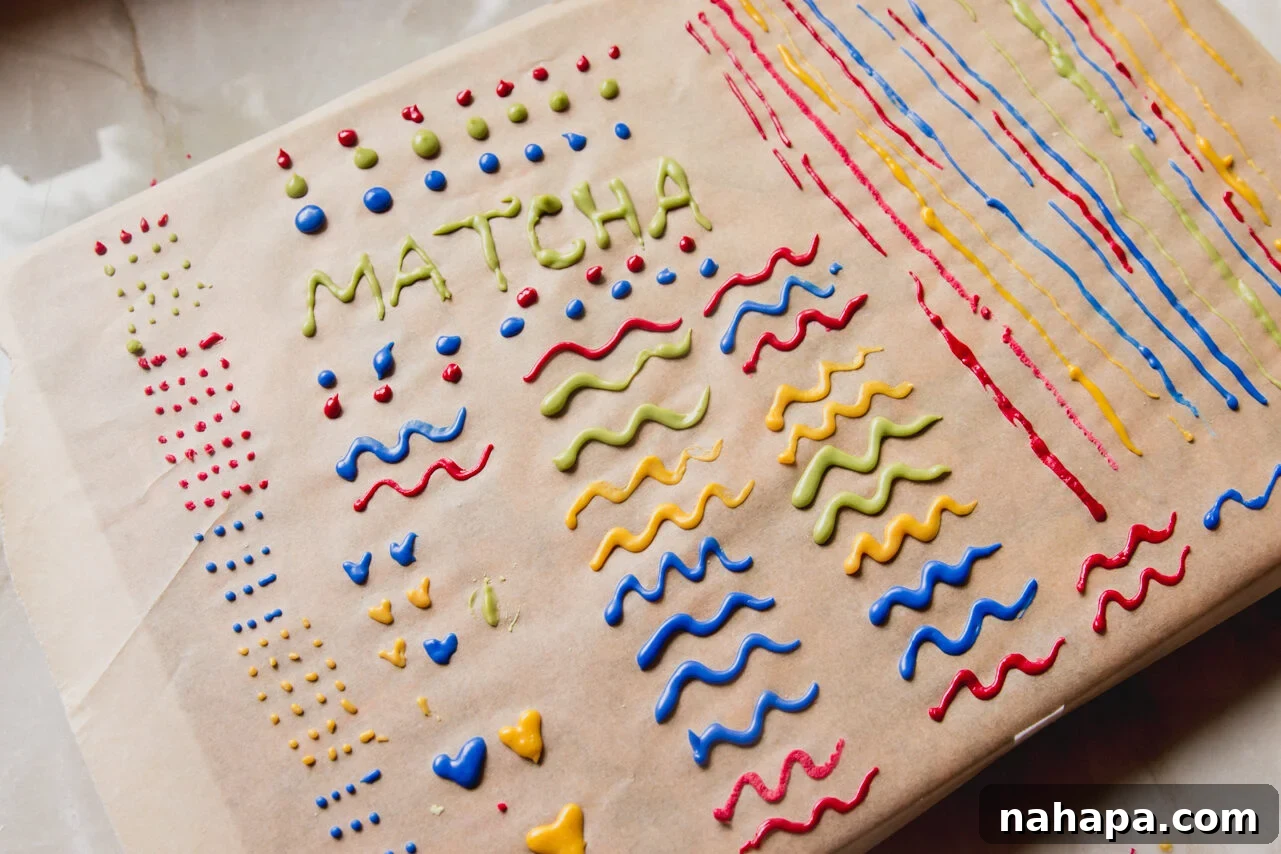
Step five: Allow for Thorough Drying. Once all your icing has been piped, leave the parchment paper in a cool, dry place at room temperature. It’s crucial to allow the sprinkles to dry completely. This process typically takes overnight or at least 12 hours. Ensure they are fully hardened before proceeding to the next step; any residual moisture will prevent them from achieving that classic sprinkle texture.
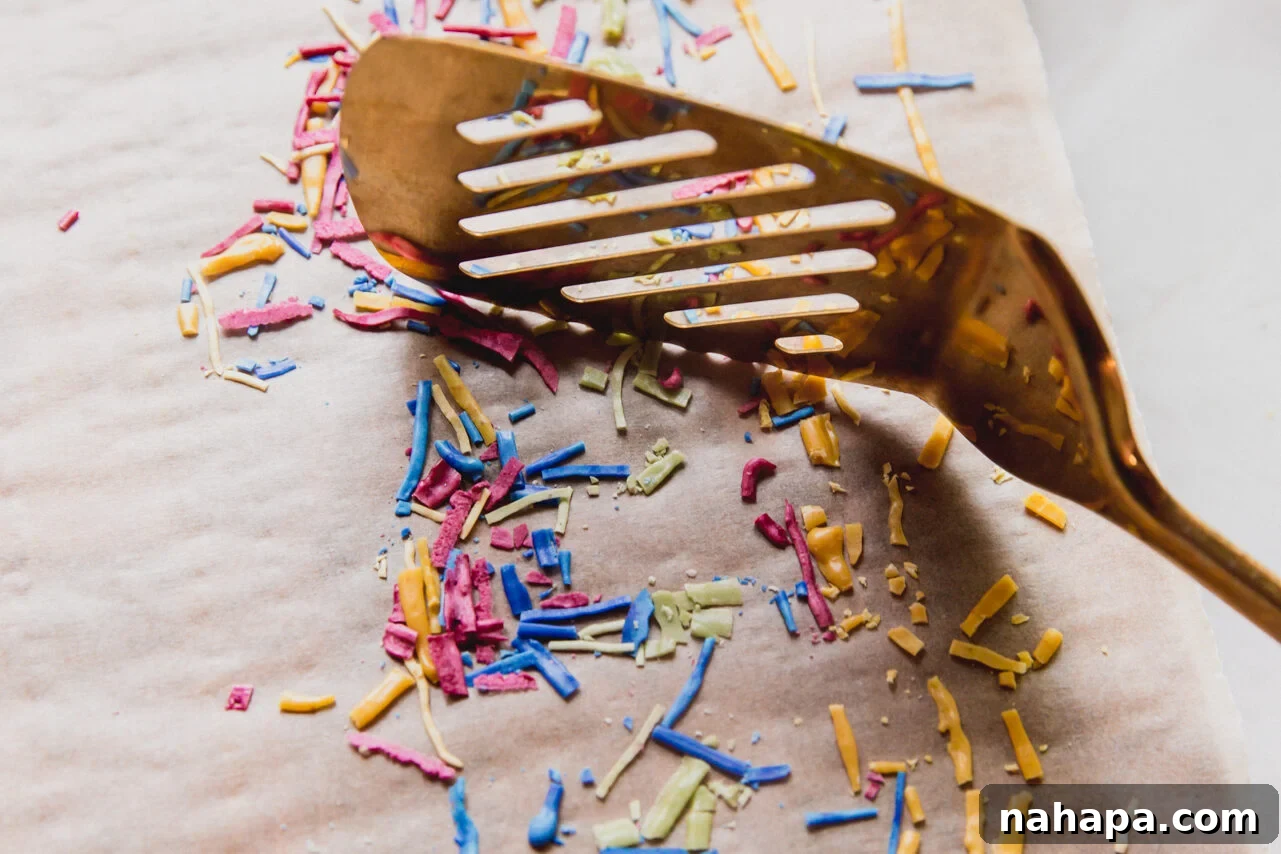
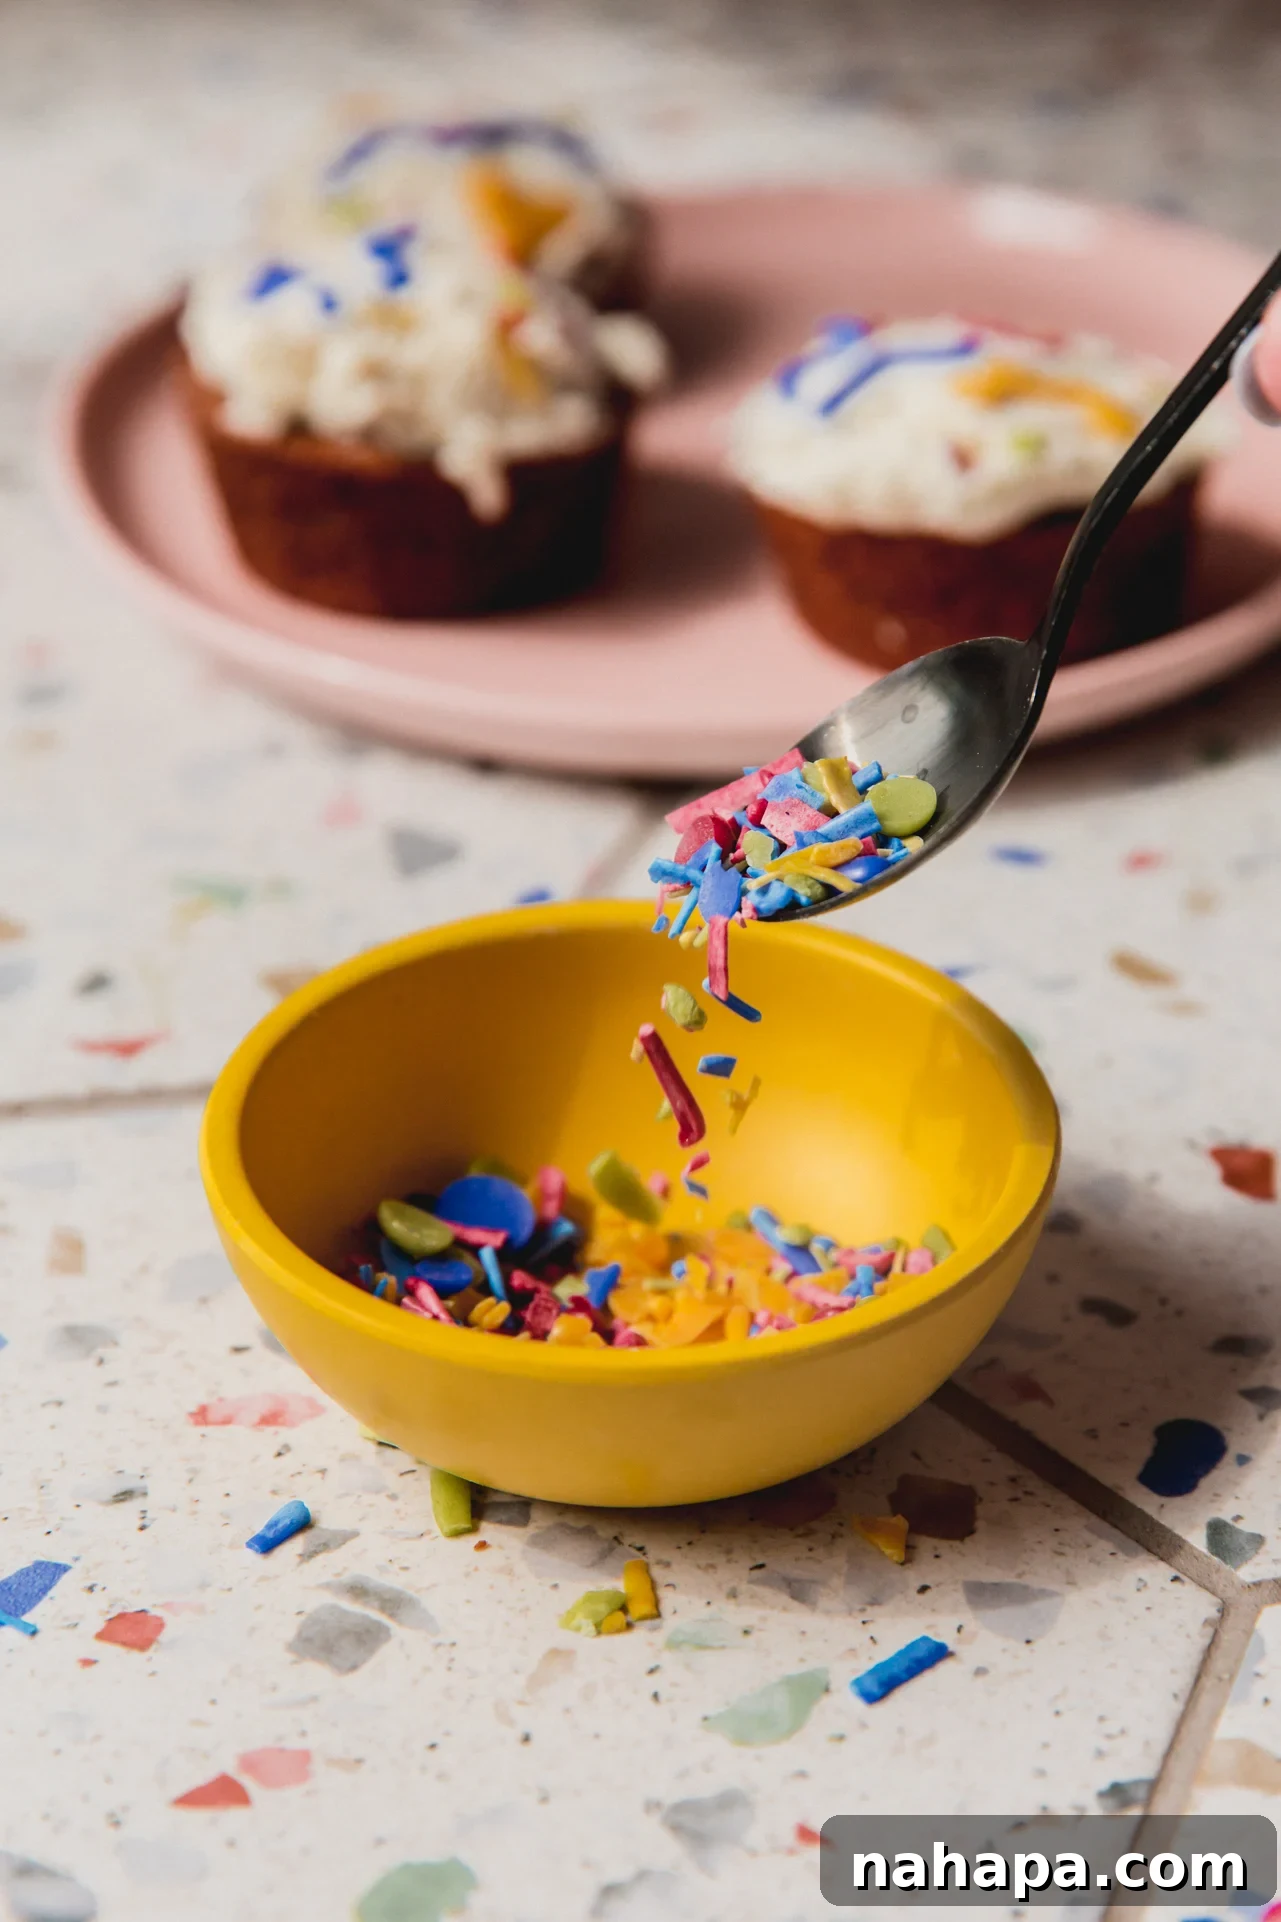
Step six: Break and Enjoy! Once your piped icing lines are completely dry and brittle, it’s time to transform them into sprinkles. Use a spatula or a knife to gently break up the long lines into smaller, classic sprinkle-sized pieces. If you piped shapes, carefully scrape them off the parchment paper. Store your beautiful homemade sprinkles in an airtight container, and get ready to add a burst of natural color and joy to your favorite desserts!
Michelle’s Expert Tips & Tricks for Perfect Homemade Sprinkles 🤓
Achieving bakery-worthy homemade sprinkles is easier with a few insider tips. Here are some of my favorite tricks to ensure your sprinkle-making adventure is a complete success:
- Pipe in Straight, Consistent Lines for a Classic Look: For those timeless rod-shaped sprinkles, focus on piping straight, even lines. The trick is to maintain consistent pressure on your piping bag and move your hand at a steady pace. Once the lines are completely dry and firm, simply use a sharp knife or a clean spatula to chop them into smaller, uniform pieces. This method yields beautifully symmetrical sprinkles.
- Get Creative with Shapes – Even Use Stencils! Don’t limit yourself to traditional lines. This is where the fun of customization truly shines! You can easily pipe freehand shapes like small dots, tiny hearts, or stars directly onto the parchment paper. For perfectly uniform and intricate designs, consider using a specialized sprinkles stencil. Simply lay the stencil over your parchment paper and pipe the icing into the cutouts. Peel the stencil away carefully before the icing dries.
- Mix and Match Colors for Endless Possibilities: The world of natural food coloring is vast and exciting! The color options are truly limitless. Beyond the individual colors listed in the recipe, you can easily combine powders to create new shades. For example, blend blue spirulina and a touch of beet powder for a gorgeous purple. Turmeric and beet powder can create a vibrant orange. Experiment with different ratios to discover your unique color palette for any occasion.
- No Piping Bags? No Problem! Use a Sandwich Bag: If you don’t have specialized piping bags on hand, a regular plastic sandwich bag or freezer bag works just as well in a pinch. Simply spoon your colored icing into one corner of the bag, twist the top to seal, and then snip a tiny corner off the bottom for a makeshift piping bag. Ensure the cut is small to maintain control over the sprinkle thickness.
- Humidity Matters: The drying time for your sprinkles can significantly vary based on your local climate. In humid environments, they might take longer to dry completely. If you live in a very humid area, consider using a dehydrator on a very low setting (if you have one) or placing them near a fan, ensuring they are loosely covered to protect them from dust.
Homemade Sprinkles: Your Questions Answered
Yes, eventually all sprinkles, including homemade ones, will expire, though they have a remarkably long shelf life when stored correctly. If you keep your homemade sprinkles in a clean, airtight glass container in a cool, dry place away from direct sunlight and humidity, they can last for up to a year. Ensure they are completely dry before storing to prevent mold or stickiness.
No fancy equipment is required to dry these delightful sprinkles! The simplest and most effective method is to allow them to air dry at room temperature. After piping them onto parchment paper, leave them undisturbed on your counter overnight. I find it helpful to loosely cover them with a clean, light tea towel or another sheet of parchment paper to protect them from dust or any curious fruit flies while they dry.
For optimal results, I highly recommend allowing your homemade sprinkles to dry overnight, or for a minimum of 12 hours. This duration ensures they become completely hard and brittle, which is essential for that perfect sprinkle texture and long-term storage. However, drying time can vary based on the humidity levels in your specific climate and the thickness of your piped icing lines.
Absolutely! This recipe is naturally vegan and gluten-free. All the ingredients – powdered sugar (ensure it’s cornstarch-free if that’s a concern, or verify the cornstarch used is gluten-free), vanilla extract, water, and natural food powders – are plant-based. This makes them a fantastic, inclusive option for a wide range of dietary preferences and needs.
Consistency is key for pipeable icing. If your icing is too thin, it will spread and not hold its shape. Gradually add a little more sifted powdered sugar until you reach the desired thick consistency. If your icing is too thick and hard to pipe, add a tiny drop of water (literally a quarter of a teaspoon at a time) and stir until it loosens up enough to pipe smoothly.
If you tried these Homemade Sprinkles or any other delightful recipe on my blog, please take a moment to leave a 🌟 star rating and share your experience in the 📝 comments section below. Your feedback means the world! Thanks for visiting!
Delightful Gluten-Free Recipes to Use Your Sprinkles With…
Now that you’ve mastered the art of homemade sprinkles, it’s time to put them to good use! Here are some of my favorite gluten-free recipes that would be absolutely perfect for a sprinkle shower:
- Homemade Copycat Dunkaroos
- Festive Funfetti Cookie Pizza
- Vibrant Funfetti Pink Sugar Cookie Bars
- Simple vanilla or chocolate cupcakes (any gluten-free recipe will do!)
- Decorating sugar cookies for holidays or special occasions
- Sprinkled on top of a healthy smoothie bowl for a fun crunch
Homemade Sprinkles {without corn syrup}
Leave a Review
Pin Recipe
Want to save this for later?
Just drop your name and email below. Then we’ll email right to your inbox. ✉️
Ingredients
- 1 cup powdered sugar
- ¼ tsp vanilla extract
- 2 tbsp water
- ¼ tsp matcha, for green sprinkles
- ¼ tsp turmeric, for yellow sprinkles
- ¼ tsp blue spirulina, for blue sprinkles
- ¼ tsp beet powder, for red sprinkles
Instructions
-
Sift the powdered sugar in a bowl with a sifter or fine mesh strainer to remove any clumps. This ensures a smooth icing.
-
Add the vanilla extract and water to the sifted powdered sugar. Stir well until a very thick, smooth icing forms. The consistency should be firm enough to hold its shape when piped.
-
Separate the icing into four bowls (you’ll have about 1 tbsp per bowl) and add 1/4 tsp of natural food coloring to each bowl (e.g., matcha for green, turmeric for yellow, blue spirulina for blue, beet powder for red). Stir well until the color is fully incorporated and vibrant.
-
Spoon each colored icing into four different piping bags and push the icing down to the bottom. Cut a very small tip off of each piping bag. A smaller cut makes thinner sprinkles.
-
Prepare a large, flat surface, such as a cutting board or large baking sheet, by covering it with parchment paper. I find it helpful to tape the parchment paper down to prevent it from moving!
-
Working with one color at a time, pipe the icing onto the parchment paper. For classic sprinkles, pipe long, straight lines of each color, leaving a small space between them. You can also pipe dots, hearts, or other shapes if desired. Repeat with all of the icing until it’s all piped out.
-
Allow the sprinkles to dry at room temperature overnight, or for at least 12 hours. They must be completely dry and brittle before proceeding.
-
Once completely dry, use a spatula or a knife to gently break up the piped lines to make classic rod-shaped sprinkles. If you piped shapes, carefully scrape them off the parchment paper.
-
Transfer the dried homemade sprinkles to an airtight container and store them in a cool, dry place until you’re ready to use them to decorate your treats!