
This post contains affiliate links.
Indulge Guilt-Free: The Ultimate Dairy-Free Salted Caramel Pumpkin Cheesecake (Paleo & AIP Friendly)
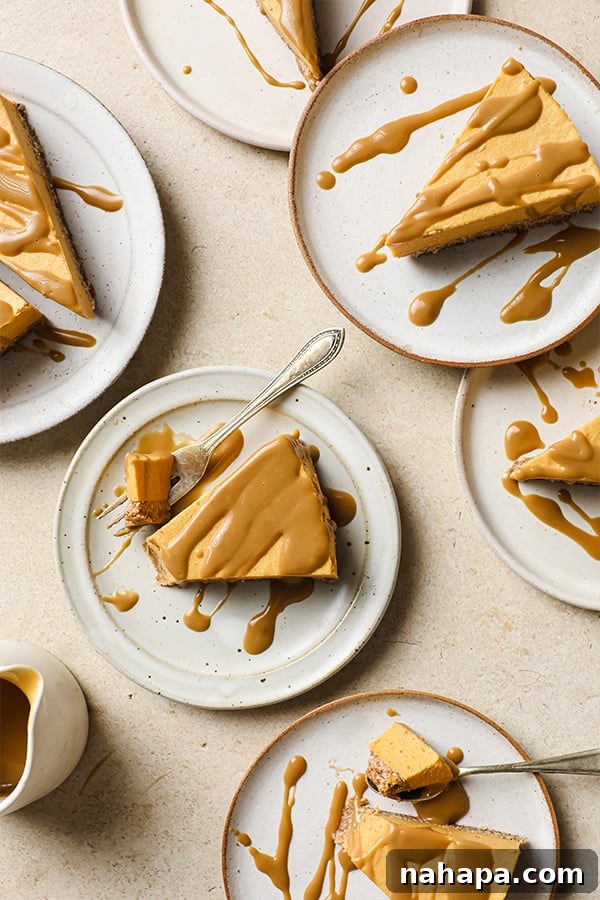
Prepare to delight your taste buds and impress your guests with this extraordinary Salted Caramel Pumpkin Cheesecake. This isn’t just any dessert; it’s a luscious, decadent fall treat that proudly caters to various dietary needs without compromising on flavor or texture. Whether you’re navigating dairy-free, gluten-free, paleo, or even the strict Autoimmune Protocol (AIP), this recipe ensures you can enjoy a truly spectacular cheesecake experience.
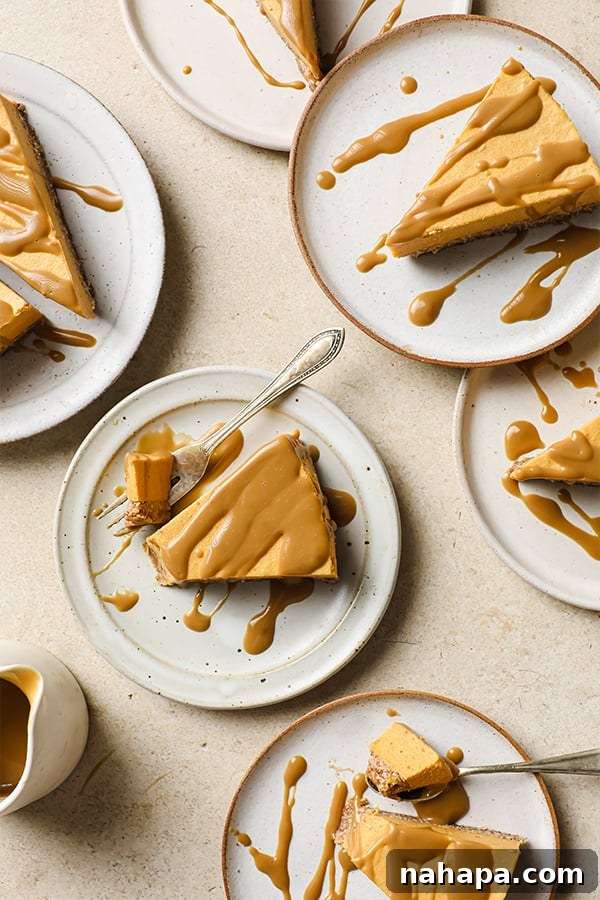
Cheesecake holds a special place in the hearts of dessert lovers worldwide, offering that signature creamy texture and rich flavor. For those with dietary restrictions, saying goodbye to such a beloved classic can be disheartening. However, with this innovative recipe, you absolutely don’t have to! Our seasonal Dairy-Free Salted Caramel Pumpkin Cheesecake brings all the comforting tastes of autumn and winter holidays to your table, making it an ideal showstopper for Thanksgiving, Christmas, or any festive gathering.
This dessert proves that wholesome ingredients can create something truly indulgent. The combination of sweet pumpkin, warm spices, a rich caramel topping, and a perfectly crafted crust makes this cheesecake an unforgettable culinary journey. It’s not just a substitute; it’s a celebration of flavor and health, proving that deliciousness knows no bounds, even when adhering to specific dietary guidelines.
Why Choose a Dairy-Free, Gluten-Free, Paleo, and AIP Cheesecake?
For many, dietary choices are not just preferences but necessities for health and well-being. This cheesecake is specifically designed to accommodate several common dietary restrictions:
- Dairy-Free: Traditional cheesecakes rely heavily on cream cheese. Our recipe utilizes the incredible richness of coconut cream to achieve that characteristic smooth, tangy, and creamy texture without any dairy products, making it perfect for those with lactose intolerance or dairy allergies.
- Gluten-Free: The crust is made from naturally gluten-free ingredients, ensuring that individuals with celiac disease or gluten sensitivity can enjoy every bite without worry.
- Paleo: This recipe adheres to paleo principles by using whole, unprocessed ingredients. We avoid refined sugars, grains, and dairy, focusing on natural sweeteners and healthy fats.
- AIP-Friendly: The Autoimmune Protocol (AIP) is a stricter version of paleo designed to help reduce inflammation. This cheesecake is carefully crafted to exclude common inflammatory ingredients like nuts, seeds (though some AIP individuals reintroduce coconut early, always check personal tolerance), and nightshades, ensuring it’s suitable for those following the protocol.
Crafting a dessert that meets all these criteria while still tasting incredible is a testament to thoughtful ingredient selection and preparation. This pumpkin cheesecake is a shining example of how healthy eating can still be utterly delicious.
Essential Ingredients for Your Paleo & AIP Pumpkin Cheesecake
The success of this extraordinary cheesecake lies in a few key ingredients. Each one plays a crucial role in achieving the perfect texture, flavor, and adherence to dietary guidelines.
- Coconut Cream: This is the star of our dairy-free cheesecake filling. For the best results, opt for full-fat, unsweetened coconut cream, ideally chilled overnight in the refrigerator. This allows the thick cream to separate from the liquid, providing a denser, richer base for your cheesecake, mimicking the consistency of traditional cream cheese. It’s vital for that luxurious, smooth texture.
- Pumpkin Puree: The heart of our pumpkin cheesecake! Ensure you use 100% pure pumpkin puree, not pumpkin pie filling, which often contains added sugars and spices. Pure pumpkin brings natural sweetness, a vibrant color, and that unmistakable fall flavor, while also being nutrient-dense.
- Gelatin: As a no-bake cheesecake, gelatin is indispensable for setting the filling. It provides structure and a firm, sliceable texture without the need for baking. Unlike collagen, which dissolves readily in liquids and doesn’t typically gel, or eggs that require heat to set, gelatin creates a stable, jiggly, yet firm consistency perfect for a cheesecake. Always bloom your gelatin properly for optimal results.
- Shredded Coconut & Dates: These two ingredients form the foundation of our simple yet delicious no-bake crust. Shredded coconut adds a subtle texture and hint of tropical sweetness, while pitted dates act as a natural binder and sweetener, creating a sticky, pliable crust that comes together effortlessly in a food processor. This combination eliminates the need for grains or refined sugars.
- Maple Syrup: A wonderful natural sweetener that is AIP-compliant. It complements the pumpkin and adds depth to the cheesecake filling.
- Cinnamon: The quintessential spice for pumpkin desserts. It brings warmth and aroma, enhancing the overall fall flavor profile.
- Coconut Oil: Used in the crust, melted coconut oil helps bind the ingredients together and adds a touch of richness, ensuring the crust sets firmly.
- Coconut Sugar: For the salted caramel topping, coconut sugar is a paleo and AIP-friendly alternative to refined white sugar, offering a rich, molasses-like flavor that deepens the caramel’s complexity.
- Salt Flakes: Essential for balancing the sweetness of the caramel, the salt flakes add that perfect “salted caramel” distinction and a delightful textural crunch.
Crafting Your Dairy-Free Caramel Pumpkin Cheesecake: Step-by-Step
Creating this magnificent cheesecake is a straightforward process, thanks to its no-bake nature. Follow these steps carefully for a perfect result every time.
1. Prepare the Crust
- Line the Pan: Begin by lining the base of a 7-8 inch springform pan with parchment paper. This step is crucial for easy removal of the cheesecake once set. If you don’t have a springform pan, an 8×8 inch brownie pan can also be used to make delicious cheesecake bars.
- Soften Dates: Place the pitted dates in a bowl and cover them with warm water. Let them soak for about 10 minutes to soften. This makes them much easier to blend into a smooth paste.
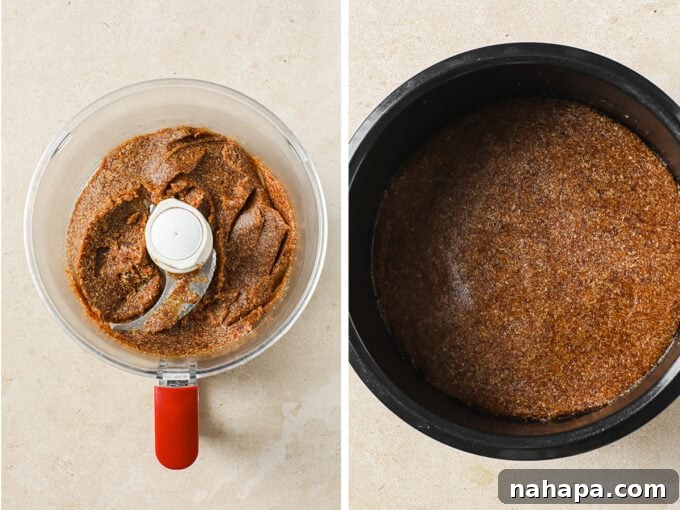
- Blend Crust Ingredients: Drain the softened dates and transfer them to a food processor. Blend until they form a sticky paste. Add the shredded coconut and melted coconut oil to the food processor. Continue blending until all ingredients are thoroughly combined and the mixture forms a cohesive, sticky dough. If the mixture seems too dry or isn’t sticking together, add one extra softened date and blend again.
- Press the Crust: Evenly press the crust mixture into the prepared pan, creating a compact and firm base. Use the back of a spoon or your fingers to flatten it. Set the pan aside and clean out your food processor for the next step.
2. Prepare the Cheesecake Filling
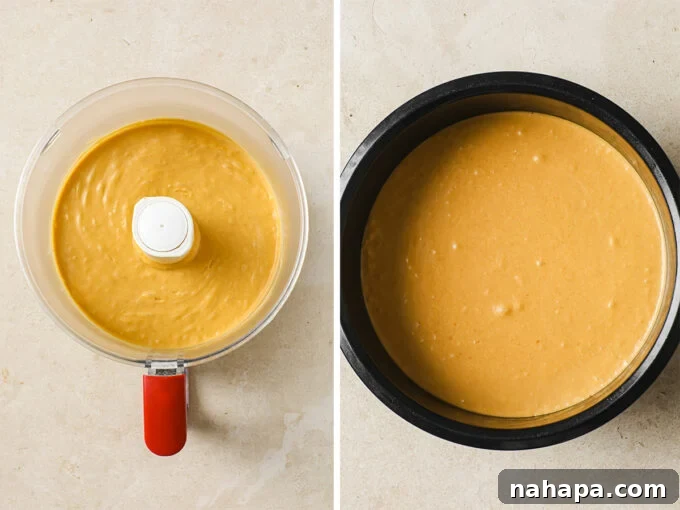
- Combine Main Filling Ingredients: In the cleaned food processor, combine the chilled coconut cream, pumpkin puree, cinnamon, and maple syrup. Blend for 10-15 seconds, or until the mixture is completely smooth and well-incorporated. The goal is a homogenous, creamy pumpkin base. Set this mixture aside.
- Prepare Gelatin: Pour ¼ cup of water into a small saucepan. Evenly sprinkle 1 tablespoon of Vital Proteins Gelatin over the water. Allow the gelatin to sit for 2-3 minutes; this is called “blooming” and allows the gelatin granules to absorb the water and soften, preventing lumps.
- Dissolve Gelatin: Place the saucepan on the stovetop over low heat. Gently warm the mixture, stirring occasionally, until the gelatin is fully dissolved and the mixture becomes a clear liquid. Do not boil. Remove from heat immediately.
- Emulsify Gelatin: Use a whisk or a milk frother to blend the warm gelatin mixture until it becomes frothy. This helps ensure it’s fully integrated into the filling without clumping.
- Add Gelatin to Filling: Pour the frothy gelatin mixture into the food processor with the pumpkin cream mixture. Blend for another 5-10 seconds to ensure the gelatin is thoroughly mixed into the cheesecake filling.
3. Set the Cheesecake
- Pour and Chill: Carefully pour the creamy pumpkin filling over the prepared crust in the springform pan. Gently tap the pan on the counter a few times to release any air bubbles and ensure an even surface.
- Refrigerate: Place the cheesecake in the refrigerator for a minimum of 5-6 hours to harden. For best results and optimal firmness, chilling overnight is highly recommended. The cheesecake must be fully solidified before attempting to slice it.
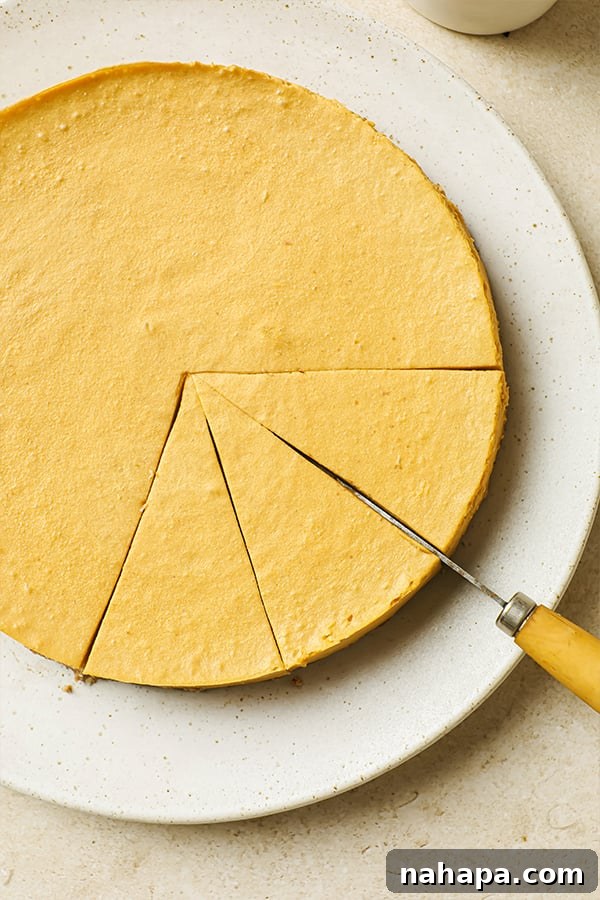
4. Top with Homemade Caramel and Enjoy!
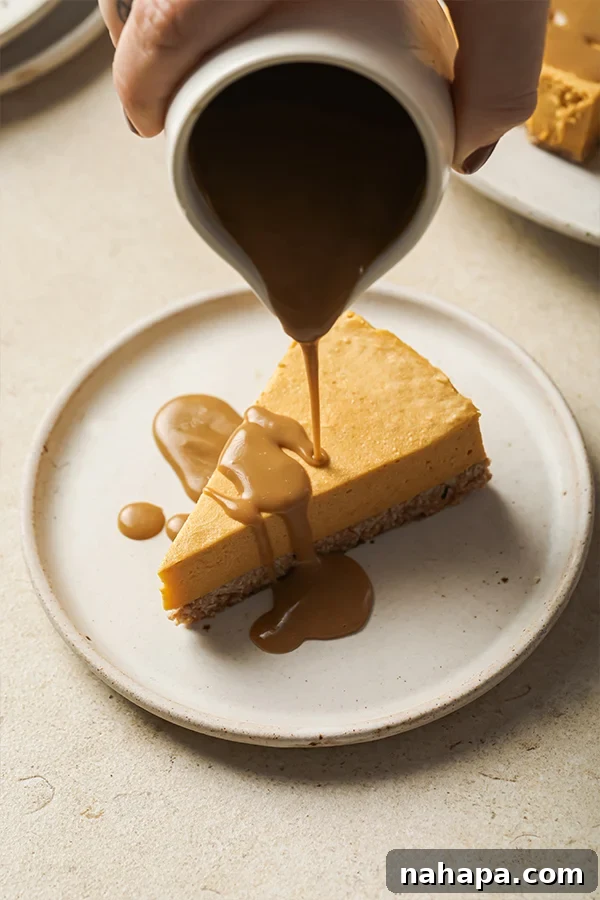
- Make the Caramel: Once your cheesecake is set and ready to serve, prepare the salted caramel topping. In a small saucepan, combine ½ cup of coconut cream and ¼ cup of coconut sugar over medium heat. Stir continuously until the sugar dissolves and the mixture is well combined. Bring the mixture to a low boil, then reduce the heat to a low simmer. Continue to simmer, stirring frequently, for about 10 minutes, or until the caramel reduces, thickens, and achieves a beautiful golden-brown color.
- Drizzle and Serve: Immediately remove the caramel from the heat and generously drizzle it over the chilled cheesecake. Finish with a sprinkle of salt flakes for that perfect sweet and savory balance. Slice, serve, and savor this incredible dessert!
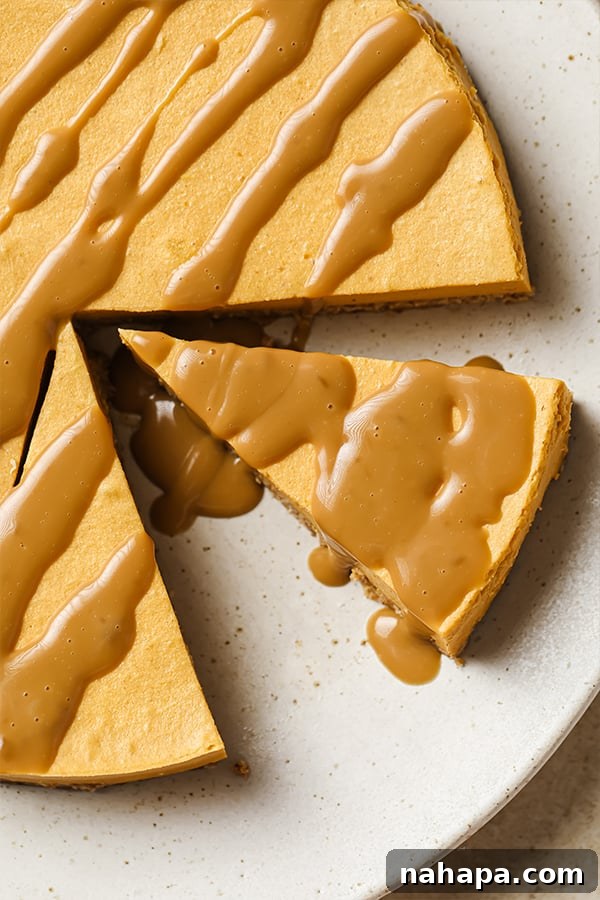
Frequently Asked Questions About This Dairy-Free Pumpkin Cheesecake
Can I use a regular egg instead of gelatin?
No, for this specific recipe, a regular egg cannot be used in place of gelatin. This is a no-bake cheesecake, meaning the filling is not cooked in an oven. Regular eggs require heat to set and thicken, which is why they are common in baked custards and cheesecakes. Gelatin, on the other hand, sets as it cools, making it the perfect gelling agent for raw or no-bake preparations.
Can I make this pumpkin cheesecake ahead of time?
Absolutely! This cheesecake is an excellent make-ahead dessert, perfect for holiday planning. You can prepare the entire cheesecake (crust and filling) a day or even two days in advance. Simply keep it covered in the refrigerator until you’re ready to serve. For the best caramel consistency, it’s recommended to prepare the homemade salted caramel fresh just before serving, as it tends to harden when chilled. Drizzle it on right before guests arrive for that warm, gooey perfection.
Can I make this recipe coconut-free?
While we understand the desire for coconut-free options, this particular recipe relies heavily on coconut cream to achieve its rich, creamy, and authentic cheesecake-like texture without dairy. Coconut cream provides the ideal fat content and consistency that is difficult to replicate with other AIP-friendly alternatives. We have not tested this recipe with substitutes like cashew cream or almond cream, as those are not AIP-compliant and may alter the flavor and texture significantly. For this specific recipe, coconut cream is the best option to achieve the desired results.
Tips for a Perfectly Set and Delicious Cheesecake
- Chill Your Coconut Cream: Always chill your cans of coconut cream in the refrigerator overnight. This allows the thick cream to separate from the watery liquid. Scoop out only the thick, solid cream for the cheesecake filling.
- Bloom Gelatin Properly: Don’t skip the blooming step. Sprinkling gelatin over cold water and letting it sit ensures it hydrates evenly, preventing lumps when you warm it.
- Don’t Over-Simmer Caramel: When making the caramel, keep a close eye on it. Over-simmering can result in a hard, brittle caramel, while under-simmering will leave it too runny. Aim for a thick, syrupy consistency that coats the back of a spoon.
- Patience is Key for Setting: A minimum of 5-6 hours of chilling is crucial for the cheesecake to set properly. Rushing this step will result in a soft, unstable cheesecake. Overnight chilling yields the best firm, sliceable results.
- Warm Knife for Slicing: For clean slices, dip your knife in hot water and wipe it clean between each cut.
Serving Suggestions and Variations
This Salted Caramel Pumpkin Cheesecake is a showstopper on its own, but here are some ideas to enhance your serving experience:
- Garnish: Beyond the salted caramel, consider a sprinkle of extra cinnamon or a few toasted (AIP-reintroduced) coconut flakes for added visual appeal and texture.
- Individual Servings: Instead of a whole cake, you can prepare this in individual ramekins or small dessert cups for elegant single servings. Adjust chilling time accordingly.
- Spice it Up: While cinnamon is key, you could add a pinch of AIP-friendly ground ginger or nutmeg to the filling for a more complex pumpkin spice flavor profile, if desired and tolerated.
- Pairing: Serve alongside a warm cup of herbal tea or a dairy-free coffee for the ultimate cozy autumn treat.
This Salted Caramel Pumpkin Cheesecake is more than just a recipe; it’s an invitation to enjoy the flavors of the season without compromise. Its rich taste, creamy texture, and mindful ingredients make it a truly special dessert for everyone at your table.
You’ll also love these delicious and healthy fall recipes:
- Pumpkin Pie Bars
- Paleo Pumpkin Roll
- Caramel Apple Pie Bars
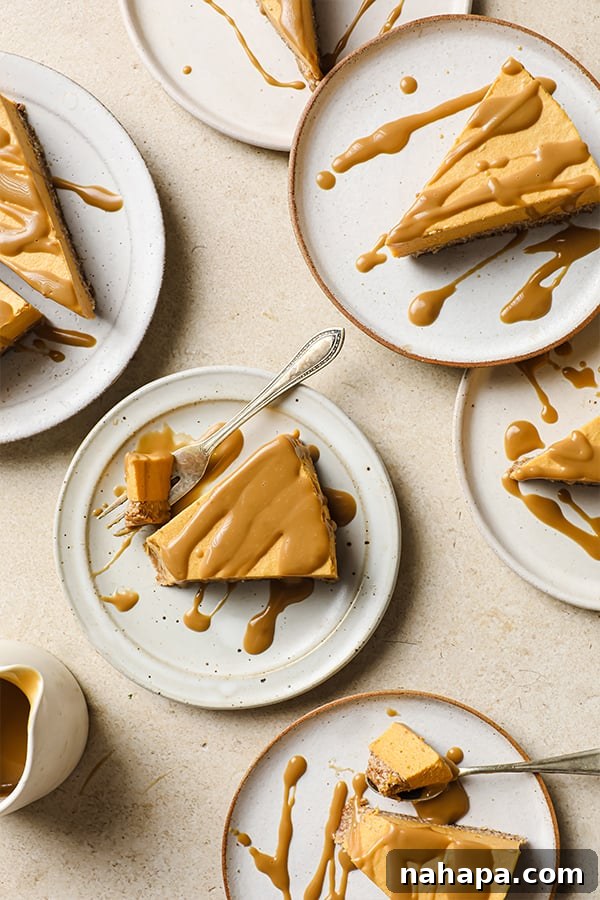
Salted Caramel Pumpkin Cheesecake
Leave a Review
Pin Recipe
Want to save this for later?
Sign up for our newsletter to have this recipe emailed right to your inbox. ✉️
Ingredients
For the crust
- 10-11 dates, pitted
- 1 cup shredded coconut
- 1 tbsp coconut oil, melted
For the cheesecake
- 1 ½ cup coconut cream
- ½ cup + 3 tbsp pumpkin puree
- 2 tbsp maple syrup
- 1 tsp cinnamon
- 1 tbsp Vital Proteins Gelatin
- ¼ cup water
For the caramel
- ½ cup coconut cream
- ¼ cup coconut sugar
- ¼ tsp salt flakes
Instructions
For the crust
-
Line the base of a 7-8″ springform pan with parchment paper and set aside. See notes for alternatives.
-
Soak the dates in warm water for 10 minutes to soften.
-
Using a food processor, blend the dates. Add the shredded coconut and coconut oil and blend until fully combined. Add an extra date if the crust is not sticking.
-
Evenly the crust mixture into the pan and set aside. Clean out the food processor for the next step.
For the cheesecake filling
-
Combine the coconut cream, pumpkin puree, cinnamon, and maple syrup in the food processor for 10-15 seconds or until fully incorporated. Set aside.
-
Pour the water into a small saucepan and evenly sprinkle the gelatin over the water. Allow to sit for 2-3 minutes to allow to harden. Place on the stovetop set to low heat until the mixture comes to liquid. Remove from heat. Use a whisk or milk frother to blend the gelatin mixture until frothy.
-
Add the gelatin mixture into the food processor and mix for another 5-10 seconds.
-
Carefully pour the filling over the crust and place in the refrigerator for a minimum for 5-6 hours to harden, or overnight. The cheesecake should be fully solidified before slicing.
For the caramel
-
Once the cheesecake is ready to serve, combine the coconut cream, and sugar in a saucepan over medium heat and stir to combine. Bring to a low boil, and reduce to a low simmer, stirring often. Simmer for about 10 minutes, or until the caramel is reduced and browned.
-
Immediately drizzle the caramel over the cheesecake and top with salt.
Notes
If making the cheesecake ahead of time, wait to make the caramel fresh before serving.
All nutritional information are estimations and will vary. Estimations do not include optional ingredients.
This recipe was published in 2019 and updated in 2022. Photos byJo Harding.