
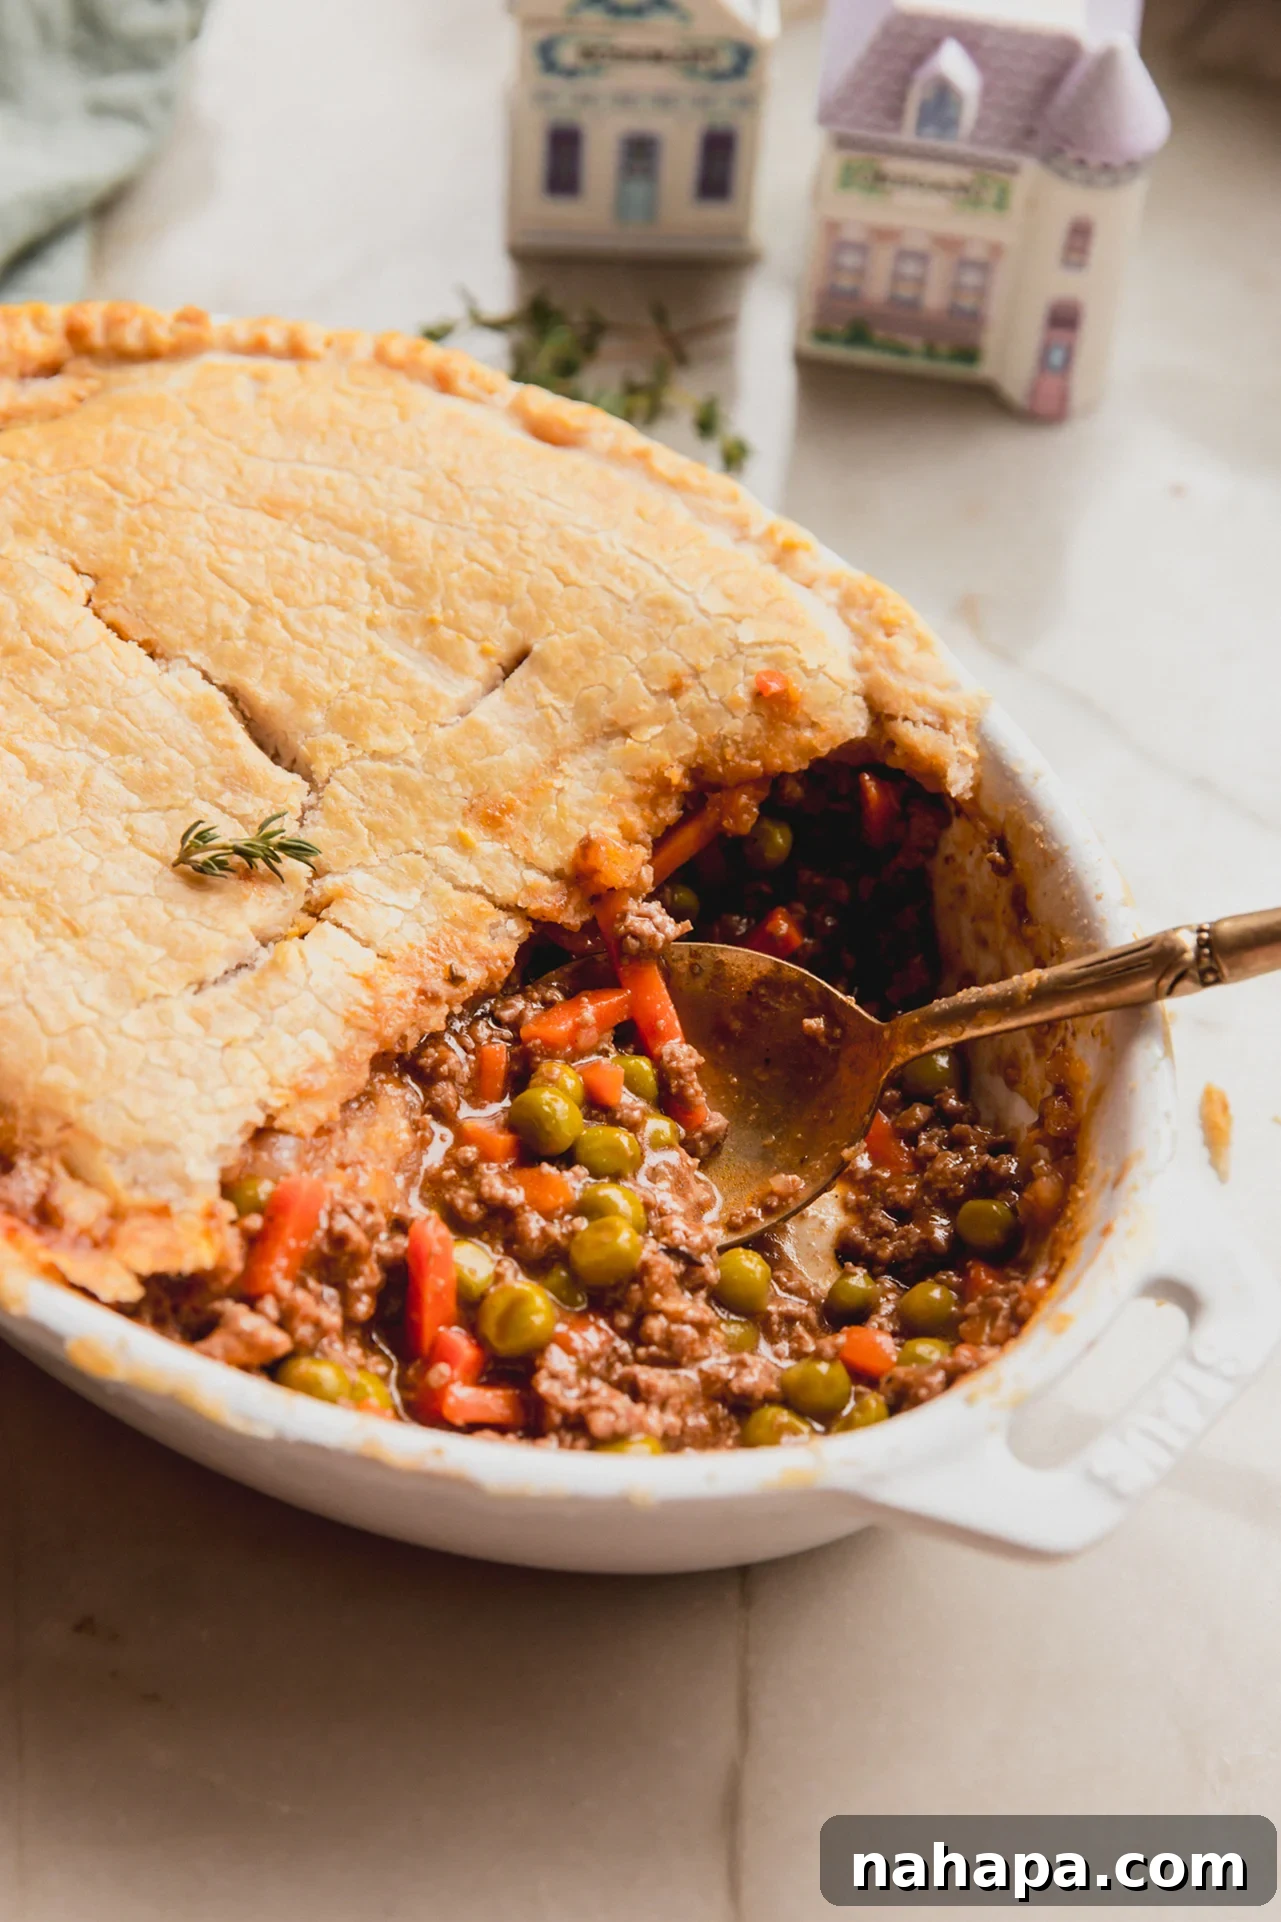
Ultimate Gluten-Free & Dairy-Free Beef Pot Pie: A Comforting Family Favorite
Craving a hearty, comforting meal that satisfies the soul without compromising dietary needs? Look no further than this incredible gluten-free beef pot pie. It’s the perfect family meal, crafted to deliver maximum flavor and warmth in every bite. This recipe stands out with its uniquely tender and flaky cassava flour crust, encasing a rich, savory ground beef filling, all completely free of dairy. It’s a testament to how delicious allergen-friendly eating can be.
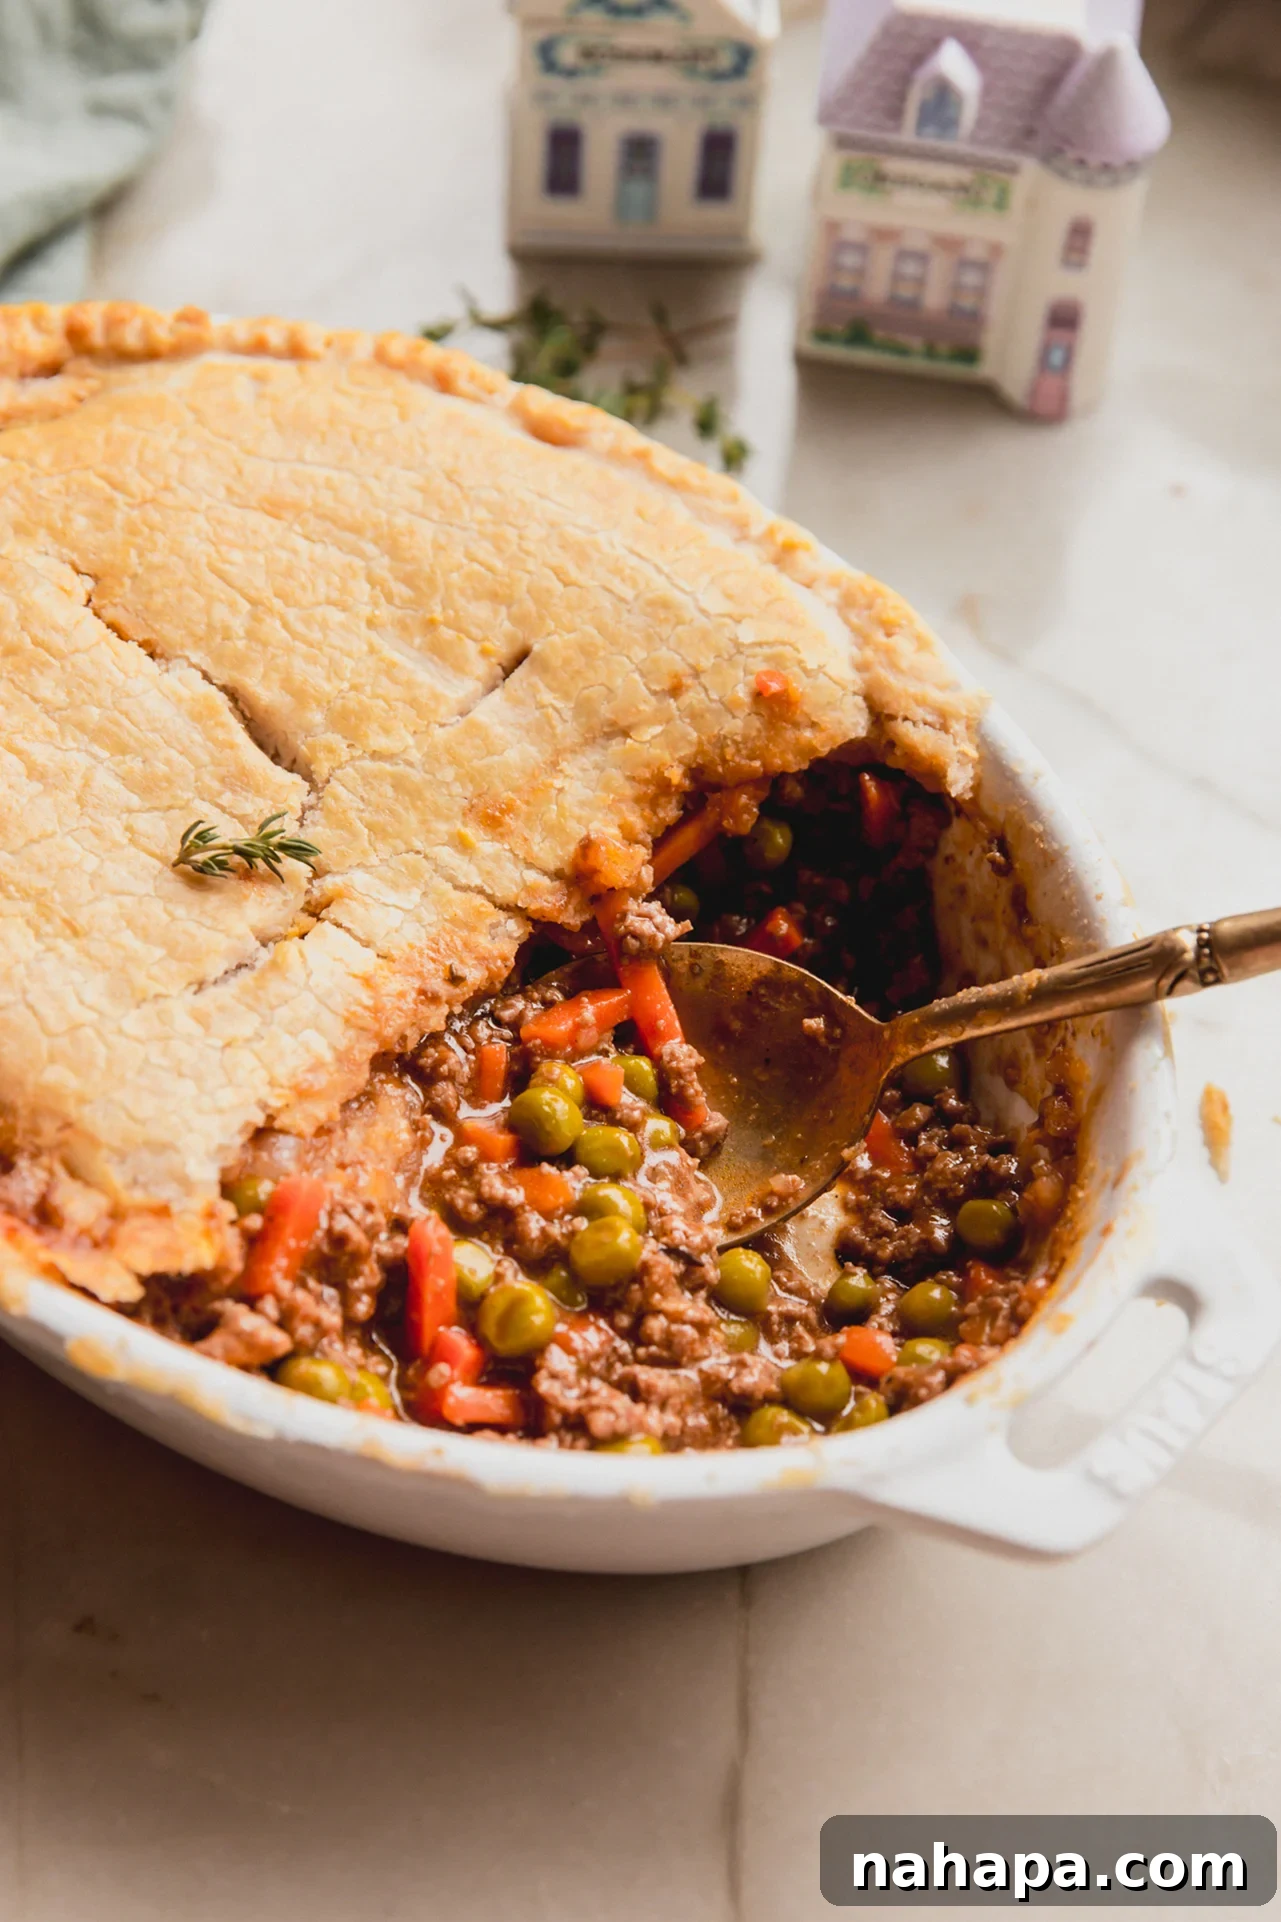
Why You’ll Adore This Hearty Gluten-Free Beef Pot Pie
Pot pie holds a special place in many households, and mine is no exception. It’s the kind of dish that brings everyone to the table, evoking feelings of nostalgia and pure comfort. While chicken pot pie often steals the spotlight, this beef version offers a robust and equally satisfying alternative that deserves its own fan club. My family often requests pot pie for various occasions, and I frequently experiment with pot pie-inspired creations like my popular AIP chicken pot pie and gluten-free chicken pot pie pasta. But today, we’re diving into the rich, savory world of beef pot pie, and here’s exactly why this specific recipe will become your new favorite:

- Economical and Time-Efficient Ground Beef Filling: While a slow-cooked roast or tender stew meat certainly has its charm, using ground beef in this pot pie offers significant advantages in both budget and preparation time. Ground beef cooks quickly and browns beautifully, creating a rich, flavorful base without requiring hours of simmering. This makes it an ideal choice for busy weeknights when you still want a gourmet, comforting meal on the table without the fuss or the higher cost associated with premium cuts. It’s a smart, practical choice that doesn’t compromise on taste.
- A Marvelous Dairy-Free Cassava Flour Crust: The crust is often the crowning glory of any pot pie, and this recipe delivers a truly exceptional one. Crafted with cassava flour, this crust is not only entirely dairy-free but also gluten-free, making it a fantastic option for those with allergies or sensitivities. Cassava flour provides a wonderfully tender and flaky texture that rivals traditional wheat-based crusts, ensuring everyone can enjoy a slice of this comforting pie. It’s a game-changer for allergen-friendly baking, offering a satisfying bite with every spoonful.
- Deeply Savory and Hearty Flavors: The filling is a harmonious blend of well-seasoned ground beef, aromatic vegetables, and a rich, thick gravy infused with beef broth, tomato paste, and a hint of red wine vinegar. This combination creates a depth of flavor that is incredibly satisfying and wholesome. Each ingredient plays a crucial role in building layers of deliciousness, ensuring every mouthful is packed with savory goodness.
- A Wholesome and Nourishing Meal: Beyond being delicious, this pot pie is packed with wholesome ingredients, including lean ground beef and a medley of vegetables, offering a balanced meal. The gluten-free and dairy-free nature means it can be enjoyed by more people, providing comfort without the common allergens. It’s a truly nourishing dish that feeds both body and soul.
- Perfect for Any Occasion: Whether you’re hosting a family dinner, preparing a meal for a special occasion, or simply looking for a cozy dish to warm you up on a chilly evening, this beef pot pie fits the bill perfectly. Its rustic charm and irresistible aroma make it a welcoming presence at any table.
Essential Recipe Ingredients for Your Perfect Pot Pie
Creating this delicious gluten-free beef pot pie starts with a selection of fresh, high-quality ingredients. Each component plays a vital role in building the robust flavors and perfect texture of both the savory filling and the tender crust. Below is a detailed look at what you’ll need, along with some tips for choosing the best options. For the precise measurements, please refer to the full recipe details at the end of this article.
- Ground Beef: For this recipe, I highly recommend using 90/10 lean ground beef. This ratio provides excellent flavor without an excessive amount of grease, ensuring your filling isn’t oily. If you prefer a richer flavor, you could use 80/20, but you might need to drain off more fat after browning. For a healthier option, you could even consider ground turkey or bison, adjusting cooking times as necessary.
- Mixed Vegetables: A classic blend of frozen peas and carrots works wonderfully, adding sweetness, color, and texture. These are convenient and cook quickly. However, feel free to customize! You can easily add other finely diced vegetables such as sweet potato, corn, green beans, or even small broccoli florets. If using fresh vegetables, ensure they are diced small and perhaps blanched or lightly sautéed beforehand to ensure they cook through evenly in the pie.
- Flavor Enhancers: Tomato Paste, Beef Broth, and Red Wine Vinegar: These three ingredients are crucial for building the deep, savory gravy that binds the filling. Tomato paste adds a concentrated umami depth and a beautiful crimson hue. Beef broth provides the liquid base and richness – using a high-quality broth, or even better, a homemade one like my slow cooker beef bone broth, will significantly elevate the flavor. The red wine vinegar acts as a bright counterpoint, cutting through the richness of the beef and adding a subtle tang that rounds out the overall taste profile. You can omit the tomato paste if you need to keep the recipe nightshade-free, though the flavor will be slightly different.
- Cassava Flour (for the crust): This unique flour is the star of our gluten-free crust. Cassava flour is derived from the cassava root and behaves similarly to wheat flour in many recipes, making it an excellent choice for baking. It’s naturally gluten-free and provides a lovely soft and pliable dough that bakes up beautifully tender and flaky. It’s important to note that I have specifically developed this recipe using cassava flour, and I have not tested it with other gluten-free flours, so substitutions for the crust may alter the texture.
- Palm Shortening (for the crust): This is our dairy-free secret weapon for achieving a wonderfully flaky crust. Palm shortening is a solid fat that works similarly to butter in pie crusts, creating pockets of steam during baking that result in a light and tender texture. It’s a fantastic allergen-friendly alternative. If dairy is tolerated and you prefer, you could certainly substitute with unsalted butter, ensuring it’s very cold and cut into small pieces.
- Supporting Crust Ingredients: Gelatin, Salt, Cold Water, Apple Cider Vinegar: Gelatin helps bind the cassava flour dough, improving its elasticity and making it easier to work with, which is key for a gluten-free crust. Salt enhances the overall flavor of the crust. Cold water is essential for creating a flaky pastry, keeping the fat solid until it hits the oven. A touch of apple cider vinegar helps tenderize the crust and adds a subtle depth of flavor.
- Egg (for egg wash): A whisked egg applied to the top of the crust before baking provides a beautiful golden-brown sheen and a slightly crispy finish. If you need an egg-free option, you can simply brush the crust with a little dairy-free milk or olive oil for a similar effect, or omit it entirely.
How to Make This Gluten-Free Beef Pot Pie: A Detailed Guide
Crafting this delightful gluten-free beef pot pie is a straightforward process, broken down into simple, easy-to-follow steps. We’ll start by building the rich, savory filling, then move on to preparing the perfect flaky cassava crust, and finally, assembling and baking your masterpiece. Follow these instructions carefully, and you’ll have a comforting meal ready to impress.
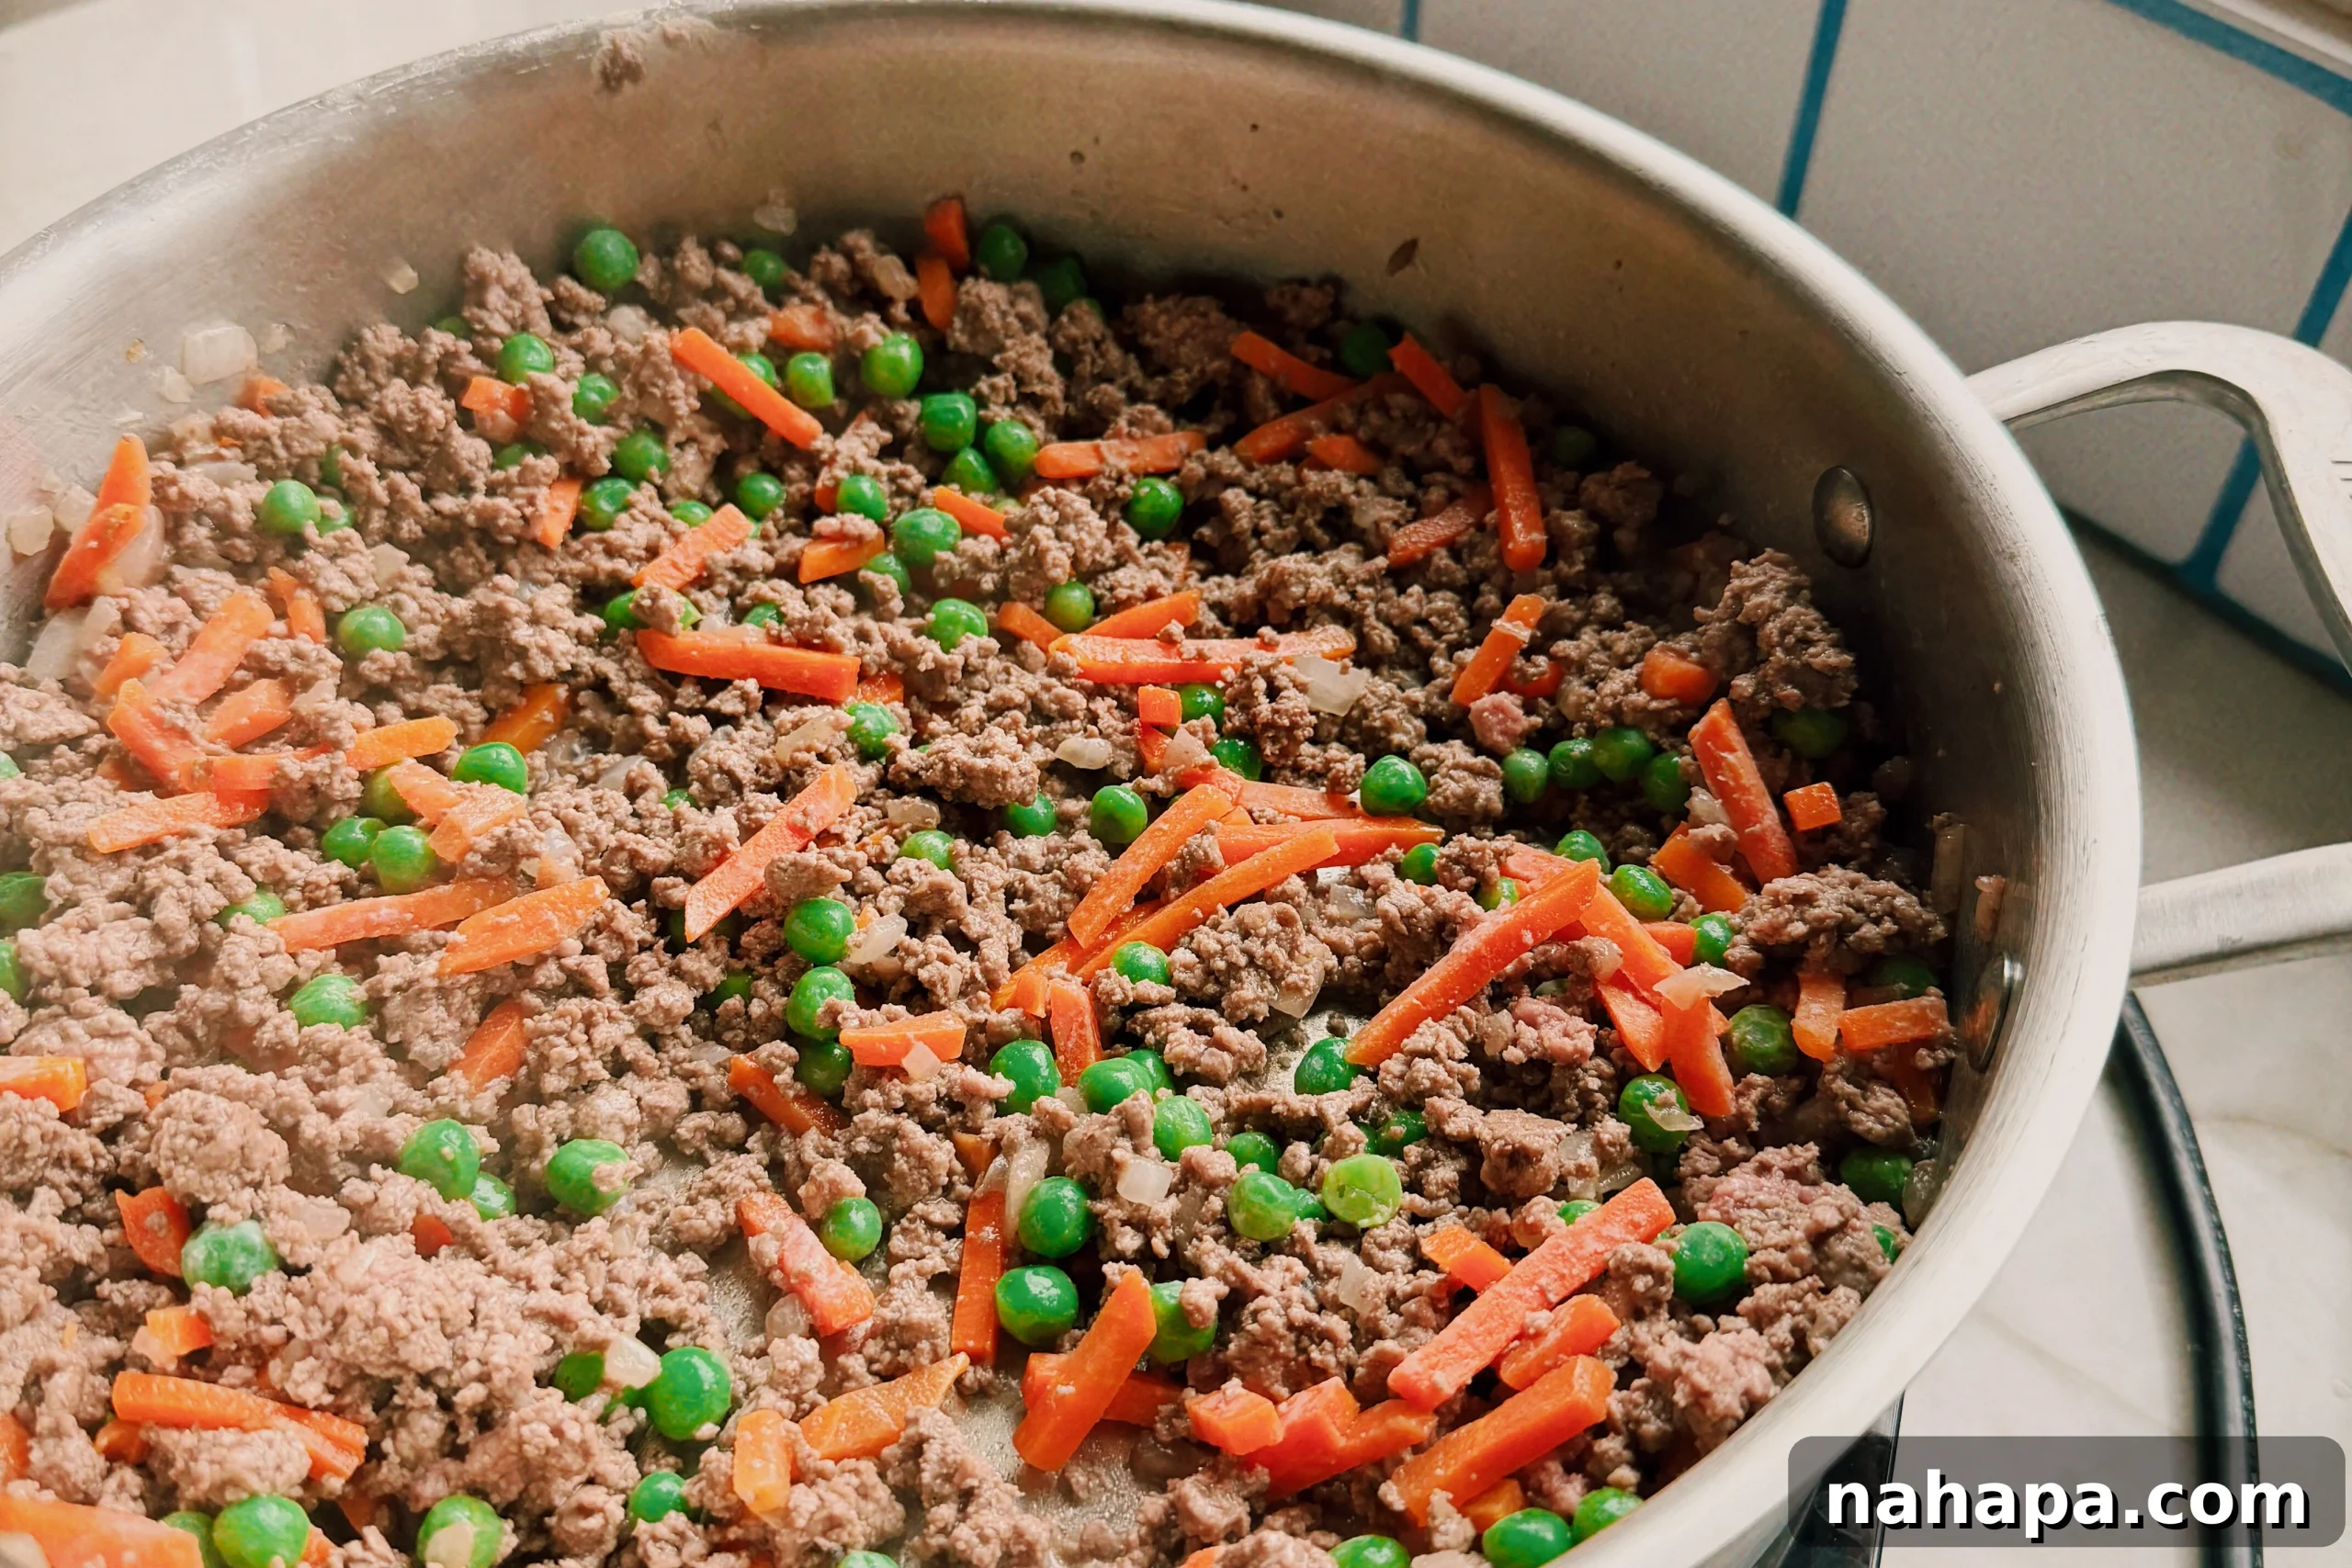
Step One: Prepare the Savory Filling Base. Begin by heating a large, deep skillet or Dutch oven over medium heat. Add the avocado oil and diced yellow onion, sautéing for about 4-5 minutes until the onion becomes soft and translucent, releasing its sweet aroma. Next, add the ground beef to the pan, breaking it apart with a spoon. Season generously with salt and black pepper. Cook the ground beef until it is mostly browned, ensuring no pink remains. Once browned, stir in the minced garlic, dried parsley, dried thyme, and the frozen mixed vegetables (peas and carrots). Continue to cook for another 2 minutes, allowing the flavors to meld and the vegetables to slightly soften.
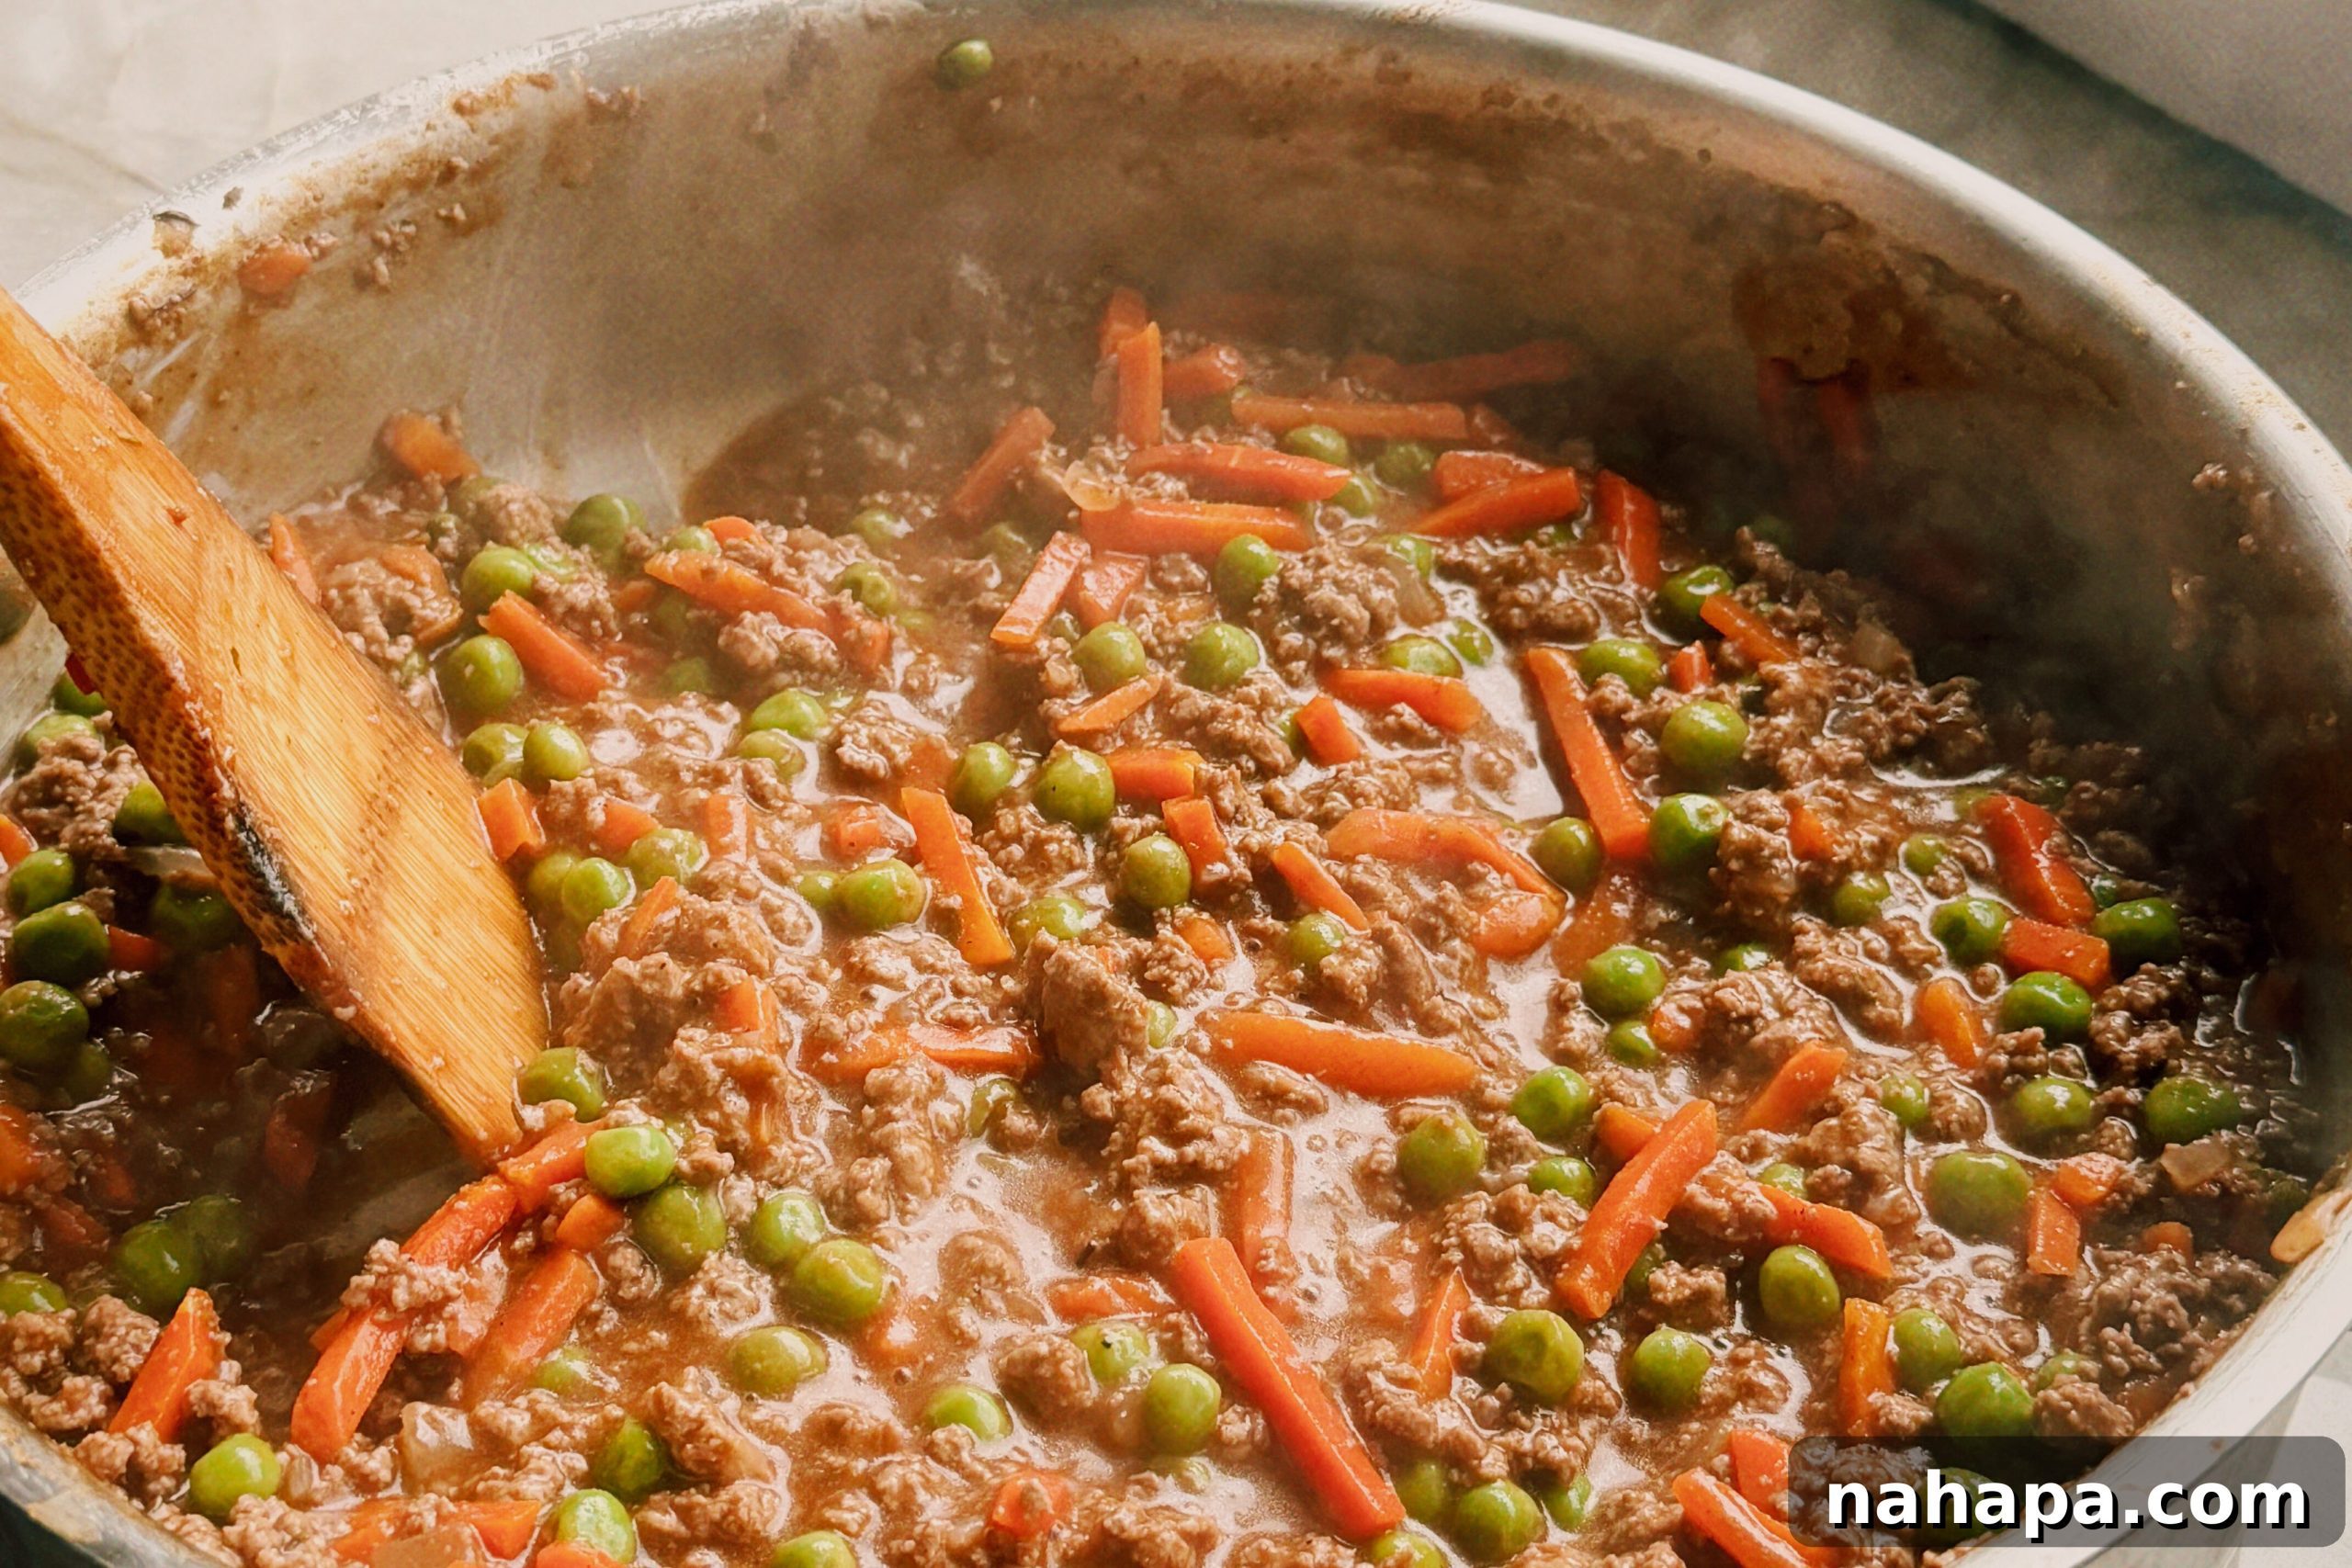
Step Two: Develop the Rich Gravy. Push the beef and vegetables to one side of the pan and add the tomato paste to the clear side. Cook the tomato paste for 3 minutes, stirring it occasionally, until it darkens to a rich crimson color and becomes fragrant. This step deepens its flavor. In a separate small bowl, whisk together the arrowroot starch with the beef broth until smooth. Pour this mixture into the pan, stirring continuously to incorporate it with the beef and vegetables. Make sure to scrape up any browned bits (fond) from the bottom of the pan, as these contribute significantly to the flavor. Add the red wine vinegar and bring the mixture to a gentle simmer. Continue to cook for 5 minutes over low heat, stirring occasionally, until the gravy has thickened to a luscious, spoon-coating consistency. Remove the pan from the heat and set the filling aside to cool completely while you prepare the crust.
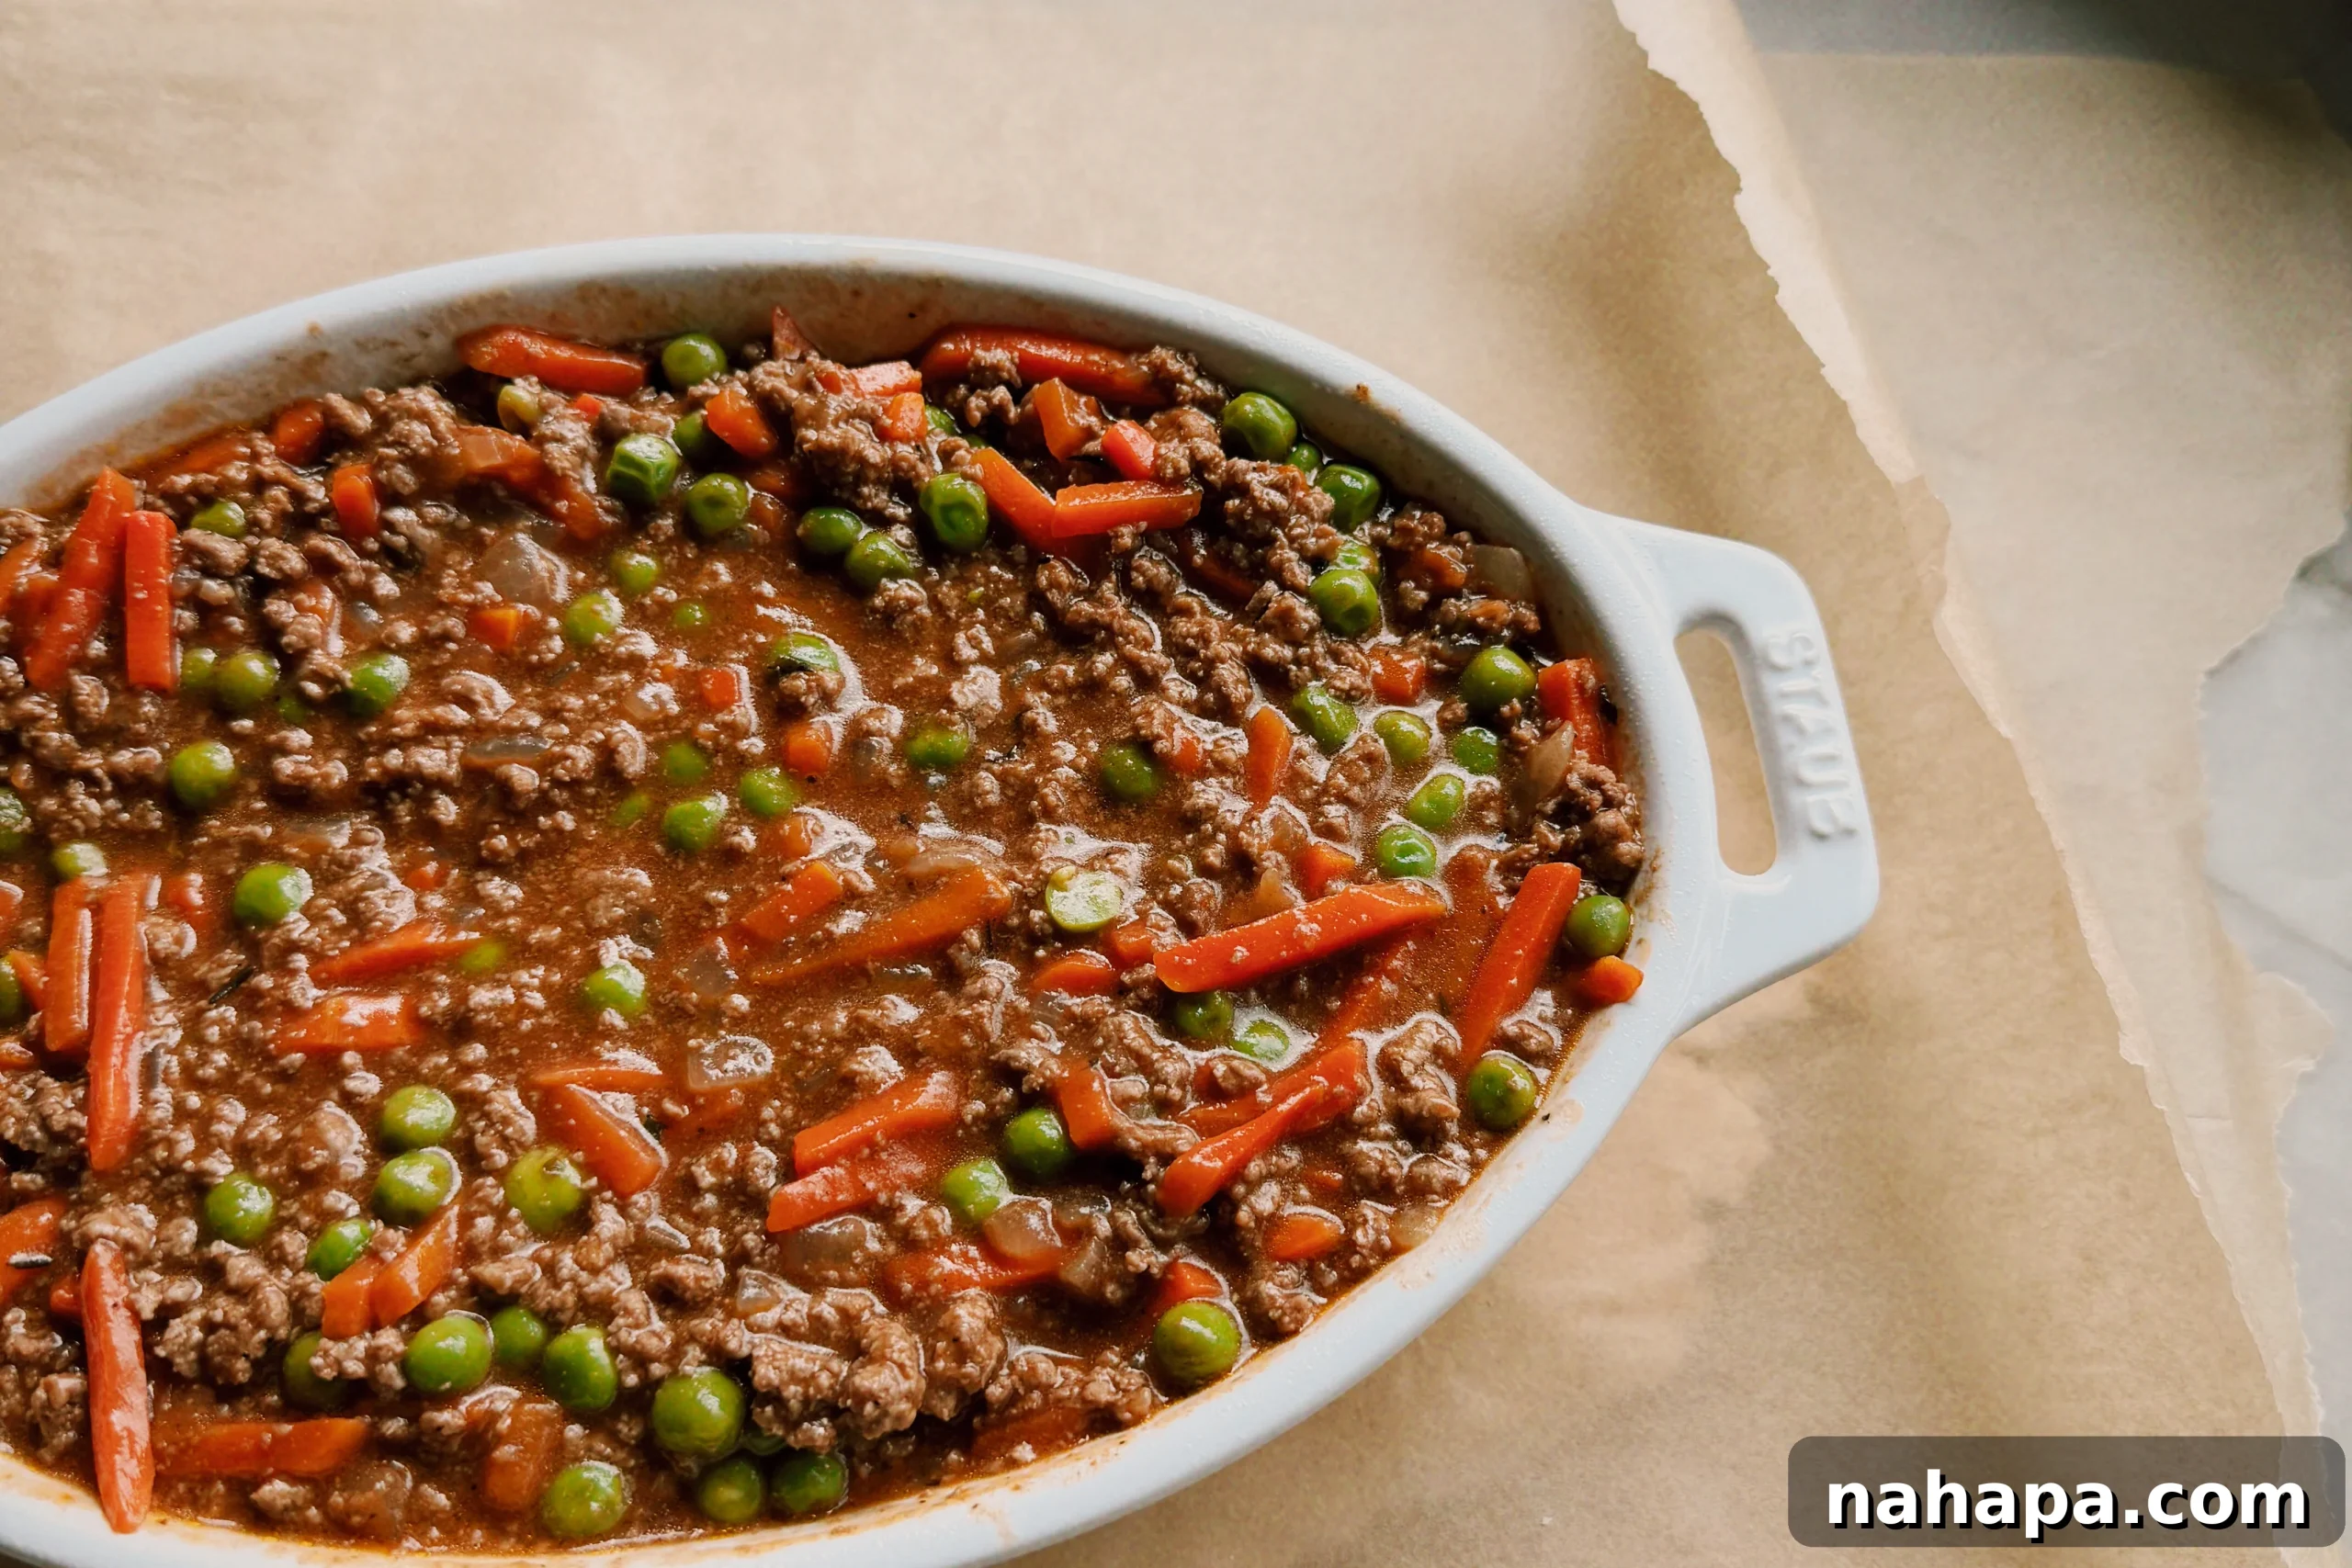
Step Three: Craft the Flaky Cassava Crust. In a large mixing bowl, combine the cassava flour, gelatin, and salt. Whisk these dry ingredients thoroughly to ensure they are well distributed. Add the cold palm shortening (cut into small cubes or pieces) to the flour mixture. Using a pastry cutter or two butter knives, cut the shortening into the flour until the mixture resembles coarse crumbs with some pea-sized pieces of shortening remaining. Slowly stream in the cold water while gently stirring the mixture. Add the apple cider vinegar and continue to mix until the dough just comes together. It should still be slightly crumbly but able to hold its shape when pressed. Avoid overworking the dough, as this can make it tough.
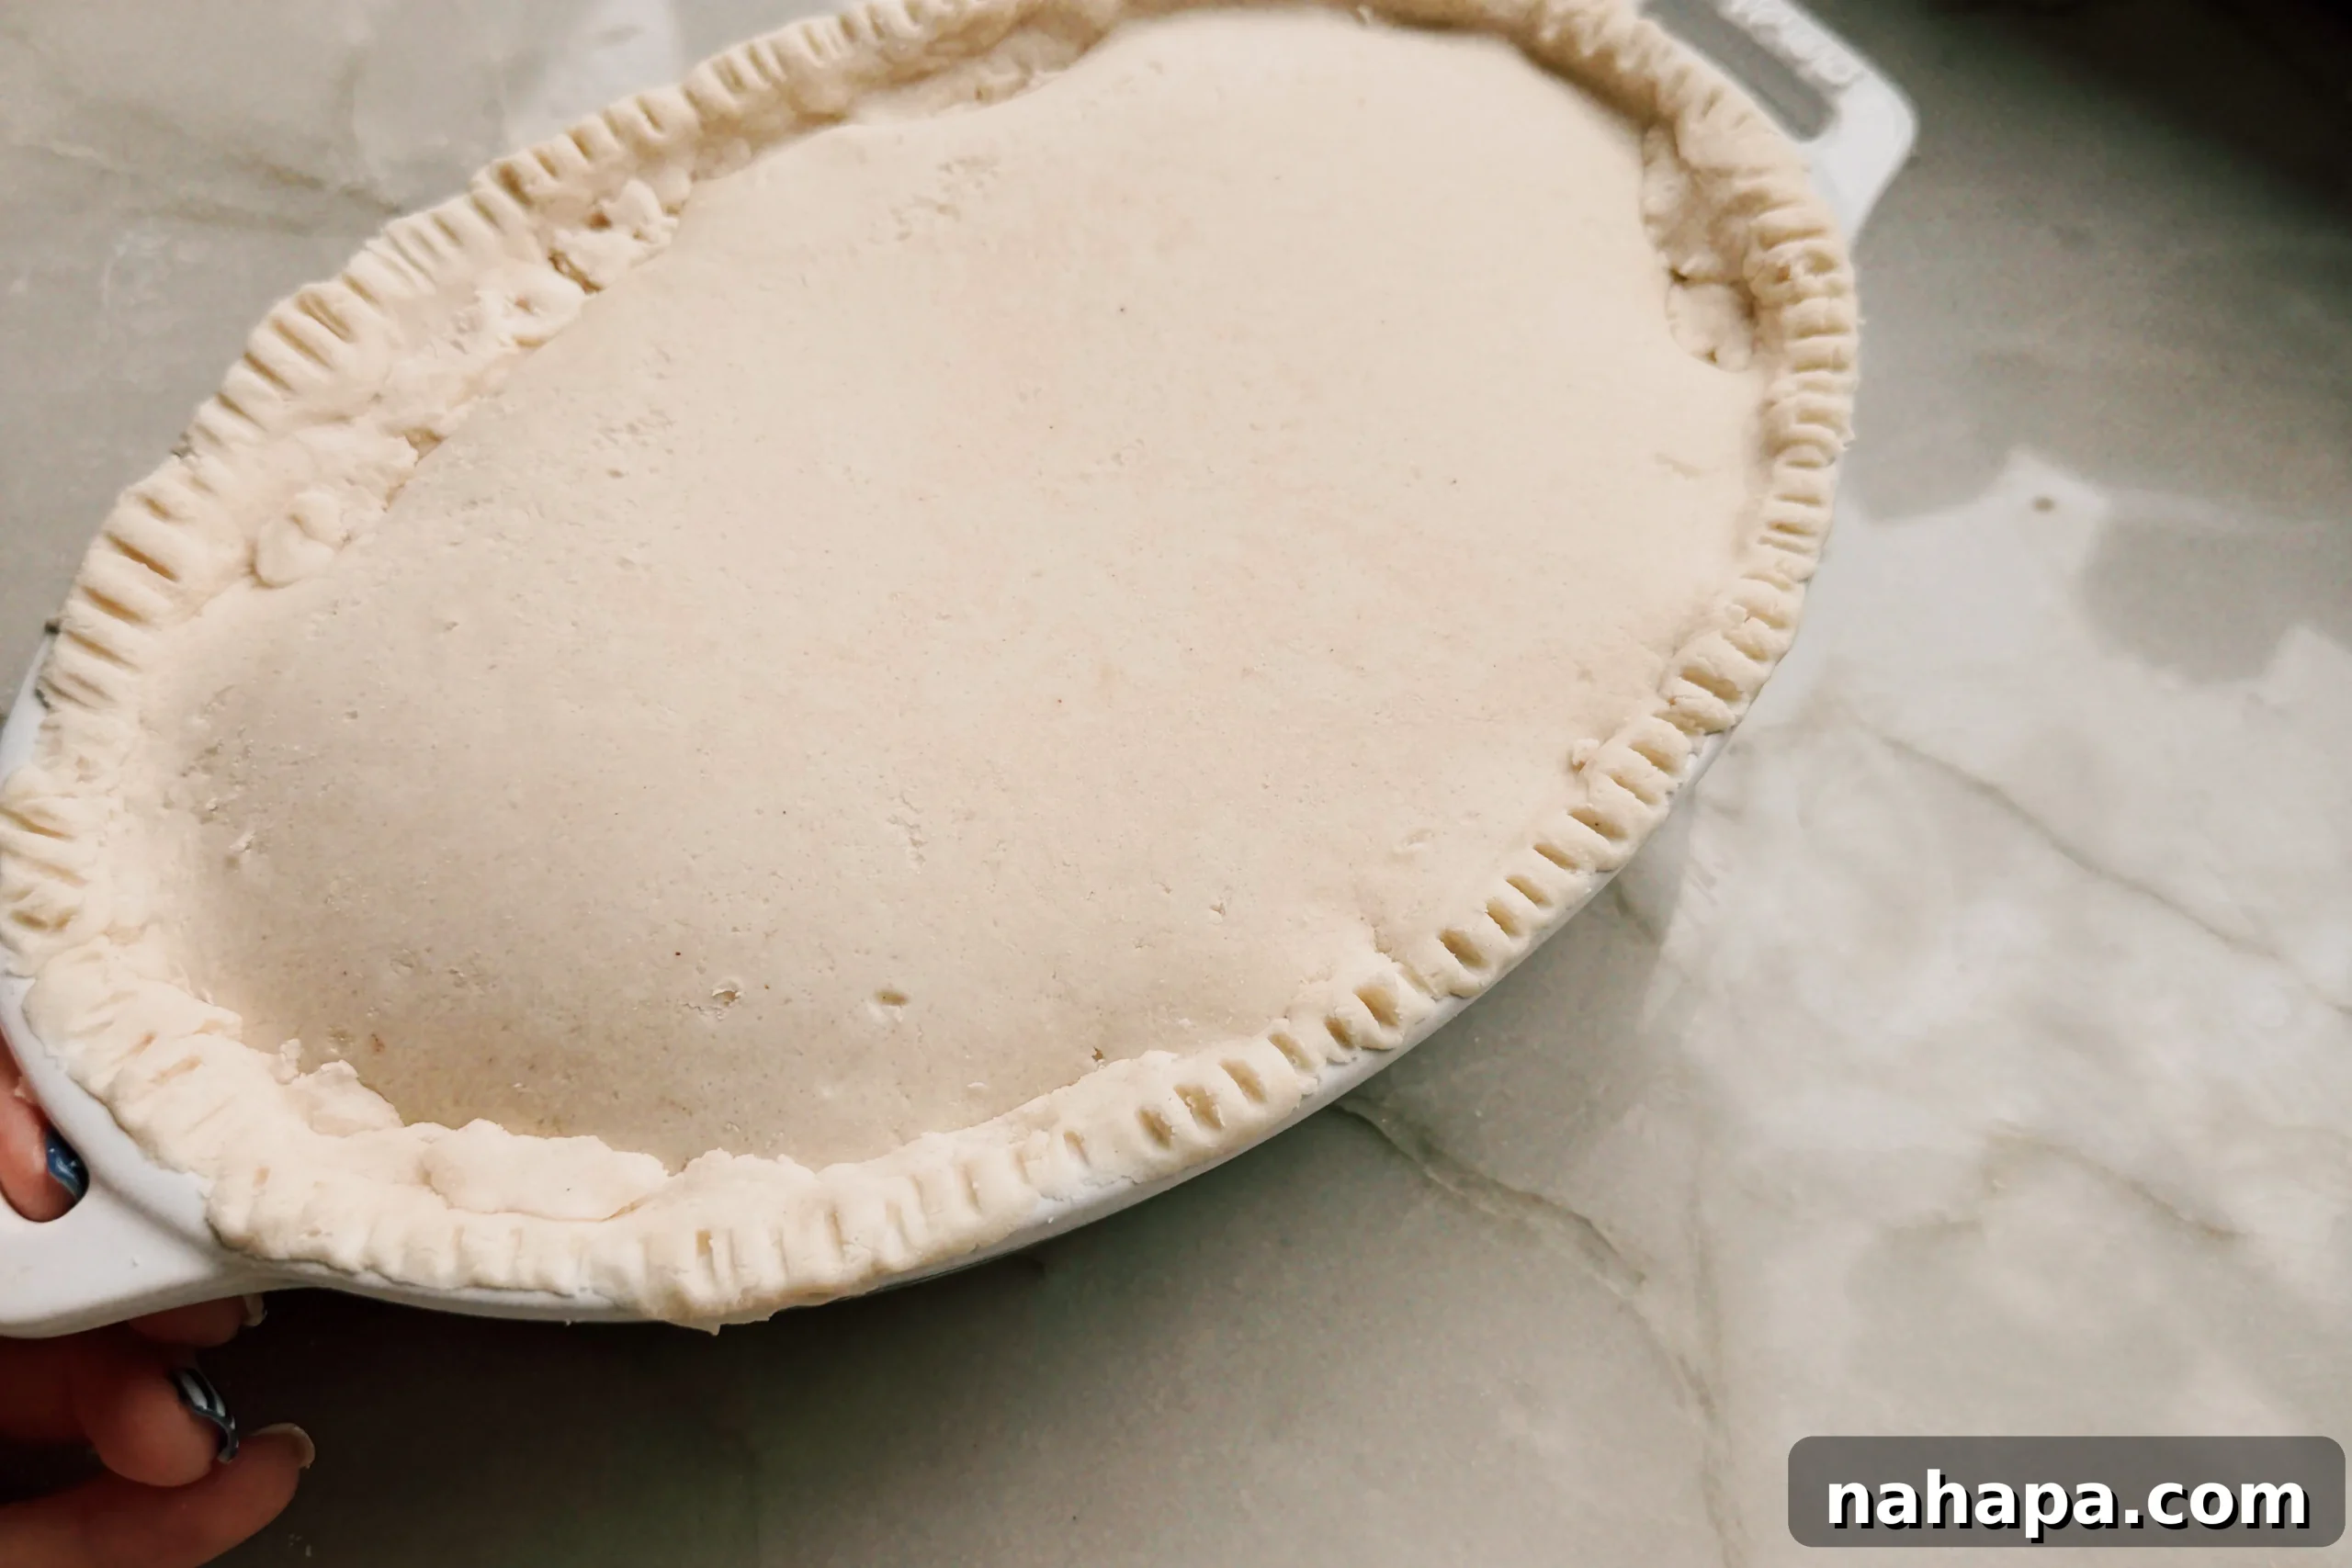
Step Four: Assemble the Pot Pie. Preheat your oven to 375°F (190°C). Grease your chosen baking dish (a 9″x7″ oval dish works perfectly for this recipe, ensuring a good crust-to-filling ratio) thoroughly. Spoon the cooled beef filling evenly into the prepared baking dish. Lightly dust a large piece of parchment paper with cassava flour. Place the pie dough in the center of the floured parchment paper. Lay another piece of parchment paper on top of the dough. Using a rolling pin, roll the pie crust out evenly between the two sheets of parchment paper until it is slightly larger than your baking dish. You can place your baking dish upside down on the rolled-out dough as a guide to ensure it’s the right shape and size.
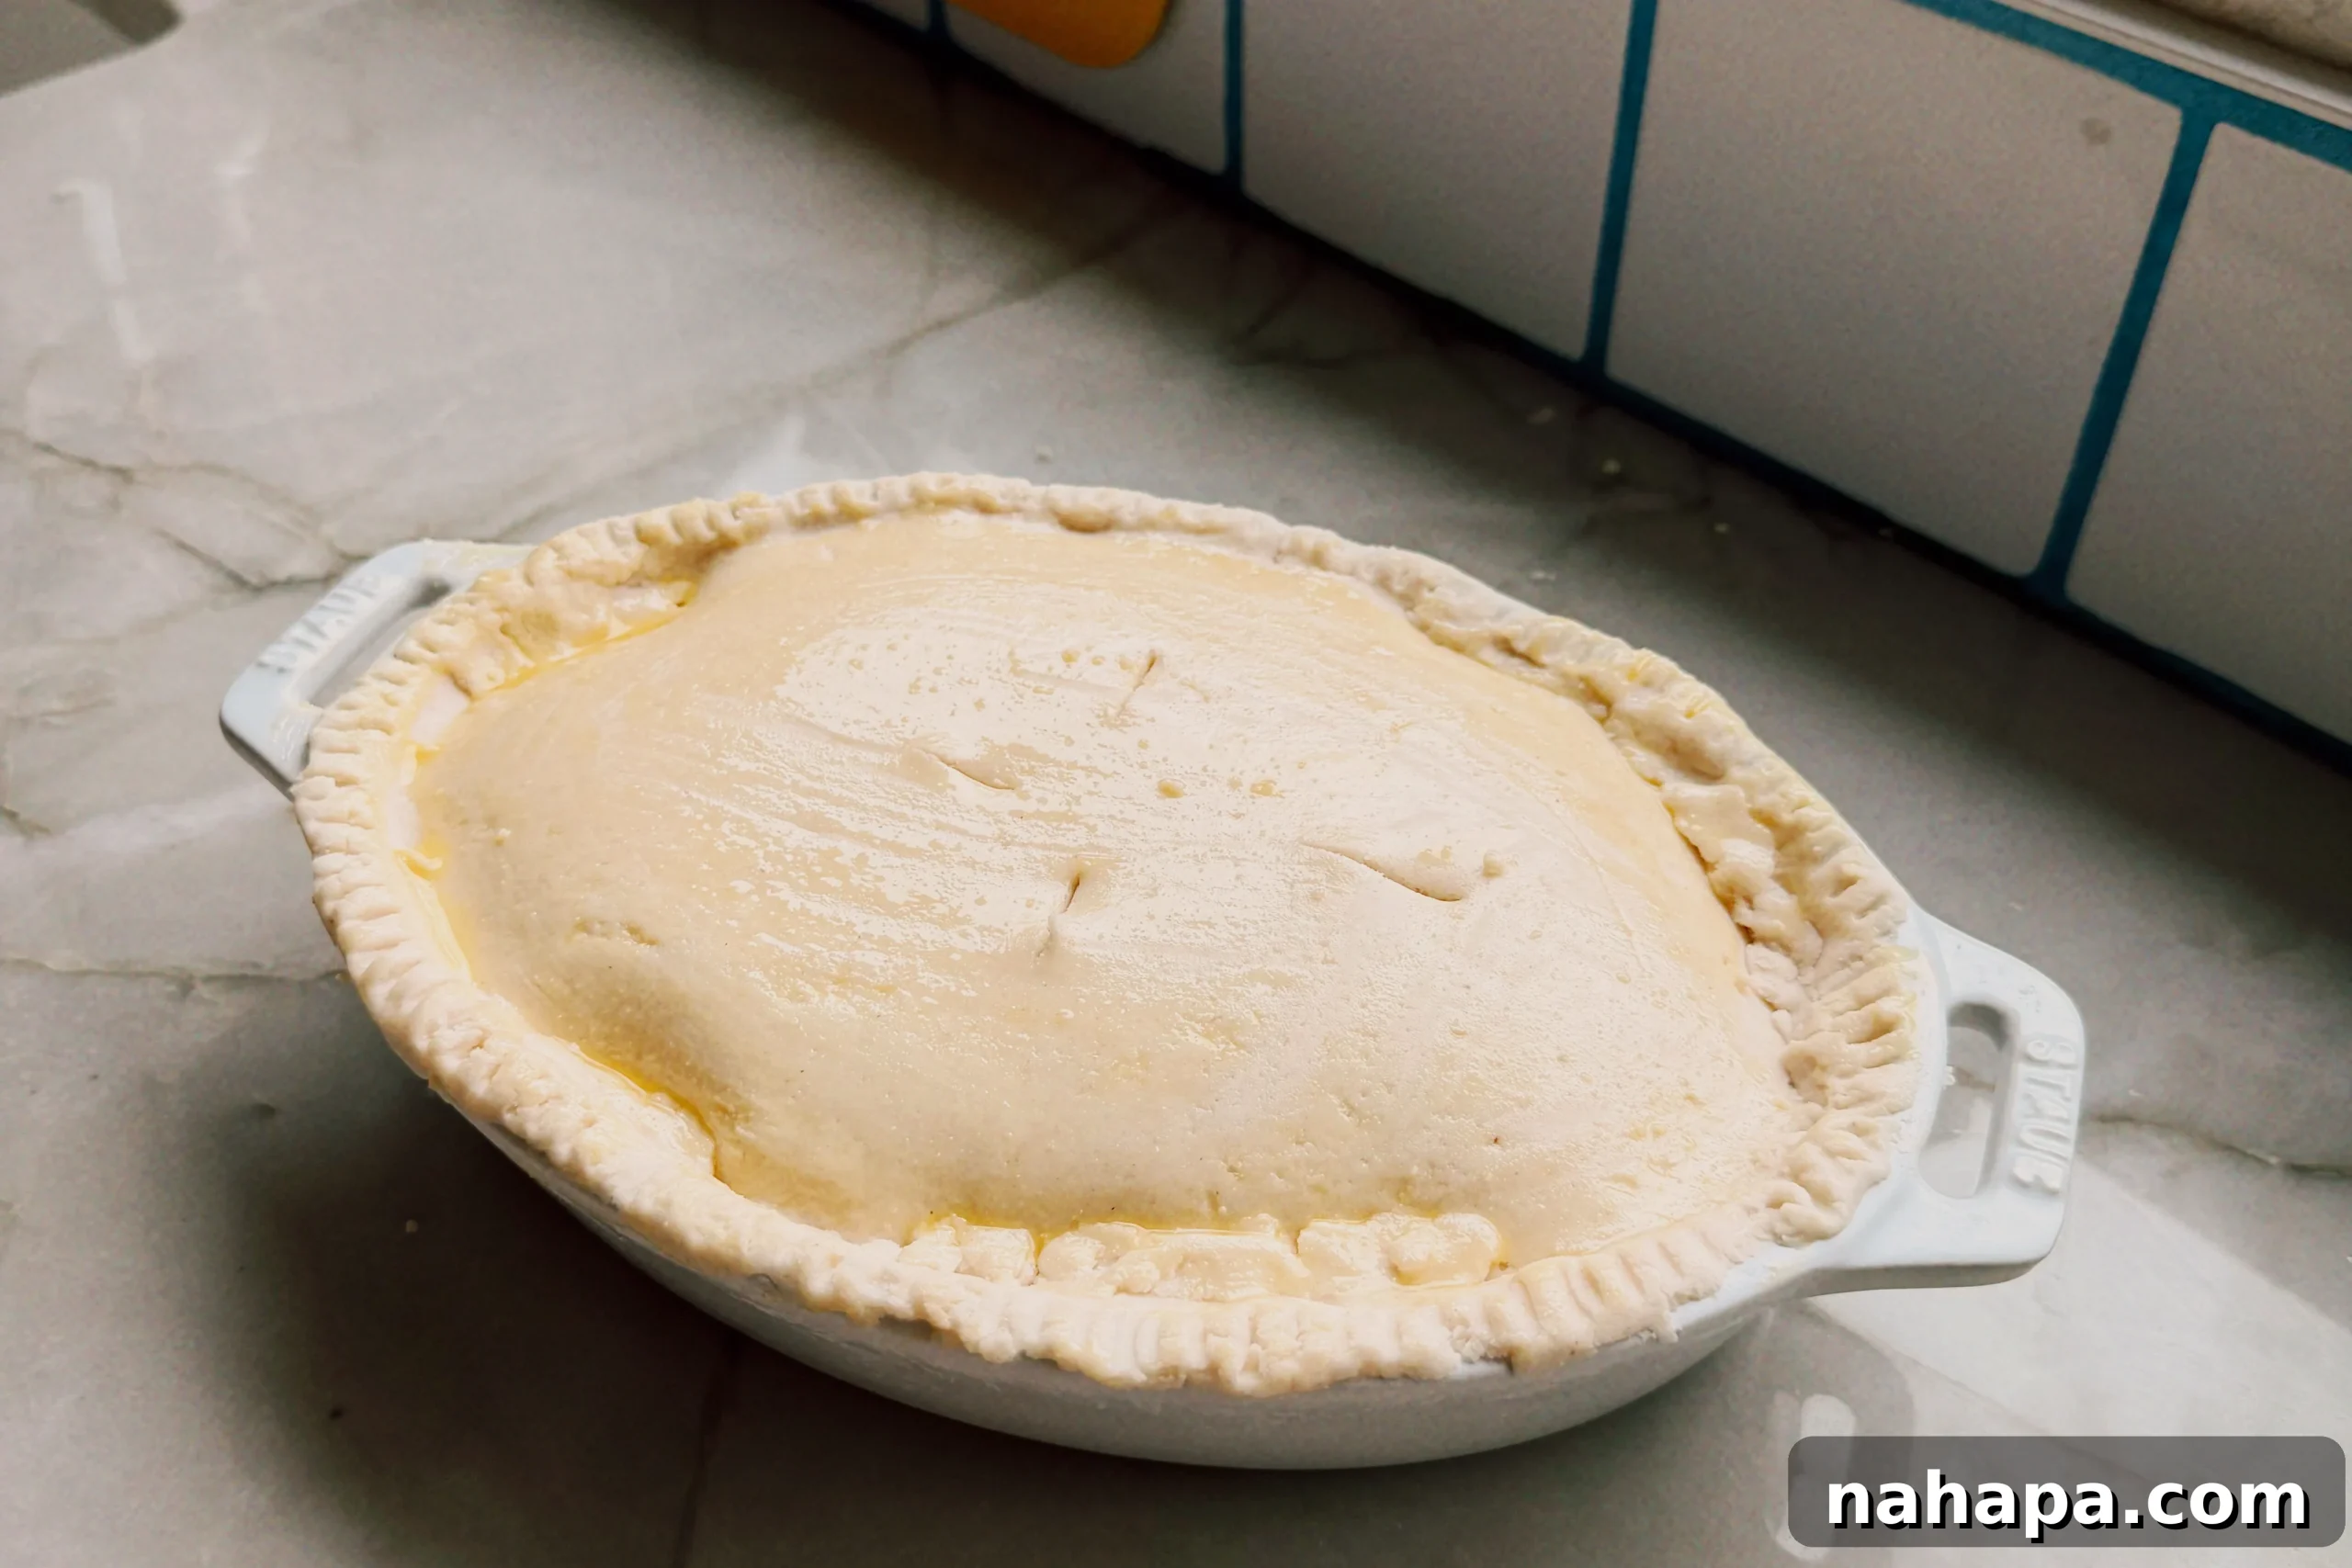
Step Five: Top and Chill. Carefully peel off the top layer of parchment paper from the rolled-out crust. With the remaining parchment paper, gently flip the crust over the top of your baking dish, centering it over the beef filling. Carefully peel off the second piece of parchment paper. Trim any excess dough from the edges, leaving about a ½-inch overhang. Crimp the edges of the crust around the rim of the baking dish to create a decorative seal and ensure the filling is completely covered. If desired, use a fork to create a classic crimped edge. Score a cross shape or several small slits in the center of the crust to allow steam to escape during baking. This prevents the crust from puffing up excessively and cracking. Brush the entire surface of the crust with the whisked egg wash (optional, but highly recommended for a golden finish). Transfer the assembled pot pie to the refrigerator and chill for at least 30 minutes. This step is crucial as it helps the crust firm up and hold its shape beautifully during baking.
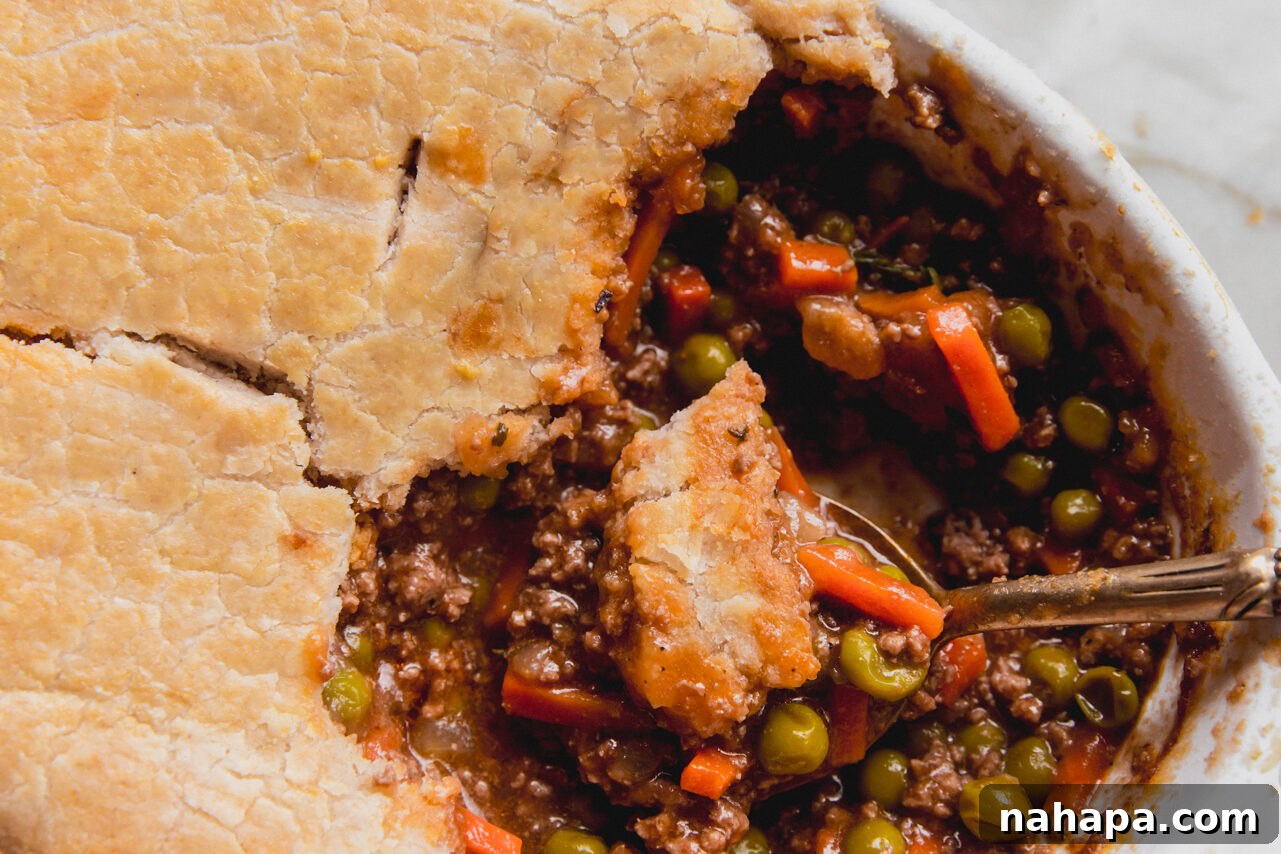
Step Six: Bake and Serve. Once chilled, place the pot pie into the preheated 375°F (190°C) oven. Bake for 35-45 minutes, or until the crust is beautifully golden brown and the filling is bubbling enticingly around the edges. Keep an eye on the crust to prevent over-browning; if it starts to get too dark, you can loosely cover it with aluminum foil. Once baked, carefully remove the pot pie from the oven. It is essential to let the pot pie cool for at least 15-20 minutes before attempting to serve. This cooling period allows the filling to set and prevents it from being too runny when you cut into it, ensuring each serving holds its shape perfectly.
Michelle’s Expert Tips & Tricks for Perfect Pot Pie
Elevate your gluten-free beef pot pie from great to absolutely extraordinary with these insider tips and variations. These simple adjustments can make a big difference in both the preparation and the final taste of your comforting creation.
- Choosing the Ideal Cooking Vessel: The size and shape of your baking dish are more important than you might think for achieving the perfect crust-to-filling ratio. Avoid using overly large dishes, such as a standard 9×13-inch pan, as this can result in a thinner filling and a crust that might not hold up as well. I highly recommend a smaller, deeper dish, like a 9×7-inch oval baking dish or an 8×8-inch square pan. These sizes ensure a generous amount of filling in every bite and allow the crust to bake evenly. For individual servings, you can certainly divide the filling and crust among small ramekins, but be aware that this will significantly reduce the baking time, so adjust accordingly and keep a close eye on them.
- Infuse with Gluten-Free Stout Beer for Extra Depth (Optional): For those who appreciate a deeper, more robust flavor profile, consider adding a gluten-free stout beer to your filling. Guinness pie is a classic for a reason, offering a rich, malty, and slightly bitter note that complements beef beautifully. While traditional gluten-free stout options can be hard to find, if you have access to one, swap out about 1/2 cup of the beef broth for a gluten-free stout beer. This addition will introduce a complex layer of flavor that truly transforms the pot pie into something exceptional.
- Creative Vegetable Variations: Don’t feel limited to just peas and carrots! This recipe is incredibly versatile when it comes to vegetables. Finely diced sweet potatoes or white potatoes can add extra heartiness and a touch of sweetness. Cauliflower florets, green beans, or even mushrooms (sautéed beforehand to remove excess moisture) would make excellent additions. For a pop of color and extra nutrients, consider adding fresh spinach or kale during the last few minutes of cooking the filling, just until wilted. Ensure any harder vegetables are diced small enough or partially cooked before adding to the filling so they soften appropriately during the baking process.
- Make Ahead and Storage Solutions: This pot pie is a fantastic make-ahead meal. You can prepare the entire filling and assemble the pot pie in its baking dish, then cover it tightly with plastic wrap and refrigerate for up to 24 hours before baking. For longer storage, you can freeze the unbaked pot pie: wrap it tightly in several layers of plastic wrap and then foil, and freeze for up to 2-3 months. Thaw in the refrigerator overnight before baking, or add extra baking time if baking from frozen (covered for the first part of baking to prevent crust from burning). Leftovers can be stored in an airtight container in the refrigerator for 3-4 days and reheated gently in the oven or microwave.
- Achieving the Perfect Golden Crust: The egg wash (whisked egg brushed over the crust) is key for that beautiful, shiny, golden-brown finish. If you’re avoiding eggs, a simple brush of dairy-free milk or even a little olive oil can also help the crust brown nicely. For extra crispiness, you can sprinkle a pinch of sea salt or dried herbs over the egg-washed crust before baking.
Frequently Asked Questions (FAQs) About Beef Pot Pie
While this recipe focuses on ground beef for its convenience and quick cooking time, beef pot pie can be incredibly versatile! You can absolutely use other cuts of beef. Stew meat, cut into 1-inch cubes, is a classic choice, but it will require significant pre-cooking (braising or slow simmering) to become tender before being added to the pot pie filling. Alternatively, thinly sliced steak (like sirloin or round steak) can be quickly seared and then added to the thickened sauce. Just keep in mind that using stew meat will mean factoring in much longer cooking times and potentially more cooking liquid to create that succulent, fall-apart texture. Ground beef remains the easiest and fastest option, which is why it’s featured in this recipe.
Absolutely! While making the cassava crust from scratch is a rewarding experience, using a good quality premade pie crust is a fantastic shortcut, especially if you’re short on time. Many excellent gluten-free pastry crusts are available in most grocery stores now. If you have a favorite gluten-free pie crust that you enjoy working with, feel free to swap it out for the homemade cassava crust in this recipe. Simply follow the package instructions for baking the crust, or use it as directed in our recipe for assembly and baking.
Yes, this recipe is specifically designed to be dairy-free. The crust uses palm shortening instead of butter, and the filling contains no dairy products. This makes it suitable for individuals with dairy sensitivities or allergies, ensuring everyone can enjoy this comforting meal.
Yes, you can adapt this recipe to be nightshade-free. The primary nightshade ingredient is tomato paste. You can simply omit the tomato paste from the filling. While it contributes to the umami depth and color, the pot pie will still be delicious and flavorful thanks to the beef broth, herbs, and other vegetables.
When stored properly in an airtight container, leftover beef pot pie will keep well in the refrigerator for up to 3-4 days. To reheat, you can warm individual servings in the microwave or place the entire pie back into a preheated oven (around 300-325°F or 150-160°C) until heated through and the crust is crisp again. Cover with foil if the crust starts to brown too much.
Yes, beef pot pie freezes beautifully! You can freeze it either before or after baking. If freezing unbaked, assemble the pie in a freezer-safe dish, then wrap it tightly in several layers of plastic wrap and aluminum foil. It can be frozen for up to 2-3 months. Thaw overnight in the refrigerator before baking as directed, or add about 20-30 minutes to the baking time if baking from frozen (cover loosely with foil for the first part of baking). If freezing a baked pie, let it cool completely, then wrap it in the same manner. Reheat from frozen in a preheated oven until warmed through.
If you tried this Gluten Free Beef Pot Pie or any other recipe on my blog please let me know how it went in the comments below. Thanks for visiting!
Other Comforting Pot Pie Inspired Recipes to Try…
- Paleo Chicken Pot Pie
- Chicken Pot Pie Soup
- Chicken Pot Pie Pasta (Gluten-Free, Dairy-Free)
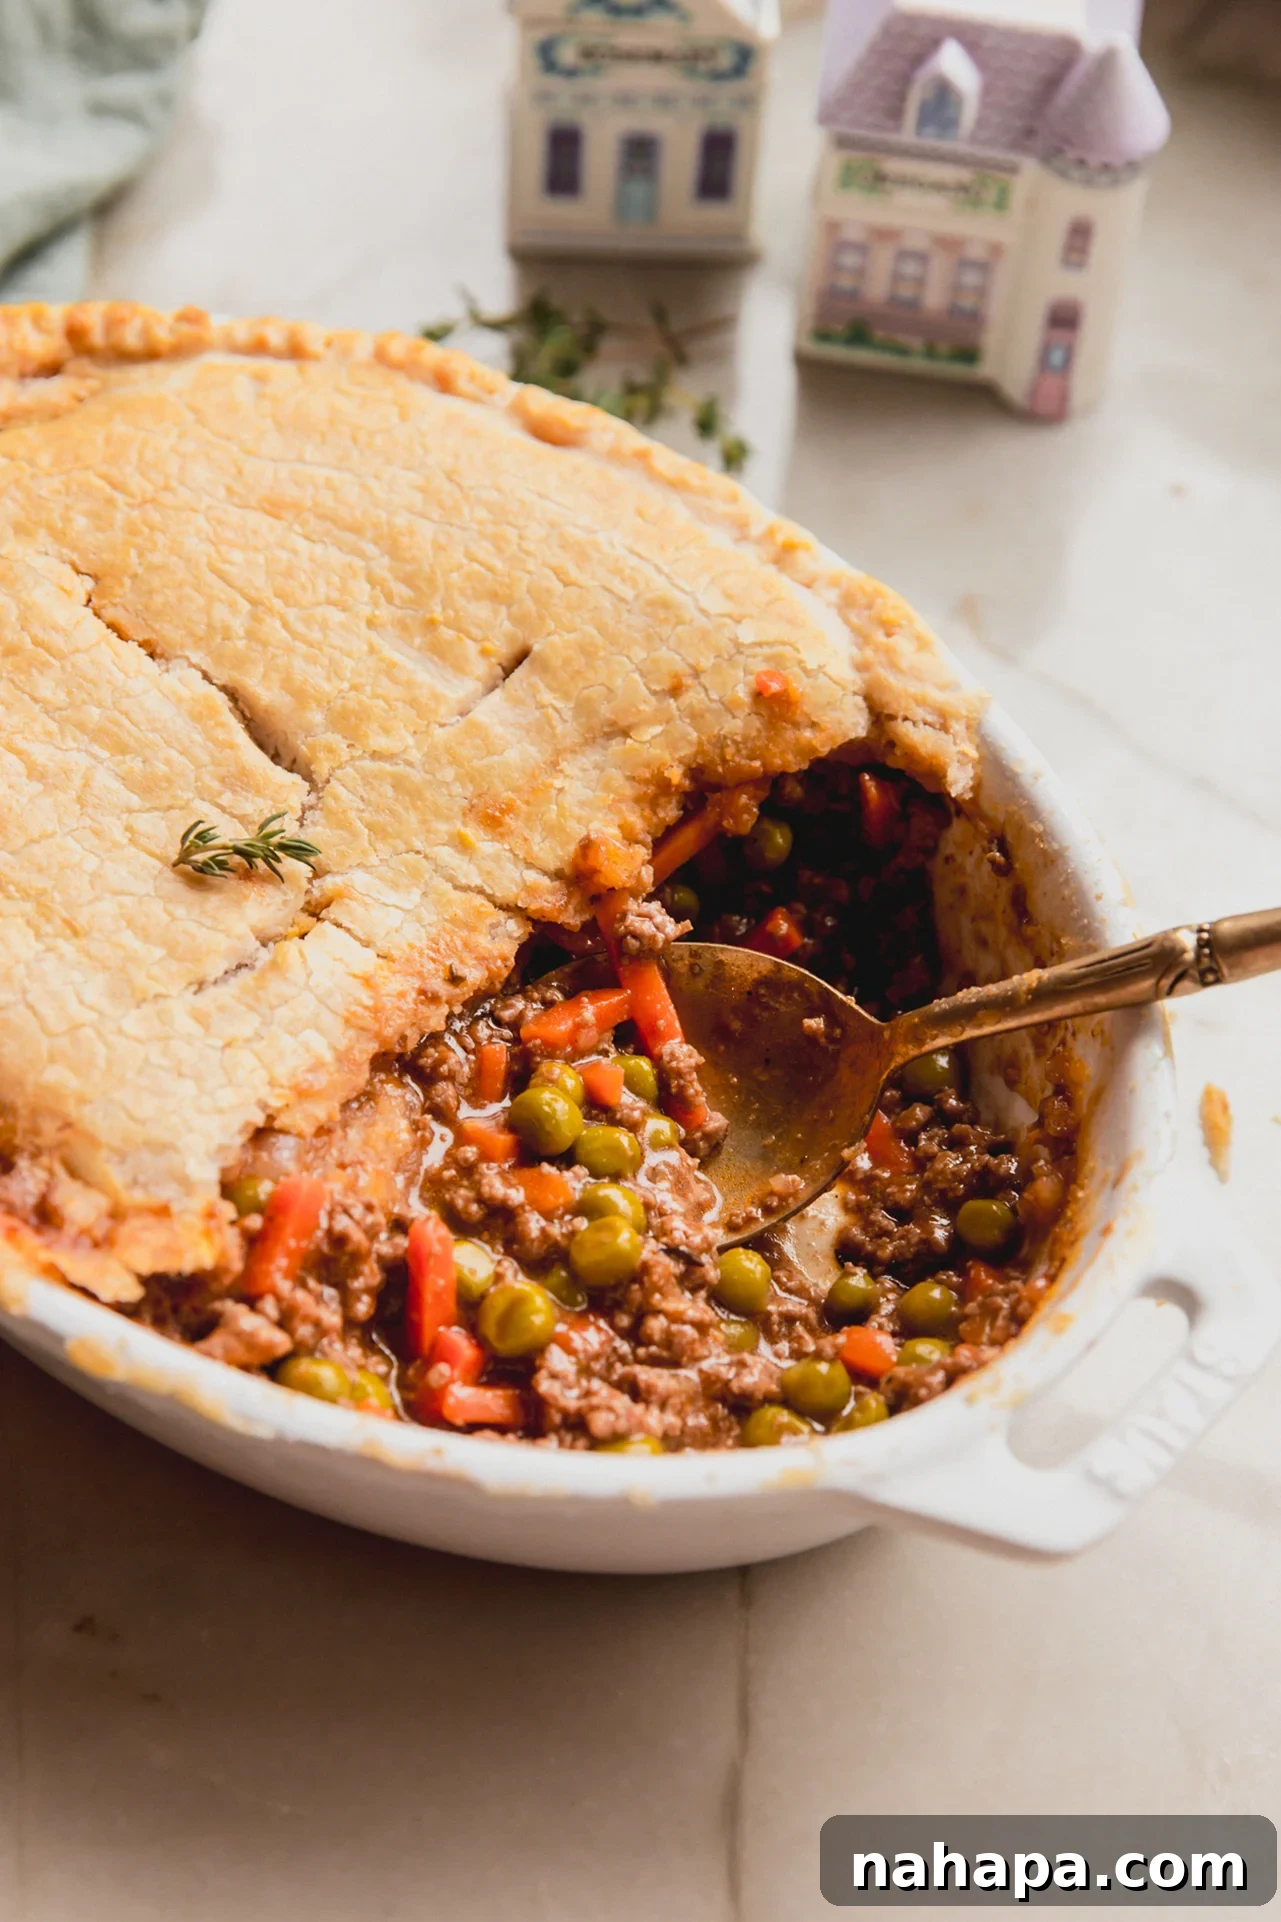
Gluten Free Beef Pot Pie
Prep time: 30 minutes
Cook time: 45 minutes
Total time: 1 hour 15 minutes
This comforting gluten-free beef pot pie is the ultimate family meal! It features a delicious cassava flour crust, a rich ground beef and vegetable filling, and is entirely dairy-free. Perfect for a cozy dinner any night of the week.
Leave a Review
Pin Recipe
Ingredients
For the filling
- 1 tbsp avocado oil
- ½ yellow onion, diced
- 1 lb ground beef (90/10 preferred)
- Salt & pepper to taste
- 2 cups frozen mixed vegetables (peas & carrots)
- 2 tsp dried parsley
- 1 tsp dried thyme
- 2 garlic cloves, minced
- 2 tbsp tomato paste (omit for nightshade-free)
- 1 tbsp red wine vinegar
- 1 ½ cup beef broth
- 2 tbsp arrowroot starch
For the crust
- ¾ cup cassava flour, plus more for dusting
- 1 tsp gelatin
- ½ tsp salt
- 6 tbsp palm shortening, cold and diced
- 6 tbsp cold water
- 1 tsp apple cider vinegar
- 1 egg, whisked (for egg wash, optional)
Instructions
- Heat a large deep pan over medium heat. Add the avocado oil and the diced yellow onion. Sauté for 4-5 minutes or until lightly translucent and softened.
- Add the ground beef to the pan and season with salt and pepper. Crumble the ground beef, cooking until it is mostly browned. Stir in the minced garlic, dried parsley, dried thyme, and frozen mixed vegetables. Continue to cook for another 2 minutes to combine flavors.
- Add the tomato paste to the pan and stir, cooking it down for 3 minutes until it deepens in color to crimson.
- In a small bowl, whisk the arrowroot starch and beef broth until smooth. Pour this mixture into the pan, stirring constantly to scrape up any browned bits from the bottom. Add the red wine vinegar. Bring to a low simmer and cook for 5 minutes, stirring, until the gravy has thickened. Set the filling aside to cool completely.
- To make the crust, combine the cassava flour, gelatin, and salt in a large bowl. Whisk well to combine all dry ingredients evenly.
- Add the cold palm shortening to the flour mixture. Use a pastry cutter or two butter knives to cut the shortening into small pieces, until the mixture resembles coarse crumbs with some larger pea-sized pieces.
- Slowly stream in the cold water while stirring the crust mixture. Add the apple cider vinegar. Continue to mix until the crust mixture is slightly crumbly but just comes together when pressed. Avoid overworking the dough.
- Grease a 9″x7″ baking pan well. Pour the cooled beef filling evenly into the prepared pan.
- Lightly dust a piece of parchment paper with cassava flour. Place the pie dough in the center, then top with another piece of parchment paper. Roll the pie crust out to be slightly larger than your baking dish. You can use your baking dish as a guide for size.
- Remove the top layer of parchment paper. Carefully flip the rolled-out crust over the top of your baking dish, centering it over the filling. Remove the second layer of parchment paper. Crimp the edges of the crust to seal and cover the entire baking dish. Transfer the assembled pot pie to the fridge for 30 minutes to set.
- Preheat your oven to 375°F (190°C). Remove the chilled pot pie from the fridge. Score a cross shape in the center of the crust (or several small slits) to allow steam to vent during baking. Brush the crust with the whisked egg (if using) for a golden finish.
- Transfer the pot pie to the preheated oven and bake for 35-45 minutes, or until the crust is golden brown and the filling is bubbling. If the crust begins to brown too quickly, loosely tent it with aluminum foil.
- Remove from the oven and allow to cool for at least 15-20 minutes before serving. This cooling period helps the filling set and prevents it from being too runny when cut. Enjoy!
Notes
Pan size: Using a smaller, deeper pan is important for this recipe to ensure a good crust-to-filling ratio and even cooking. I recommend a 9″x6″ or 9″x7″ oval or rectangular baking pan.
Egg wash: The egg wash provides a beautiful golden-brown color to the crust. You can easily omit the egg wash if desired, or use a brush of dairy-free milk for a similar effect.
Tomato paste: For a nightshade-free version of this recipe, you can easily omit the tomato paste. The filling will still be rich and flavorful.
Nutrition Information (Estimated)
- Serving: 1 serving
- Calories: 593 kcal
- Carbohydrates: 38g
- Protein: 30g
- Fat: 36g
- Saturated Fat: 10g
- Polyunsaturated Fat: 7g
- Monounsaturated Fat: 16g
- Trans Fat: 3g
- Cholesterol: 115mg
- Sodium: 827mg
- Potassium: 739mg
- Fiber: 5g
- Sugar: 2g
- Vitamin A: 4813 IU
- Vitamin C: 14mg
- Calcium: 99mg
- Iron: 6mg