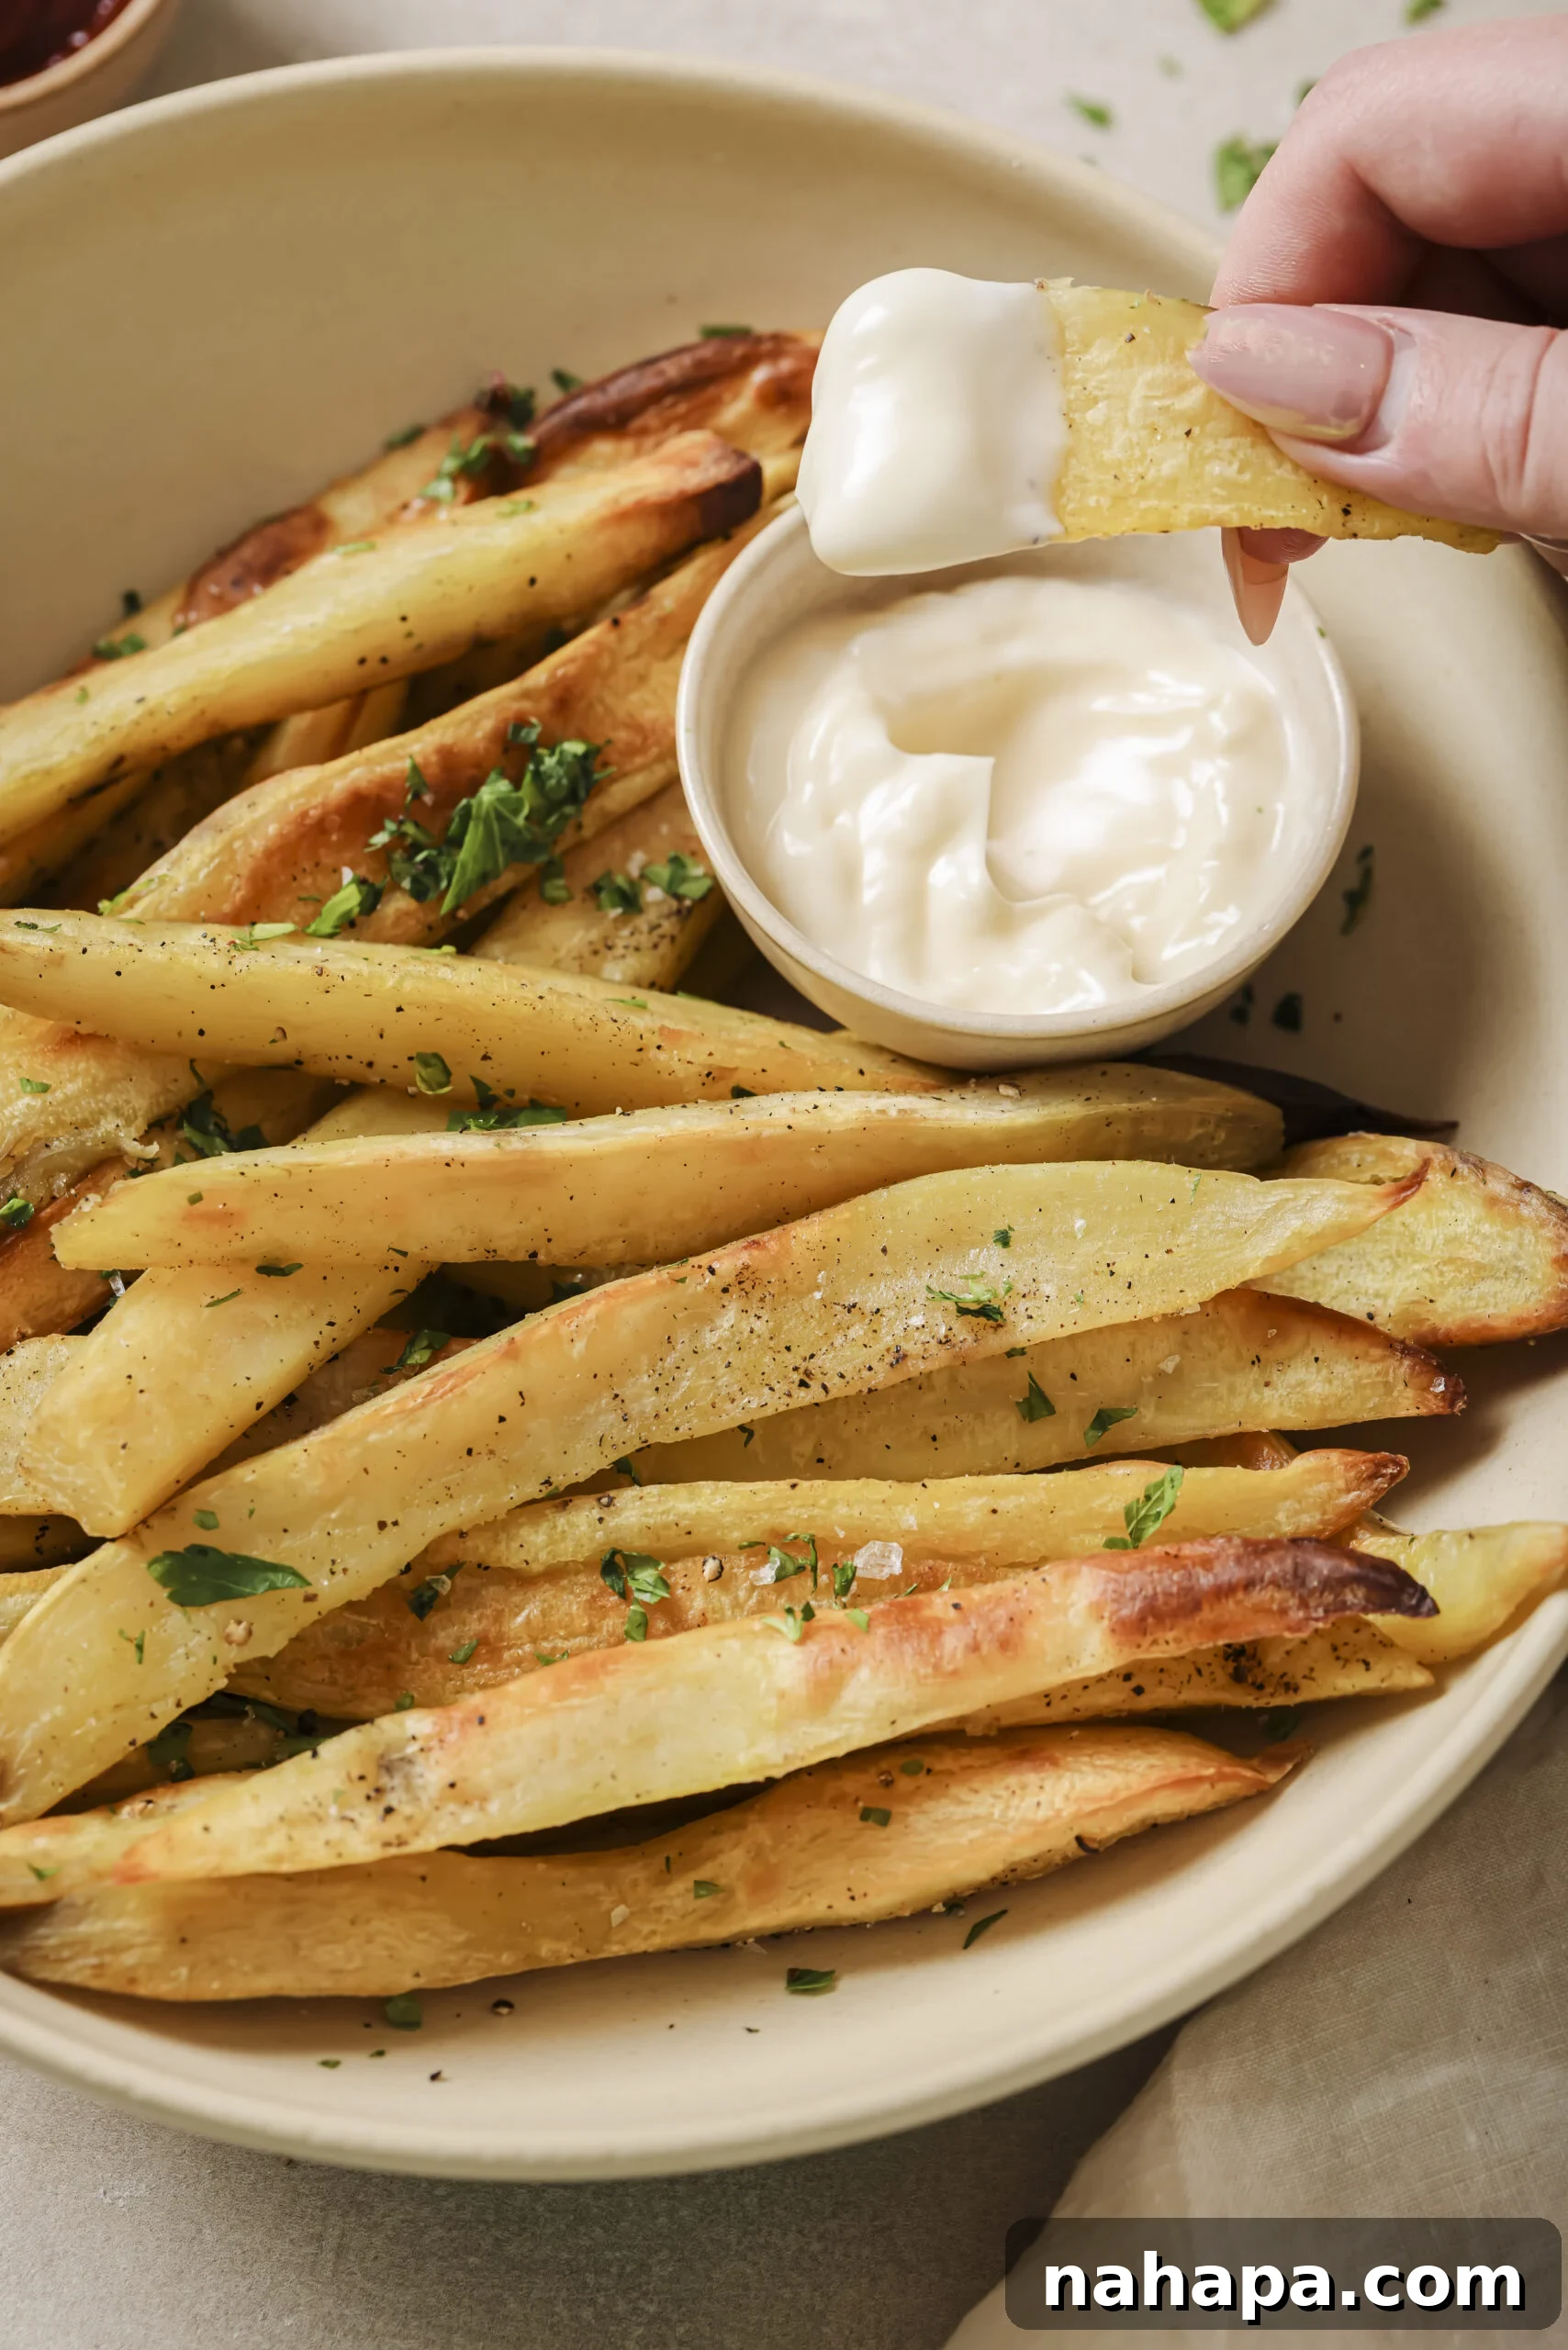
Prepare to transform your perception of sweet potato fries forever! These crispy baked white sweet potato fries are not just good; they are, without a doubt, the best you’ll ever sink your teeth into. Crafted with minimal ingredients and a scientifically proven double-cooking method, this recipe guarantees a consistently perfect, golden-brown crispness that often eludes home cooks. Say goodbye to soggy sweet potato disappointments and hello to your new favorite side dish!
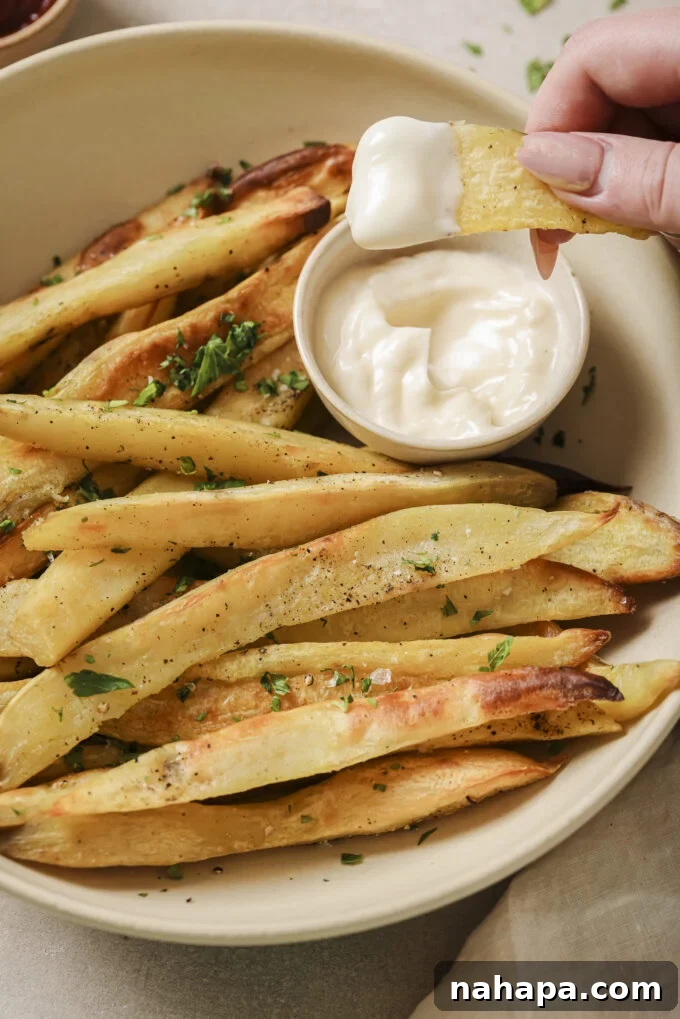
Why These White Sweet Potato Fries Will Revolutionize Your Snacking
For years, those of us navigating a nightshade-free diet have often mourned the absence of classic french fries. While orange sweet potato fries have offered a passable substitute, they rarely achieve the perfect, satisfying crunch of their white potato cousins. The common misconception is that sweet potatoes simply can’t get as crispy as regular potatoes due to their higher sugar content and different starch composition. However, the real issue isn’t the sweet potato itself, but rather the traditional baking methods that fail to account for its unique characteristics.
This recipe challenges that notion by employing a game-changing “cook twice” technique. This innovative approach ensures that your sweet potato fries emerge from the oven with an enviable crunch, a tender interior, and a beautiful golden hue. It’s a method that addresses the inherent moisture challenges of sweet potatoes, leading to fries that truly hit different – offering all the crispness you crave without any nightshade concerns. Get ready to enjoy the ultimate comfort food, perfected for a healthier lifestyle.
The Double-Cook Method: Unlocking Optimal Crispness
The secret to achieving perfectly crispy baked sweet potato fries lies in a strategic two-phase cooking process. This method, often employed by professional chefs for optimal potato texture, involves an initial parboiling followed by high-heat baking. Parboiling, or partially boiling, the sweet potatoes before baking helps to kick-start the cooking process, softening the interior while simultaneously drawing out excess moisture and breaking down surface starches. This is crucial because moisture is the enemy of crispiness.
After the parboiling, a meticulous drying process removes all surface water. This allows the fries to properly caramelize and crisp up in the oven rather than steaming. The subsequent high-temperature baking then finishes the job, dehydrating the exterior further and creating that irresistible golden crust and fluffy interior. This thoughtful approach ensures every single fry is incredibly crunchy on the outside and wonderfully tender on the inside, mirroring the texture of deep-fried potatoes but in a much healthier, baked format.
Key Ingredients for Your Crispy Baked White Sweet Potato Fries
Crafting these phenomenal sweet potato fries requires just a few simple, high-quality ingredients. Each plays a specific role in delivering the perfect texture and flavor profile.
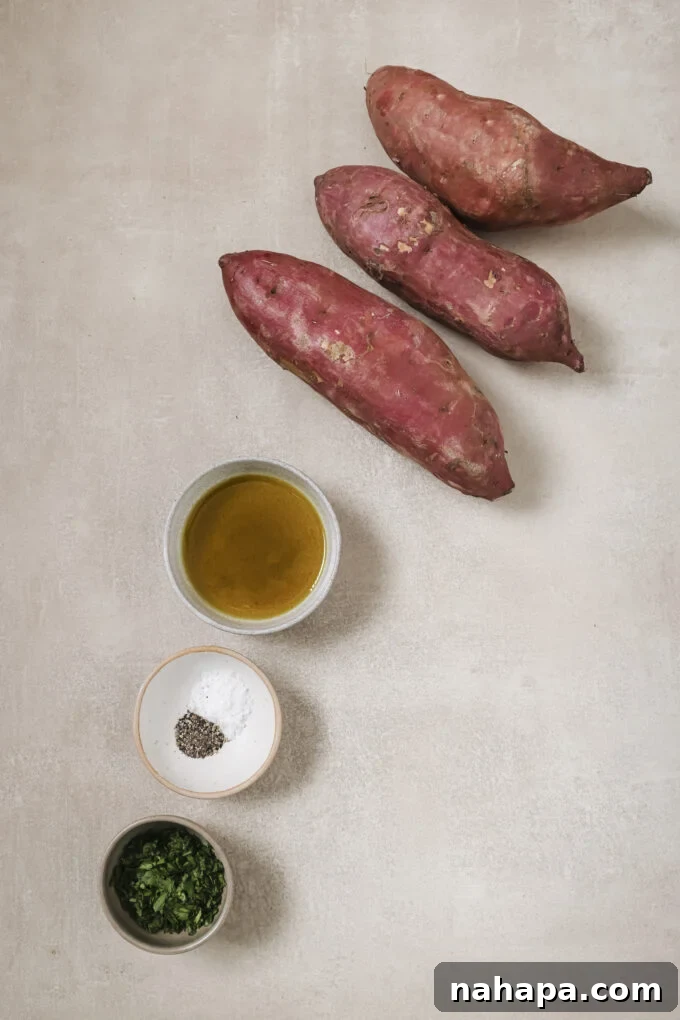
- Japanese Sweet Potatoes: The Foundation of Flavor and Texture. When it comes to achieving ultimate crispiness, Japanese sweet potatoes are unparalleled. These unique potatoes, characterized by their reddish-purple skin and dense, creamy white flesh, boast a higher starch content compared to common orange sweet potatoes. This starchiness is vital for developing a robust, crispy exterior. Beyond their texture benefits, Japanese sweet potatoes offer a subtly sweet, nutty flavor that deepens beautifully when baked, providing a more sophisticated taste than their orange counterparts. While the method works with other sweet potatoes, Japanese varieties consistently yield superior results.
- Avocado Oil: The Ideal Cooking Fat. Chosen for its remarkably high smoke point and neutral flavor, avocado oil is the perfect fat for baking these fries. It provides an even coating that facilitates excellent browning and crisping without overpowering the natural taste of the sweet potatoes. Its stability at high temperatures makes it a healthier alternative for baking compared to many other oils.
- Salt and Black Pepper: Essential Seasoning. A balanced seasoning of fine sea salt and freshly ground black pepper is all that’s needed to enhance the inherent sweetness of the potatoes and add a touch of savory depth. Salt not only boosts flavor but also assists in the crisping process by drawing out additional moisture. Flaky sea salt can be added at the end for an extra burst of texture and flavor.
- Chopped Parsley: For Freshness and Garnish. An optional but highly recommended addition, fresh chopped parsley brings a bright, herbaceous note and a vibrant splash of color to the finished fries. It elevates the presentation and offers a refreshing contrast to the rich, savory flavors.
How to Make Unbelievably Crispy Baked White Sweet Potato Fries: Step-by-Step Guide
Follow these detailed instructions to achieve sweet potato fries that are crispy on the outside, tender on the inside, and packed with flavor. The key is in carefully executing each step, especially the parboiling and drying stages.
- Step One: Prepare and Slice the Sweet Potatoes. Begin by thoroughly scrubbing the Japanese sweet potatoes under running water. While the skin is edible and can be left on for a more rustic texture and added fiber, peeling them often results in a more uniformly crispy fry. Once cleaned (and peeled, if preferred), trim off the very ends of each sweet potato. Using a sharp chef’s knife or a mandoline (with caution!), slice the sweet potatoes into consistent ½-inch (about 1.25 cm) thick fries. Uniformity in size is critical for even cooking and crisping; uneven fries will cook at different rates, leading to some being burnt and others still soft.
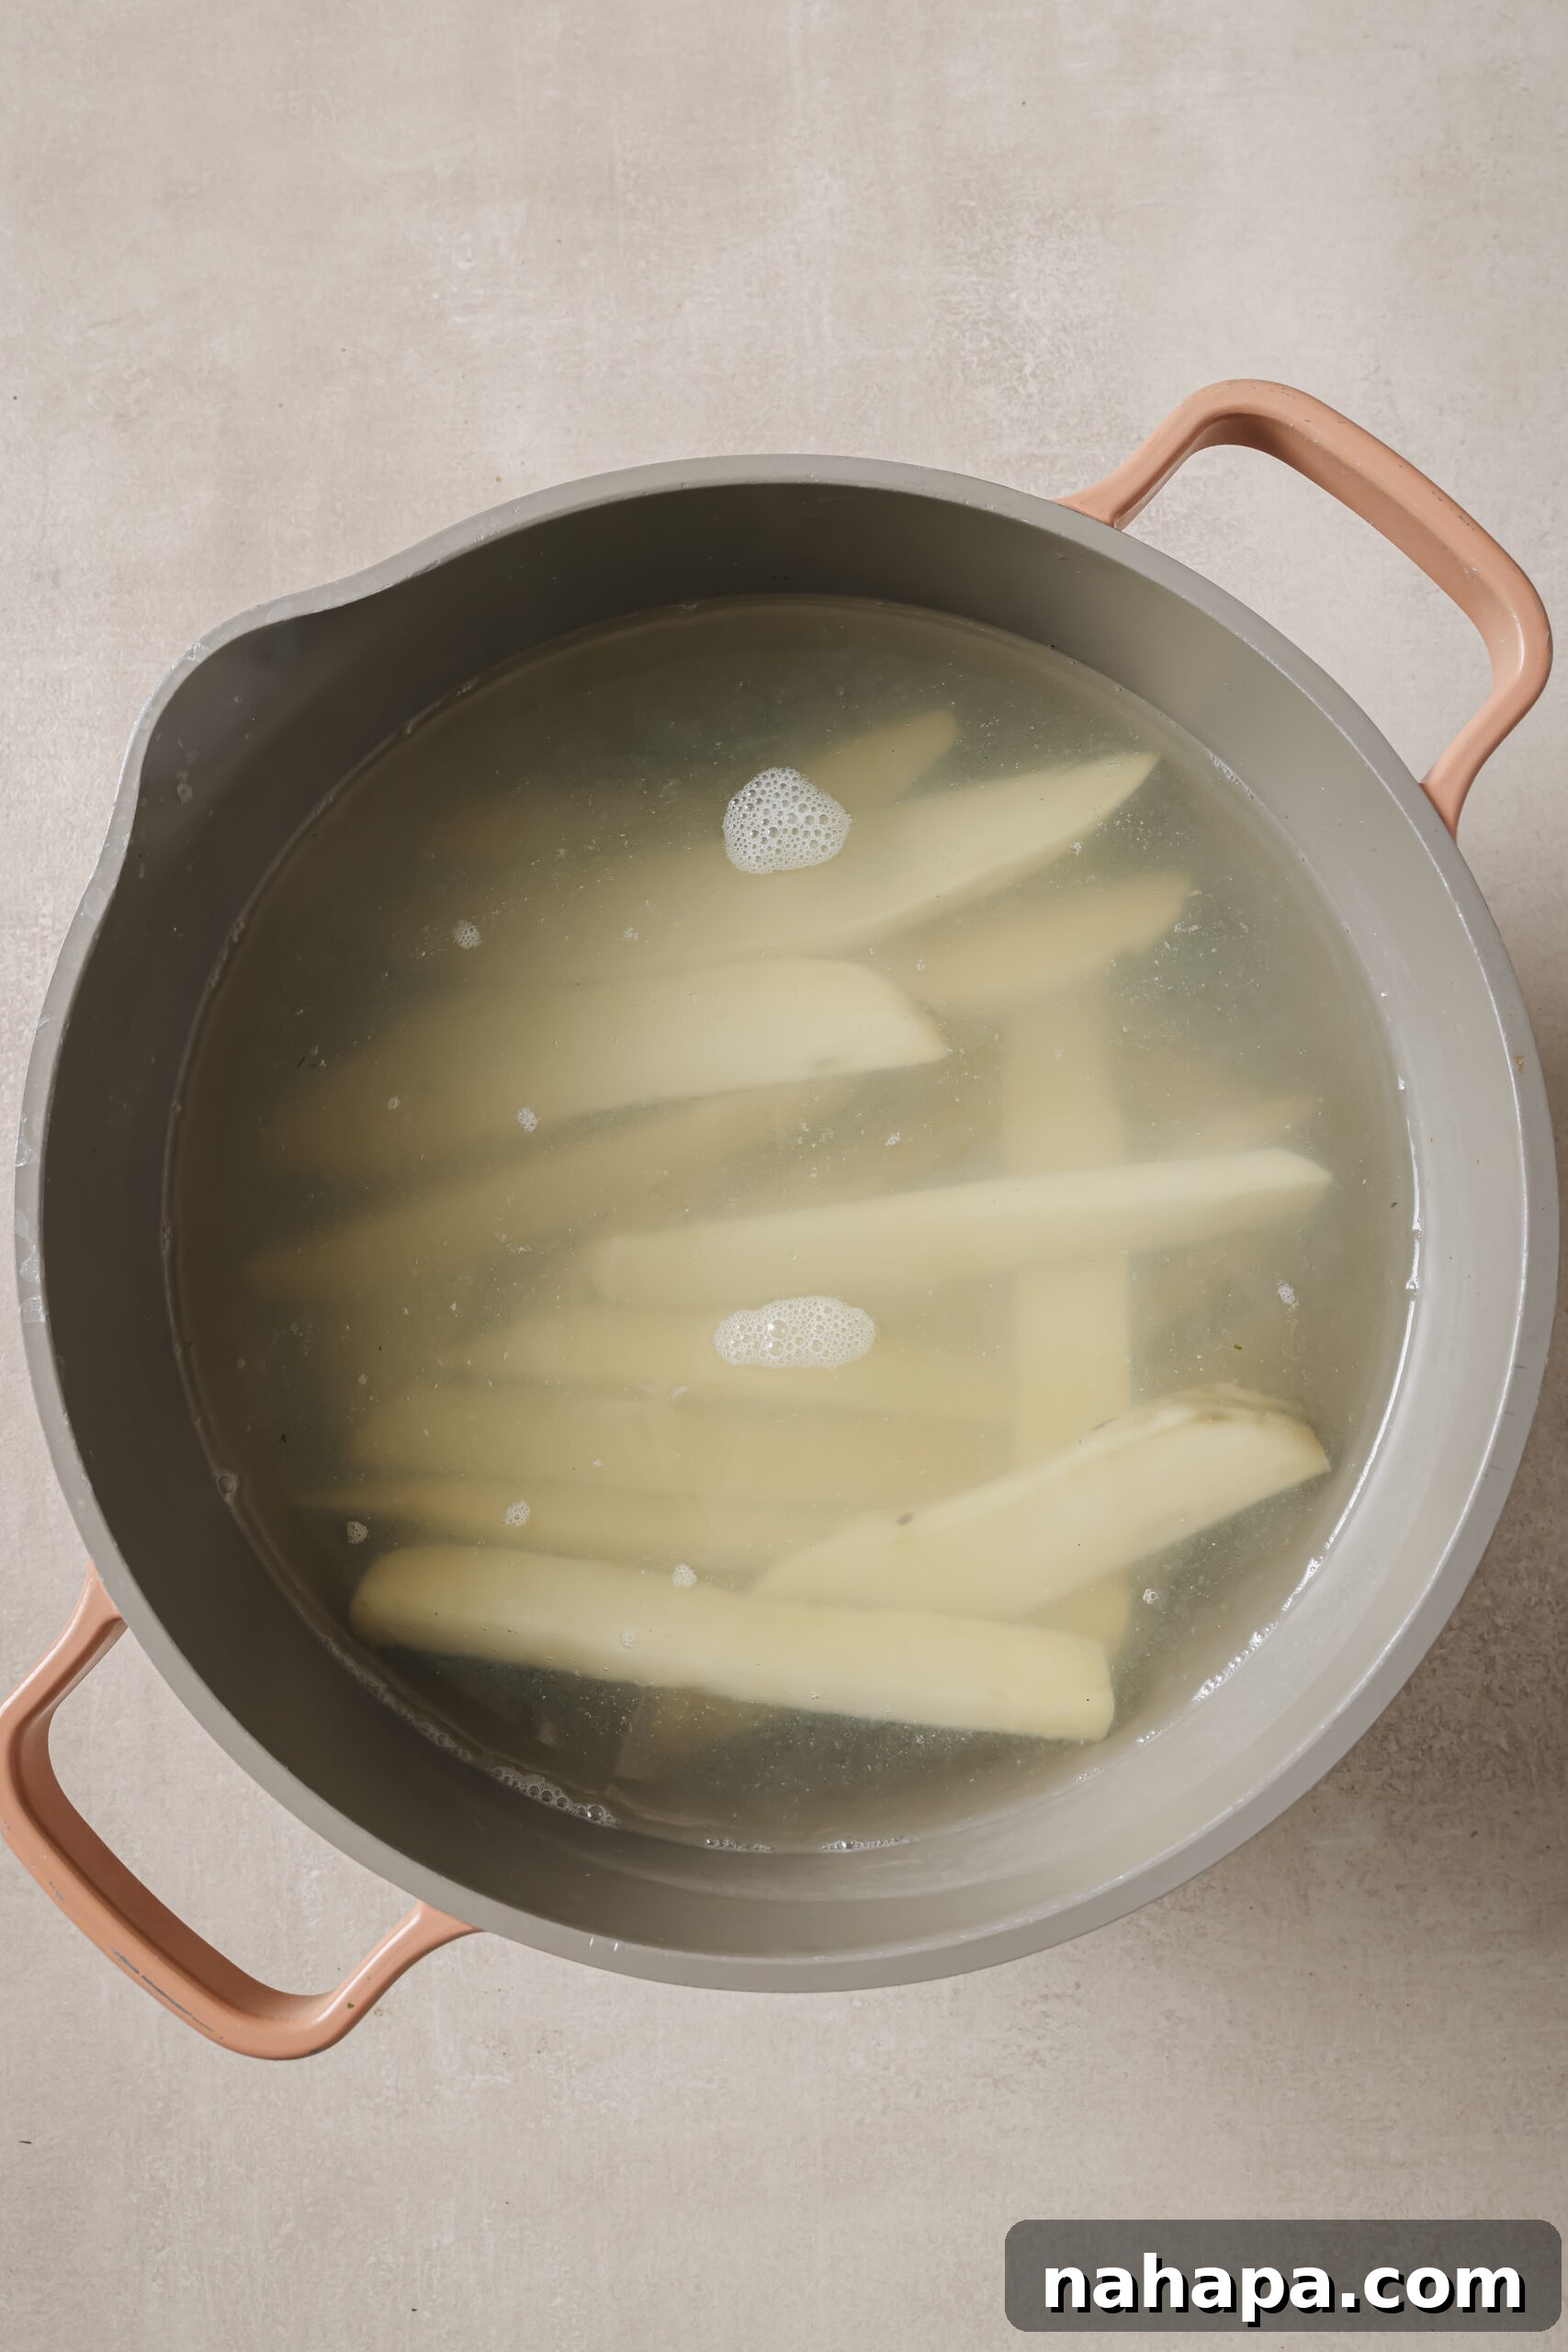
- Step Two: Parboil and Thoroughly Dry the Fries. This is the most crucial step for achieving crispiness. Bring a large pot of water to a rolling boil over high heat, adding a generous pinch of salt. Carefully add the sliced sweet potato fries to the boiling water. Allow them to parboil for approximately 5-7 minutes, or until they are just tender enough to be pierced with a fork but still firm and holding their shape. They should not be mushy. Immediately drain the fries in a colander. Spread them out onto a clean, highly absorbent kitchen towel or several layers of paper towels. It is absolutely essential to pat them *completely dry*, pressing gently but firmly to absorb all surface moisture. Any lingering water will steam the fries in the oven, preventing them from crisping.
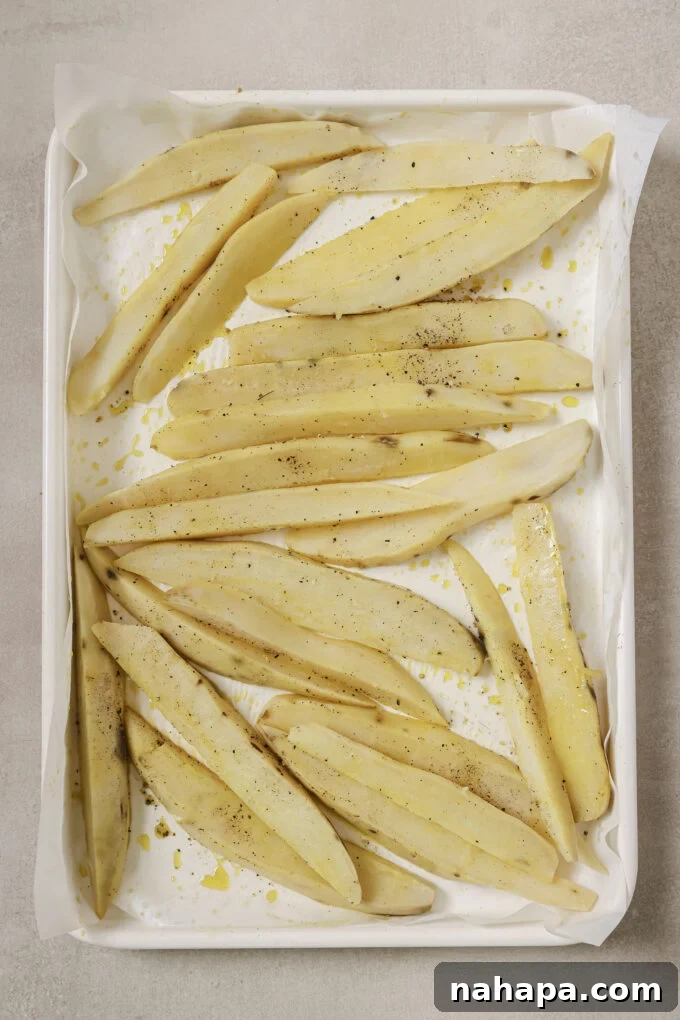
- Step Three: Season and Arrange for Baking. While the fries are drying, preheat your oven to a robust 400°F (200°C). Line a large, sturdy baking sheet with parchment paper; this prevents sticking and ensures easy cleanup. Once the parboiled and perfectly dried fries are on the baking sheet, drizzle them generously with avocado oil, then sprinkle evenly with salt and freshly ground black pepper. Use your hands to gently toss the fries, ensuring every piece is thoroughly coated with the oil and seasonings. Spread the fries out in a single layer on the baking sheet, making absolutely certain they do not overlap. Overcrowding the pan will cause the fries to steam rather than crisp, so if you have a large batch, use two baking sheets.
- Step Four: Bake to Golden Perfection. Transfer the baking sheet(s) to the preheated oven. Bake for approximately 30-35 minutes. At the halfway point (around 15-18 minutes), carefully remove the baking sheet from the oven and use a spatula to flip each fry. This ensures even browning and crisping on all sides. Return to the oven and continue baking until the fries are deeply golden brown, visibly crispy, and have beautiful browned spots. For an extra boost of crispiness, you can turn on the broiler for the final 2-3 minutes of cooking, but watch them *very closely* during this stage to prevent burning, as they can go from golden to burnt in seconds.
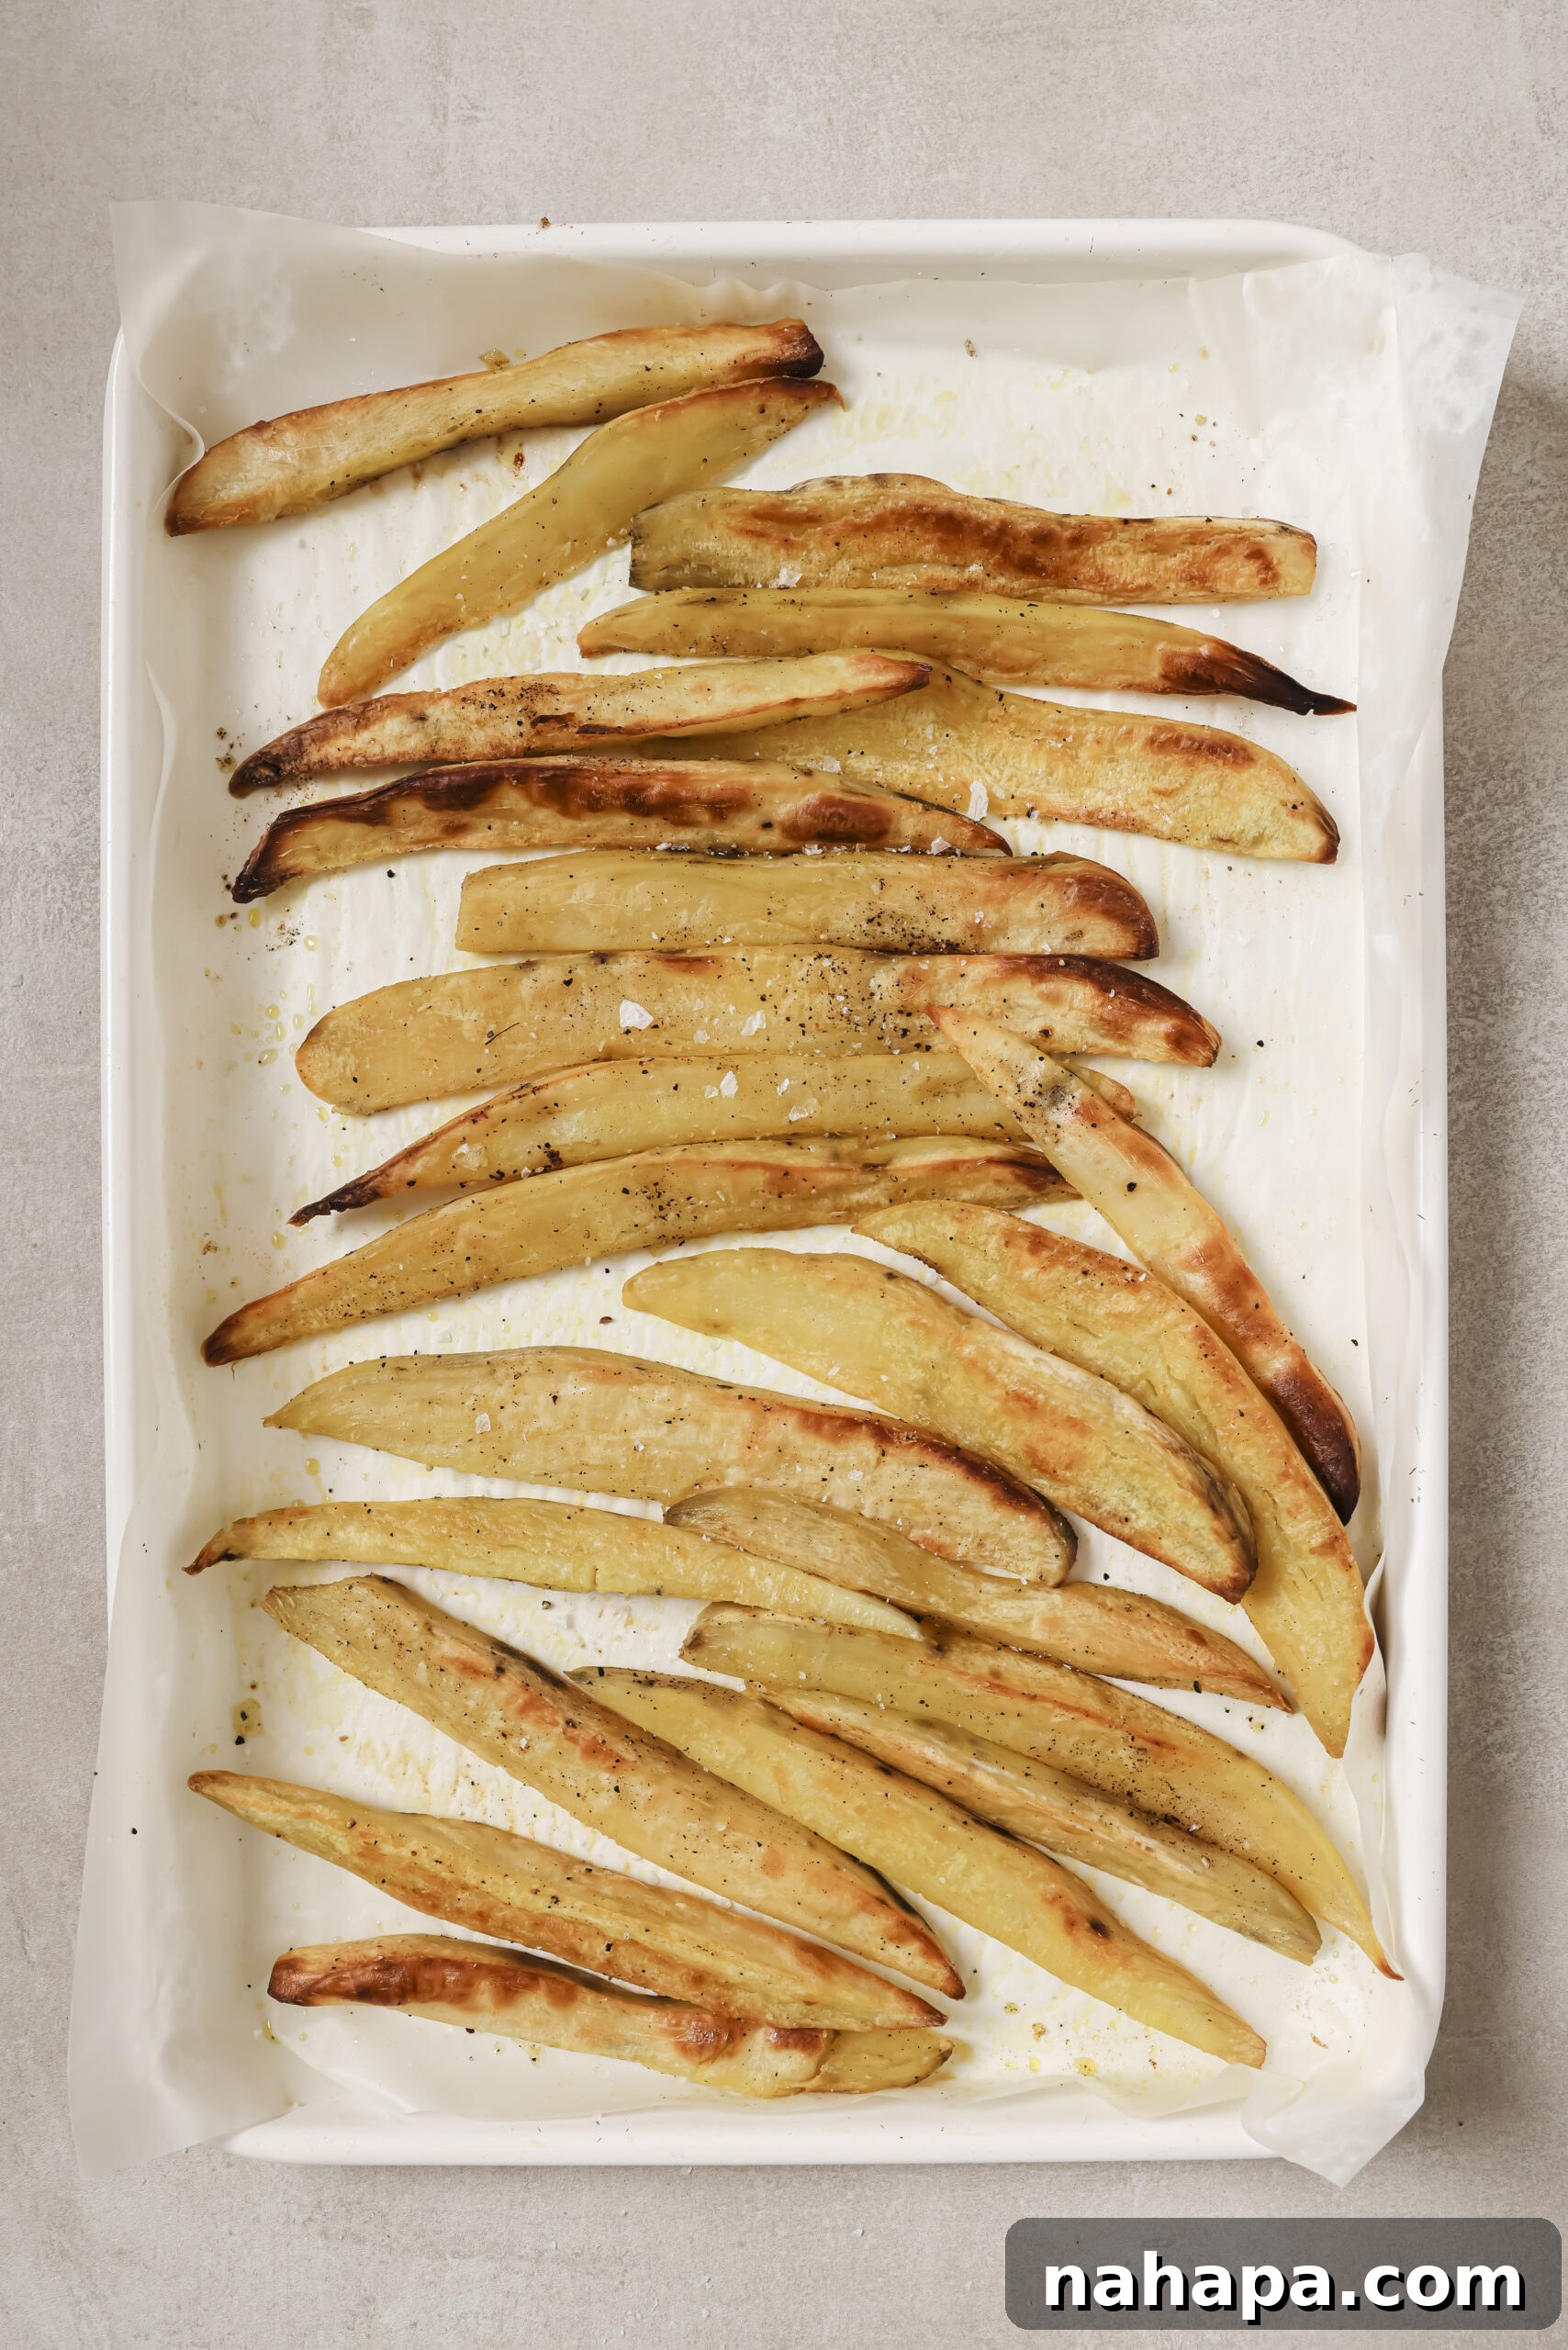
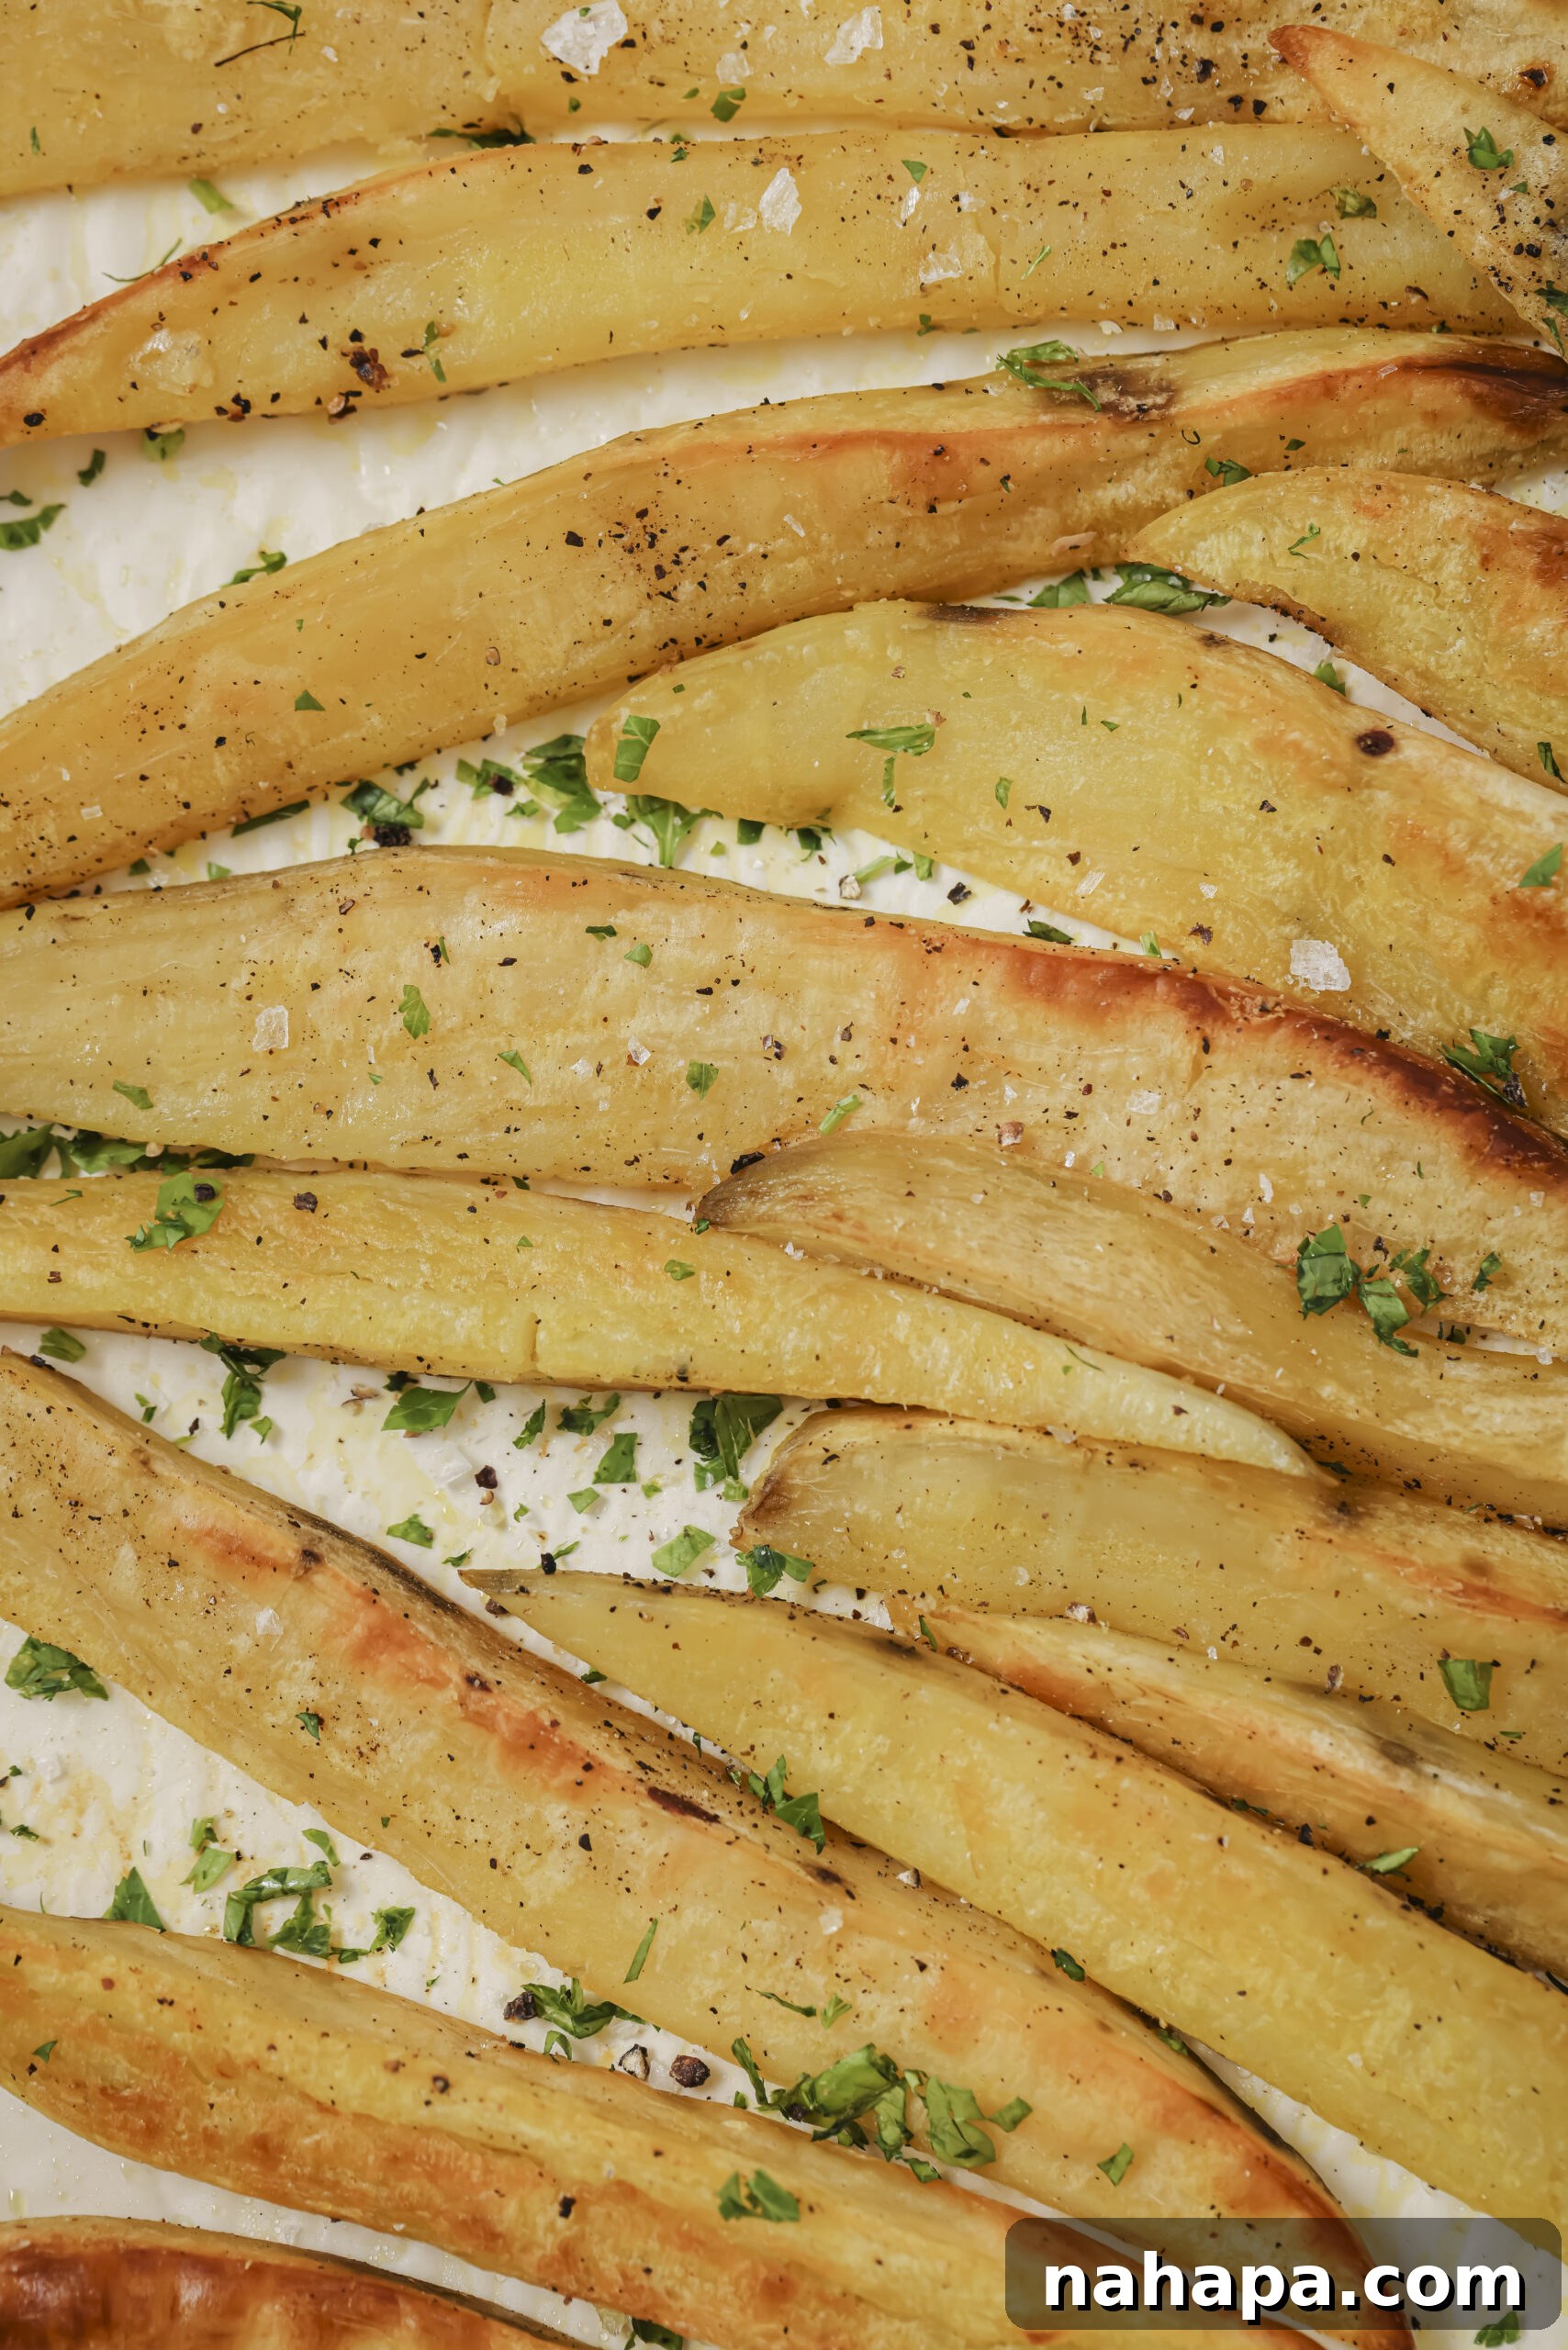
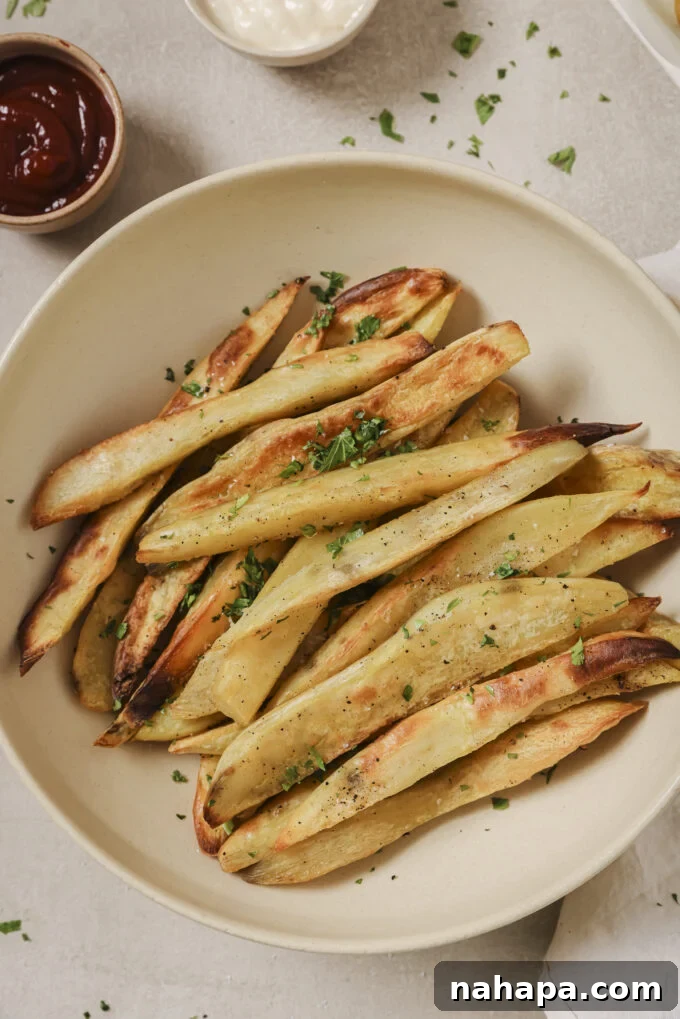
- Step Five: Serve Immediately with Your Favorite Sauces. Once baked to your desired level of crispness, remove the fries from the oven. For an added touch of freshness and flavor, sprinkle them with the fresh chopped parsley (if using) and an extra pinch of flaky sea salt. Serve these incredibly delicious and crispy baked white sweet potato fries immediately, alongside your favorite dipping sauces. Enjoy the crunch!
Expert Tips & Tricks for the Crispiest Baked Sweet Potato Fries
Mastering the art of crispy sweet potato fries is within reach with these essential tips and tricks. Pay attention to these details, and you’ll consistently achieve restaurant-quality results at home.
- Monitor Parboiling Closely. The parboiling stage is delicate. Do not step away from the kitchen! Begin checking for tenderness around the 5-minute mark. The fries should be just fork-tender – meaning a fork can easily pierce them, but they still feel firm and do not break apart. Overcooking here will lead to mushy fries that won’t crisp up properly in the oven. Aim for al dente.
- Thorough Drying is Non-Negotiable. This is arguably the most critical step for achieving true crispiness. After draining, spread the fries over a clean, thick kitchen towel or several layers of paper towels. Use another towel to firmly pat and press out as much surface moisture as possible. Repeat this process until the fries are bone-dry. Any residual water will turn into steam in the oven, making your fries soft and soggy instead of crunchy.
- Cut Fries Uniformly. Consistency in size is key to even cooking. Unevenly cut fries will result in a mixed batch: some will burn while others remain undercooked and soft. A sharp knife and careful technique, or a mandoline for precision, will ensure all fries cook and crisp up uniformly.
- Avoid Overcrowding the Baking Sheet. Give your fries plenty of space! Arrange them in a single layer on the baking sheet, ensuring there’s ample room between each piece. When fries are too close together, they release moisture, which gets trapped and creates steam, leading to soggy results. If you’re making a large batch, use two baking sheets and rotate them between oven racks halfway through baking.
- Use High Heat. A high oven temperature of 400°F (200°C) is essential for rapid moisture evaporation and browning. This high heat quickly draws out water and promotes the Maillard reaction, which is responsible for the delicious golden crust and deep flavors.
- Consider a Wire Rack. For superior air circulation around all sides of the fries, place a wire cooling rack on top of your parchment-lined baking sheet. Arrange the seasoned fries on the wire rack. This technique allows hot air to circulate completely around each fry, enhancing crispiness without the need for constant flipping.
- Don’t Forget the Broiler (Carefully!). If your fries need an extra boost of crispiness at the end, the broiler is your friend. Turn it on for 2-3 minutes, but stay by the oven and watch *constantly*. Fries can go from perfectly golden to burnt in a matter of seconds under the broiler.
Frequently Asked Questions About Crispy Baked Sweet Potato Fries
Do you need to peel the sweet potato fries?
It’s largely a matter of personal preference. I often peel Japanese sweet potatoes for these fries because I find it results in a slightly more uniform crispness and a smoother texture. However, the skin is thin, perfectly edible, and contains beneficial nutrients. If you prefer a more rustic look and don’t mind the slight textural difference, feel free to leave the skin on – just be sure to give them a very thorough scrub before slicing!
What do you serve with crispy baked white sweet potato fries?
These incredibly versatile fries make a fantastic accompaniment to a variety of meals and are delicious on their own with a dip.
- Dipping Sauces: Classic ketchup (ensure it’s nightshade-free if needed), a creamy garlic aioli, spicy sriracha mayo, a refreshing cilantro-lime crema, or even a simple ranch dressing are all excellent choices.
- Main Dishes: They are a perfect side for grilled chicken, juicy steaks, homemade burgers (beef, turkey, or veggie), baked fish, or even alongside a hearty salad for a balanced meal.
- As a Snack: Enjoy them hot out of the oven with just a sprinkle of flaky salt for a satisfying and healthy snack.
Why should you parboil sweet potato fries? What exactly is parboiling?
Parboiling is a cooking technique where food, in this case, sweet potatoes, is partially cooked by boiling it briefly. The term “parboil” comes from “partial boil,” meaning it’s not cooked all the way through, but just enough to soften it. After this initial boiling, the cooking is completed by another method, such as baking or frying. It’s a method commonly used in commercial food preparation, like with many frozen vegetables.
For sweet potato fries, parboiling is a critical step because it allows for the “cook twice” method, which is the ultimate secret to achieving a truly crispy texture. By slicing the sweet potato into fries and then parboiling them, you begin to soften the interior, ensuring they become fluffy inside when baked. More importantly, this process helps to extract a significant amount of the sweet potato’s natural moisture.
The real game-changer comes immediately after parboiling: the thorough drying. Excess water is the absolute nemesis of crispiness. If you skip drying, that moisture will simply steam the potatoes in the oven, preventing any chance of crisping up. By meticulously patting the parboiled fries dry with a clean kitchen towel before seasoning and baking, you remove the surface moisture, allowing the fries to achieve that golden, crackling crust. Trust me, this two-stage approach with diligent drying is the unequivocal key to producing crispy baked sweet potato fries that can proudly stand next to their deep-fried cousins!
How long does the parboiling process typically take?
The exact parboiling time can vary based on several factors: the thickness of your sweet potato fries, the volume of fries in the pot, and the vigor of your boil. However, for fries cut to approximately ½-inch thickness, the process typically takes between 6 to 10 minutes. The goal is to reach a “fork-tender” consistency – where a fork can pierce the sweet potato with slight resistance, but it’s not soft, mushy, or falling apart. It’s always better to slightly under-parboil than to over-parboil, as they will finish cooking in the oven.
Can I prepare these crispy sweet potato fries ahead of time?
While these fries are best enjoyed immediately after baking for peak crispness, you can certainly prepare them partially in advance. You can parboil and thoroughly dry the fries a few hours ahead of time. Once dried, spread them out uncovered on a baking sheet lined with paper towels (to absorb any further moisture) and store them in the refrigerator. When you’re ready to serve, simply proceed with Step Three: seasoning and baking. Reheating leftover cooked fries is best done in a hot oven (400°F/200°C) or an air fryer for 5-10 minutes until they regain their crispness; microwaving is not recommended as it will make them soggy.
More Delicious Sweet Potato Recipes You’ll Love
If you’ve fallen in love with the versatility and deliciousness of sweet potatoes through this crispy fries recipe, you’ll be thrilled to explore these other fantastic sweet potato creations:
- Sweet Potato Flatbread: A wonderfully versatile and naturally gluten-free base that’s perfect for pizzas, wraps, or as a dipper.
- Sweet Potato Norwegian Lefse (Paleo & AIP): A unique and traditional soft flatbread, reimagined to fit paleo and AIP dietary needs.
- Hearty Sweet Potato Shepherd’s Pie: A comforting and wholesome classic, elevated with a vibrant and nutritious sweet potato topping.
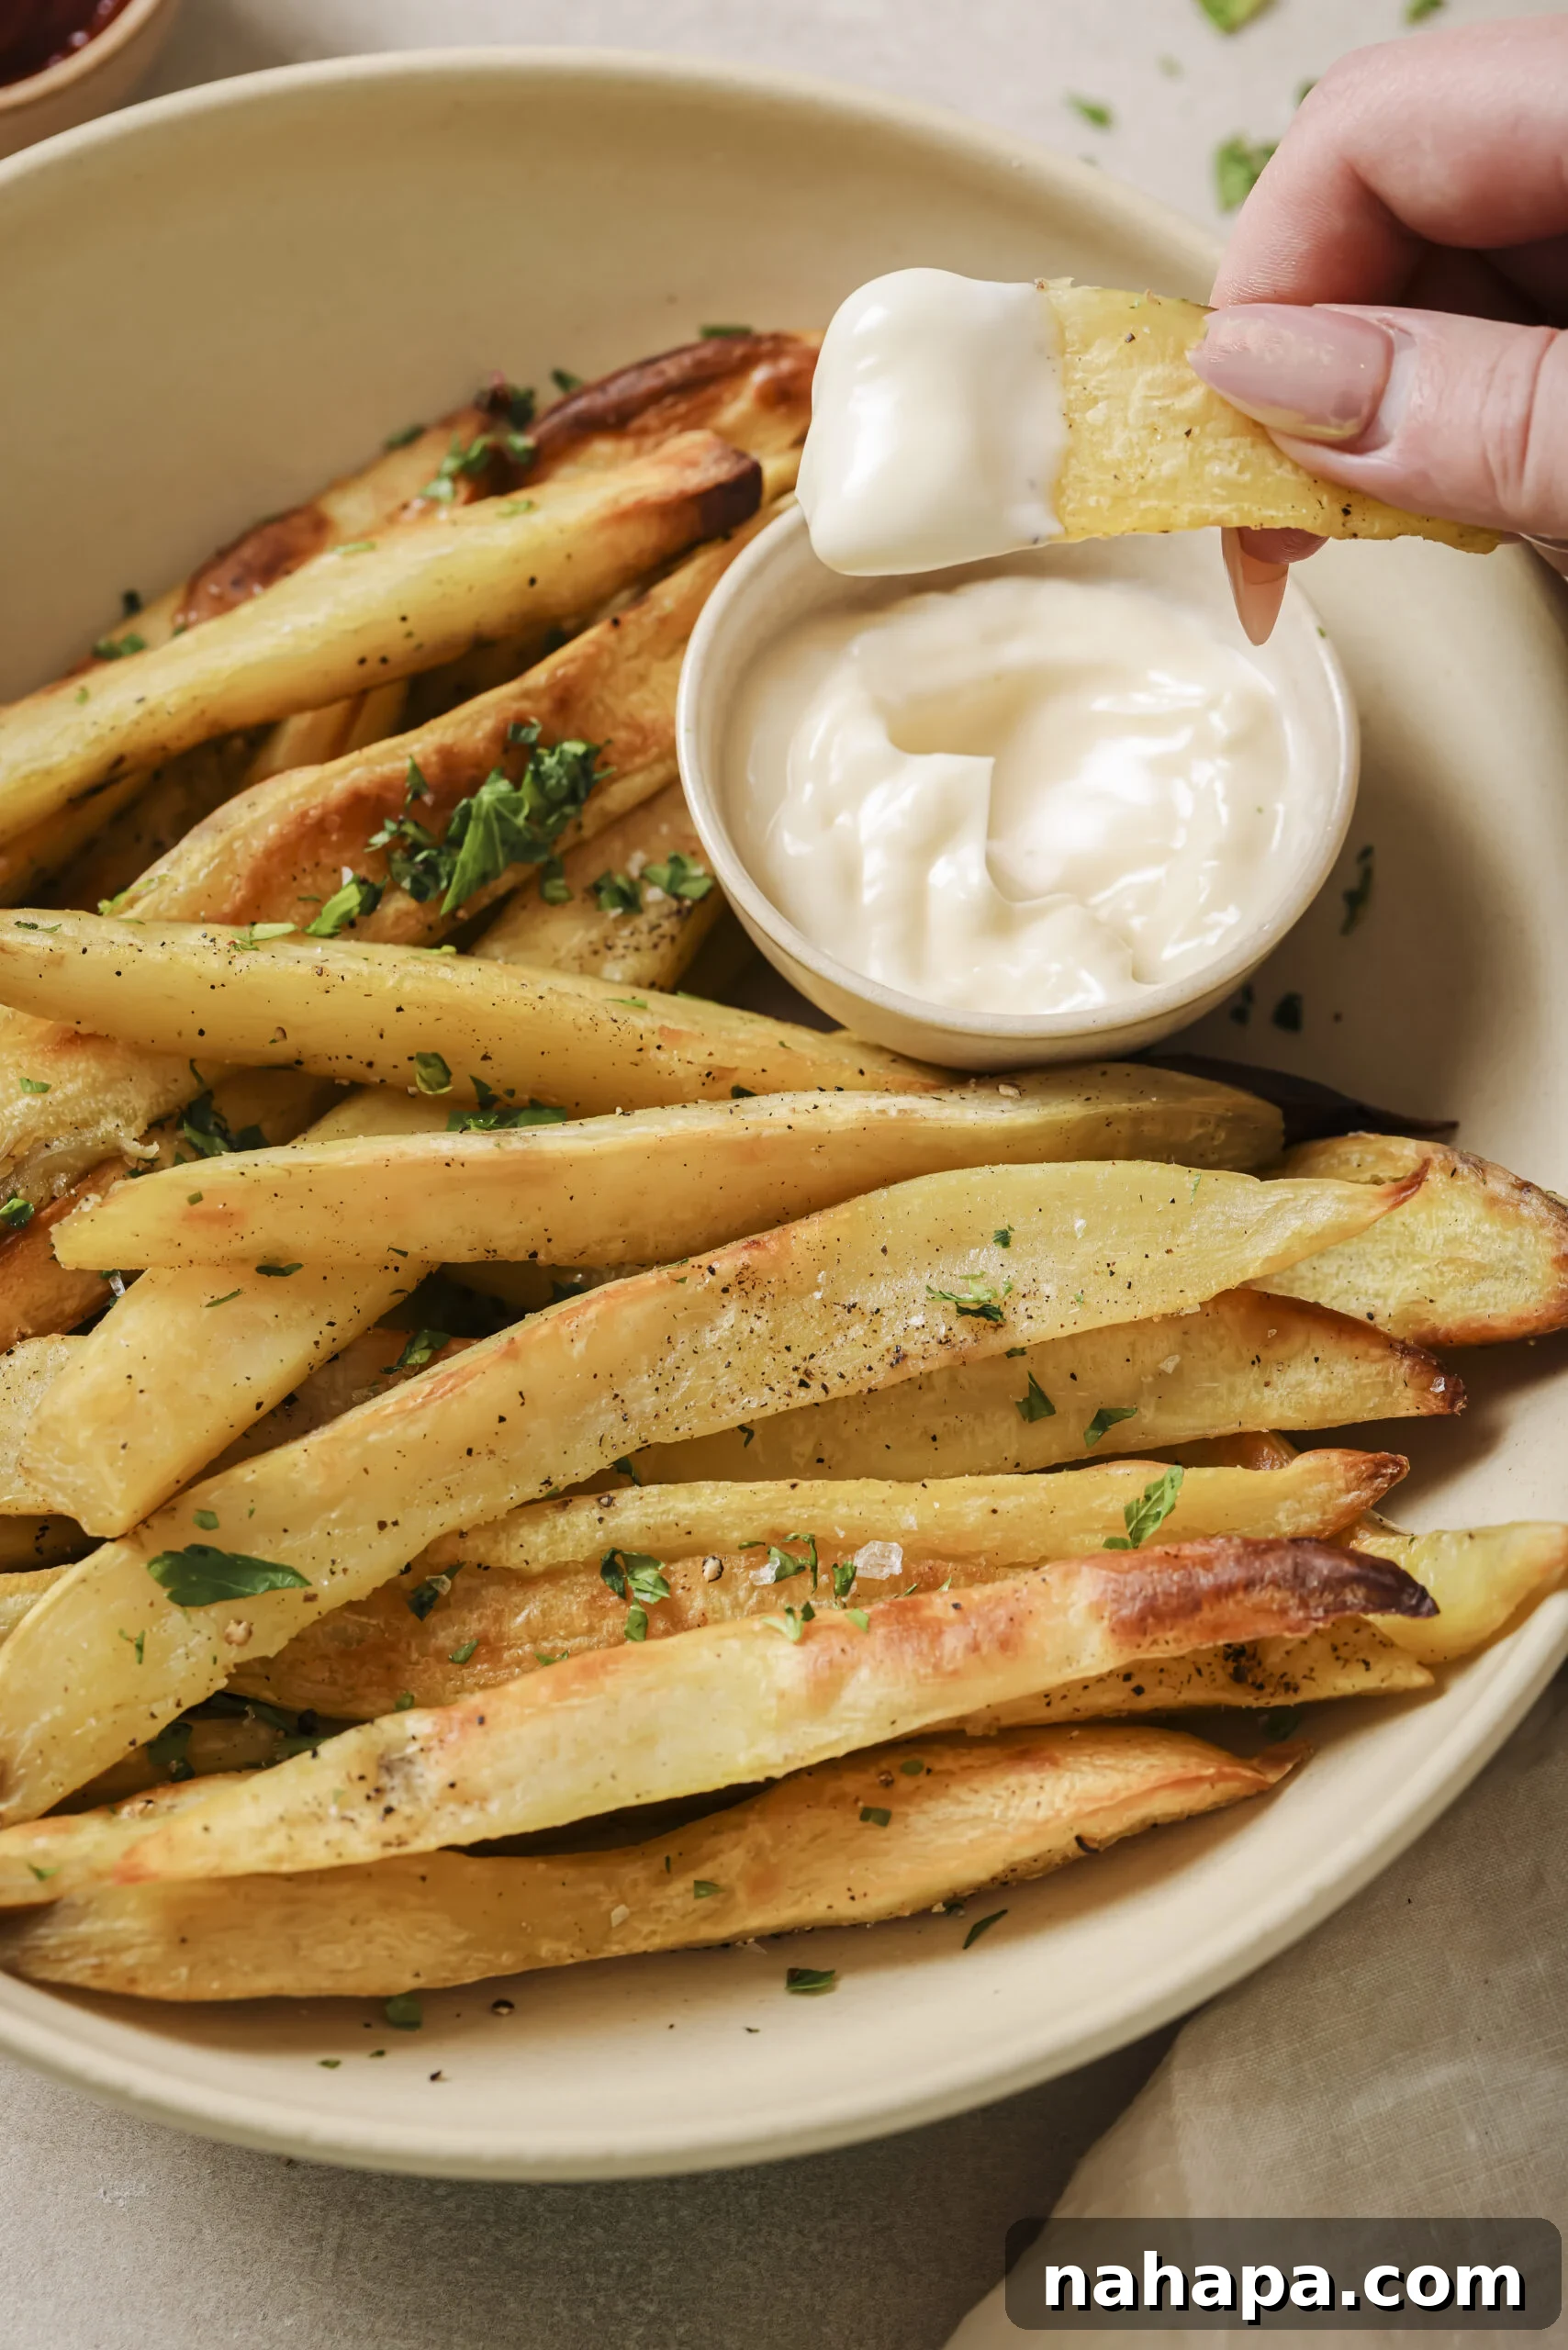
Crispy Baked White Sweet Potato Fries
Leave a Review
Pin Recipe
Ingredients
- 2 lbs Japanese sweet potatoes
- 2 tbsp avocado oil
- ¼ tsp black pepper
- ¾ tsp salt, plus flakey salt to serve if desired
- 1 tbsp chopped parsley to serve.
Instructions
-
Scrub the sweet potatoes well. You can leave the peel on, but I prefer to peel them for optimal crispiness and a smoother texture. Slice the ends off, then using a sharp knife or mandoline, cut the sweet potatoes into uniform ½-inch thick fries. Consistency is key for even cooking.
-
Preheat your oven to 400°F (200°C) and prepare a large baking sheet by lining it with parchment paper. This prevents sticking and ensures easy cleanup.
-
Bring a large pot of water to a rolling boil. Carefully add the sliced fries and parboil for 5-7 minutes, or until they are just tender when pierced with a fork but still firm. Drain the fries immediately in a colander and transfer them to a clean, absorbent kitchen towel. Pat them *completely* dry – this step is critical for crispiness!
-
Once thoroughly dry, transfer the fries back to the prepared baking sheet. Drizzle with avocado oil, then season generously with salt and black pepper. Toss gently to ensure all fries are evenly coated. Spread them out in a single layer, ensuring no overlapping, which can cause steaming. Use a second baking sheet if necessary.
-
Bake in the preheated oven for 30-35 minutes, flipping the fries halfway through the cooking time (around 15-18 minutes) to promote even browning and crisping. Continue baking until the fries are deeply golden brown and deliciously crispy with visible browned spots. For an extra crisp finish, turn on the broiler for the last 2-3 minutes, but watch them very carefully to prevent burning.
-
Remove from the oven, garnish with fresh chopped parsley (if desired), and serve immediately with your favorite dipping sauces. Enjoy your perfectly crispy baked sweet potato fries!
Notes
- All nutritional information are estimations and will vary based on specific ingredient brands and preparation methods.